Whether you're a professional barber or someone who prefers to trim at home, your clippers are an investment. The blades are the heart of the tool – they determine the quality of the cut and the health of your client's or your own hair. Yet, blades are often neglected until they start pulling or snagging. Regular cleaning and maintenance not only extend the life of your blades but also ensure a sharp, smooth cut every time.
In this guide, we'll walk you through the essential steps to clean and maintain your clipper blades. From daily cleaning to deep maintenance, we'll cover the tools you need, the techniques to use, and the mistakes to avoid. By the end, you'll have a simple routine that keeps your clippers performing like new for years.
Why Regular Blade Cleaning Matters
Hair clippers accumulate hair, oil, and skin debris with every use. This buildup not only dulls the blades but also creates a breeding ground for bacteria, which can lead to skin infections. For barbers, hygiene is non-negotiable, and for home users, it's just as important. Regular cleaning prevents rust, corrosion, and premature wear, ensuring that your blades stay sharp and safe.
Moreover, a clean blade glides smoothly through hair, reducing the risk of pulling or snagging. This improves the comfort of the cut and reduces irritation for clients. When you maintain your blades, you also maintain the performance of your clipper, which means you can achieve consistent, professional results every time.
- Prevents rust and corrosion
- Reduces risk of skin infections
- Ensures smooth, sharp cutting
- Extends the lifespan of your clipper
Essential Supplies for Blade Care
To properly clean and maintain your clipper blades, you'll need a few basic supplies. Most of these are inexpensive and can be found at any beauty supply store or online. A good clipper brush is essential for removing loose hair and debris. A high-quality blade oil, specifically designed for clippers, lubricates the moving parts and prevents rust. Additionally, a screwdriver (often included with your clipper) is needed to remove the blades for deep cleaning.
You may also want to invest in a blade wash or disinfectant spray for a deeper clean, especially if you use your clippers on multiple clients. These solutions dissolve hardened grease and sanitize the blades. Having these supplies on hand makes it easy to incorporate cleaning into your routine without hassle.
- Clipper brush for removing debris
- High-quality blade oil for lubrication
- Screwdriver for blade removal
- Disinfectant spray for hygiene
Step-by-Step Cleaning Routine
Start by unplugging your clipper and removing the blade assembly. Use your clipper brush to sweep away any loose hair from the blades and the body of the clipper. This should be done after every use to prevent buildup. For a deeper clean, apply a few drops of blade wash or disinfectant to the blades and let it sit for a minute. Then, use the brush to scrub away any stubborn residue.
After cleaning, dry the blades thoroughly with a lint-free cloth. Once dry, apply 2-3 drops of blade oil to the bottom of the top blade and the top of the bottom blade, as well as the pivot point. Turn the clipper on for a few seconds to distribute the oil evenly. Finally, reattach the blades and store your clipper in a dry place. This routine should be done after every few uses, or at least weekly for heavy users.
- Remove and brush off hair after each use
- Use blade wash for deep cleaning
- Dry blades completely before oiling
- Oil blades and run clipper to distribute
Deep Maintenance: When and How
Every few months, or if you notice a decline in cutting performance, it's time for a deep maintenance session. This involves removing the blades completely and soaking them in a blade wash or a mixture of warm water and a few drops of dish soap. Let them soak for about 15 minutes to loosen any hardened grease. Then, use a soft toothbrush to gently scrub the blades, paying attention to the teeth and crevices.
Rinse the blades with clean water and dry them thoroughly. Inspect the blades for any nicks or dull spots. If they are dull, you may need to sharpen them or replace them. For example, the Black DLC Echo Taper Clipper Blade & Deep Tooth Cutter is a popular replacement that offers excellent performance. After cleaning and drying, oil the blades generously before reattaching them to your clipper. This deep clean ensures your blades stay in top condition for longer.
- Soak blades in blade wash or soapy water
- Scrub with a soft toothbrush
- Dry and inspect for damage
- Oil before reassembly
Common Mistakes to Avoid
One of the most common mistakes is using the wrong type of oil. Household oils like vegetable or motor oil can attract dust and gum up the blades. Always use a clipper-specific oil that is lightweight and designed for high-speed moving parts. Another mistake is skipping the cleaning step before oiling. Oil applied over dirty blades will trap debris, causing more harm than good.
Also, avoid submerging the entire clipper in water. Only the blades should be washed, and even then, ensure they are completely dry before reattaching. Water can damage the motor and electrical components. Finally, don't over-tighten the screws when reattaching blades. This can strip the threads or cause misalignment. Follow the manufacturer's instructions for proper tension.
- Never use household oils on blades
- Always clean before oiling
- Do not submerge the clipper in water
- Avoid over-tightening screws
When to Replace Your Blades
Even with the best care, blades will eventually wear out. Signs that it's time to replace them include visible nicks, rust that doesn't come off, or a consistent pulling sensation even after cleaning and oiling. If you notice these, it's better to replace the blades than to compromise on performance and hygiene.
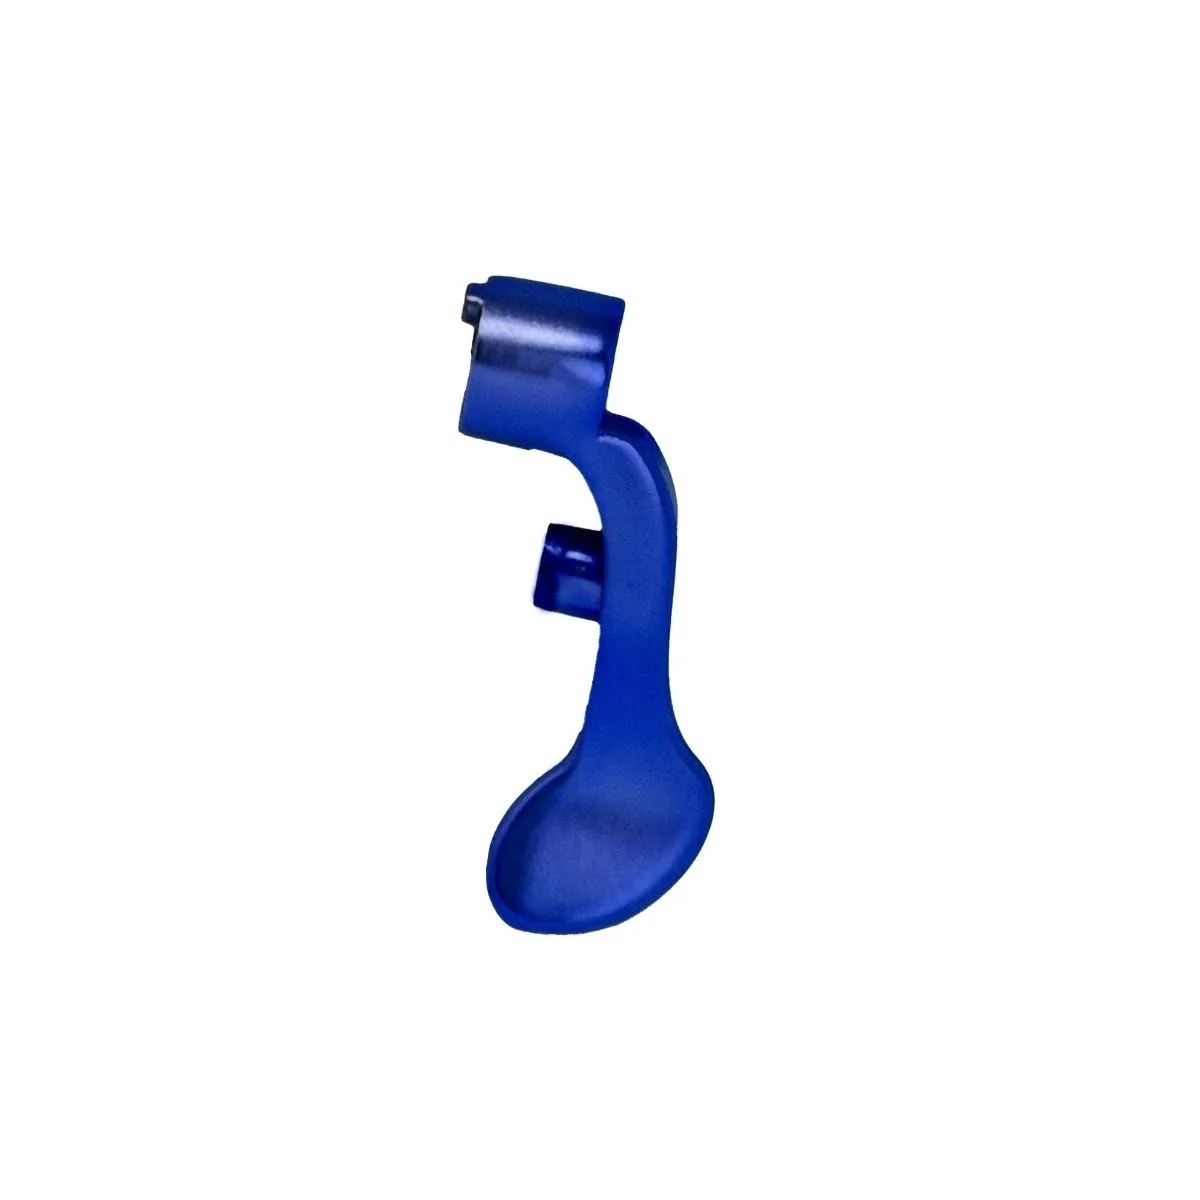
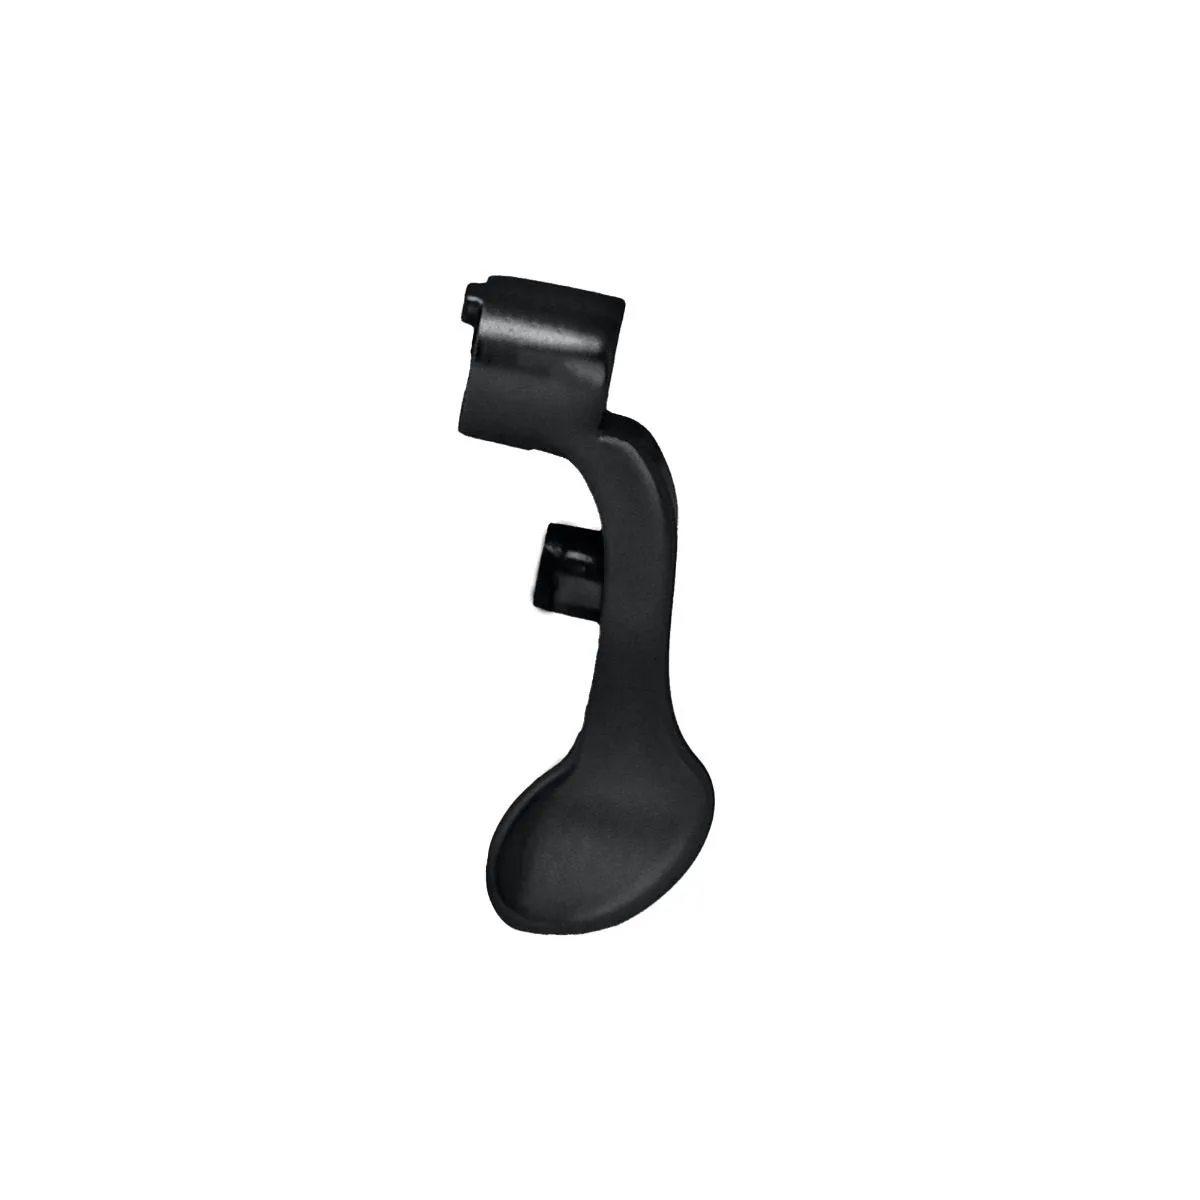
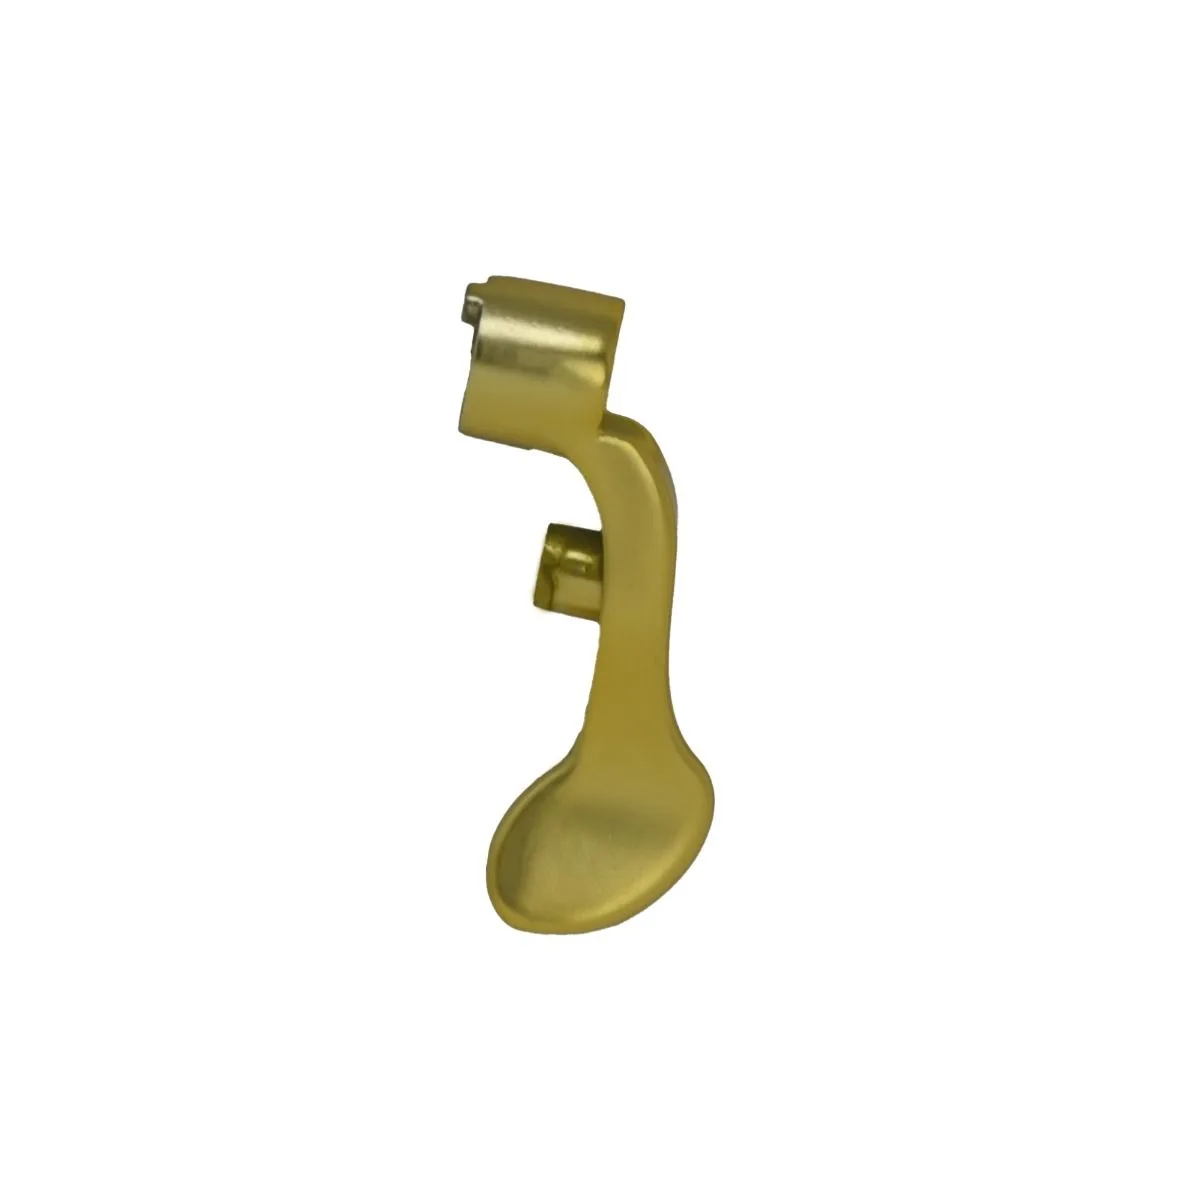
Many barbers keep a spare set of blades on hand. For instance, the https://stylecraftusefcv.com/products/replacement-part-clipper-lever-compatible-with-apex-mythic-saber-clipper-models-351174https://stylecraftusefcv.com/products/replacement-part-clipper-lever-compatible-with-apex-mythic-saber-clipper-models-351175Replacement Part Clipper Lever Compatible with Apex/ Mythic / Saber Clipper Models is a handy replacement part to have. Additionally, the Tight Guards - Barber Hairstylist Dub Neodymium Plastic, 4 Assorted Sizes can help protect your blades and provide versatility in your cuts. Regularly inspecting your blades will help you know when it's time for a swap.
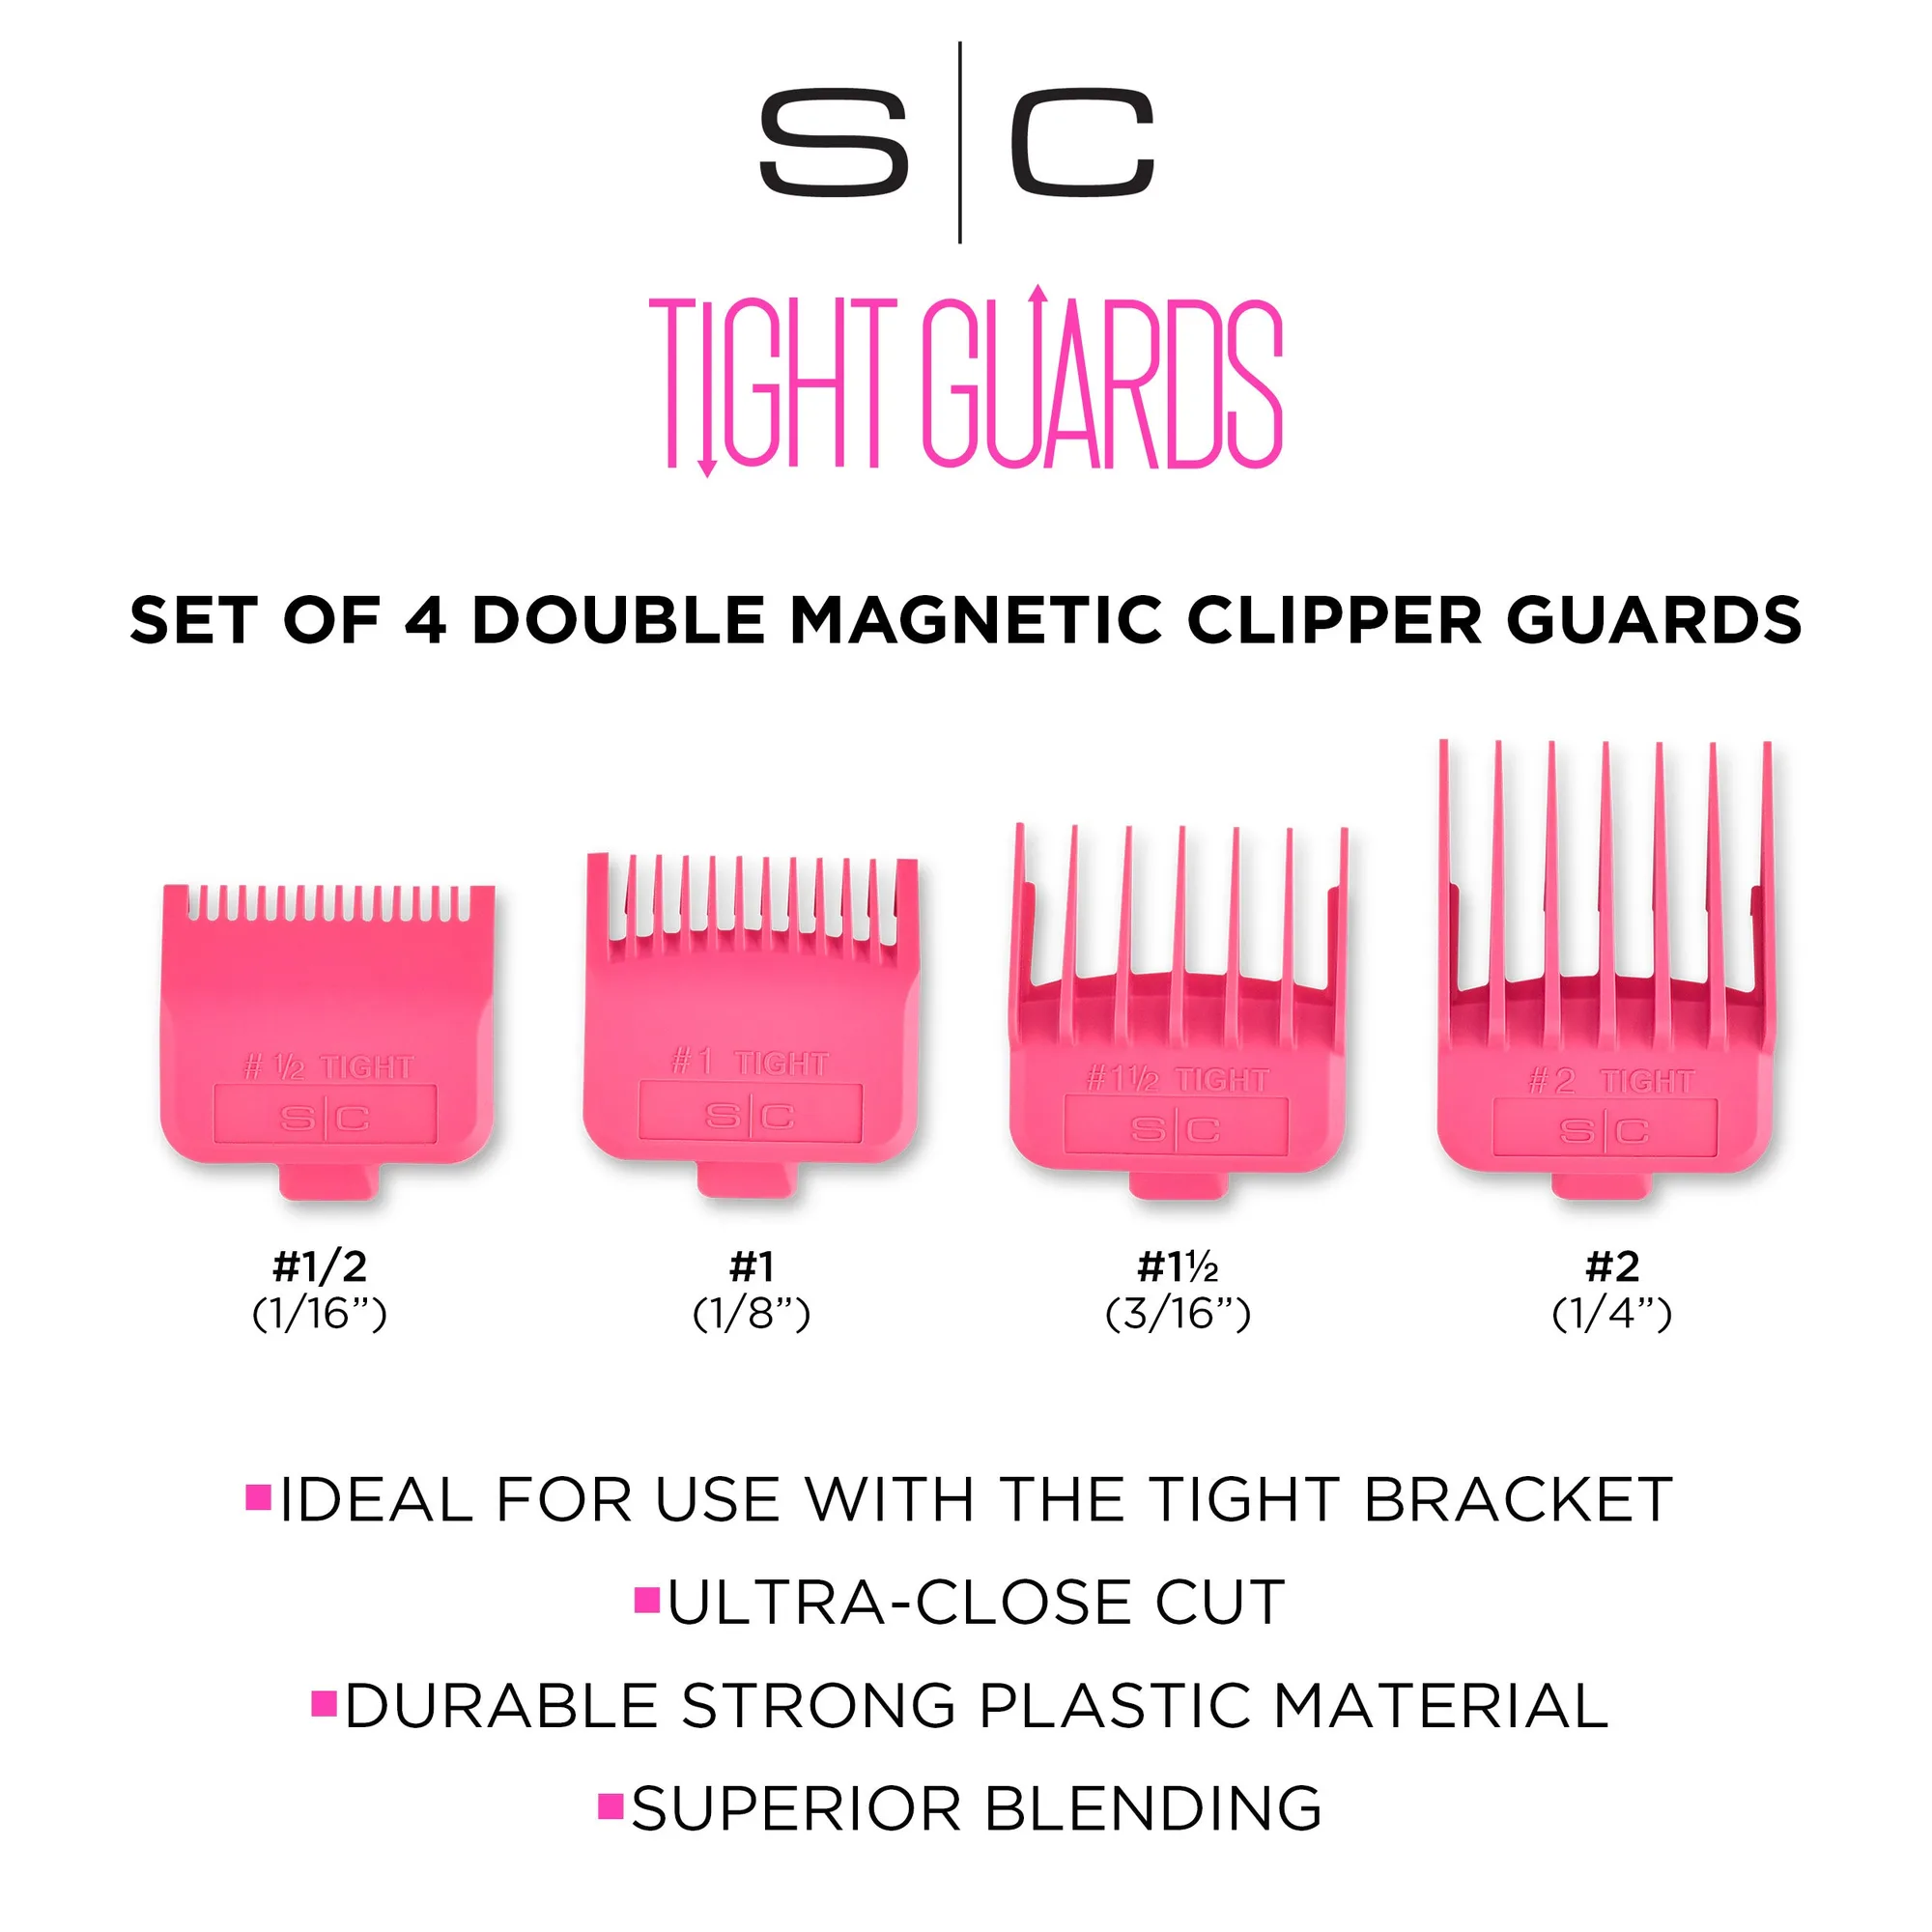
Tight Guards - Barber Hairstylist Dub Neodymium Plastic, 4 Assorted Sizes
- Replace blades if nicks or rust are present
- Keep spare blades for minimal downtime
- Use guards to protect blades and extend their life
By incorporating a regular cleaning and maintenance routine, you can significantly extend the life of your clipper blades, ensuring they remain sharp and hygienic. Remember to use the right supplies, avoid common mistakes, and know when to replace your blades. For high-quality replacement blades and accessories, check out our selection at Stylecraft US. Explore our range of professional clippers and trimmers, like the Saber Professional Hair Trimmer, to keep your tools in top shape.