Quick Answer
To keep your electric hair clipper in top shape, clean it after every use, oil the blades weekly (or as needed), and replace worn parts like blades or chargers promptly. A simple 5-minute routine prevents dull cuts, tugging, and motor strain.
A clean, well-maintained electric hair clipper cuts faster, feels smoother, and lasts years longer than one that's neglected. Whether you're trimming your own head or cutting a family member's hair, a few minutes of upkeep after each session makes a big difference.
This guide walks you through the essential steps: removing hair buildup, sanitizing the blades, oiling the cutting edges, and checking for wear. You'll also learn what to avoid—like using the wrong lubricant or skipping the charger check—so your clipper stays reliable.
Why Regular Clipper Maintenance Matters
Hair clippers work hard: they slice through thousands of hairs per minute, and those tiny cut hairs get lodged between the blades. Over time, this buildup dulls the cutting edges, makes the motor work harder, and can even cause the blades to overheat. That leads to pulling, uneven cuts, and a shorter lifespan for your device.
Regular maintenance also protects your skin. A dirty clipper can harbor bacteria and old skin cells, which is especially risky if you're using it on sensitive areas like your head or face. Keeping the blades clean and lightly oiled reduces friction and helps prevent irritation.
What You'll Need for Cleaning
You don't need a fancy kit to maintain your clipper. A small cleaning brush (often included), a soft cloth, rubbing alcohol or clipper spray, and a few drops of clipper oil are the basics. If your clipper is cordless, make sure it's fully charged or unplugged before you start—water and electricity don't mix.
Avoid using water to rinse the entire clipper unless the manufacturer explicitly says it's waterproof. Instead, focus on the blade area and use a brush to sweep away loose hair. For stubborn buildup, a cotton swab dipped in alcohol works well.
Step-by-Step Cleaning Routine
Start by unplugging the clipper and removing the blade assembly if your model allows it. Use the brush to sweep hair off the blades and out of the housing. Pay extra attention to the corners where hair tends to pack in.
Next, wipe the blades with a cloth slightly dampened with rubbing alcohol or a clipper disinfectant spray. This removes oils, dead skin, and bacteria. Let the blades air-dry completely before applying oil.
Finally, apply one or two drops of clipper oil to the blades, then run the clipper for a few seconds to distribute the oil evenly. Wipe off any excess. This step is crucial—it keeps the blades gliding smoothly and prevents rust.
- Always oil after cleaning, not before—oil on dirty blades traps hair and debris.
- If your clipper gets hot during use, it's a sign it needs cleaning and oiling.
How to Oil Your Clipper Blades Correctly
Oiling is the single most important maintenance step for any electric hair clipper. It reduces friction between the moving blades, which keeps them sharp and prevents the motor from straining. Without oil, blades can dull quickly and even bend over time.
Use only clipper oil or a light machine oil. Do not use cooking oil, WD-40, or grease—these can attract dust, gum up the blades, or damage the motor. Apply one drop to the front and sides of the blade, then run the clipper for 10–15 seconds to work it in. Wipe away any excess to avoid attracting hair.
- Oil your clipper after every few uses, or at least once a week if you shave daily.
- If the clipper starts to sound louder or feel rough, it's time to oil.
When to Replace Blades and Accessories
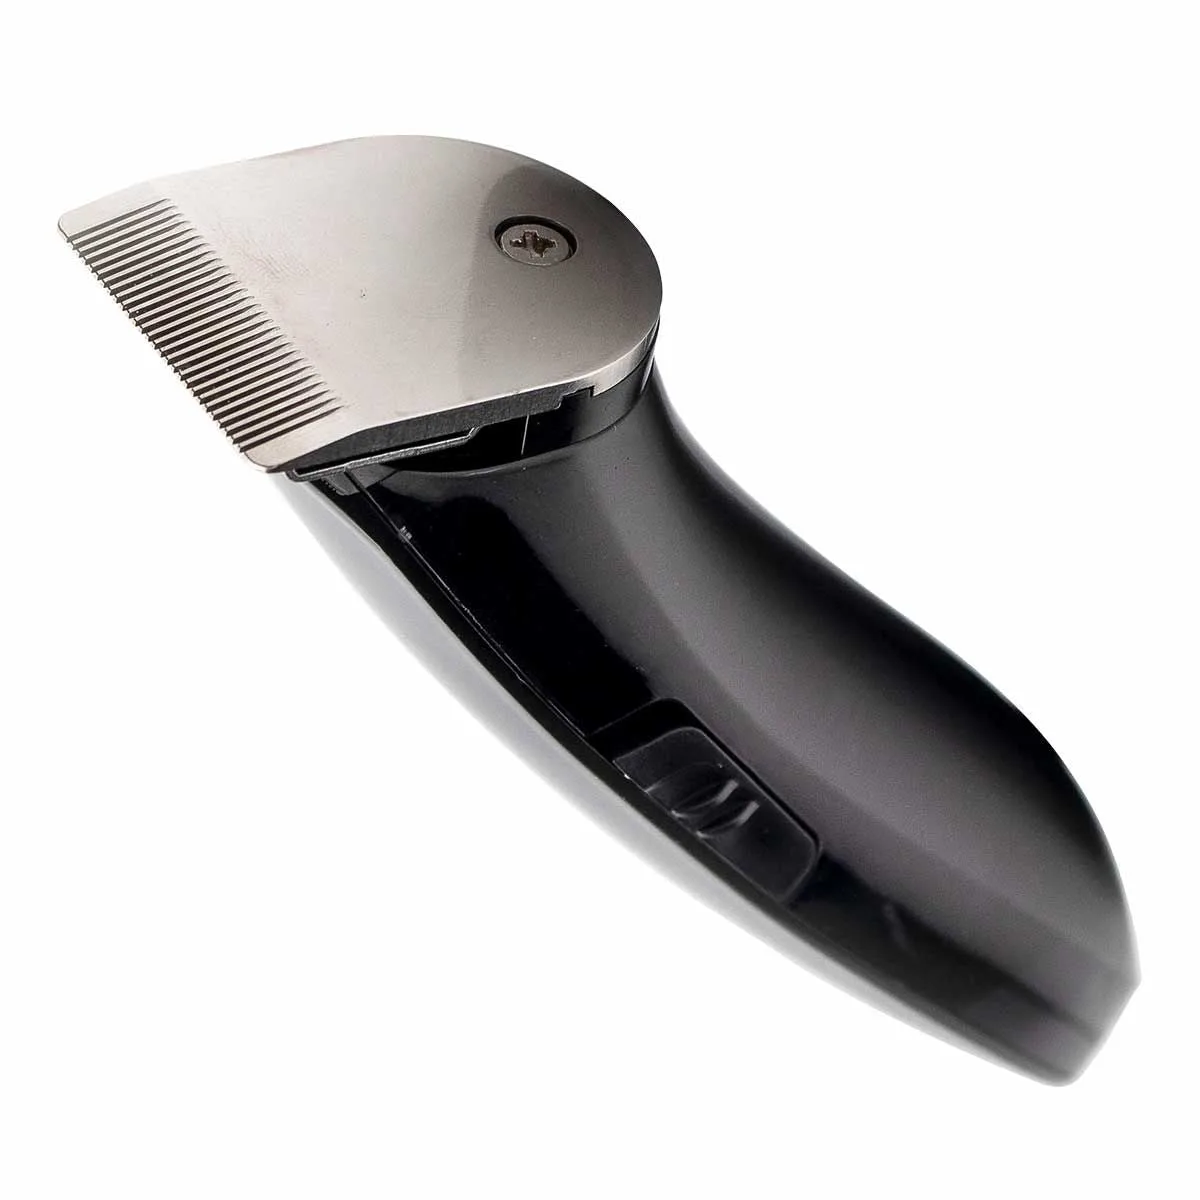
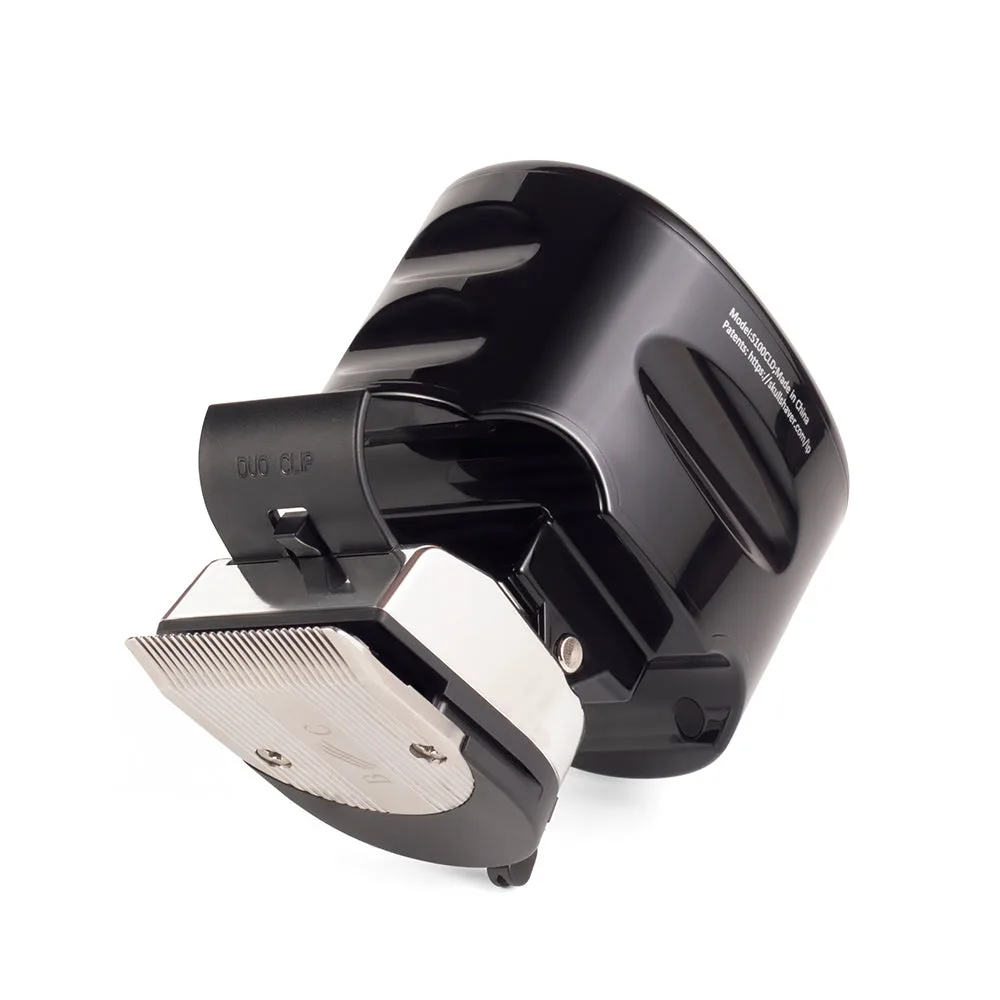
Even with perfect care, blades eventually wear out. If you notice the clipper pulling hair, leaving uneven cuts, or making a high-pitched whine, it's probably time for a new blade. For Skull Shaver models, replacement blades like the Forte Blade PRO 3 are designed to fit all Skull Shaver models and offer a smaller profile for tighter areas like the jawline.
Also check the charger and cord. A frayed cord or a charger that no longer fits securely can be a safety hazard and may cause intermittent power loss. Replacing a worn charger is a cheap fix that keeps your clipper running reliably.
Your 5-Step Clipper Care Routine
- Unplug and disassemble: Remove the blade assembly if possible. This gives you access to all the nooks where hair hides. Checkpoint: If your clipper doesn't come apart easily, check the manual—some models are meant to be cleaned as a whole.
- Brush away loose hair: Use the cleaning brush to sweep hair off the blades and out of the housing. Do this over a trash can to keep the mess contained. Common mistake: Skipping this step and going straight to oiling—oil will just glue the hair to the blades.
- Sanitize the blades: Wipe the blades with rubbing alcohol or clipper spray to remove oils and bacteria. Let them dry completely. Checkpoint: If you share your clipper, sanitizing is even more important to prevent skin irritation.
- Oil the blades: Apply one or two drops of clipper oil to the front and sides of the blades. Run the clipper for 10–15 seconds to distribute. Common mistake: Using the wrong lubricant—stick to clipper oil only.
- Reassemble and store: Put the blade assembly back on, wipe off any excess oil, and store the clipper in a dry place. Consider a travel case if you move it around. Checkpoint: A clean, dry clipper is ready for the next use and will last longer.
Helpful Products for Clipper Care
- Forte Blade PRO 3| Head Replacement Blade | Compatible with all Skull Shaver models: Skull Shaver PRO next-generation 3 head blades let you shave faster and in tighter areas than our previous designs. The smaller blade profile more closely conforms to tightly contoured areas such as your chin or jawline. When your current blades start pulling or missing spots, swapping in a fresh blade restores that smooth, close cut—especially around tricky areas like the chin.
- Replacement Charger for Pitbull, Butterfly Kiss, and Beast Clipper PRO (Refurbished): Replacement charger for Pitbull, Butterfly Kiss, and Beast Clipper PRO (does not fit previous generation Beast Clipper). These chargers are refurbished and may come in various packaging. A reliable charger is part of maintenance—if your original cord is damaged or lost, a refurbished replacement keeps your clipper powered without the cost of a new device.
A few minutes of cleaning and oiling after each use keeps your electric hair clipper cutting smoothly and extends its life. Replace blades when they start to pull, and keep a backup charger on hand so you're never caught with a dead battery. With this routine, your clipper will stay ready for every trim.