Quick Answer
Clean your airbrush after every session by flushing with cleaner, disassembling the nozzle and needle, and lubricating moving parts. Proper maintenance prevents clogs and keeps atomization consistent.
Why Regular Cleaning Matters
Paint residue builds up inside the nozzle and around the needle tip, especially with thicker acrylics or metallics. A neglected airbrush sputters, clogs mid-spray, and loses the fine control you rely on for detail work.
Side-feed models like the ANEST IWATA RG-3 have a rotating cup that adds flexibility but also creates extra crevices where paint can dry. A quick flush after each color change and a full strip-down every few sessions keeps the internals free of dried particles.
Tools You Will Need
You do not need a special kit. A small bottle of airbrush cleaner (or isopropyl alcohol), a soft toothbrush or interdental brush, a lint-free cloth, and airbrush lubricant (or a drop of sewing machine oil) cover most jobs. A nozzle wrench or small pliers with padded jaws helps remove stubborn parts without damaging threads.
Step-by-Step Airbrush Cleaning Process
- Flush the Paint Path: Empty the cup, fill it with airbrush cleaner or isopropyl alcohol, and spray through until the liquid runs clear. This removes wet paint from the nozzle and needle before it dries. Do not let cleaner sit in the cup for more than a minute—some solvents can soften seals over time.
- Disassemble the Nozzle and Needle: Unscrew the nozzle cap, pull the needle back carefully, and remove the nozzle with a wrench if needed. Wipe the needle with a cleaner-moistened cloth from base to tip—never pull backward through the nozzle. Bending the needle tip is the most common mistake. Always pull the needle straight out and set it on a soft surface.
- Clean the Nozzle Interior: Use a nozzle brush or a fine interdental brush dipped in cleaner to gently scrub the inside of the nozzle. Hold it up to a light to check for any remaining dried paint. Never use metal tools or reamers inside the nozzle—they can scratch the precision bore and ruin the spray pattern.
- Clean the Cup and Side-Feed Port: For side-feed models like the RG-3, wipe the cup threads and the side-feed port with a brush and cleaner. Rotate the cup through its full range and clean any dried paint from the rotating joint. Paint trapped in the cup rotation mechanism can stiffen the movement and eventually prevent angle adjustments.
- Lubricate Moving Parts: Apply one drop of airbrush lubricant to the needle shaft near the trigger and to the trigger pivot point. Work the trigger a few times to distribute the oil. Too much lubricant attracts dust and can contaminate your paint. One drop is enough.
- Reassemble and Test: Insert the needle, screw the nozzle back on, and tighten the nozzle cap finger-tight. Fill the cup with cleaner and spray a few bursts to confirm a smooth, even pattern. If the spray sputters or spits, the nozzle is not seated fully or there is still debris inside. Repeat the cleaning steps before reassembling.
Product Spotlight
-
ANEST IWATA RG-3 Side Feed Spray Gun: The ANEST IWATA RG-3 has a 130 ml side-mounted cup with 360-degree rotation, allowing you to spray at various angles. The rotating cup gives you flexibility in tight spaces, but paint can dry in the cup threads and around the side feed port if you do not wipe them after each session.
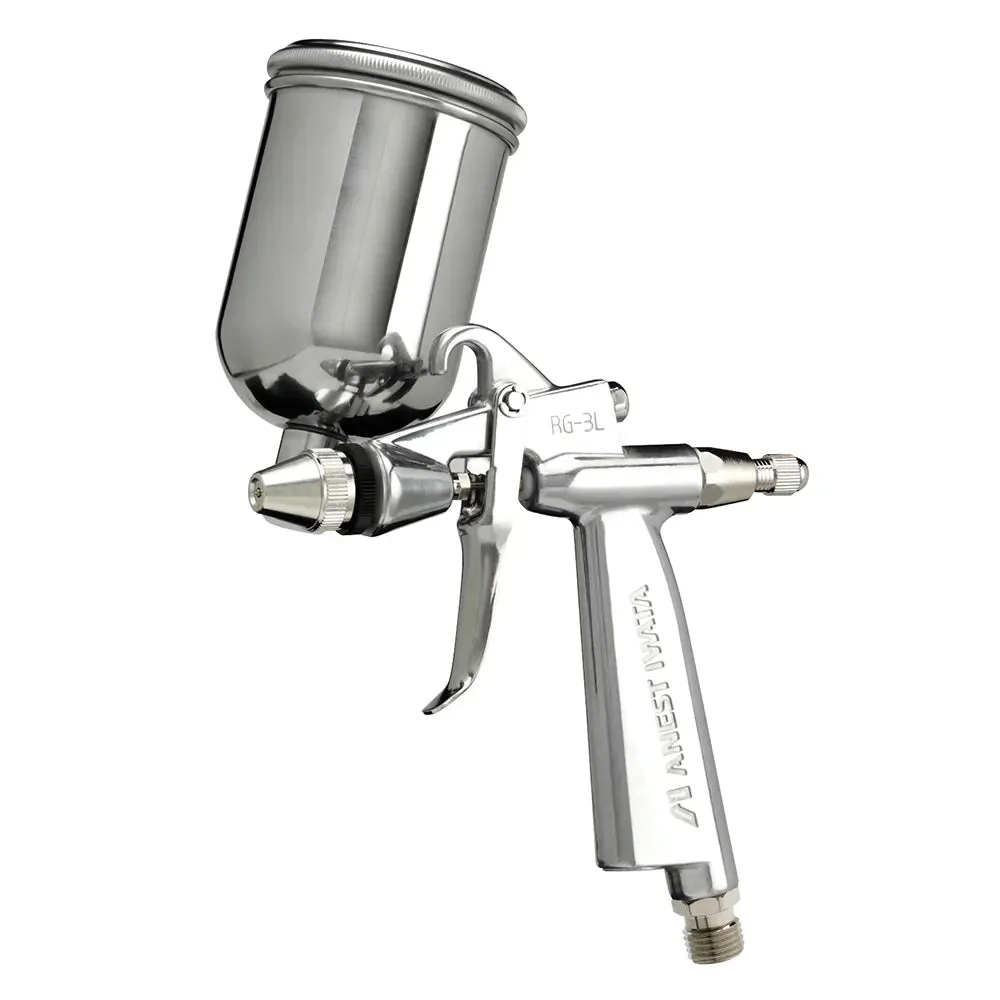
ANEST IWATA RG-3 Side Feed Spray Gun