Quick Answer
Clean your cleansing brush after every use with a gentle cleanser and warm water, and deep-clean it weekly. Replace the brush head every 3-4 months to prevent bacteria buildup and skin irritation.
Your cleansing brush is a powerful tool for deep-cleaning your face, but if you don't maintain it properly, it can become a breeding ground for bacteria. Over time, residue, oil, and dead skin cells accumulate on the bristles, which can lead to breakouts and irritation. Learning how to clean your cleansing brush is essential for keeping your skin healthy and your brush effective.
In this guide, we'll walk you through a simple, step-by-step routine to clean and maintain your cleansing brush. From daily rinsing to weekly deep cleans and knowing when to replace the head, you'll learn practical tips to extend the life of your brush and protect your skin.
Why Cleaning Your Cleansing Brush Matters
Your cleansing brush comes into contact with your skin, oil, and makeup every day. Without proper cleaning, it can harbor bacteria, mold, and yeast. When you use a dirty brush, you're spreading those impurities back onto your face, which can cause clogged pores and irritation. Regular maintenance not only keeps your brush hygienic but also ensures it continues to work effectively.
Additionally, a well-maintained brush is more gentle on your skin. Bristles that are caked with product become stiff and abrasive, which can lead to micro-tears and increased sensitivity. By keeping your brush clean, you preserve its softness and protect your skin's barrier.
- Clean your brush after every use to prevent residue buildup.
- Deep-clean weekly to remove hidden bacteria and oils.
- Replace brush heads every 3-4 months for optimal hygiene.
Daily Cleaning: Quick Rinse and Air Dry
After each use, rinse the brush head under warm running water to remove excess cleanser and debris. You can use a gentle, sulfate-free cleanser to help break down oils and residue. Avoid using hot water, as it can damage the bristles and the adhesive that holds them in place.
Once rinsed, gently squeeze out any excess water and shake the brush to remove moisture. Place it upright in a holder or on a clean towel to air dry. Never store a wet brush in a closed container, as this encourages bacterial growth. A quick daily rinse goes a long way in preventing buildup.
- Use lukewarm water, not hot, to protect the bristles.
- Always air dry your brush with the bristles facing up.
- Avoid sealing a damp brush in a travel case.
Weekly Deep Clean: Remove Hidden Bacteria
Once a week, give your cleansing brush a more thorough cleaning. Fill a small bowl with warm water and add a few drops of a gentle liquid soap or a specialized brush cleanser. Swirl the brush head in the mixture for about 30 seconds, then rinse thoroughly under running water.
For an extra hygienic boost, you can also soak the brush head in a solution of water and a few drops of tea tree oil or a gentle antibacterial cleanser for 5-10 minutes. Be sure to rinse completely and allow it to dry fully before your next use. This weekly deep clean removes the bacteria that a quick rinse can't.
- Use a mild soap or a brush-specific cleanser.
- Soak for 5-10 minutes to kill bacteria.
- Rinse thoroughly to avoid soap residue on your skin.
When to Replace Your Brush Head
Even with regular cleaning, brush bristles wear out and can harbor bacteria over time. Most dermatologists recommend replacing your cleansing brush head every 3-4 months. If you notice the bristles are frayed, discolored, or losing their shape, it's time for a new one.
Using a worn brush can irritate your skin and reduce the effectiveness of your cleansing routine. Mark your calendar or set a reminder to replace your brush head seasonally. This simple step ensures your brush remains hygienic and gentle on your skin.
- Replace brush heads every 3-4 months.
- Watch for signs of wear like fraying or discoloration.
- Set a reminder to change your brush head regularly.
Step-by-Step Cleansing Brush Maintenance
- Rinse after each use: Rinse the brush head under warm water and use a gentle cleanser to remove residue. Checkpoint: Make sure no visible product remains on the bristles.
- Air dry properly: Shake off excess water and place the brush upright to dry completely. Checkpoint: Never store a damp brush in a closed container.
- Deep clean weekly: Soak the brush head in a mixture of warm water and a few drops of gentle soap for 5-10 minutes. Checkpoint: Rinse thoroughly to avoid soap residue.
- Replace brush head every 3-4 months: Monitor for wear and replace the head to maintain effectiveness and hygiene. Checkpoint: Set a reminder to change it seasonally.
Support Your Skincare Routine with the Right Products
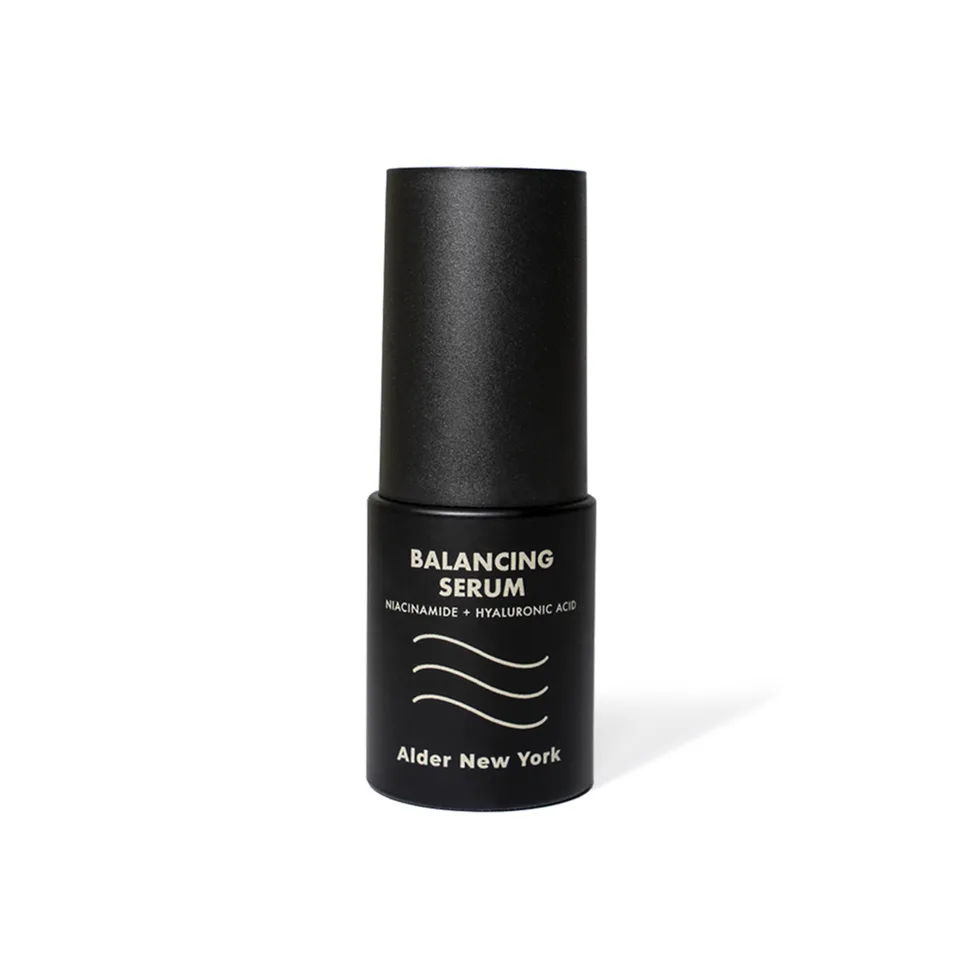
- Alder Balancing Serum: This oil-free daily clarifying serum is a flash-absorbing formula that is packed with active ingredients like 5% niacinamide and hyaluronic acid to reduce redness, control oil, and even skin texture. After using a clean brush, a balancing serum can help keep your skin calm and clear, especially if you're prone to irritation.
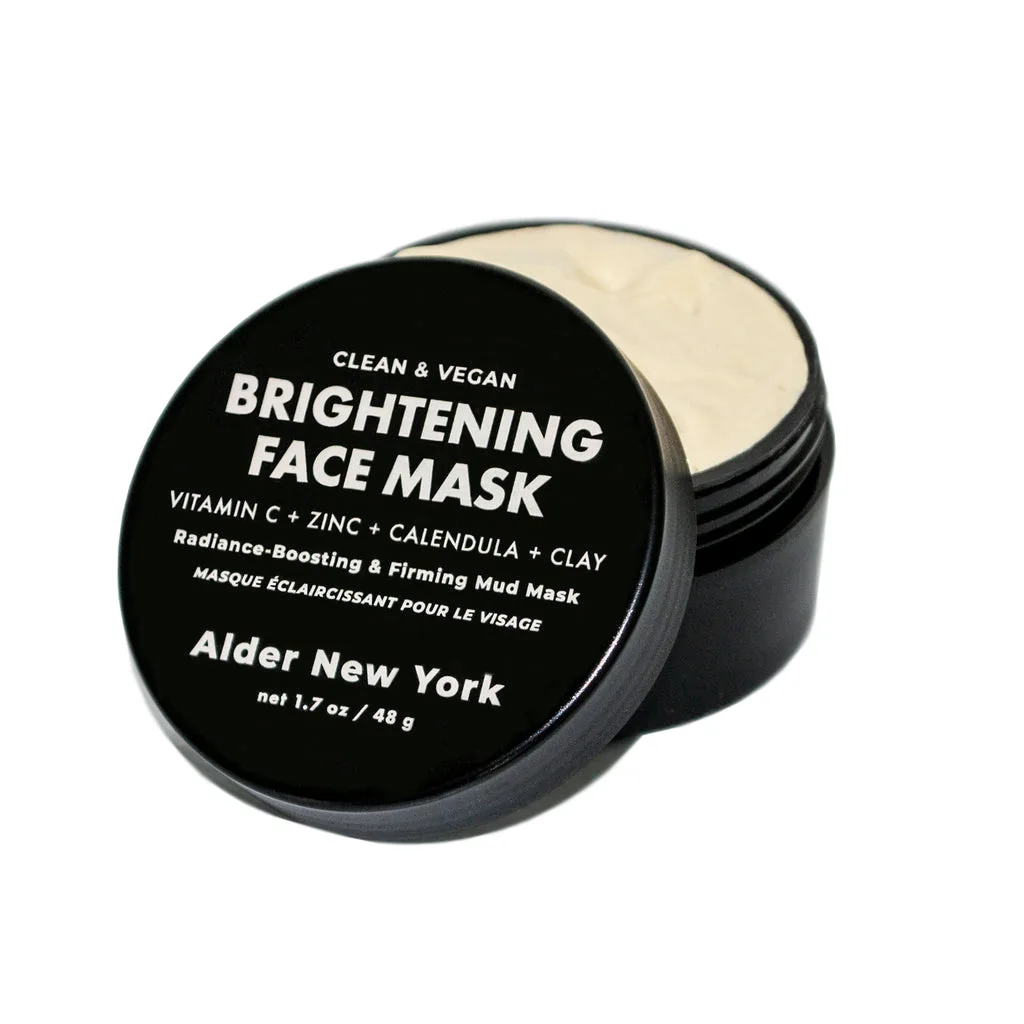
- Alder Brightening Face Mask: Alder's fragrance-free face mask is formulated with free radical-fighting vitamin C and mineral-rich kaolin clay to leave skin bright and toned. Use this mask after deep-cleaning your brush to give your skin a radiant boost while your brush dries.
Cleaning and maintaining your cleansing brush is a simple habit that protects your skin from bacteria and irritation. By following these steps, you'll keep your brush in top condition and your skin looking its best. Remember to clean daily, deep clean weekly, and replace the brush head regularly for a hygienic, effective skincare routine.