Quick answer
To clean and restore yellowed retro consoles, you'll need to disassemble the shell, clean it thoroughly, then apply a retrobright treatment using hydrogen peroxide and UV light. This process reverses the bromine oxidation that causes yellowing on ABS plastic. Always test a small hidden area first and avoid exposing internal electronics to moisture.
Why Retro Consoles Turn Yellow
The yellowing you see on classic consoles like the SNES or NES is caused by a chemical reaction in the ABS plastic. A flame retardant called bromine, mixed into the plastic during manufacturing, oxidizes when exposed to UV light and heat over decades. This turns the shell a yellowish or brownish color. The process is purely cosmetic and doesn't affect how the console runs, but it can make even a fully working system look worn out.
Not all plastics yellow equally. Consoles stored in direct sunlight or near heat sources will discolor faster. Some batches of plastic also have more bromine than others, which is why you might see one SNES shell that's deep yellow while another from the same year still looks gray. Understanding this helps you set realistic expectations: retrobright works best on lightly to moderately yellowed plastic, and heavily browned shells may not return to a perfect original shade.
What You'll Need for the Job
Before you start, gather the right materials. You'll need a set of game-bit screwdrivers (tri-wing and security bits for most Nintendo consoles), isopropyl alcohol (90% or higher), a soft toothbrush or microfiber cloth, hydrogen peroxide cream or liquid (12% or higher concentration), and a UV light source (sunlight or a UV lamp). A clear plastic container or zip-top bag works well for the retrobright soak. Also have a small container for screws and a clean workspace with good ventilation.
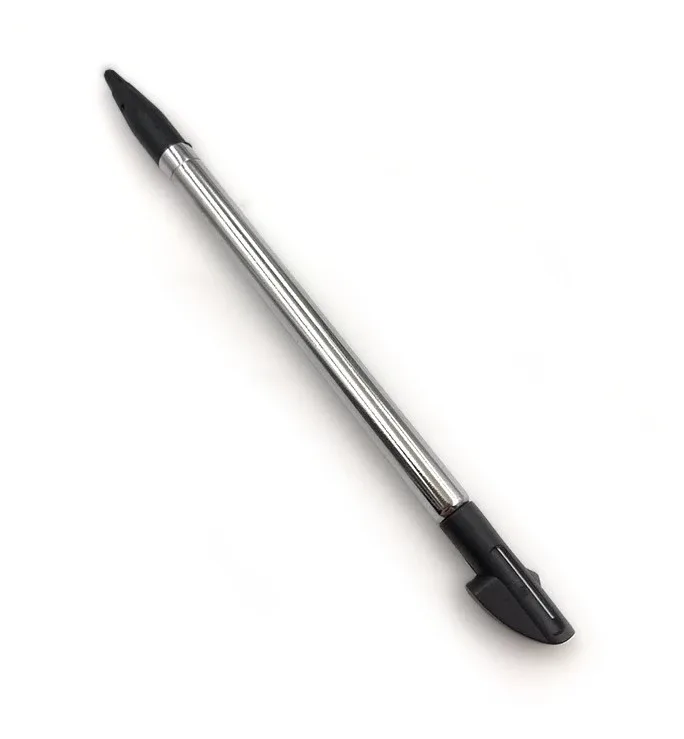
If you're working on a handheld like the Nintendo DSi or New Nintendo 3DS XL, the process is the same but the parts are smaller. A replacement stylus, such as the Plastic Stylus for Nintendo DSi or the Plastic Stylus for New Nintendo 3DS XL, can be a smart backup in case the original is lost or damaged during disassembly. These are inexpensive spares that keep your handheld usable while the shell is being treated.
Step-by-Step Restoration Process
Follow these steps carefully. Rushing or skipping cleaning will leave residue under the retrobright gel, causing uneven results. Always work in a well-lit area and keep track of every screw.
How to Retrobright Your Console Shell
- Disassemble and clean the shell: Remove all screws, separate the top and bottom halves, and take out any metal shields, LEDs, or rubber feet. Wash the plastic pieces with warm water and dish soap, then scrub gently with a toothbrush. Rinse and dry completely. Common mistake: leaving rubber or metal parts attached. They can block the retrobright gel or get damaged by peroxide.
- Apply hydrogen peroxide gel or liquid: Coat the yellowed plastic evenly with 12% hydrogen peroxide cream (often sold as hair developer) or submerge the parts in liquid peroxide. For cream, paint it on with a brush and avoid air bubbles. For liquid, use a clear container so UV can reach all surfaces. Checkpoint: test a small hidden area first. Some plastics react differently, and you don't want to over-lighten a visible spot.
- Expose to UV light and monitor: Place the coated parts under direct sunlight or a UV lamp. Check every 30–60 minutes. The reaction can take 2–8 hours depending on peroxide strength, UV intensity, and how yellowed the plastic is. Rotate the parts for even coverage. Common mistake: leaving parts too long. Overexposure can make plastic brittle or cause uneven whitening. Stop when the color matches an unyellowed area.
- Rinse, dry, and reassemble: Wash off all peroxide residue with cool water and mild soap. Dry thoroughly with a lint-free cloth. Let the shell air-dry for an hour to ensure no moisture is trapped. Reassemble the console, being careful with screw torque to avoid cracking the restored plastic. Final check: if the yellowing returns after a few months, the bromine has migrated deeper. Repeat the process, but consider that some shells may never fully stabilize.
Handy Accessories for Your Restoration
- Plastic Stylus - Nintendo DSi: Keep your Nintendo DSi ready for action with this durable replacement stylus. Designed as a dependable spare for your handheld, it offers a comfortable, precise way to navigate menus, play games, and input text. While your DSi shell is being retrobrighted, the original stylus can be misplaced. Having a cheap backup means you won't have to pause your gaming session.
- Plastic Stylus - New Nintendo 3DS XL: Keep your New Nintendo 3DS XL ready for action with this durable plastic stylus. Designed as a reliable replacement for the original, it offers a comfortable and precise touch experience for navigating menus, playing games, and more. The New 3DS XL stylus is small and easy to lose during disassembly. A spare ensures you can still use your handheld while the shell parts are being treated.