Quick answer
Turn off and unplug the warmer, let the wax cool until it is firm but not rock-hard, then pop it out with a silicone spatula or by pressing gently on one edge. Wipe the bowl with a dry paper towel while it is still slightly warm, and never use water, knives, or abrasive scrubbers inside the warming dish.
Why cleaning between scents matters more than you think
Old wax left in the bowl burns off its scent oils first, so a fresh melt often smells weaker than it should. Leftover film can also mix two fragrances into a muddy scent that never quite clears. Cleaning the bowl after every two or three melts keeps throw strong and makes your warmer easier to maintain long-term.
The bigger risk is residue buildup on the heating element or bulb housing. If wax drips below the bowl, it can bake onto the warmer base and become very hard to remove without scratching the finish. A quick wipe now prevents a stubborn cleanup later.
What you need before you start
Gather a dry paper towel or two, a silicone spatula or plastic spoon, a cotton swab, and a little isopropyl alcohol for the outside of the bowl only. Skip metal utensils, abrasive pads, and glass cleaners, which can scratch or cloud the warming dish.
If your warmer uses a replaceable bulb, keep a spare on hand. A bulb that dims or flickers is a sign the warmer is not reaching full temperature, which makes wax removal harder and weakens scent throw.
How to remove wax without cracking the bowl
The safest window is when the wax has cooled to a soft solid, not fully hard. At that stage, press one edge with a silicone spatula and the wax usually releases in a single disc. If it is still liquid, you risk splashing hot wax; if it is fully cold and brittle, you risk chipping the dish.
For stubborn spots, place the bowl in the freezer for 10 to 15 minutes. The wax contracts and pops free with light pressure. Never pour melted wax down a sink drain, even with hot water running, because it will harden in the trap and cause a clog.
Reusing wax melts and warmer parts safely
You can reuse a cooled wax melt if it still has scent, but expect weaker throw on the second use. Break the disc into smaller pieces and use one piece at a time so the warmer does not overflow. Discard wax that has collected dust, pet hair, or wick debris.
Check the warmer cord and plug for fraying or heat damage each time you clean. If the base feels unusually hot to the touch or the scent smells like burning rather than fragrance, stop using it and replace the warmer rather than trying to repair it.
Step-by-step warmer cleaning routine
- Unplug and cool: Turn off the warmer and unplug it. Let the wax cool until it is firm but still slightly soft, about 15 to 20 minutes for most warmers. Checkpoint: never handle hot liquid wax or move the warmer while it is plugged in.
- Release the wax disc: Press one edge of the cooled wax with a silicone spatula or plastic spoon. If it resists, freeze the bowl for 10 to 15 minutes and try again. Common mistake: using a knife or metal tool, which can crack or scratch the warming dish.
- Wipe the bowl: Wipe the inside of the bowl with a dry paper towel while it is still slightly warm. For fragrance residue, dampen a corner of the towel with isopropyl alcohol and wipe again. Checkpoint: do not use water inside the bowl or submerge the warmer base.
- Clean the base and bulb area: Use a dry cotton swab to lift any wax crumbs from the base and around the bulb housing. Replace the bulb if it is dim or flickering. Common mistake: letting wax bake onto the base, which becomes very hard to remove later.
- Dry and reassemble: Let all parts return to room temperature and confirm they are completely dry before plugging the warmer back in. Next step: add one piece of wax at a time so the bowl never overflows.
Products that fit this routine
- Extra Large Wax Melts (Will be back in late Fall, products will melt in transit during warm weather): Extra Large Wax Melts come in a 5.6oz clamshell that lasts up to 100 hours in burn time. A longer-lasting melt means fewer wax changes and less frequent cleaning, so the bowl stays cleaner between scents.
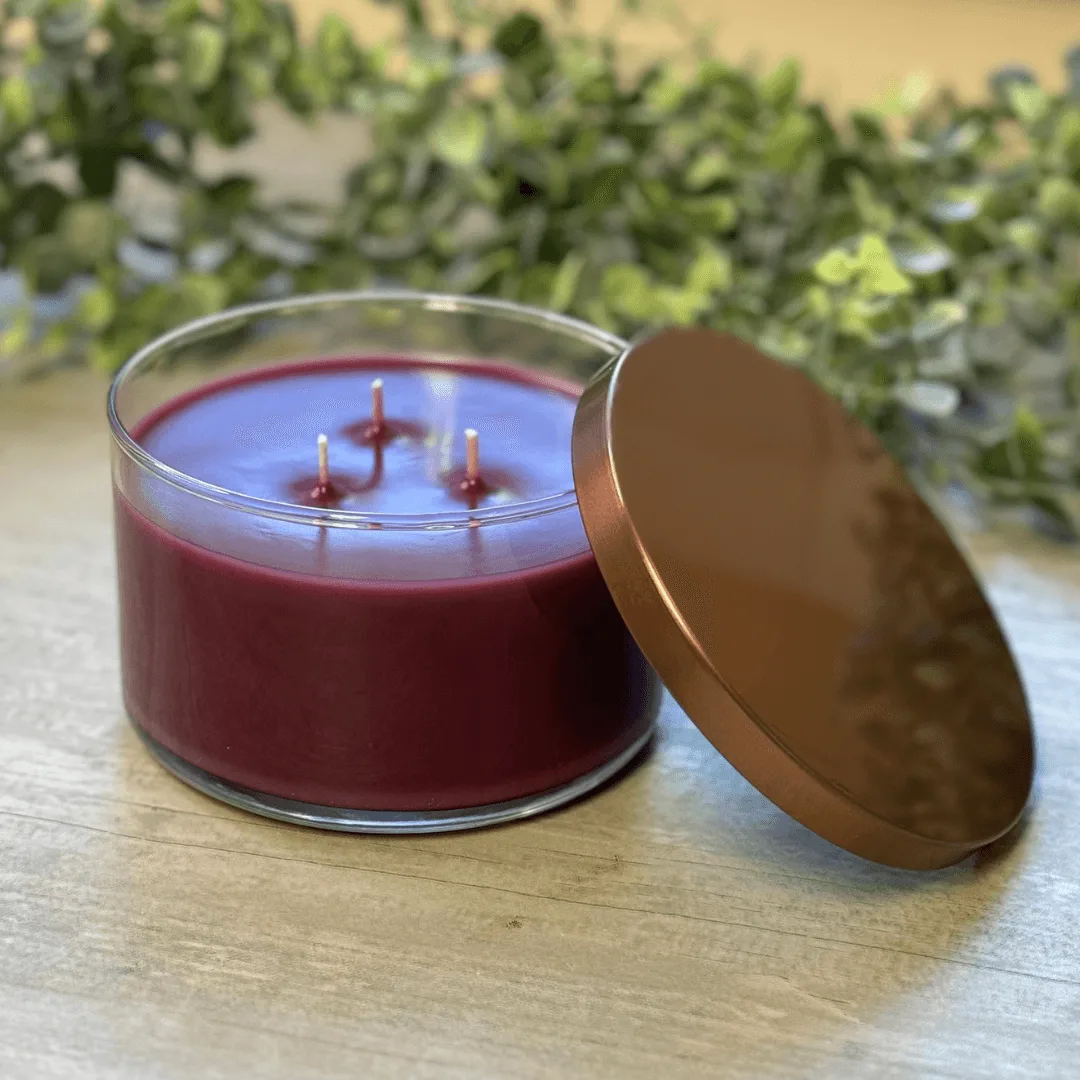
- Medium 3 Wick Candle (Will be back in late Fall, products will melt in transit during warm weather): Medium 3 Wick Candle instructions include trimming the wick to 1/4 inch before lighting and burning within sight. If you also burn candles nearby, those same wick-trimming habits keep soot and debris out of your warmer area and reduce cleanup.