Quick answer
Hand wash your nipple covers with mild soap and lukewarm water, then air-dry them sticky-side up on the original plastic liner before storing them in a clean, dry case.
Why proper care matters for adhesive nipple covers
Nipple covers rely on a thin adhesive layer to stay put under your favorite tops, tanks, or dresses. Dirt, oils, and lint from your skin gradually weaken that stickiness. A quick rinse after each wear removes these residues and keeps the adhesive tacky for dozens of uses.
The biggest mistake people make is using soap with moisturizers, fabric softeners, or alcohol. These ingredients can break down the adhesive or leave a film that prevents the cover from sticking. Stick to a gentle, fragrance-free soap and skip the dishwasher or washing machine entirely.
When to replace instead of clean
Even with the best care, adhesive nipple covers have a limited lifespan. Once the edges curl permanently, the cover won't lie flat under clothing. If the adhesive no longer holds after cleaning, or if the cover has visible cracks or tears, it's time for a fresh pair.
For example, the Intimately GG Nipple Covers in Tan are designed for reuse, but their 3.4-inch diameter and adhesive backing will eventually wear out. When you notice they no longer stay put after a thorough cleaning, replace them to avoid an embarrassing slip.
Step-by-step care routine
- Rinse with lukewarm water: Hold the nipple cover under a gentle stream of lukewarm water to remove surface oils and dust. Do not use hot water—it can soften the adhesive and cause it to shift or lose shape. Hot water is the fastest way to ruin the adhesive. Always test the temperature on your wrist first.
- Clean with mild, fragrance-free soap: Apply a drop of gentle hand soap or a dedicated toy cleaner to your fingertips. Gently rub both the adhesive side and the outer fabric side in a circular motion. Avoid scrubbing the adhesive too hard—it can peel or create uneven spots. Skip antibacterial or moisturizing soaps; they leave a residue that reduces stickiness.
- Rinse thoroughly and pat dry: Rinse both sides under lukewarm water until no soap remains. Gently pat the cover with a lint-free cloth or paper towel. Do not rub the adhesive side—rubbing can lift the adhesive or leave fibers behind. Lint from regular towels is a common culprit for lost stickiness. Use a microfiber cloth or let it air-dry instead.
- Air-dry sticky-side up on the original liner: Place the nipple cover on a clean surface with the adhesive side facing up. If you still have the original plastic liner, rest the cover on it to keep dust away. Let it air-dry completely for about 30 minutes to 1 hour before storing. Storing a damp cover traps moisture and breeds bacteria. Make sure it's 100% dry before the next step.
- Store in a clean, dry case away from heat: Once dry, press the cover back onto its original plastic liner or place it in a dedicated storage case. Keep the case in a cool, dry drawer away from direct sunlight, radiators, or bathroom humidity. Heat and moisture are the enemies of adhesive longevity. Avoid storing in the bathroom—steam from showers can soften the adhesive and cause premature curling.
Products mentioned
-
Intimately GG Nipple Covers in Tan: Intimately GG Nipple Covers in Tan are 3.4-inch adhesive covers designed for a seamless look under tees, tanks, and strapless dresses. Their reusable adhesive requires the same gentle cleaning routine described here to maintain stickiness and avoid premature wear.
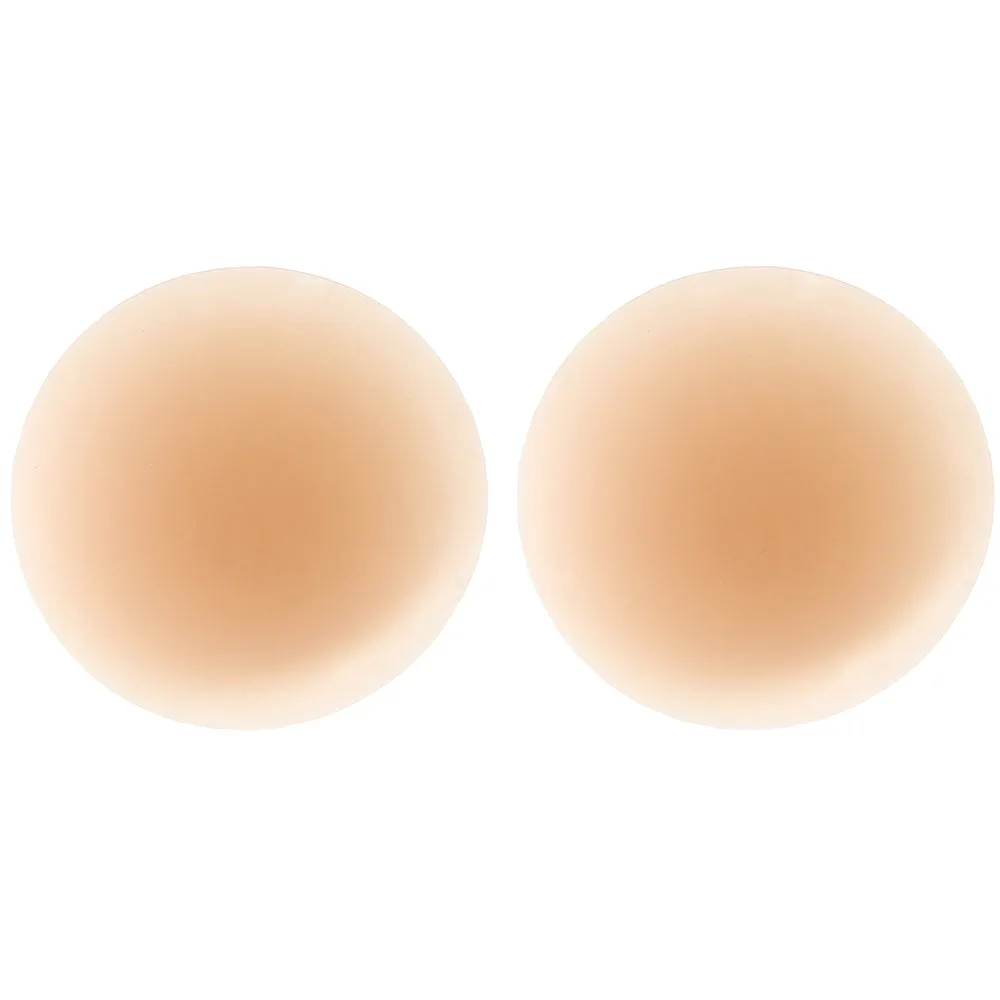
Intimately GG Nipple Covers in Tan