Quick answer
First, use a blower to remove loose dust. Then, if needed, wipe gently with a clean microfiber cloth or apply a few drops of lens cleaning solution to a cloth (never directly on the lens) and wipe in a circular motion. For UV filters, remove them from the lens before cleaning to avoid transferring grit.
Tools you actually need (and what to skip)
A basic lens cleaning kit should include: a rubber bulb blower, a soft brush (like a retractable lens brush), a microfiber cloth, and a lens cleaning solution. Skip compressed air (it can spit propellant), tissues (wood fibers can scratch), and rough cloths. For UV filters, the same tools work, but a filter wrench can help if it's stuck.
Step-by-step cleaning process
1. Blow away loose dust: Use a blower to remove particles. Hold the lens downward so debris falls away. 2. Brush gently: Use a soft lens brush to dislodge stubborn dust. 3. Wipe with microfiber: Breathe lightly on the lens (or use solution on cloth) and wipe in a circular motion. 4. For filters: Remove the filter, clean both sides, and let it dry before reattaching. 5. Final check: Look at the lens under a light at an angle to spot streaks.
Common mistakes that cause scratches
Using a dirty cloth, pressing too hard, cleaning dry grit, or spraying solution directly on the lens. Also, don't use the same cloth for the lens and the filter without cleaning it in between. If you drop a filter, check for cracks before reattaching.
Step-by-step lens cleaning
- Blow away loose dust: Use a rubber bulb blower to remove dust particles. Hold the lens facing down so debris falls away. Checkpoint: If you see dust remaining, repeat before moving to the next step.
- Brush gently: Use a soft lens brush to dislodge any stubborn dust. Use light strokes, no pressure. Mistake to avoid: Using a brush that has been stored dirty or has stiff bristles.
- Wipe with microfiber cloth: Breathe lightly on the lens or apply a few drops of lens cleaning solution to a microfiber cloth. Wipe in a circular motion from center to edge. Checkpoint: Inspect the lens under a light for streaks or remaining smudges.
- Clean UV filter separately: Remove the filter from the lens. Clean both sides with the same method. Let it dry completely before reattaching. Mistake to avoid: Reattaching a wet filter, which can trap moisture.
Product facts
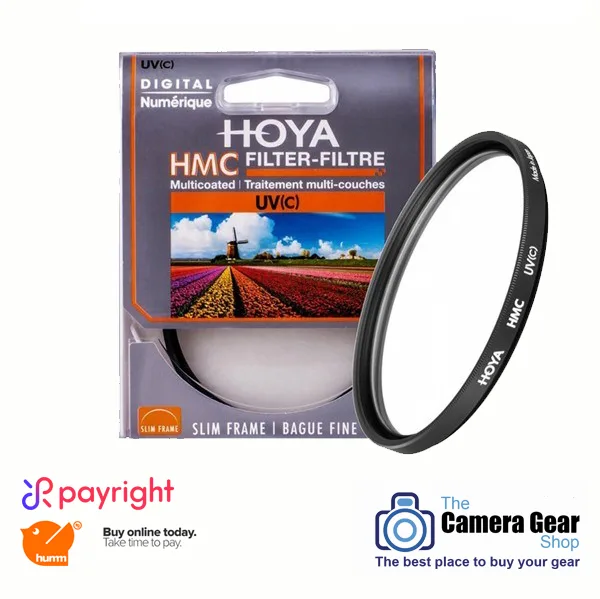
- Hoya HMC 72mm UV (C) Lens Filter: The Hoya HMC 72mm UV (C) Lens Filter is a clear filter that absorbs UV light and reduces the bluish cast of daylight, and can be left on lenses as a protective filter. A UV filter protects your front element from dust and moisture, and cleaning it is easier than cleaning the lens itself. This filter's multicoating requires gentle cleaning to avoid scratches.
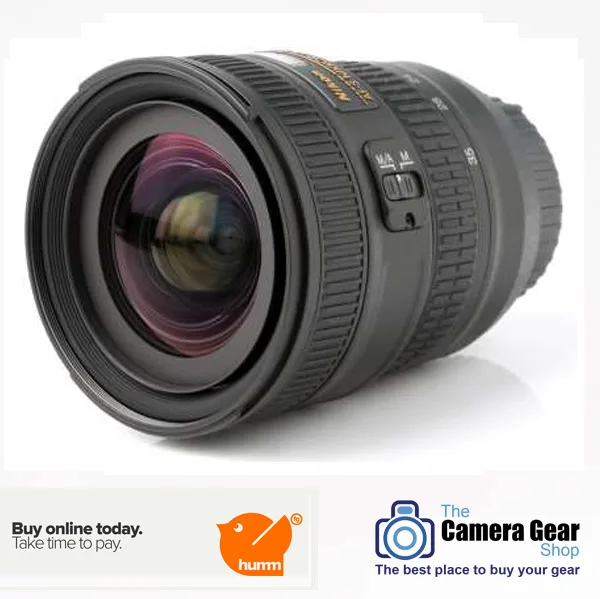
- Nikon AF-S 18-35mm f/3.5-4.5G ED Lens: The Nikon AF-S 18-35mm f/3.5-4.5G ED Lens is a versatile wide-angle to standard zoom for full-frame FX-format, well suited for travel and video. Wide-angle lenses like this have a large front element that is prone to smudges; regular cleaning with the right tools keeps images sharp.