Quick answer
Blow loose dust off first, then wipe only with a clean microfiber lens cloth and lens-safe solution. Never dry-wipe grit across the glass, and never use tissue, shirt fabric, or household cleaners. If you shoot often, keep a small camera lens cleaning kit in your bag and clean only when you actually see smudges or dust.
Most lens damage does not come from shooting. It comes from cleaning too often, with the wrong material, or before the grit is gone. A lens coating is thin, and dragging one hard particle across it leaves marks you cannot polish out.
This guide walks through the order that matters: remove dust from lens surfaces first, then deal with fingerprints and smudges, then store everything so the next clean is easier. It also covers when to leave the lens alone, which is more often than most photographers think.
Start with the least invasive method
A rocket blower removes loose dust without any contact with the glass. Hold the lens front-down and puff air across the surface so particles fall away instead of settling back on the element. Do this before you reach for any cloth, because a single grain of sand under a microfiber lens cloth is what actually scratches coatings.
If the blower clears everything, stop there. Many photographers clean far more than necessary, and every wipe carries a small risk. A few specks of dust on the front element rarely show in photos at all, especially at normal apertures.
- Checkpoint: if the glass looks clear under a light at an angle, you are done.
- Common mistake: blowing air with your mouth. Moisture and saliva residue are worse than the dust.
Remove stubborn dust and grit safely
For particles the blower will not shift, use a soft lens brush or a clean microfiber lens cloth used dry, with almost no pressure. Brush or sweep in one direction rather than scrubbing in circles, and lift the cloth away instead of dragging it back across the same spot.
If you can still feel grit, do not keep wiping. A lens pen with a fresh carbon tip or a second blower pass is safer than pressing harder. Pressure is what pushes a trapped particle into the coating.
- Common mistake: reusing a cloth that has been sitting loose in a bag pocket.
- Checkpoint: grit should come off with air or light brushing, never with force.
Tackle fingerprints, smudges, and moisture
Fingerprints need a liquid, not more friction. Apply one or two drops of lens cleaning solution to the microfiber cloth, never directly onto the lens, then wipe gently in a spiral from the centre outward. The cloth should be barely damp, not wet.
Work quickly and let the surface air-dry for a few seconds. If a smear remains, use a fresh section of the cloth rather than the same spot, since the first pass has already picked up the oil you are trying to remove.
- Common mistake: spraying solution onto the front element, which can seep past the barrel edge.
- Avoid alcohol-heavy or ammonia-based household cleaners on coated glass.
Build a small camera lens cleaning kit
You do not need much: a rocket blower, two microfiber lens cloths, a lens brush or lens pen, and a small bottle of lens-safe solution. Keep the cloths in a sealed pouch so they stay free of grit and oil from your bag.
Replace cloths once they look grey or hold a permanent smudge, and wash them without fabric softener if the manufacturer allows it. A dirty cloth is the most common cause of lens cleaning without damage turning into lens cleaning with damage.
- Two cloths let you use one for wet cleaning and keep one dry for polishing.
- Store solution upright and check the cap before it goes back in the bag.
Sensor and lens cleaning habits that protect your gear
Lens coating care tips matter most at the moment you change lenses. Point the camera body downward, work out of the wind, and keep the rear cap on the spare lens until the last second. This one habit cuts both lens dust and sensor dust dramatically.
Clean your sensor only when you see consistent spots in the same place at small apertures, and use a proper sensor swab rather than a lens cloth. If you are unsure, a professional clean costs far less than a scratched sensor filter.
- Checkpoint: test for sensor dust by shooting a plain bright surface at f/16 and checking for repeated dark spots.
- Never use the same cloth on a lens and a sensor.
The six-step lens cleaning routine
- 1. Inspect before you touch: Hold the lens at an angle under a light and decide whether there is anything worth cleaning. Dust you cannot see in a photo is not a problem to solve. Checkpoint: if it looks clear, put the cloth away.
- 2. Blow off loose particles: Use a rocket blower with the lens facing down, working across the whole element. This removes the grit that causes scratches. Common mistake: skipping this step and going straight to a cloth.
- 3. Brush what remains: Sweep a soft lens brush or dry microfiber cloth in one direction with almost no pressure to lift stubborn dust. Checkpoint: if you feel resistance, stop and blow again.
- 4. Wipe smudges with a damp cloth: Add one or two drops of lens solution to a clean microfiber cloth, never to the lens, then wipe gently in a spiral from the centre out. Common mistake: soaking the cloth, which leaves streaks and can seep into the barrel.
- 5. Polish dry and check: Use a dry section of the cloth for a final light pass, then re-inspect at an angle. Accept a faint mark rather than scrubbing at it. Checkpoint: stop cleaning once the image is unaffected.
- 6. Reset your kit: Return cloths to a sealed pouch, cap the solution, and replace any cloth that looks grey or oily before your next shoot. Next step: keep a blower and one clean cloth in every bag you use.
Gear notes from our catalogue
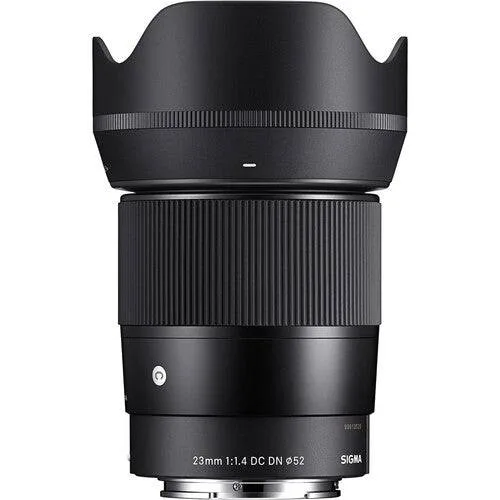
- Sigma 23mm F1.4 DC DN Contemporary: A compact, lightweight APS-C prime with an F1.4 aperture and an easy-to-use angle of view equivalent to roughly 35mm. A small everyday lens like this is the one most likely to get carried everywhere and cleaned often, so a blower-and-cloth routine pays off most here.
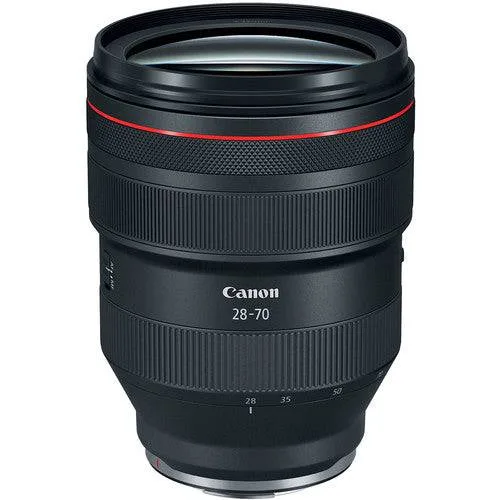
- Canon RF 28-70mm f/2L USM: A versatile f/2 zoom built to deliver prime-like image quality across its focal range at wide open aperture. Large, expensive front elements deserve the least-contact approach: blow first, wipe only when a smudge actually affects your images.
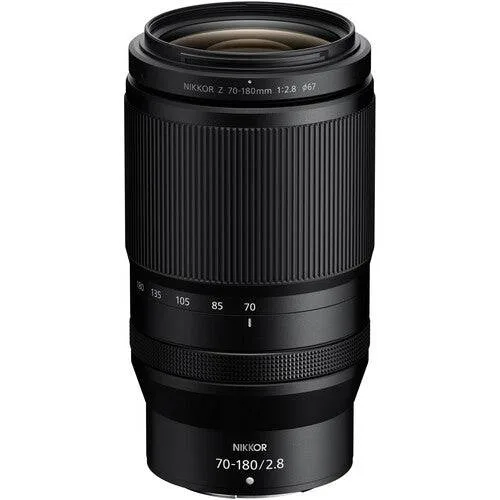
- Nikon NIKKOR Z 70-180mm F/2.8: A portable telephoto zoom weighing approximately 795g and measuring about 151mm long by 83.5mm in diameter. A lens this size travels in a bag, so store the cloth separately and cap the rear element to keep grit off both ends.
Cleaning a lens well is mostly about restraint: blow first, wipe rarely, and never drag grit across coated glass. Keep one clean cloth and a blower within reach, replace them when they wear out, and your lenses will stay clear for years.