Quick answer
Work from the top of the dashboard downward, loosen dust with a small brush, and use low-suction vacuum pressure so debris lifts out instead of falling deeper into the vent. For perforated or ventilated leather, use a cleaner made for those holes rather than a general-purpose spray. Finish with a vent clip air freshener only after the surfaces are clean and dry.
Why vent dust behaves differently from surface dust
Dashboard vents collect a mix of airborne dust, skin flakes, and sticky residue from interior plastics. The slats and directional vanes create narrow channels that trap debris, so wiping across the surface often pushes it further in. The goal is to lift material out of the channel, not scrub it sideways. That is why a small brush with stiff-enough bristles and a vacuum with controllable suction matter more here than a strong all-purpose cleaner.
Set up before you touch a vent
Park in shade and let the interior cool so cleaners do not flash-dry on plastic. Lower the windows slightly for ventilation, then remove floor mats and loose items so they do not collect the dust you are about to release. Keep a microfiber towel within reach to catch debris as it comes out of the vent.
Work in the right order
Clean the dashboard top, instrument cluster, and screen surround first, then the vents, then the lower console and footwells. Dust falls downward, so cleaning the vents before the upper dash means you will redo the vents. This order also keeps you from dragging upper-dash dust into the vent openings.
Handle perforated and ventilated leather separately
Perforated leather needs a different approach because the holes and channels can trap liquid and residue. A cleaner formulated for perforated and ventilated leather helps avoid clogging those small openings while still cleaning, conditioning, and protecting the surface. Apply it to a microfiber applicator or towel rather than spraying directly into the holes, then wipe with a clean dry towel. If the seat feels sticky, treat it before you move on to the vents so residue does not transfer to your brush.
Tools that reach without scratching
A small detailing brush lets you agitate vent slats, button gaps, and seat rails without forcing a towel into spaces it cannot fit. Soft bristles suit delicate trim and screen bezels; normal bristles give more bite on textured plastic and vent slats. Pair the brush with a vacuum crevice tool and a microfiber towel. When a surface has an unknown finish or an unusually delicate coating, test the brush in a hidden area first.
Step-by-step vent and crevice cleaning
- 1. Blow loose dust out with low-pressure air: Use an air blower or a vacuum on blow setting at low pressure, aiming along the vent slats rather than straight into the duct. Common mistake: full-pressure air drives dust deeper into the duct and across the dashboard. Checkpoint: if dust is flying onto clean surfaces, reduce pressure and work in shorter passes.
- 2. Vacuum with a crevice tool before brushing: Run a vacuum crevice tool along the vent opening and the gap between the vent housing and dashboard. Keep suction moderate so the tool does not seal against the slats and stall. Common mistake: skipping this step and brushing dry dust into the cabin. Checkpoint: the vent opening should look visibly free of loose debris before you introduce any liquid.
- 3. Agitate the slats with a small detailing brush: Work the brush along each slat and around the directional vanes, using a Soft bristle brush on delicate trim or a Normal bristle brush on textured plastic. Common mistake: scrubbing side to side across the vent, which pushes debris into the duct. Checkpoint: brush with the slat direction, not against it.
- 4. Wipe the surrounding dashboard and controls: Dampen a microfiber towel with a small amount of interior cleaner and wipe the dashboard, screen bezel, and button surrounds. Common mistake: spraying cleaner directly at the vent, which sends liquid into the duct. Checkpoint: the towel should be damp, not wet.
- 5. Clean perforated leather with a dedicated product: Apply VentRight Perforated Leather Cleaner to an applicator or towel and work it into the perforated surface, then wipe dry. Common mistake: soaking the leather so cleaner sits inside the holes. Checkpoint: the surface should feel dry to the touch, not tacky, before you move on.
- 6. Finish the tight spaces you missed: Use the same small brush on seat rails, console seams, door pockets, and around the gear selector. Common mistake: rushing these areas after the vents and leaving sticky residue behind. Checkpoint: run a clean towel over each area to confirm no residue transfers.
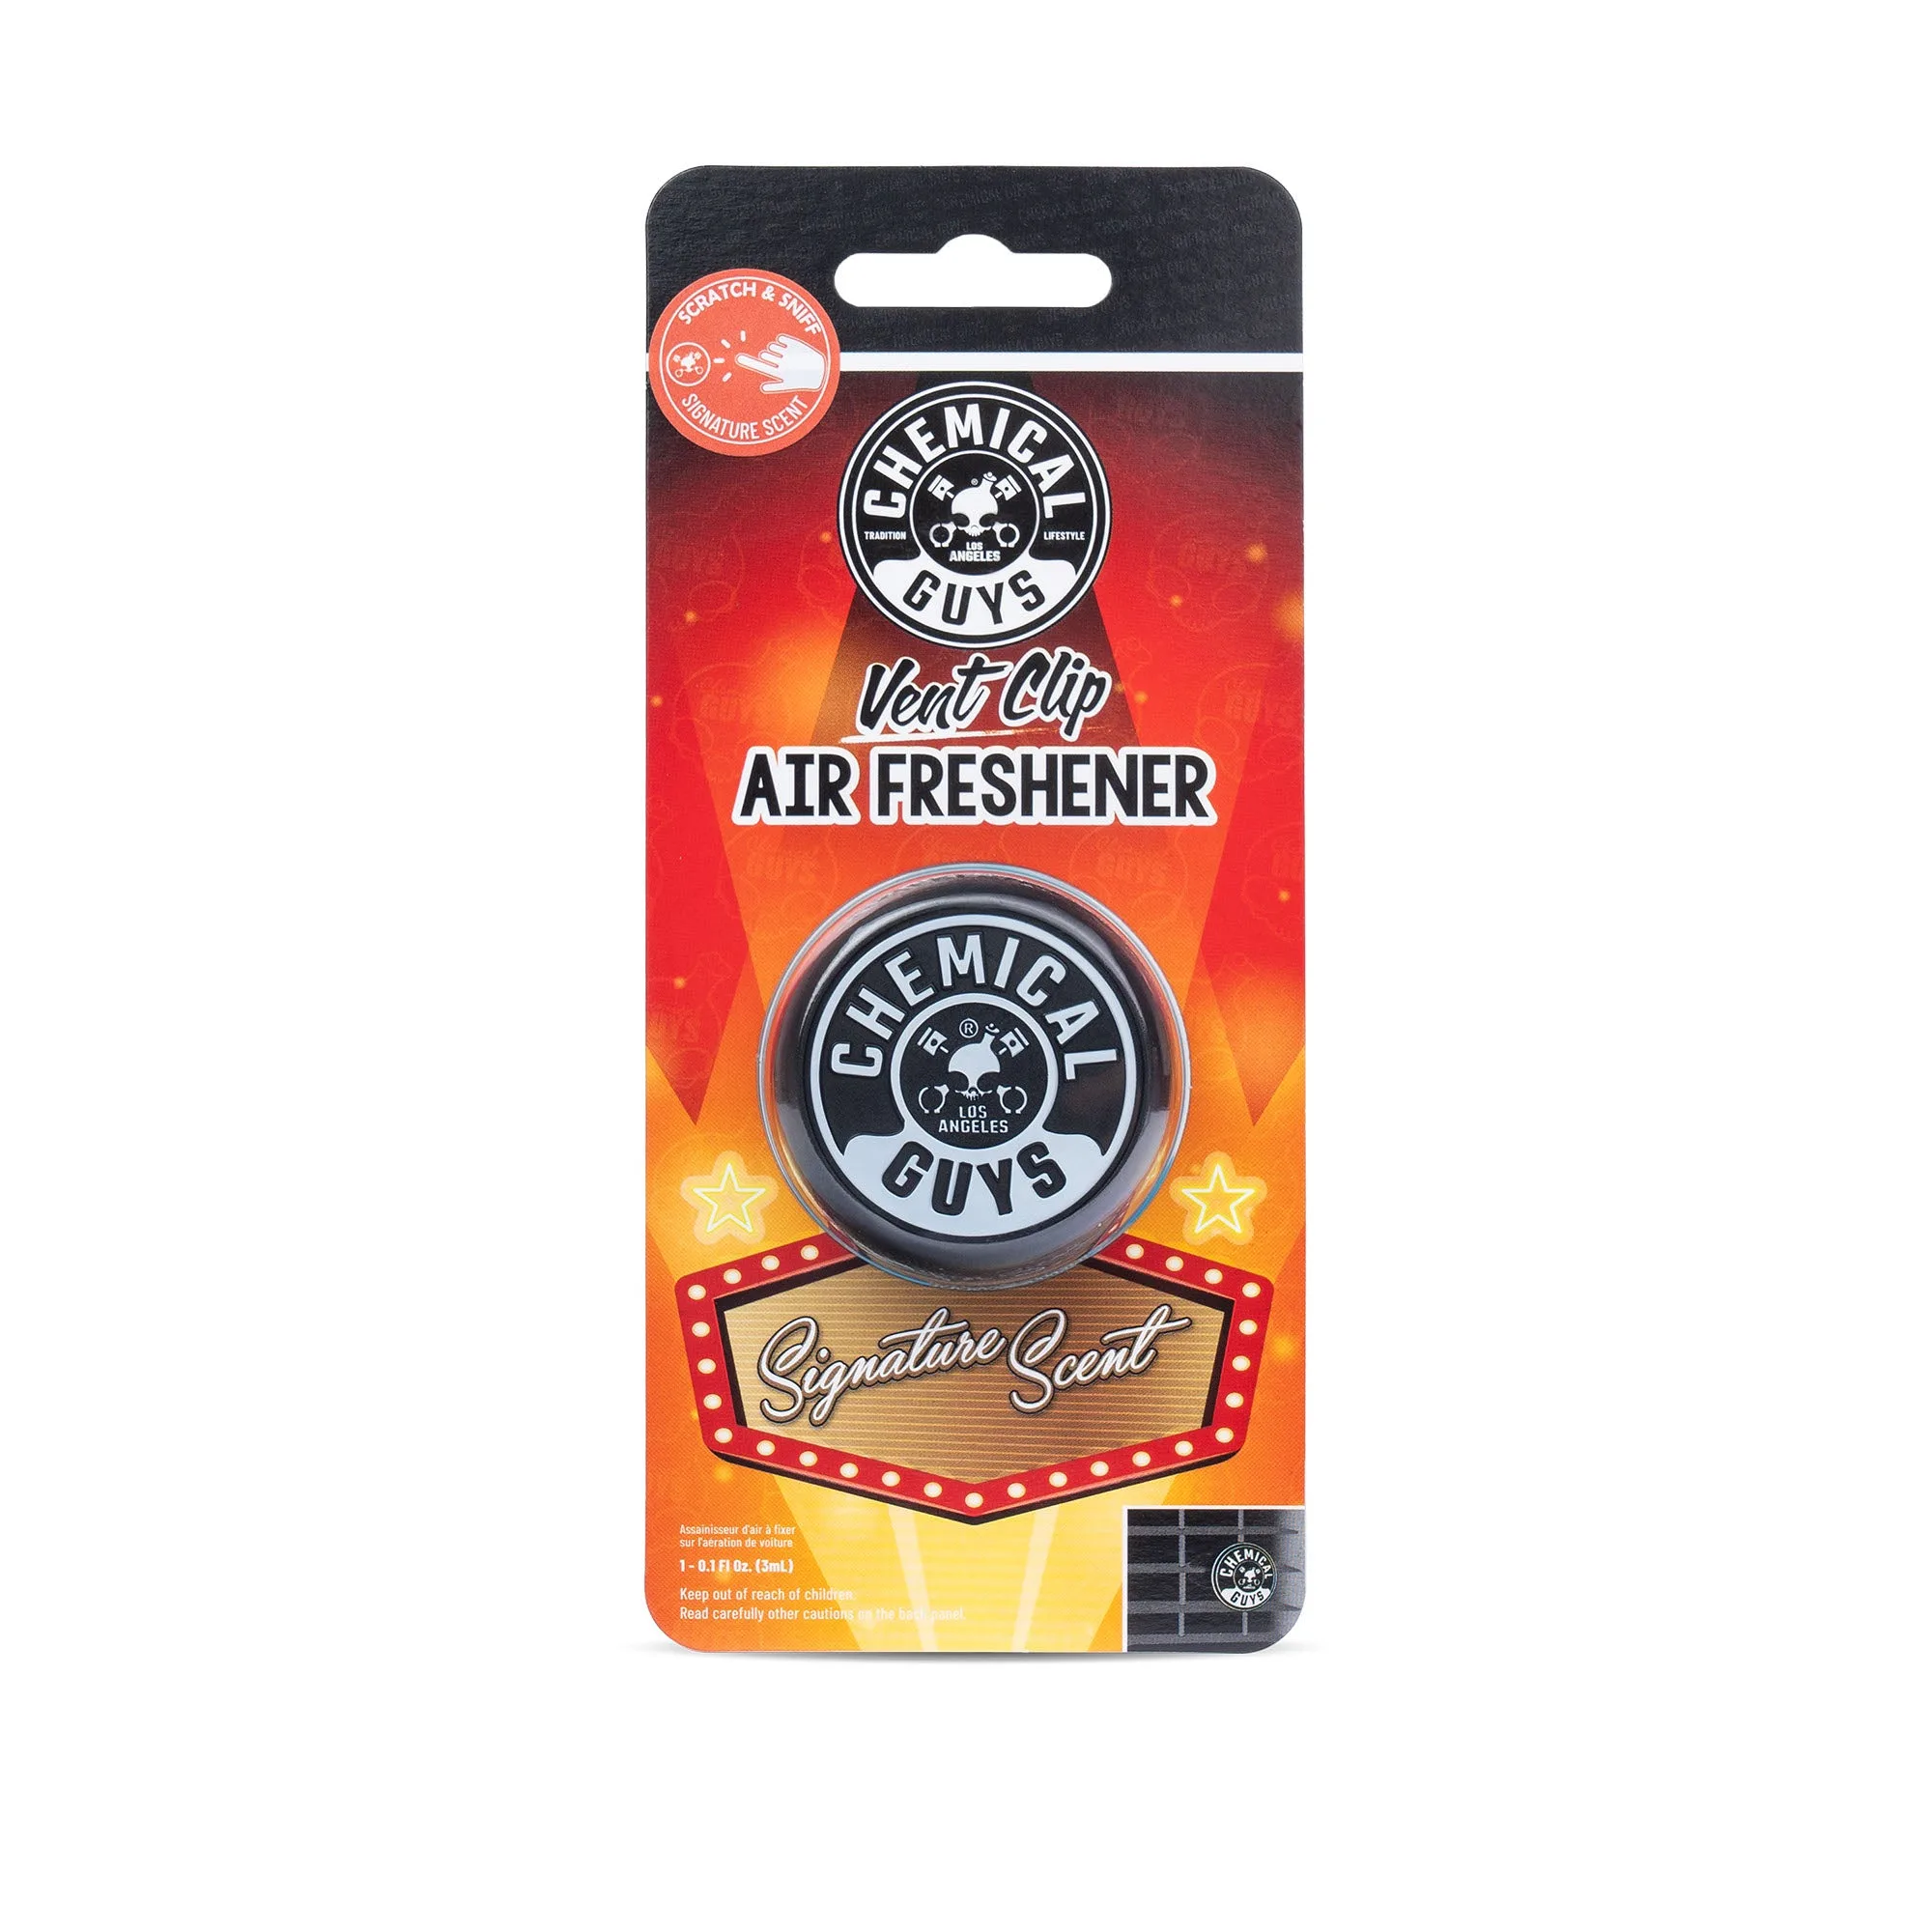
- 7. Add a vent clip freshener last: Clip the Galactic Vent Clip Air Freshener onto a clean, dry vent slat. Common mistake: clipping it onto a damp vent or using it to cover a musty smell that cleaning should address. Checkpoint: if odor returns quickly, the source is likely in the cabin air filter or upholstery, not the vent.
Products that fit this process
- Boar's Hair Detailing Brush: Boar's Hair Detailing Brush is available with Soft or Normal bristles and is designed to reach nooks and crannies with precision. Soft bristles are the safer starting point for delicate trim and screen surrounds, while Normal bristles give more agitation on textured vent slats and plastic gaps.
- VentRight Perforated Leather Cleaner: VentRight Perforated Leather Cleaner is formulated to clean, condition, and protect perforated and ventilated leather while helping avoid clogging the small holes and channels in natural, faux, and vegan leather, with UV protection to help prevent cracking and fading. If your seats or door panels have perforated leather, this is the cleaner to use before you move on to the vents, because it is designed for the holes rather than against them.
- Galactic Vent Clip Air Freshener: Galactic Vent Clip Air Freshener has a crisp, woodsy scent and clips into a vent. Use it after cleaning and drying the vent, not before, so you are not masking dust or trapping moisture behind the clip.