Quick answer
Clean your grinder and dripper weekly, rinse everything that touches brewed coffee after every use, and descale or deep clean monthly. The routine matters more than the products: consistent, gentle cleaning protects flavor and equipment far better than occasional heavy scrubbing.
Coffee oils and fine particles build up on every surface they touch, and that residue turns rancid over time. If your coffee tastes flat, bitter, or oddly savory despite good beans, dirty equipment is often the culprit. A simple recurring routine keeps flavors clean without turning your kitchen into a lab.
This guide walks through an ordered coffee equipment care routine, from daily rinses to monthly deep cleans. Each step includes the mistake that most often undoes the work, so you can check your process as you go.
What you need before you start
You do not need a cabinet of specialty cleaners. Warm water, a mild unscented dish soap, a soft bottle brush, a small grinder brush, and a microfiber cloth cover most tasks. For espresso machines, add a descaler appropriate to your machine's manual and a group head brush.
Avoid scented soaps, abrasive pads, and bleach on any surface that contacts coffee. Residue from those products lingers and shows up in the cup. If a manufacturer specifies a cleaning product for your machine, follow that guidance over general advice.
- Keep a dedicated small brush with your grinder so you actually use it.
- Check your machine manual for approved descalers before buying one.
Why residue changes how coffee tastes
Roasted coffee contains oils that coat burrs, baskets, and carafes. Those oils oxidize and go stale, and stale oil transfers into every subsequent brew. In grinders, buildup also affects how grounds move through the chamber, which can throw off consistency.
The fix is frequency, not force. Light, regular cleaning removes oils before they polymerize into a hard film. Once that film forms, you need stronger methods, and those methods carry more risk to coatings and seals.
- If your grinder smells like old coffee, the burrs are overdue.
- A sour or cardboard note in a fresh bag often points to dirty gear, not the beans.
Daily and weekly habits that prevent most problems
Rinse anything that held brewed coffee as soon as you finish drinking it. A quick rinse takes seconds; dried coffee residue takes scrubbing. Wipe the drip tray and knock box area weekly so old grounds do not sit and mold.
For pour over, rinse the dripper and carafe with hot water after each brew. Once a week, wash them with mild soap and a soft brush, paying attention to the ridges and the area under the rim where oils collect. This is the core of coffee gear cleaning: small, frequent actions.
- Do not leave a wet dripper sitting on a sealed countertop; airflow prevents musty smells.
- Rinse the carafe before the residue dries, not after.
How to clean a coffee grinder without damaging it
Unplug the grinder and empty the hopper. Brush out loose grounds from the burr chamber with a small brush, following the manufacturer's disassembly instructions if they allow it. For most burr grinders, a dry brush and a few passes of uncooked white rice or a dedicated grinder cleaning tablet are enough, but only if the manual permits it.
Never pour water into a grinder or submerge any part that houses electrical components. If your grinder allows removable burrs, wash only those parts that the manual says are washable, and dry them completely before reassembly.
- Common mistake: running rice through a grinder that the manual says not to, which can jam the burrs.
- Checkpoint: after cleaning, run a small dose of beans and discard it to clear any residue.
How to clean a pour over dripper and carafe
Hand wash ceramic, glass, and plastic drippers with warm water and mild soap. Use a soft brush on the interior ribs; a sponge often misses the grooves where oils cling. Rinse thoroughly, because soap residue will show up in the next cup.
If your dripper uses paper filters, replace the filter each brew and compost or discard it. For metal filters, scrub with a soft brush and mild soap, then rinse until the water runs clear. Do not put hot glass directly into cold water, since thermal shock can crack it.
- Common mistake: using the same sponge you use for greasy dishes.
- Checkpoint: the dripper should smell like nothing when clean.
Filters, mugs, and small parts
Paper filters are single use; there is nothing to clean. Reusable metal and cloth filters need rinsing after every brew and a weekly soap wash. Cloth filters should be boiled occasionally if the manufacturer allows it, then rinsed and dried fully.
Mugs and travel cups collect oils and milk residue on the rim and lid gaskets. Wash them with mild soap and a bottle brush, and pull apart any removable gaskets so they dry completely. A mug that smells sour after washing usually has residue trapped in a seam.
- Checkpoint: run a finger inside the mug rim; if it feels slick, wash again.
- Let all parts air dry fully before reassembling.
Monthly deep clean and descaling
Once a month, do a deeper pass: soak removable metal and glass parts in warm soapy water, scrub seams and threads, and clean under appliance edges. For espresso machines, follow the manual's descaling schedule and use only the descaler it specifies.
If you use a kettle, descale it when you see chalky buildup, following the kettle manufacturer's instructions. Rinse everything several times after descaling, then brew and discard one round before drinking.
- Common mistake: mixing descalers or using vinegar when the manual forbids it.
- Checkpoint: after descaling, the water should taste neutral, not sharp or salty.
Your ordered coffee cleaning routine
- Step 1: Rinse after every brew: As soon as you finish a cup, rinse the dripper, carafe, and mug with hot water. This removes most oils before they dry. Checkpoint: no visible film or slick feel on the surface.
- Step 2: Wash contact surfaces weekly: Once a week, wash the dripper, carafe, mug, and reusable filter with mild unscented soap and a soft brush, then rinse thoroughly. Common mistake: skipping the ridges and seams where oils hide.
- Step 3: Brush out the grinder weekly: Unplug the grinder, empty the hopper, and brush loose grounds from the burr chamber according to the manual. Never add water. Checkpoint: the grinder should smell neutral, not like old coffee.
- Step 4: Deep clean and descale monthly: Soak removable parts, clean appliance edges, and descale espresso machines or kettles using only the products their manuals specify. Common mistake: using vinegar or mixed descalers when the manual forbids it.
- Step 5: Dry and reassemble fully: Let every part air dry completely before putting it back together, especially gaskets, lids, and burr assemblies. Checkpoint: reassemble only when no moisture remains in seams or threads.
Equipment notes that affect cleaning
- Dwell Dripper Filter Pack: Features 90 white paper filters in a flat-bottomed shape, thoughtfully designed to stay suspended within the Dwell to maximize its free-flowing brew method. Because these are single-use paper filters, there is nothing to scrub; replace the filter each brew and focus cleaning on the dripper itself.
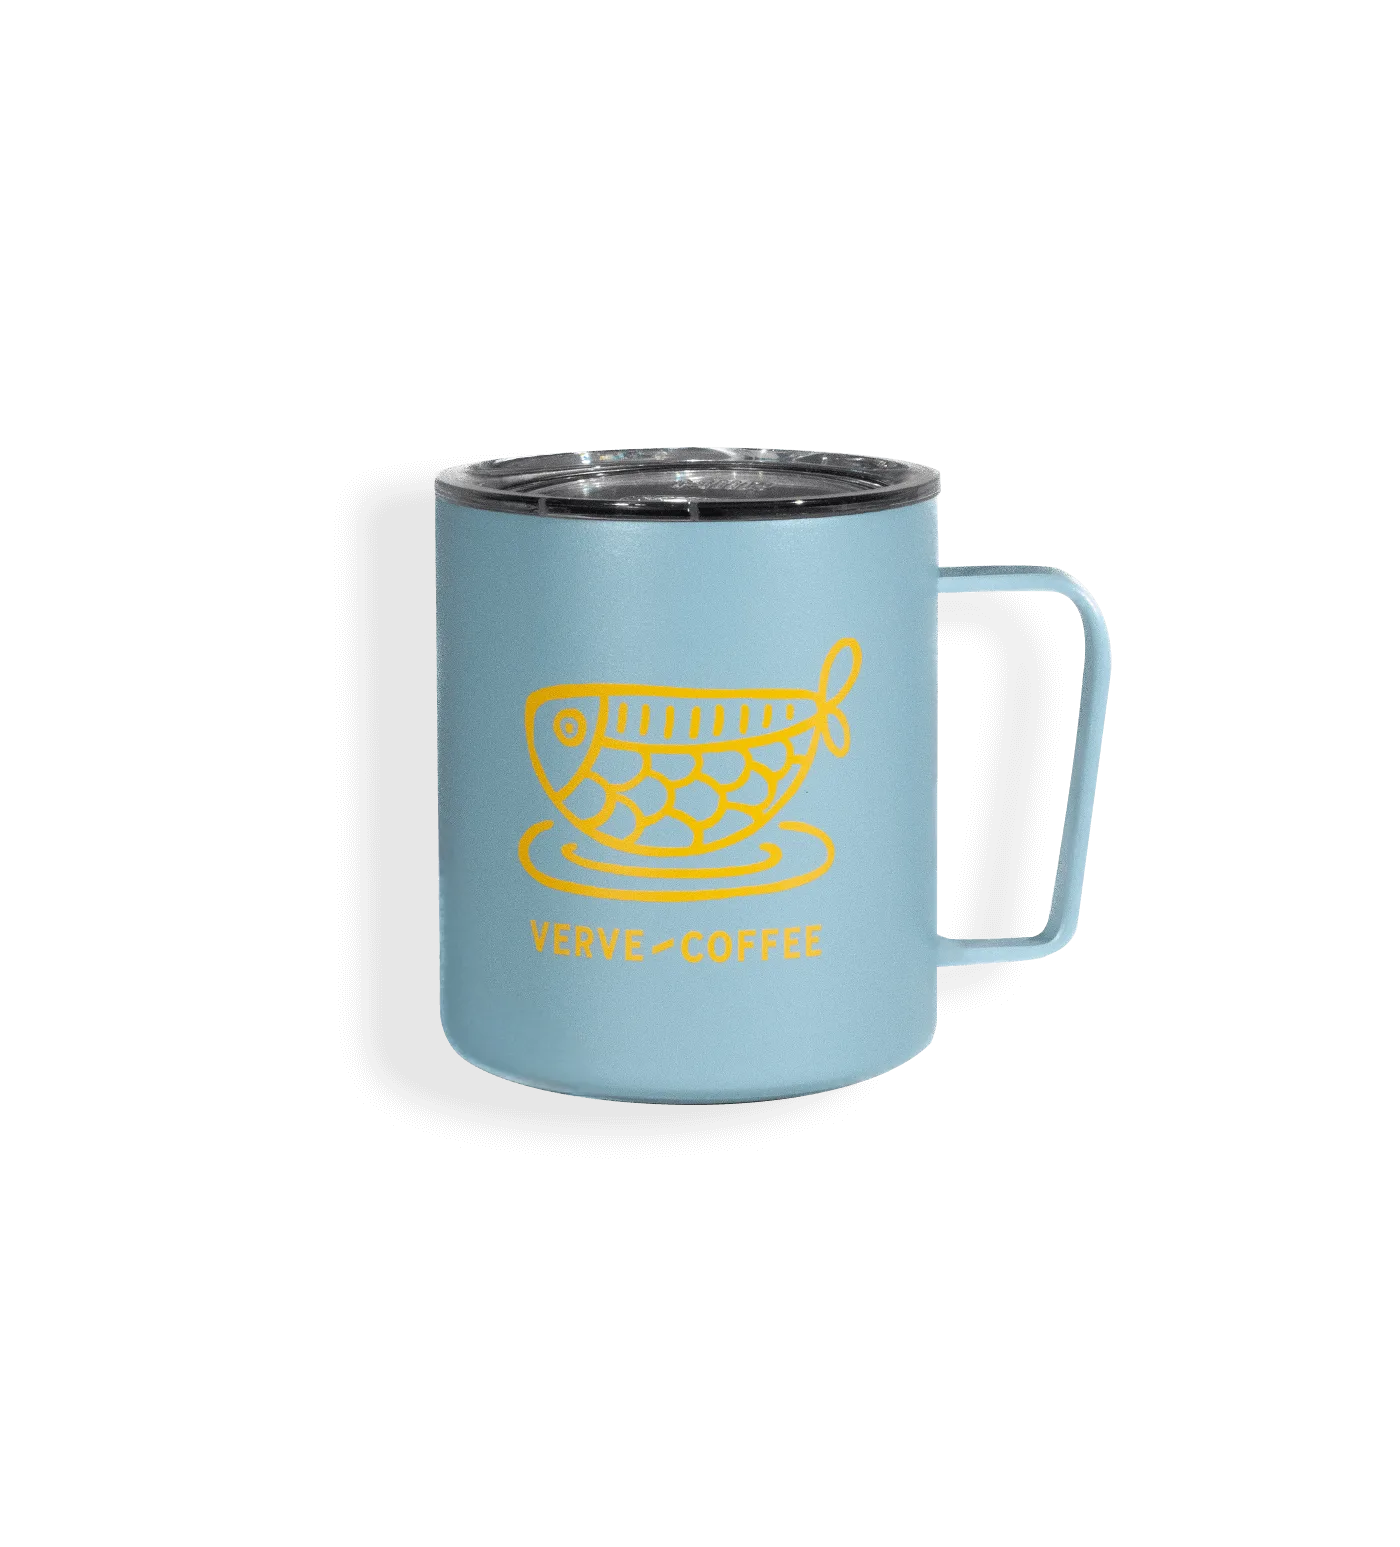
- Good Catch Mug: This 12-ounce insulated Miir mug has a durable stainless-steel build and soft matte finish, and is BPA-free. Stainless steel handles daily washing well, but the matte finish and any lid gaskets need gentle soap and thorough drying to avoid trapped residue.
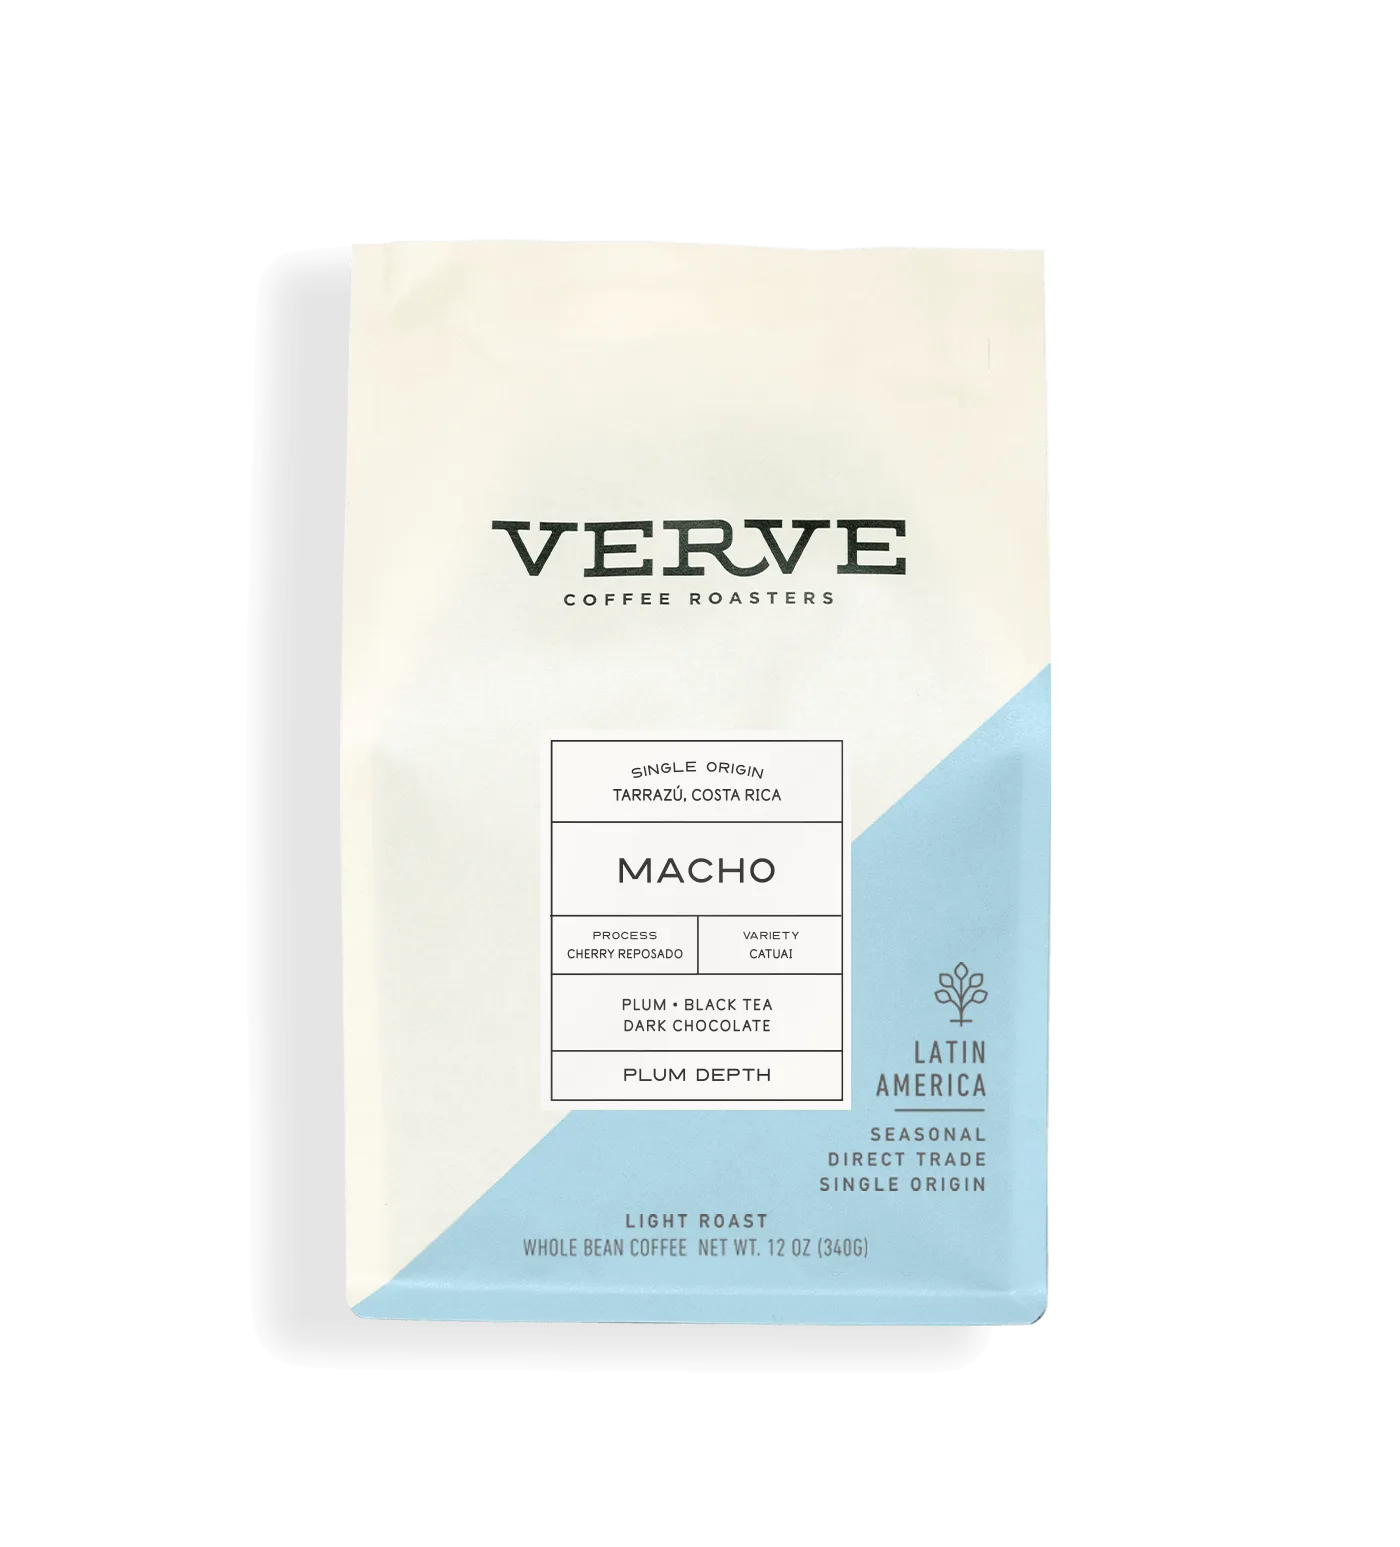
- Costa Rica Macho: Each coffee is roasted to order and orders ship within 2 business days. Freshly roasted coffee is most vulnerable to stale equipment oils, so cleaning your grinder and brewer right before a new bag arrives protects the flavors you paid for.
A five-step routine takes a few minutes a week and protects both flavor and equipment. Start with the daily rinse and weekly wash, then add the monthly deep clean once the habit sticks. Your next bag of coffee will taste noticeably cleaner for it.