Quick answer
Clean your Cambridge Satchel leather in two stages: dry brush or wipe away loose dust first, then treat only the soiled areas with a lightly damp cloth and a mild leather cleaner. Once the leather is fully dry, apply a thin layer of leather conditioner with a soft cloth, let it absorb, and buff off any excess. Work in small sections, spot test first, and never soak the leather or dry it with heat.
Cambridge Satchel bags are made from real leather, so they respond well to a simple, regular routine rather than an occasional deep clean. Most of the work is prevention: removing dust before it works into the grain, keeping the leather supple, and storing the bag so it holds its shape.
The steps below apply whether you are cleaning a structured patent finish or a softer grained leather. Because the catalog does not list a specific finish or care product for every style, always check the leather type on your own bag and spot test anything you plan to use.
What you need before you start
Gather a soft horsehair brush or a clean, lint-free cloth, a second cloth for damp wiping, a mild leather cleaner, and a leather conditioner. Avoid paper towels, abrasive sponges, and household cleaners, which can scratch the grain or strip the finish. If your bag has hardware, a dry soft cloth for the metal keeps the process tidy.
Work on a clean, dry surface away from direct sun and heat. Leather is easier to handle when the bag is empty, so remove everything from the interior pockets first. If the bag has a strap, unclip it so you can lay the body flat and reach the corners and gussets.
- Use two cloths: one for cleaning, one for conditioning, so you never cross-contaminate products.
- Keep a small dish of clean water nearby rather than running the bag under a tap.
Step 1: Dry-clean loose dust and debris
Start dry. Brush or wipe the entire bag, including the seams, gussets, and the underside of the flap, to lift dust and grit before it becomes mud. Pay attention to the corners, where dirt collects and where abrasion shows first. This step removes most of what makes a bag look tired.
If you use a brush, use light strokes in one direction rather than scrubbing back and forth. For smooth leather, a soft cloth is usually enough. Do not press hard on hardware or on any printed or embossed detail.
- Common mistake: skipping the dry step and going straight to a damp cloth, which turns surface dust into a smear.
Step 2: Spot test before you clean
Choose an inconspicuous area, such as the inside of the strap or the back of the bag, and apply a tiny amount of your cleaner on a cloth. Wait a few minutes and check for colour transfer, darkening, or a dulled finish. If the leather looks unchanged once dry, continue with confidence.
This matters most on patent and high-shine finishes, where some cleaners leave streaks, and on pale colours, where any residue shows immediately. The catalog describes some styles as patent and others as grained or Saffiano leather, so the finish on your bag should guide how gentle you are.
- Checkpoint: if the test patch looks worse than the surrounding leather, stop and use only a damp cloth instead.
Step 3: Clean with a damp cloth and mild cleaner
Dampen your cloth, wring it out so it is barely wet, and add a small amount of mild leather cleaner if needed. Wipe the leather in small circles, working one panel at a time, and rinse the cloth as it picks up dirt. Never pour cleaner directly onto the bag or let water pool in seams.
For stubborn marks, repeat with a fresh damp cloth rather than scrubbing harder. Leather is skin: friction and excess moisture are what cause dullness, cracking, and colour loss over time. When you finish a panel, wipe it once with a clean damp cloth to remove residue.
- Common mistake: soaking the leather to speed up cleaning. A barely damp cloth is always the right target.
Step 4: Air-dry completely
Let the bag dry naturally at room temperature, away from radiators, hairdryers, and direct sunlight. Heat dries leather too quickly and can stiffen or crack it. If the bag is misshapen while damp, gently reshape it and stuff the interior with clean tissue or a soft cloth to hold the form.
Drying can take several hours, especially around the gussets and under the flap. Do not condition while the leather is still cool or damp to the touch; trapped moisture under conditioner is a common cause of musty smells and mildew.
- Checkpoint: the leather should feel dry and room-temperature before you move to conditioning.
Step 5: Condition in thin layers
Put a small amount of leather conditioner on a soft cloth and work it into the leather in thin layers, covering the panels evenly but lightly. Let each layer absorb for a few minutes before deciding whether the leather needs more. A little conditioner goes a long way, and over-application leaves a greasy film that attracts dust.
Conditioning keeps the leather supple and helps it resist drying and cracking, which matters most on structured bags that are used daily. If your bag has a patent or high-shine finish, use a product intended for that finish or condition very sparingly, since shine can dull under a heavy cream.
- Common mistake: applying conditioner to a dirty bag, which pushes grit into the grain instead of protecting it.
Step 6: Buff and store correctly
After the conditioner has absorbed, buff the leather with a clean, dry cloth to remove excess product and bring back an even surface. Let the bag sit for a short while before using it, so the conditioner has time to settle. Then store it in its dust bag, stuffed lightly to keep its shape, away from damp walls and direct light.
Storage is where most long-term damage happens. A bag crushed under others creases permanently, and a damp cupboard encourages mildew. Rotate your bags rather than leaving one in a heavy daily rotation, and recondition every few months if the leather starts to feel dry.
- If your bag came with a protective dust bag, use it; it keeps dust off and reduces scuffing in storage.
Your six-step leather care routine at a glance
- Clear the bag: Empty every pocket, unclip the strap, and work on a clean, dry surface away from sun and heat. Checkpoint: an empty bag lets you reach gussets and corners without stretching the leather.
- Dry-brush first: Use a soft brush or lint-free cloth to lift dust and grit from seams, corners, and under the flap. Common mistake: skipping this step and smearing dust into the grain with a damp cloth.
- Spot test: Apply a little cleaner to a hidden area and wait a few minutes to check for colour transfer or dulling. If the patch looks worse, switch to plain water on a barely damp cloth.
- Clean lightly: Wipe small sections with a wrung-out damp cloth and a mild leather cleaner, rinsing the cloth as it picks up dirt. Never soak the leather or pour cleaner directly onto the bag.
- Air-dry fully: Let the bag dry at room temperature, reshaping it and stuffing it lightly if needed. Checkpoint: no heat, no direct sun, and no conditioning until the leather is dry to the touch.
- Condition and store: Apply conditioner in thin layers, buff off the excess, then store the bag in its dust bag, lightly stuffed. Recondition every few months if the leather starts to feel dry or stiff.
How a few Cambridge Satchel styles shape your care routine
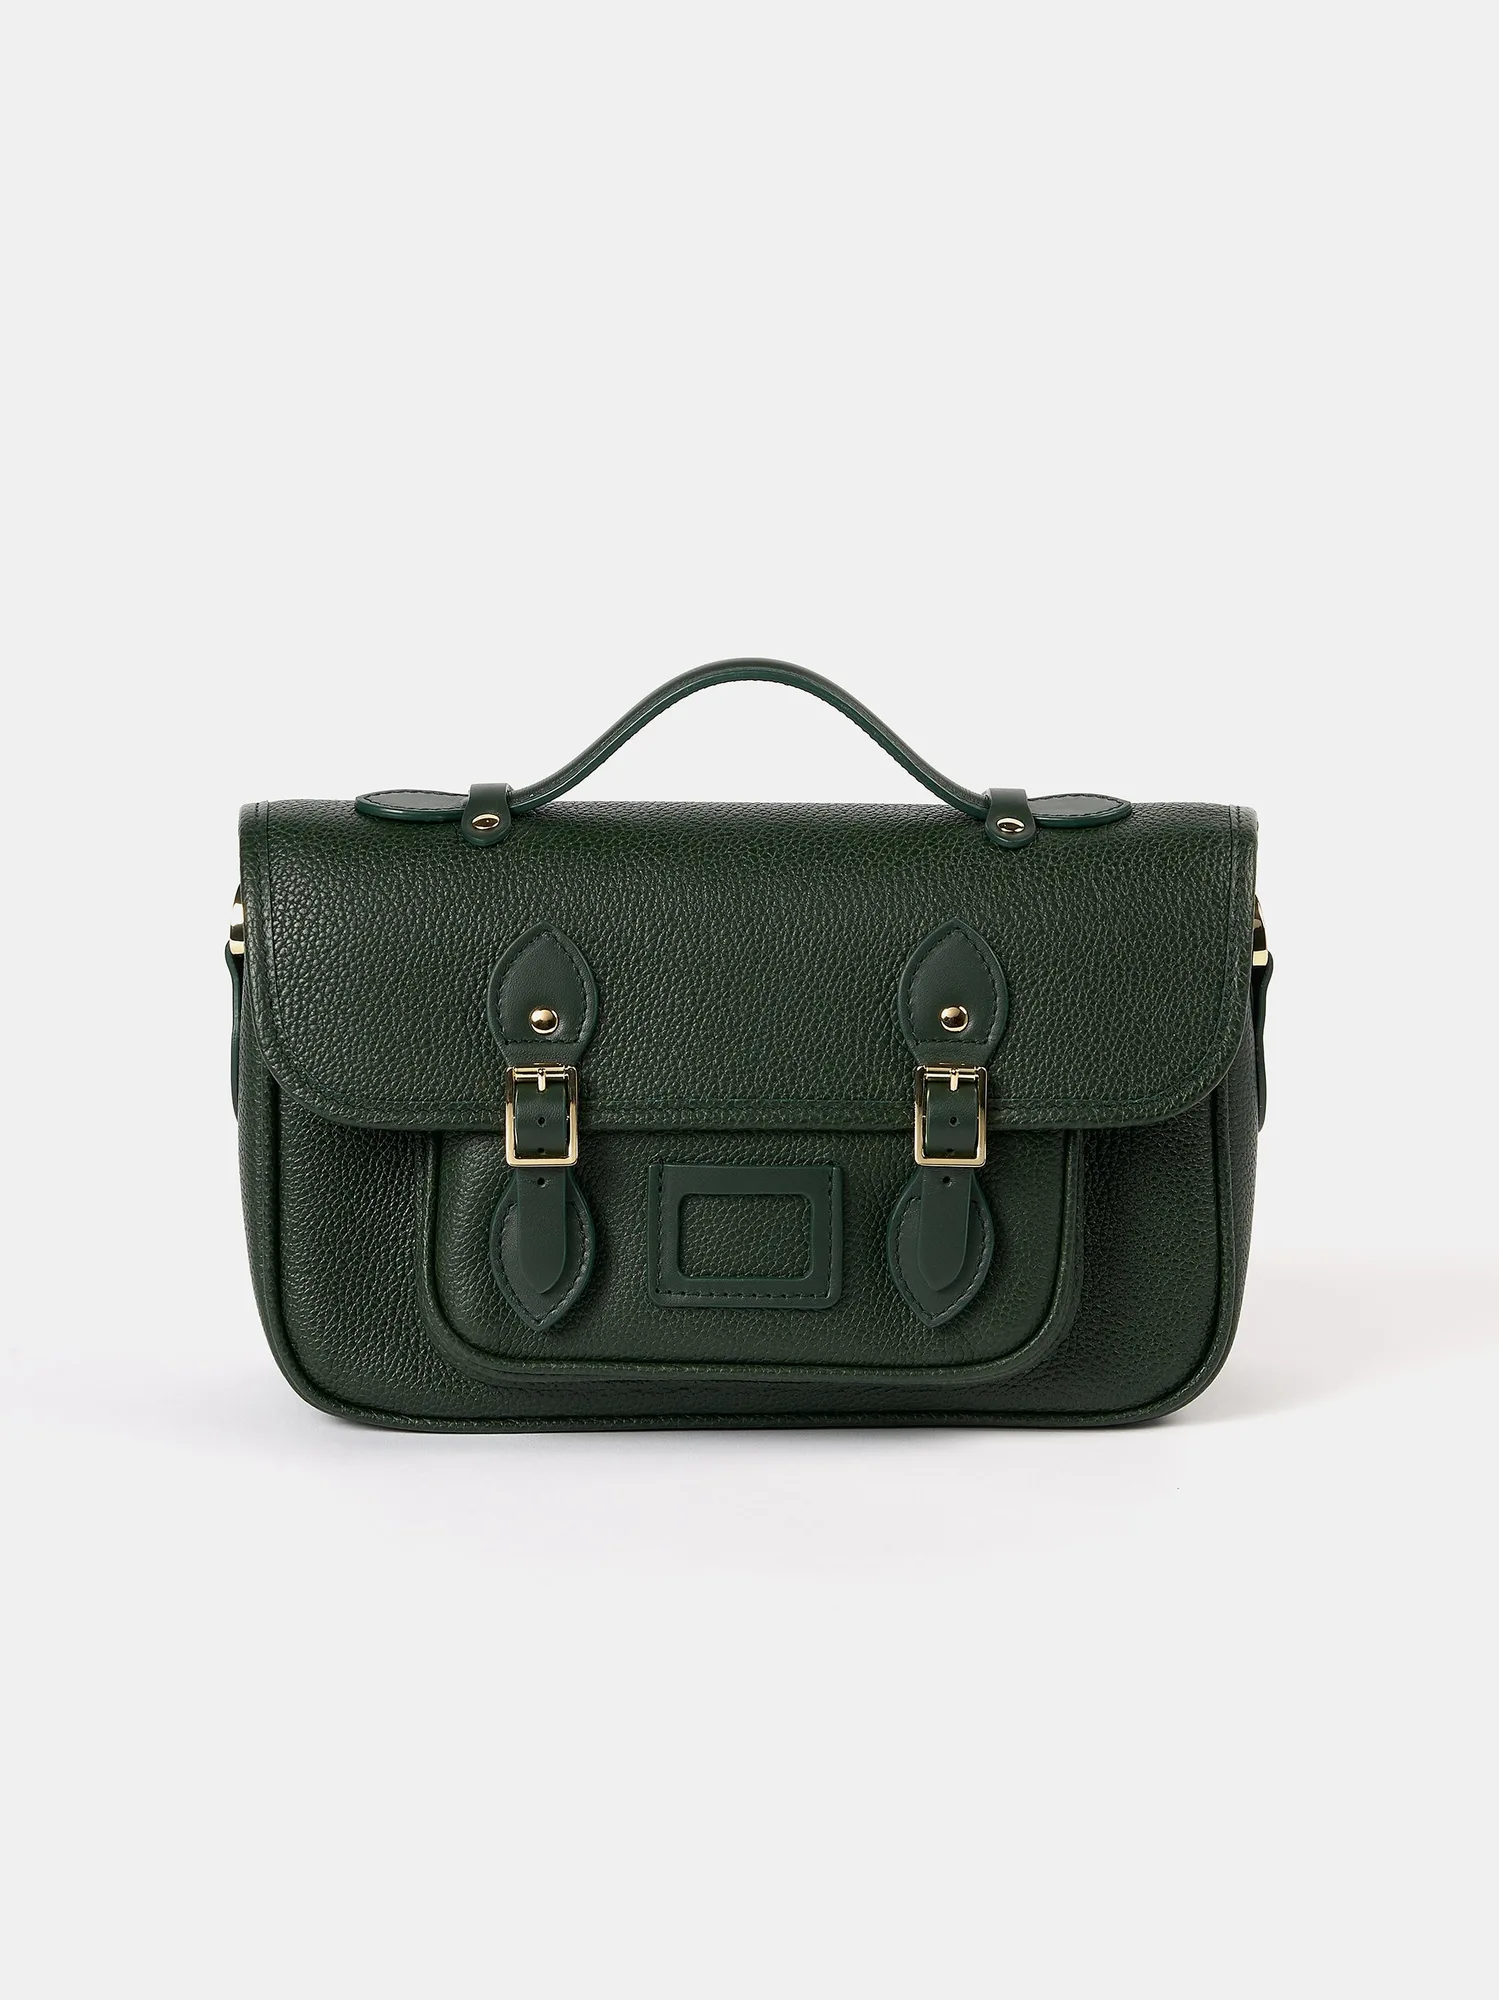
- The Soft Satchel - Ivy Calf Grain: The Soft Satchel uses supple leather with a lined interior, magnetic closures, an internal zipped pocket, and a reverse slip pocket. Supple leather benefits from regular light conditioning to stay relaxed without drying out, and the lined interior means you can wipe the inside with a dry cloth rather than a wet one.
- The Emily - Vanilla & Vanilla Patent: The Emily is made in Saffiano leather with a twist-lock closure, leather top handles, an internal slip pocket, and a protective dust bag. Saffiano and patent finishes show streaks and residue easily, so clean with a barely damp cloth and buff gently; the included dust bag is the right storage option.
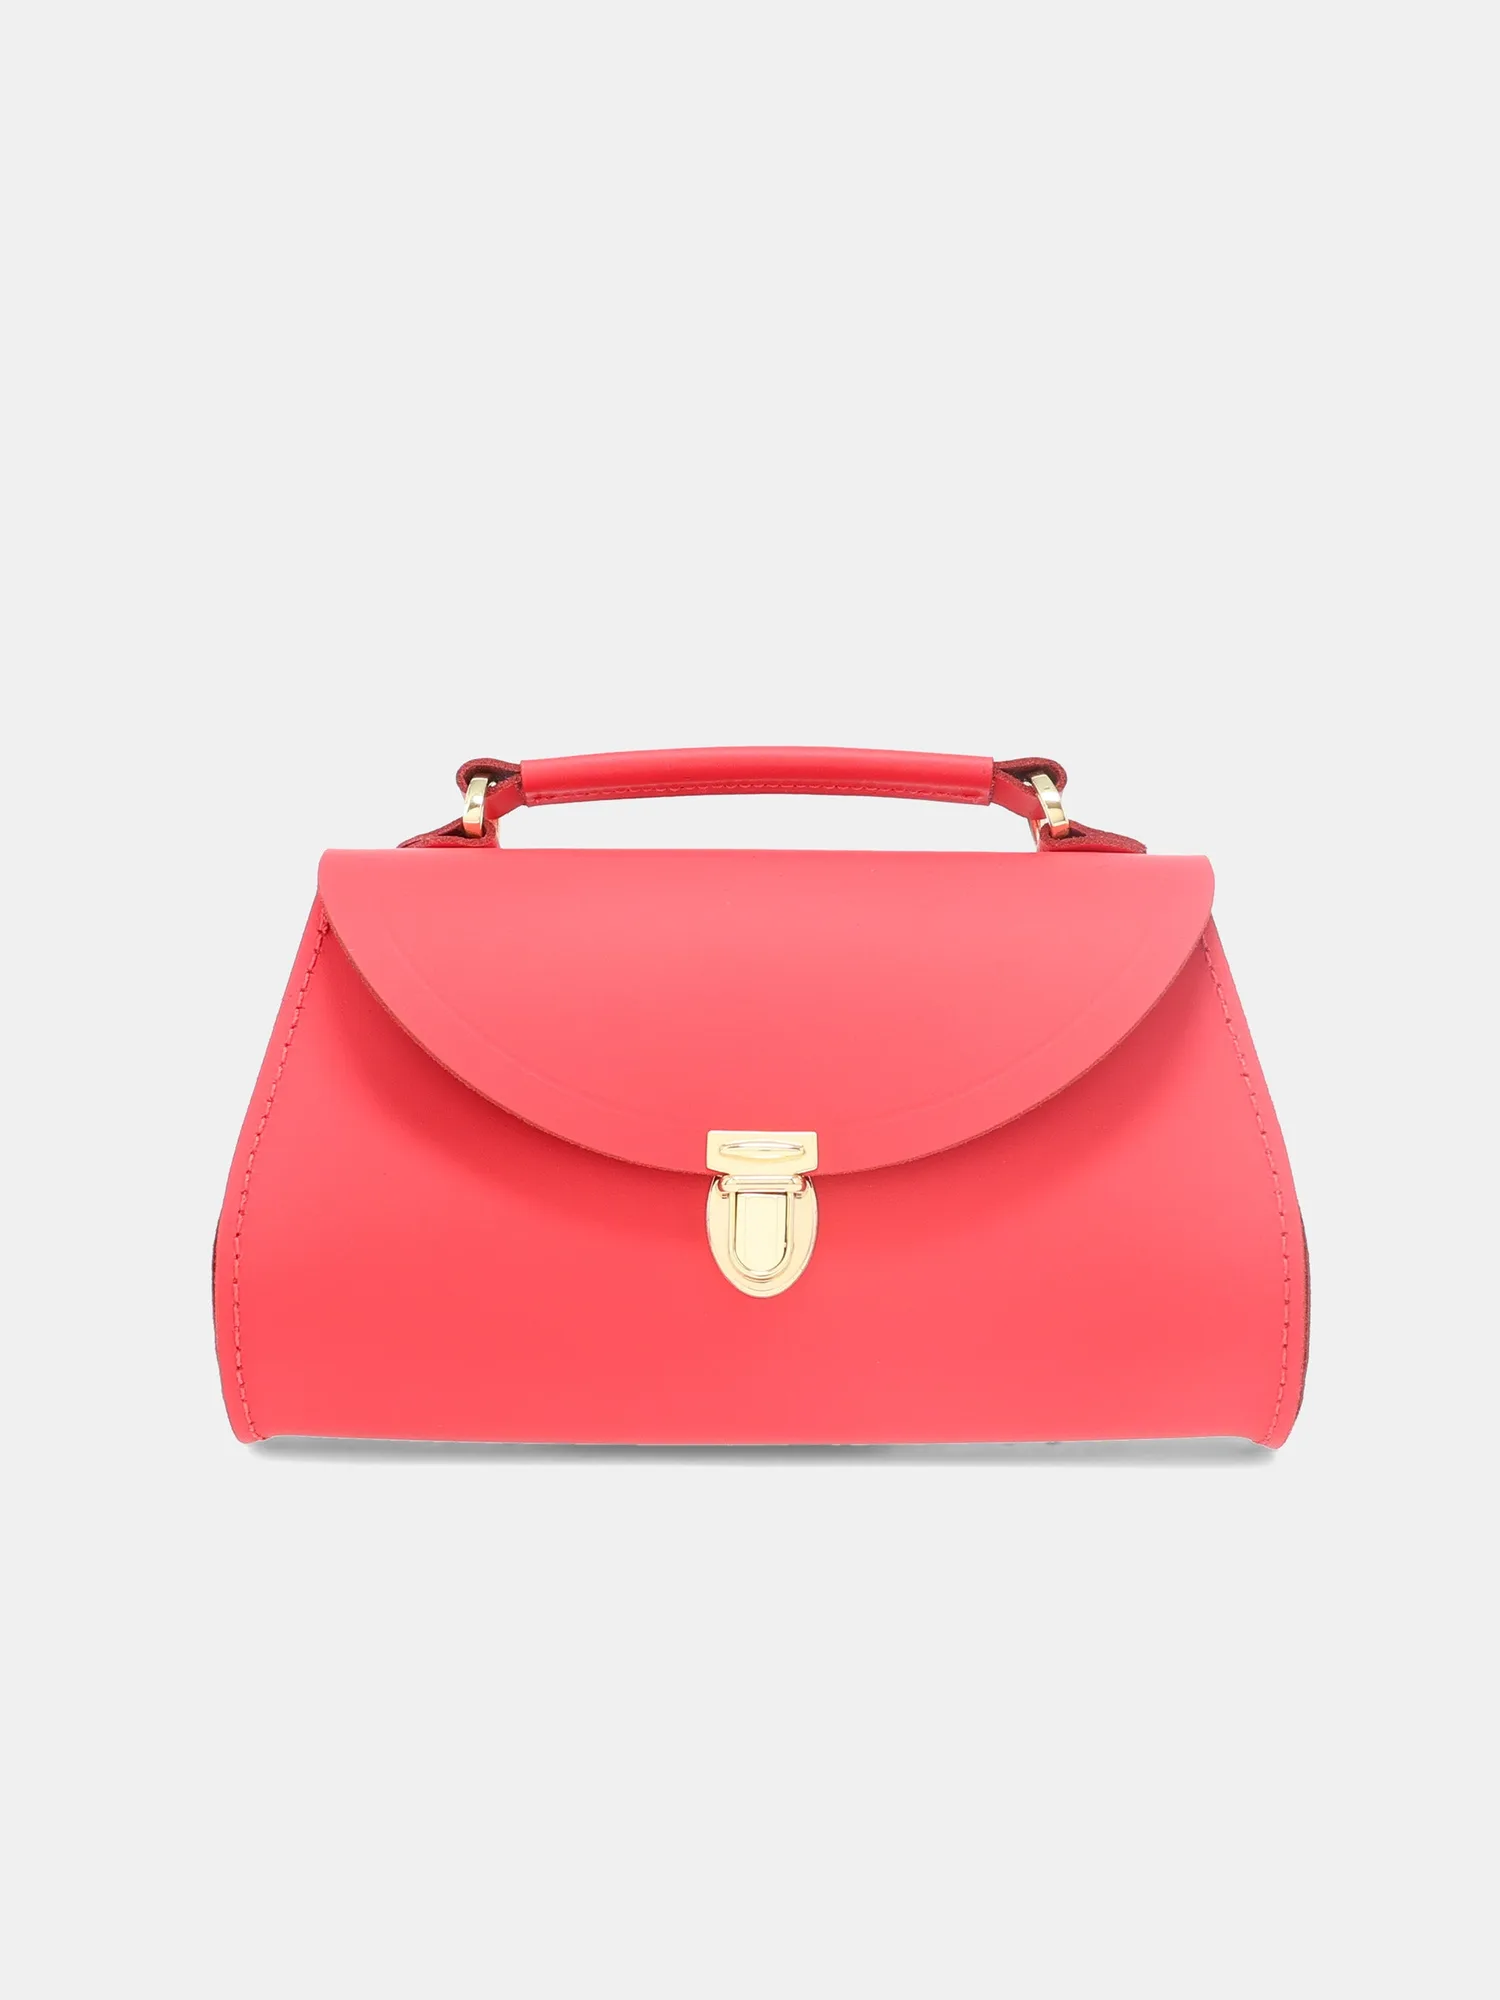
- The Mini Poppy - Rouge Matte: The Mini Poppy has a distinctive pushlock closure, compact proportions, and a protective dust bag, and is handcrafted in England. On a compact bag, hardware and edges take most of the wear, so wipe the pushlock area dry and avoid letting cleaner sit around the closure.
A consistent ten-minute routine keeps Cambridge Satchel leather looking its best far longer than an occasional deep clean. Dry-brush, spot test, clean lightly, dry fully, condition in thin layers, and store the bag properly, and the leather will stay supple while the structure holds its shape.