Quick Answer
To clean your HydroJug Traveler, disassemble the lid, wash all parts in warm soapy water, and use a bottle brush for the interior. For the straw lid, pay extra attention to the flip straw and silicone gasket to prevent mold and odors. Rinse thoroughly and air dry completely before reassembling.
Your HydroJug Traveler is built to go anywhere, but regular cleaning is the key to keeping it fresh and ready for your next adventure. Whether you use it for water, coffee, or your favorite cold drink, a quick daily rinse and a deeper weekly clean will prevent residue and odors from building up.
This guide walks you through the best way to clean your HydroJug Traveler, with specific attention to the flip straw lid and other components. We'll also cover common mistakes to avoid so your bottle stays in top condition for years.
What You'll Need
Before you start, gather a few simple supplies: warm water, mild dish soap, a soft sponge or cloth, and a bottle brush with a long handle. A small brush or pipe cleaner can help reach tight spots around the straw and hinge. Avoid abrasive scrubbers that can scratch the finish.
You'll also want a clean, dry towel for drying. If your Traveler has a silicone boot, remove it before cleaning so water doesn't get trapped between the boot and the bottle.
- Use a dedicated bottle brush to reach the bottom of the 20oz or 40oz interior.
- For the flip straw, use a straw brush or a cotton swab to clean the opening and hinge.
Disassemble the Lid
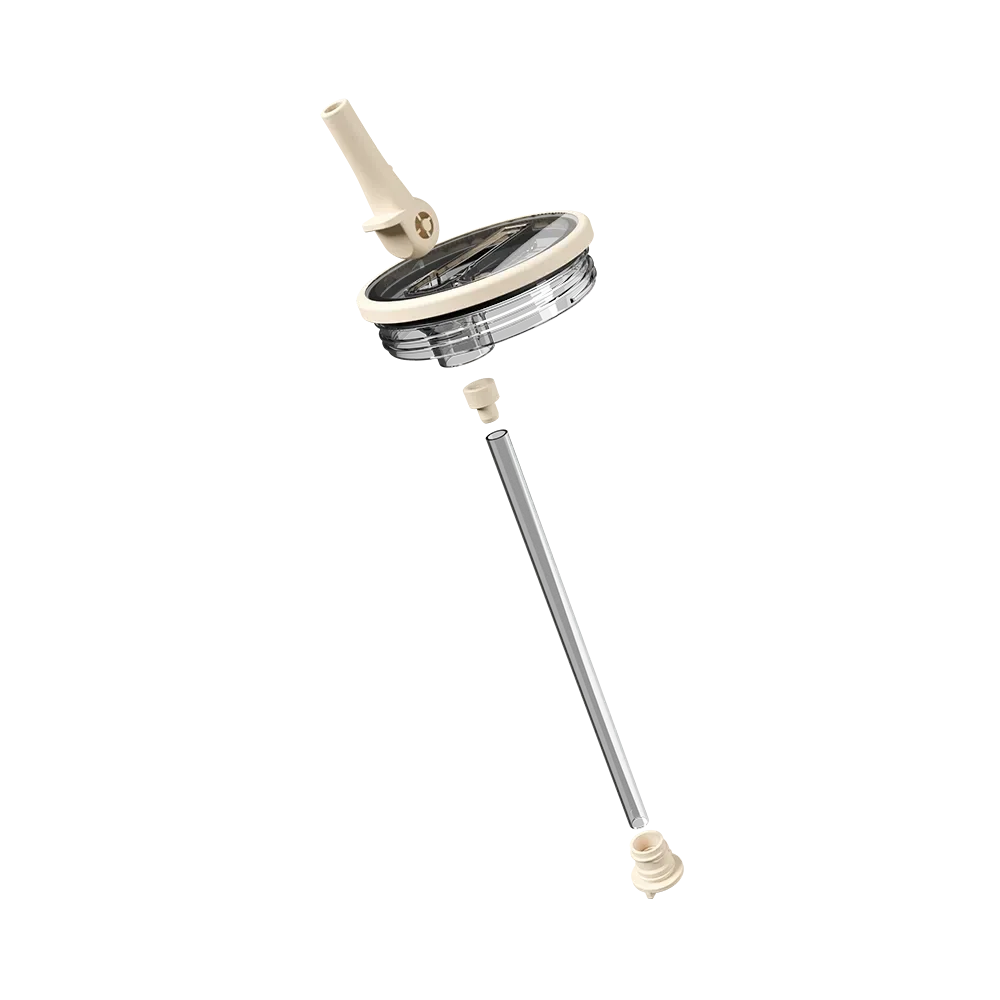
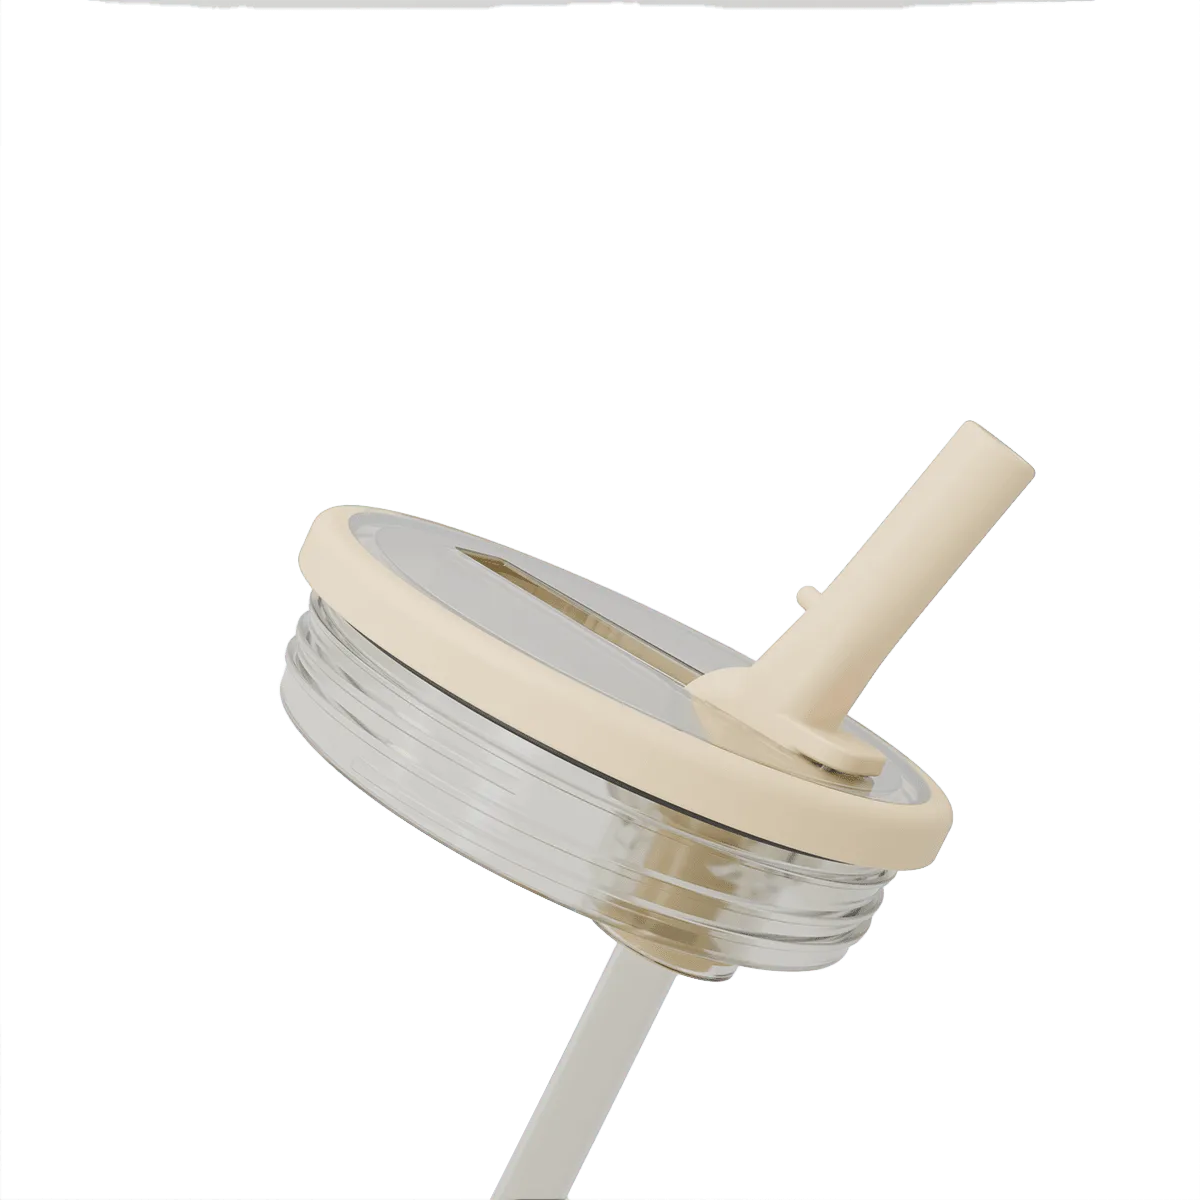
The HydroJug Traveler lid is designed to be leakproof with the straw down, but that seal only works if the gaskets are clean. Start by separating the lid from the bottle. Then, carefully remove the circular flip straw from the lid. On most models, the straw pops out with a gentle pull. Check the lid for any additional silicone gaskets or seals that can be removed and washed separately.
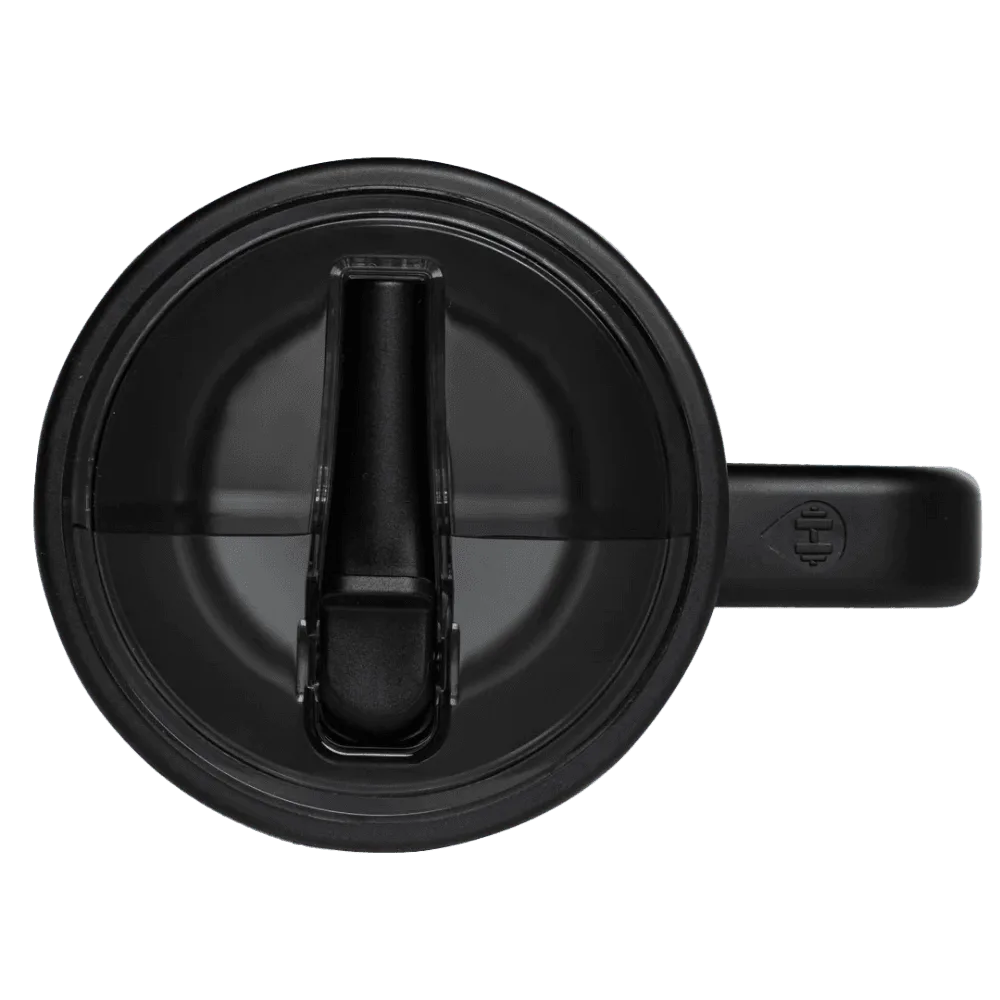
Traveler lid
A common mistake is leaving the lid assembled during cleaning, which lets water and soap get trapped in the hinge and gasket areas. This can lead to mildew and a musty smell. Taking the lid apart takes only a minute and makes a huge difference.
- Check your lid for a removable gasket and take it out before washing.
- If you're unsure how to remove the straw, consult the manual or look for a small notch that indicates the release point.
Wash All Parts Thoroughly
Fill your sink with warm water and add a few drops of mild dish soap. Submerge the bottle, lid, straw, and gaskets. Use a soft sponge to wipe the interior and exterior of the bottle. For the lid, use a small brush to clean around the straw opening and the flip mechanism. The gasket should be washed gently with your fingers to remove any residue.
Rinse every part under running water to remove all soap. Leftover soap residue can affect the taste of your next drink. This is also a good time to inspect the gasket for cracks or wear. A damaged gasket can compromise the leakproof seal, so replace it if you notice any damage.
- Don't forget the threads on the bottle and the inside of the lid—these are common spots for buildup.
- If you use your Traveler for coffee or tea, a deeper clean with a baking soda solution can help remove stains and odors.
Dry Completely Before Reassembling
After rinsing, shake off excess water and place all parts on a clean towel. Let them air dry completely. This is the most important step to prevent mold and odors. If you're in a hurry, you can pat the parts dry with a lint-free cloth, but make sure the straw and gasket are completely dry before putting the lid back together.
Reassemble the lid by inserting the straw back into place and securing any gaskets. Double-check that the straw clicks into the sealed position. Store your Traveler with the lid off or the straw up to allow any remaining moisture to evaporate.
- A common mistake is putting the lid on while it's still wet, which traps moisture and encourages bacterial growth.
- If you notice a lingering odor after cleaning, try a vinegar rinse (one part vinegar to three parts water) and let it sit for 15 minutes before rinsing.
Step-by-Step Cleaning Routine
- Daily Rinse: After each use, rinse the bottle and lid with warm water. If you drank something other than water, add a drop of soap and shake. Rinse thoroughly. Prevents residue from building up and keeps your bottle ready to go.
- Weekly Deep Clean: Once a week, disassemble the lid, remove the straw and gasket, and wash all parts with soap and warm water. Use a bottle brush for the interior. Removes hidden grime and keeps the straw and gasket free of mold.
- Air Dry Completely: After washing, let all parts air dry on a towel. Reassemble only when everything is completely dry. The most important step to avoid odors and bacterial growth.
Why the Right Traveler Matters
- https://thehydrojugud.com/products/hydrojug-everyday-tumbler-14oz-ceramic-lined-spill-free-kids-tumbler-brown-73959https://thehydrojugud.com/products/hydrojug-everyday-tumbler-20oz-ceramic-lined-insulated-tumbler-with-straw-brown-73972https://thehydrojugud.com/products/hydrojug-sport-20oz-brown-leopard-74026Brown Leopard: The HydroJug Traveler is completely leakproof with the straw down, cupholder compatible, and has a hygienic circular flip straw for easy sipping. It features triple wall insulation, a soft touch ambidextrous lid, and a rubber base. The leakproof design means you can toss it in your bag without worry, but the flip straw and gasket need regular cleaning to maintain that leakproof seal and prevent odor buildup.
- Coastal Cowgirl: The 20oz Traveler is completely leakproof with the straw down, cupholder compatible, and has a hygienic circular flip straw for easy sipping. It comes with a removable silicone boot that protects your bottle and surfaces. The removable boot is great for protection, but it can trap moisture if not removed during cleaning. Make sure to take it off and let it dry separately to avoid mildew.
Cleaning your HydroJug Traveler doesn't have to be a chore. By following this simple routine, you'll keep your bottle fresh, your drinks tasting great, and your lid working perfectly. Regular care also extends the life of your Traveler, so you can enjoy it for years to come.