Quick answer
Clean Dr. Brown's bottle parts by disassembling everything, rinsing in warm water, scrubbing with a bottle brush and nipple cleaner, then washing in hot soapy water. For sterilization, use a steam sterilizer, boiling water, or a microwave steam bag, following the manufacturer's instructions for each part. Always check that vents and nipples are completely clean and free of milk residue before sterilizing.
Why Dr. Brown's parts need a different cleaning approach
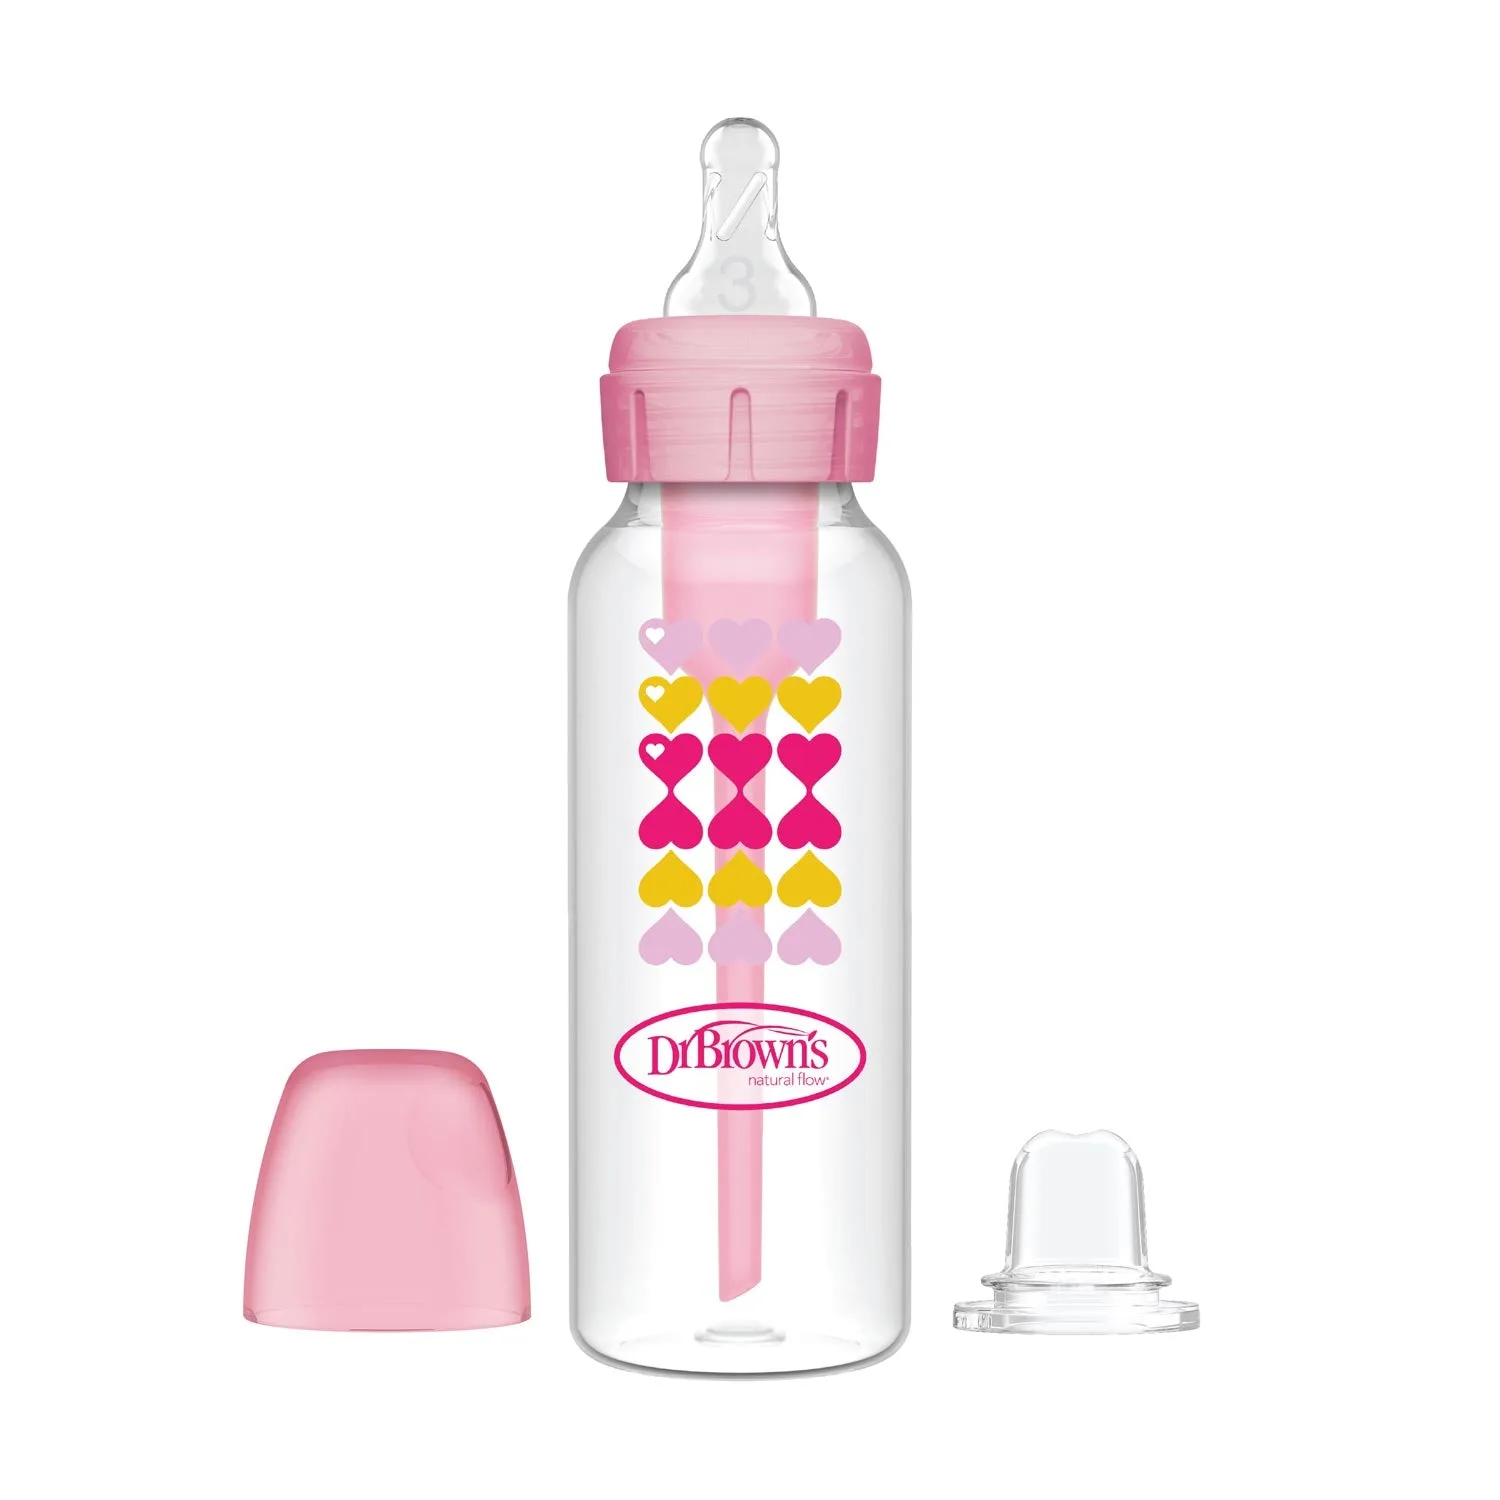
Dr. Brown's bottles are known for their internal vent system, which helps reduce colic, spit-up, and gas. That same vent system has narrow parts where milk can hide, so a quick rinse is not enough. You need to separate every piece and clean each one individually. This is not about being extra; it is about preventing buildup that can affect how the bottle performs and pose hygiene risks.
Gather the right tools before you start
Using the right brushes makes the job faster and more effective. A dedicated bottle brush with a nipple cleaner, like the Dr. Brown's Baby Bottle Brush, reaches into narrow necks and nipples. The Deluxe Bottle Brush has angled bristles that reduce splashing and clean corners well. A drying rack keeps parts organized and allows them to air-dry, which is an important part of the hygiene routine.
Step-by-step cleaning and sterilizing process
- Step 1: Disassemble completely. Remove the nipple, collar, vent insert, reservoir, and any other removable parts. Mistake to avoid: leaving the vent insert attached; milk can get trapped and be hard to remove later.
- Step 2: Rinse all parts in warm running water. This removes loose milk and makes washing easier. Checkpoint: no visible milk film should remain after rinsing.
- Step 3: Wash with hot soapy water. Use a mild dish soap and a bottle brush. Scrub the inside of the bottle, the nipple (inside and out), and all vent pieces. For nipples, use the ridged nipple cleaner that comes with many Dr. Brown's brushes. Mistake to avoid: using a sponge that has been used for other dishes; it can transfer bacteria.
- Step 4: Clean the vent system thoroughly. The vent insert and reservoir have small openings. Use a small brush or the nipple cleaner to push soapy water through them. Checkpoint: hold the parts up to the light to ensure no residue remains.
- Step 5: Rinse everything well. Hot water is best to remove soap residue. Mistake to avoid: skipping this step, as leftover soap can affect taste and be harmful.
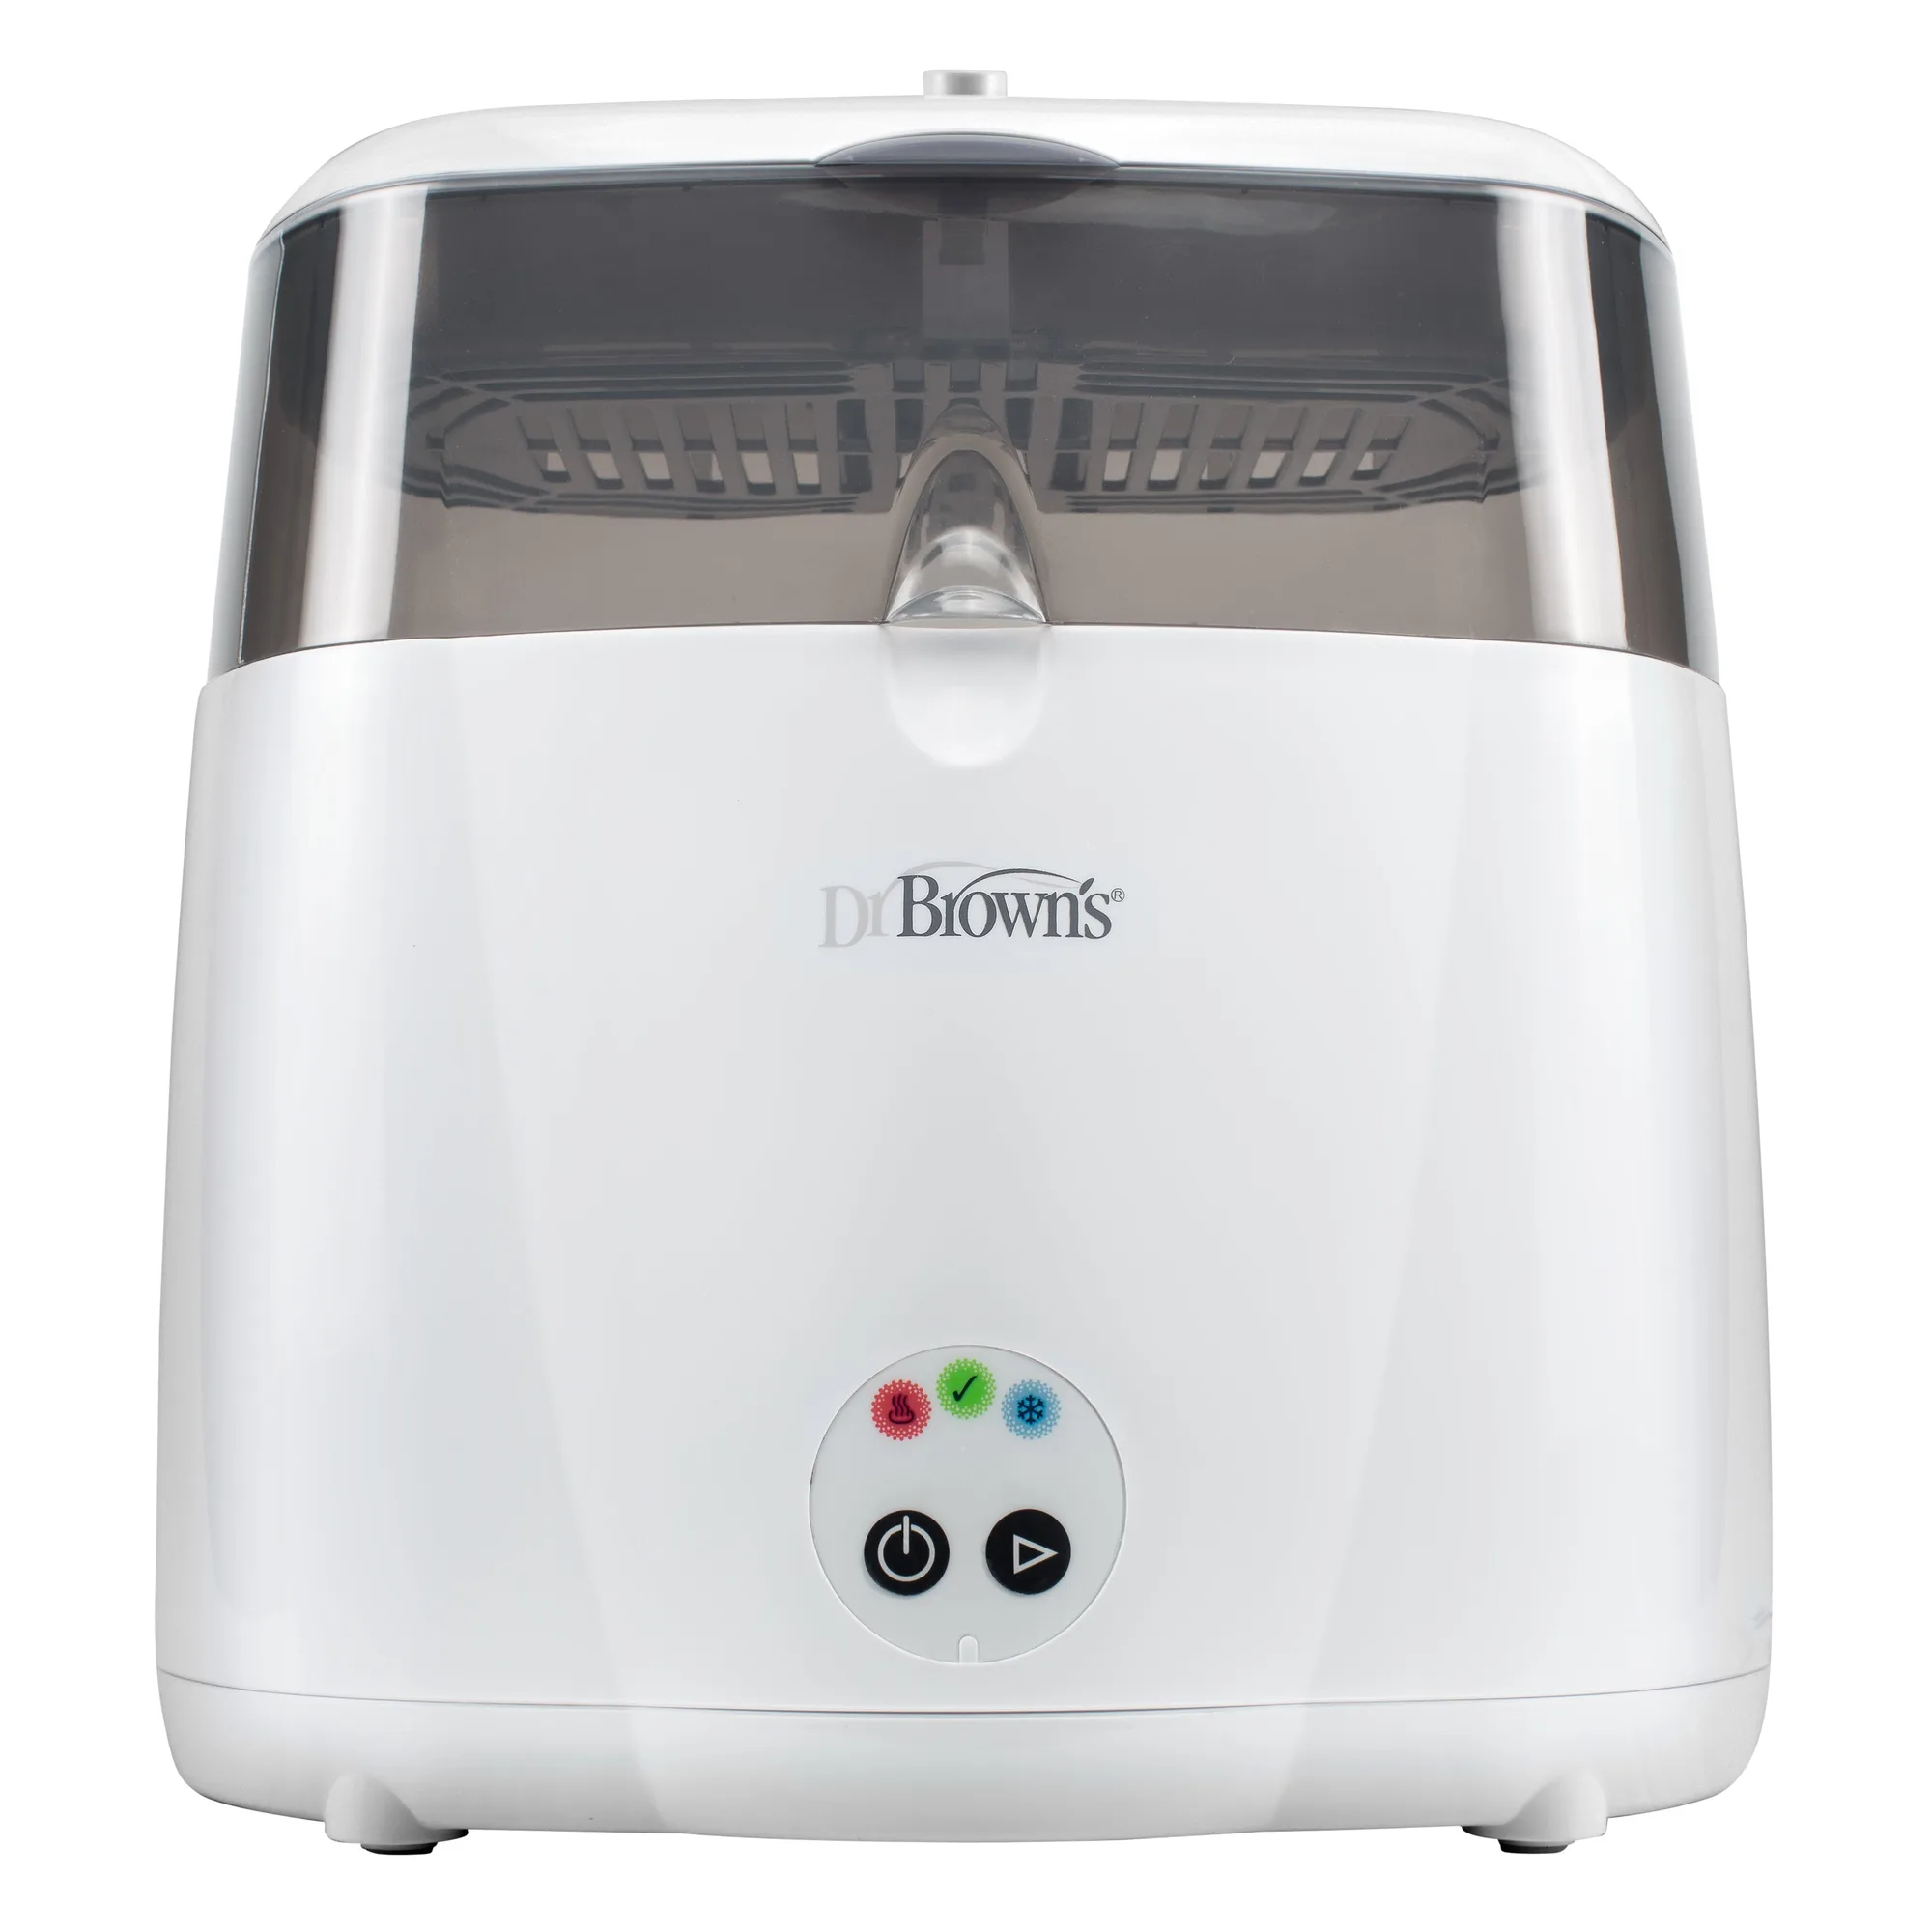
- Step 6: Sterilize using your preferred method. You can boil parts in water for 5 minutes (check manufacturer guidelines for specific parts), use a steam sterilizer, or use microwave steam bags. Not all parts are microwave-safe, so always check. Mistake to avoid: boiling nipples too long, which can cause them to degrade faster.
- Step 7: Air-dry on a clean drying rack. Place parts so water can drain. The Dr. Brown's Folding Drying Rack holds multiple bottles and accessories and folds for storage. Checkpoint: ensure parts are completely dry before storing to prevent mold.
- Step 8: Store in a clean, covered area. Once dry, keep parts in a clean container or assembled bottle to avoid dust and contaminants.
How often should you clean and sterilize?
Clean bottles and all parts after every feeding. Sterilize daily if your baby is newborn, premature, or has a weakened immune system. For older babies, sterilizing a few times a week is often enough, but always follow your pediatrician's advice. If you use a vent system, pay extra attention to those small parts during daily cleaning.
Key steps and checkpoints for cleaning Dr. Brown's parts
- Disassemble and rinse immediately: Take apart every component and rinse under warm water right after feeding to prevent milk from drying and becoming hard to remove. If you can't wash immediately, at least rinse and soak parts in warm water until you can.
- Scrub with the right brush: Use a bottle brush for the bottle and a nipple cleaner for nipples and vent holes. Pay attention to the vent insert and reservoir. Replace brushes every 1-2 months or sooner if bristles are worn or discolored.
- Sterilize according to part tolerance: Boil, steam, or microwave sterilize, but check that each part is safe for the method. Nipples and plastic parts may warp if overheated. When in doubt, use a steam sterilizer or microwave bags for gentler sterilization.
- Dry and store properly: Air-dry on a clean rack, then store in a clean, dry place. Avoid towel-drying with a shared towel to prevent cross-contamination. Assemble bottles only when you're ready to use them to keep the interior sterile.
Tools that make cleaning easier
- Dr. Brown's™ Baby Bottle Brush: Combination bristle and sponge head and ridged nipple cleaner thoroughly scrub bottles and nipples. The sponge head is gentle on nipples while the bristles tackle stubborn milk residue, and the nipple cleaner reaches into tight spots.
- Dr. Brown’s™ Deluxe Bottle Brush: Soft yet sturdy bristles are angled to help prevent splashing and to thoroughly clean every corner of baby bottles, sippy cups, and more. The angled bristles make it easier to clean the bottom and sides of bottles without splashing soapy water everywhere.
- Dr. Brown's™ Folding Baby Bottle Drying Rack: Holds multiple Dr. Brown's Narrow or Wide-Neck bottles and most other brands; folds up for storage. A dedicated drying rack keeps parts separate and allows proper air circulation, which helps prevent bacterial growth.