Quick answer
Rinse the AeroPress Stainless Steel Filter Cap under warm running water immediately after every brew, deep-clean it once a week with a soft brush and mild dish soap, and store it fully dry and unseated so the cap and the brewer's threads stay free of grit. That three-part rhythm is all a reusable coffee filter needs to keep sealing and pouring properly.
Why the cap needs a different routine than the rest of your AeroPress
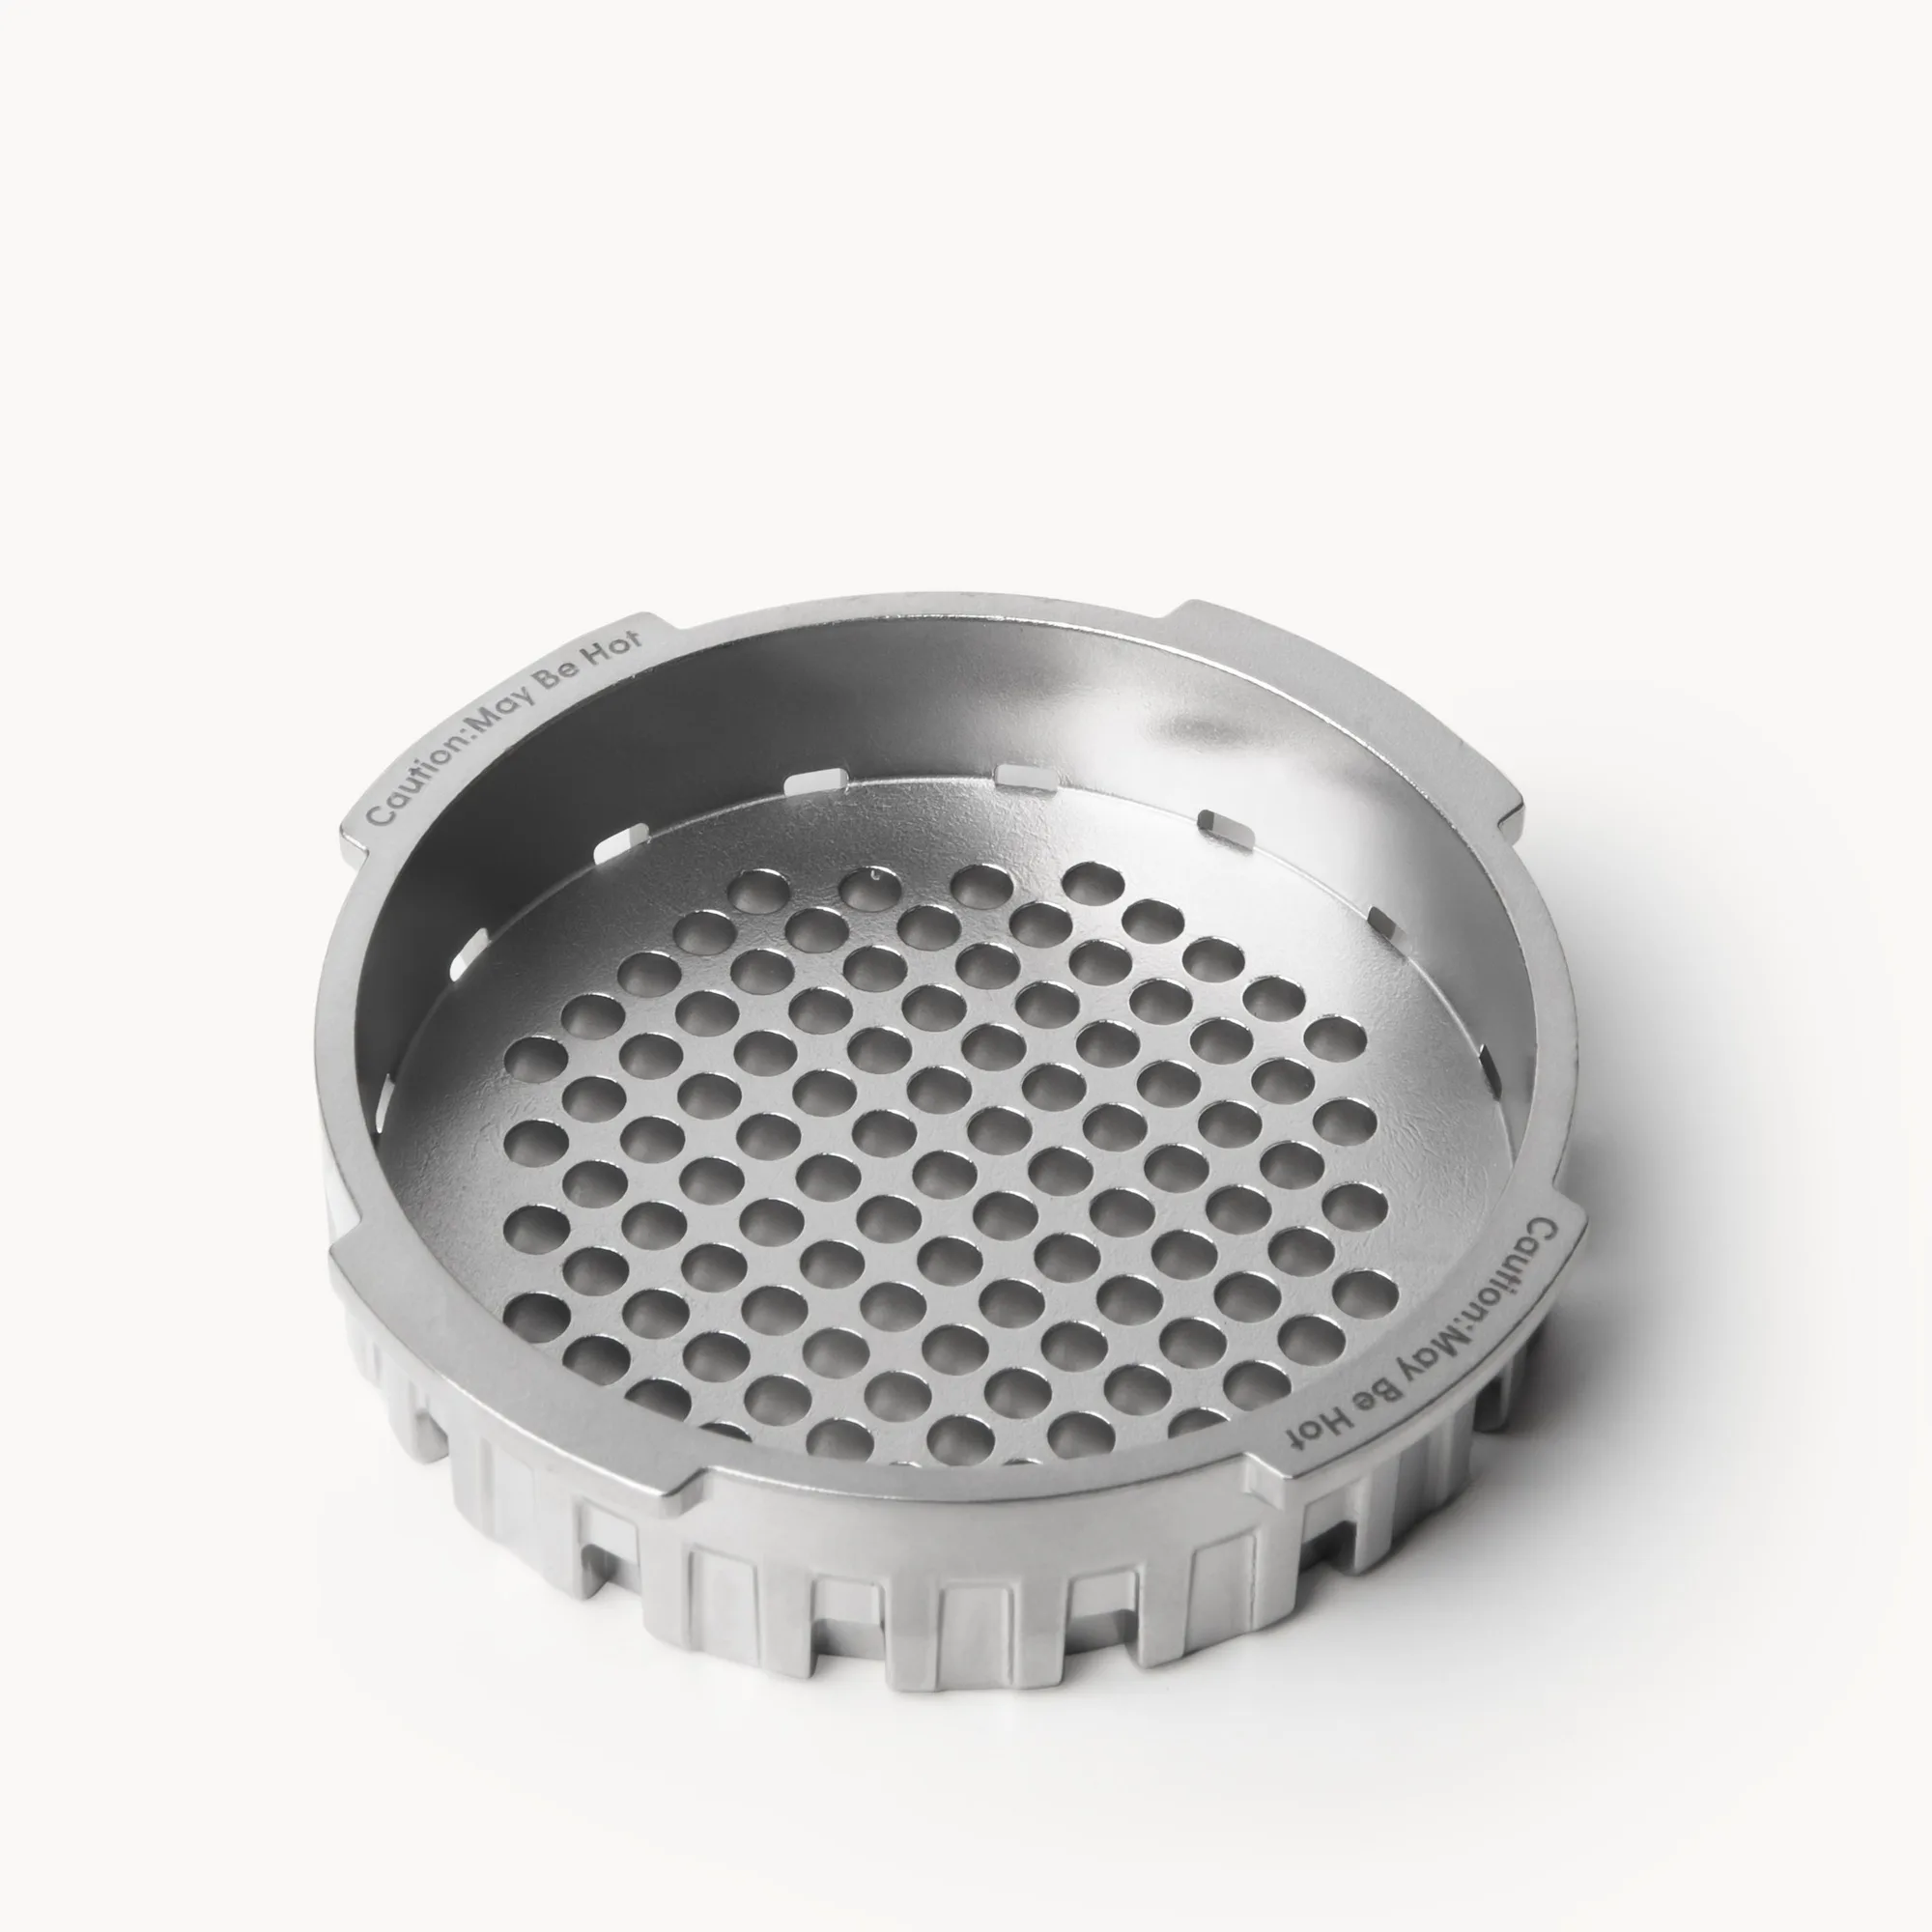
The AeroPress Stainless Steel Filter Cap is a replacement part for the AeroPress glass Premium coffee maker and AeroPress Steel coffee maker, and it is made from stainless steel. That material changes the care rules. Unlike a paper filter, it never gets thrown away, so every bit of coffee oil, fine grit, and hard-water film stays on the metal until you remove it. Unlike the plastic parts of a brewer, it will not crack from hot water, but it can still be scratched by abrasive cleaners or scouring pads, and scratches give coffee residue a place to hide.
The cap also has a mechanical job beyond filtering: it holds the filter in place against the brewer and forms the seal that lets you press. If dried coffee builds up on the rim or in the holes, the cap can sit slightly off, which shows up as a weak seal, a sputtering press, or a slow drip before you even start pushing. Cleaning is not just about flavor. It protects the fit.
What you actually need on the counter
You do not need a special cleaning kit. Warm water, a drop of mild dish soap, and a soft bottle brush or the edge of a sponge are enough for routine work. Keep a separate small brush for the filter holes if you brew daily, because a toothbrush-sized brush reaches the perforations faster than a full-size sponge.
Skip anything abrasive: steel wool, scouring powder, and heavy-duty degreasers can dull the stainless surface and leave residue that ends up in your next cup. If your tap water is hard, keep a 1:1 white vinegar and water mix on hand for mineral film, but use it as a soak, not a scrub.
The one habit that prevents most problems
Rinse the cap the moment you finish pressing, before you drink the coffee. Coffee oils are easy to float away while they are still warm and liquid; once they dry into a sticky film, you have to work at them. A ten-second rinse under warm running water, with your thumb rubbing across the perforations, removes almost everything and keeps the deep clean quick.
If you cannot rinse right away, at least knock the puck out and leave the cap in a cup of warm water instead of letting it sit dry on the counter. Dried-on grounds are the main reason people think a metal filter is hard to maintain.
When to replace rather than clean
Stainless steel is durable, but it is not indestructible. Inspect the cap every few weeks for a bent rim, a deep scratch across the sealing surface, or holes that have widened or deformed. A cap that no longer sits flat, or that leaks around the edge no matter how clean it is, has stopped doing its job. At that point cleaning will not fix the seal, and a replacement cap is the practical answer.
The same logic applies to the small accessories around your brewer. A worn or lost scoop is a minor annoyance, but a cap that will not seal ruins the brew. Treat the cap as the part that earns its replacement.
The weekly cap care routine, step by step
- Rinse immediately after pressing: Hold the cap under warm running water and rub your thumb across the perforations to float away warm coffee oils before they set. Common mistake: leaving the cap to dry with grounds still in the holes, which turns a ten-second rinse into a ten-minute soak later. Checkpoint: the water running off the cap should be clear, not brown.
- Soak in warm soapy water for five minutes: Fill a small bowl with warm water and one drop of mild dish soap, then let the cap sit while you clean the rest of the brewer. This loosens oils in the perforations without any scrubbing. Common mistake: using very hot water and a heavy degreaser, which is unnecessary for stainless and harder to rinse clean. Checkpoint: the soak water should look lightly tinted, not thick or greasy.
- Brush the holes from both sides: Use a soft brush or sponge to work across the perforations on the inside and the outside of the cap, then brush the rim where it meets the brewer. Common mistake: scrubbing only the inside face, which leaves film on the outer surface that presses against the seal. Checkpoint: hold the cap up to a light and confirm you can see through every hole.
- Rinse and dry completely: Rinse under warm water until no soap slick remains, then dry with a clean cloth or let it air-dry on a rack. Common mistake: reassembling the brewer while the cap is still damp, which traps moisture against the seal. Checkpoint: run a finger over the rim. It should feel smooth and dry, not tacky.
- Store it unseated: Keep the cap off the brewer or resting loosely on top rather than screwed down tight, in a dry spot away from the coffee bag. Common mistake: storing it locked onto the brewer, which keeps the seal compressed and lets any missed grit sit against the threads. Next step: if the rim is bent or the holes are deformed, replace the cap rather than cleaning it again.
The part this routine is built around
- AeroPress Stainless Steel Filter Cap: Replacement filter cap for the AeroPress glass Premium coffee maker and AeroPress Steel coffee maker, made from stainless steel. Because it is a stainless replacement part rather than a disposable paper filter, the rinse-and-deep-clean routine above is what keeps it sealing correctly, and it is the exact part to reorder if the rim or perforations become damaged.
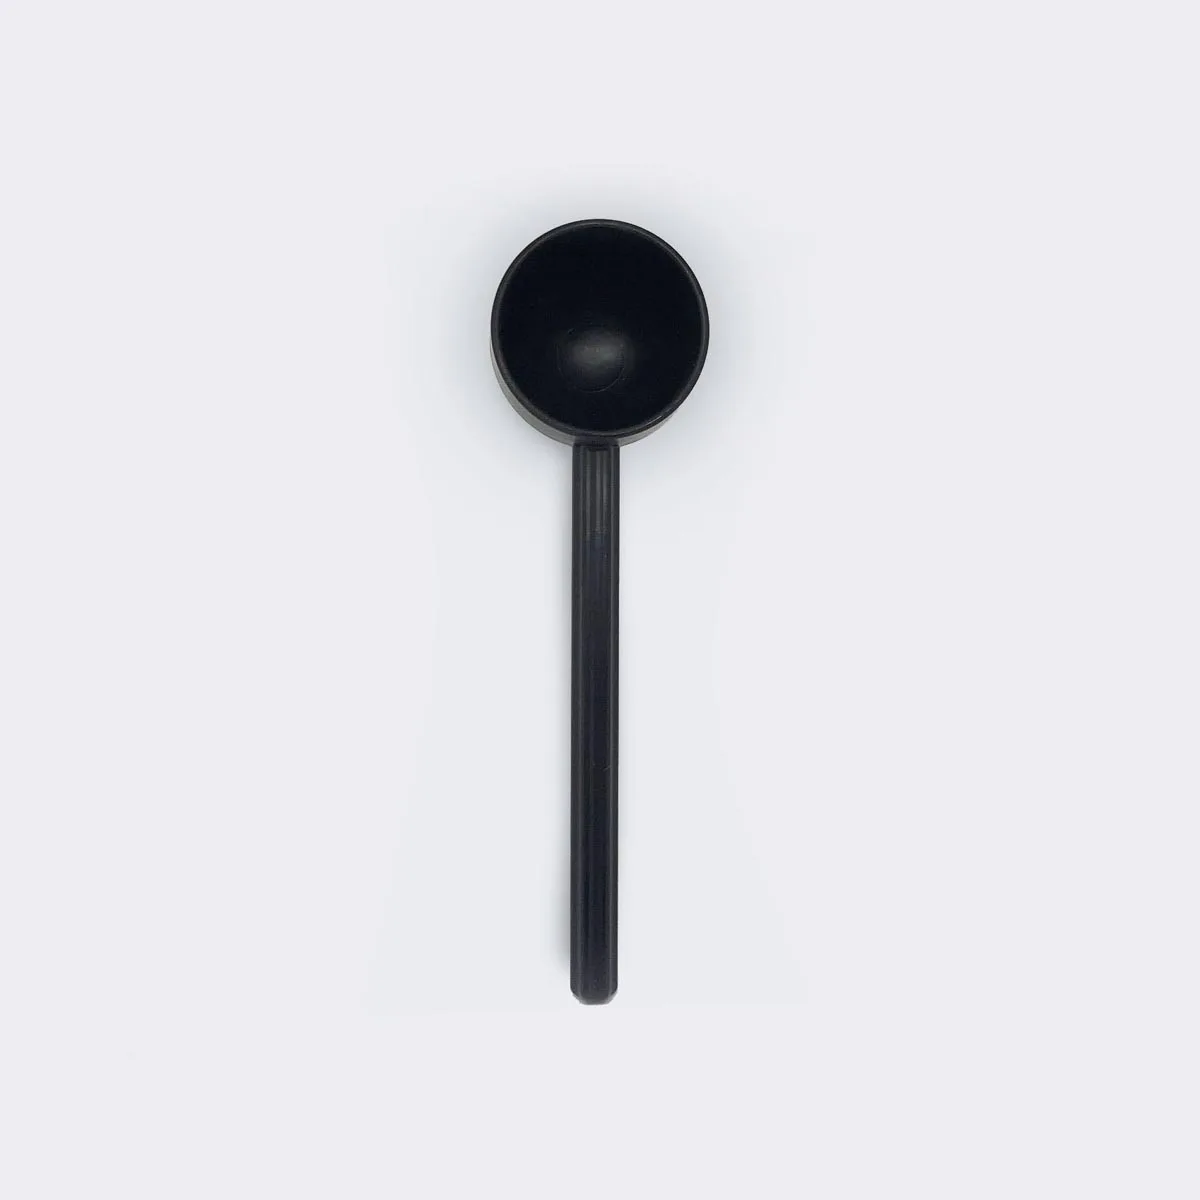
- AeroPress Scoop: Spare replacement scoop for the AeroPress Original, Clear & XL coffee makers, with raised bumps on one side of the handle and a handle length designed to reach further into your bag of coffee. A spare scoop is the kind of small accessory that keeps your whole setup usable when the original goes missing, so it is worth pairing with cap care rather than replacing the brewer.