Quick answer
Clean Prism Lens FX filters with a blower first, then a soft brush, then a lint-free wipe and lens-safe cleaner only where needed, and store each filter in a case with the coated side protected. Never rub a dry coated surface, and never use household glass cleaner or paper towels. Because every FX filter is coated differently, the safest routine is the one that removes smudges without touching the coating more than necessary.
Why FX glass needs a different cleaning routine
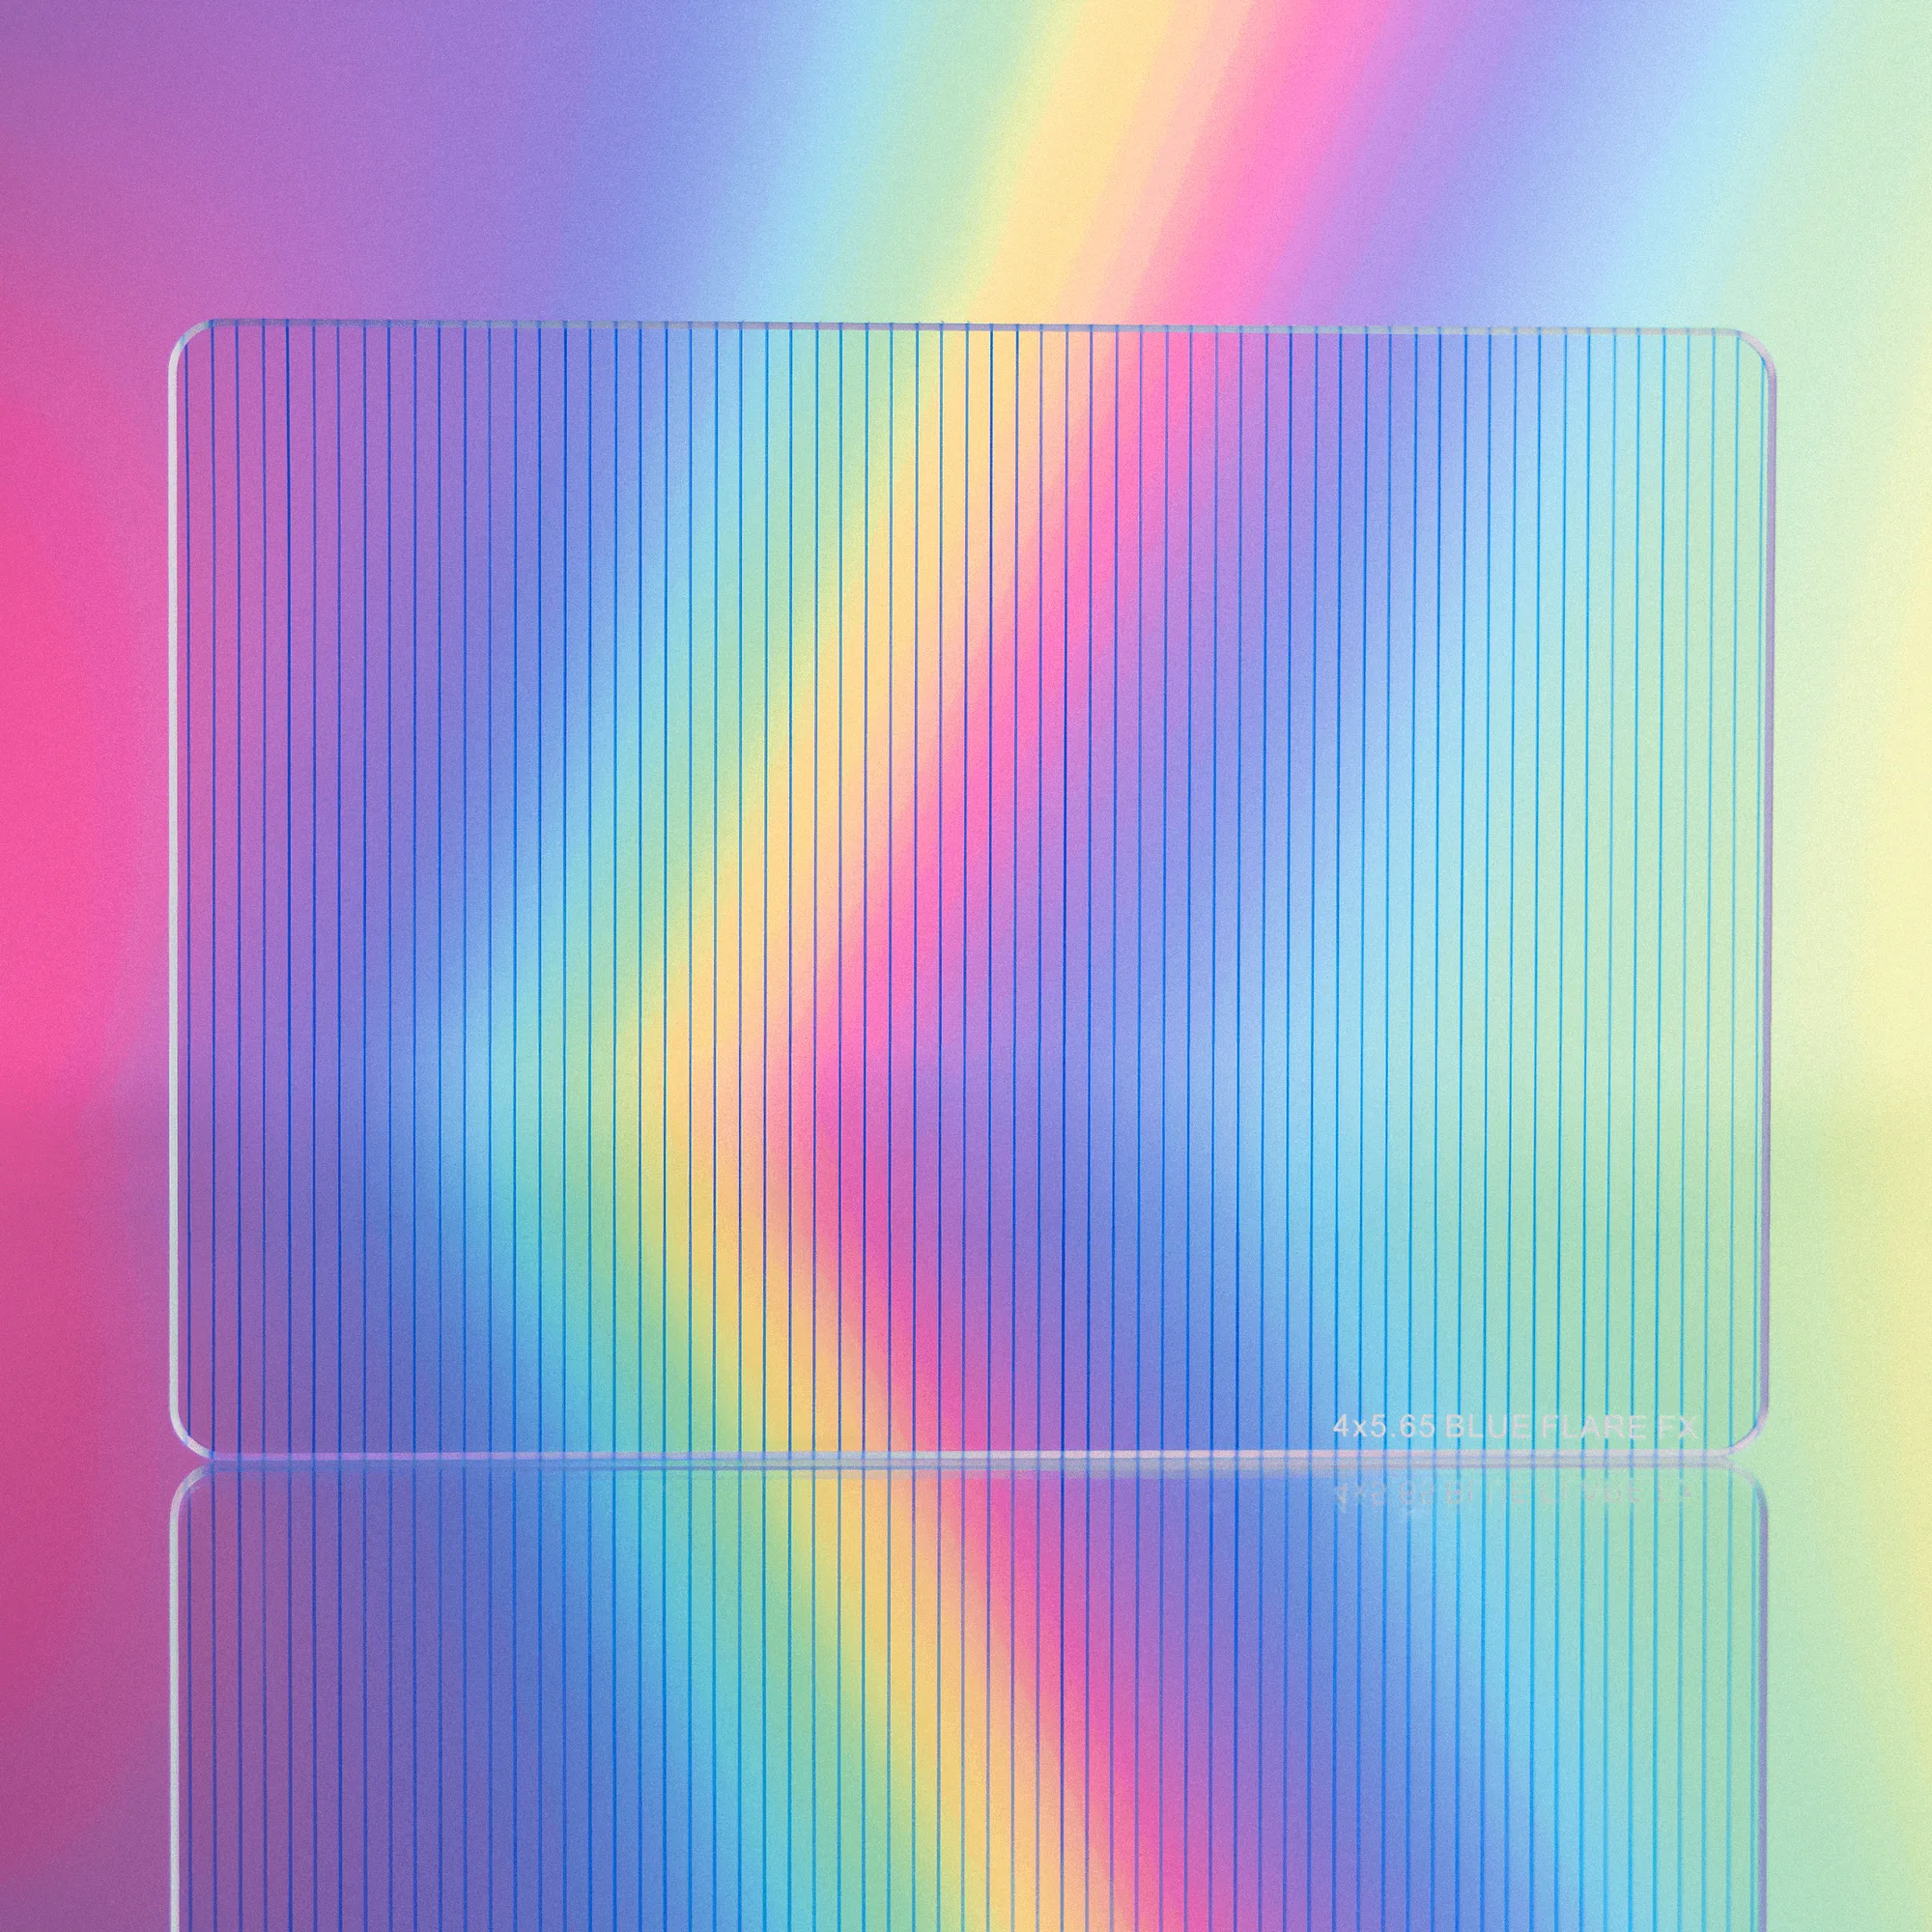
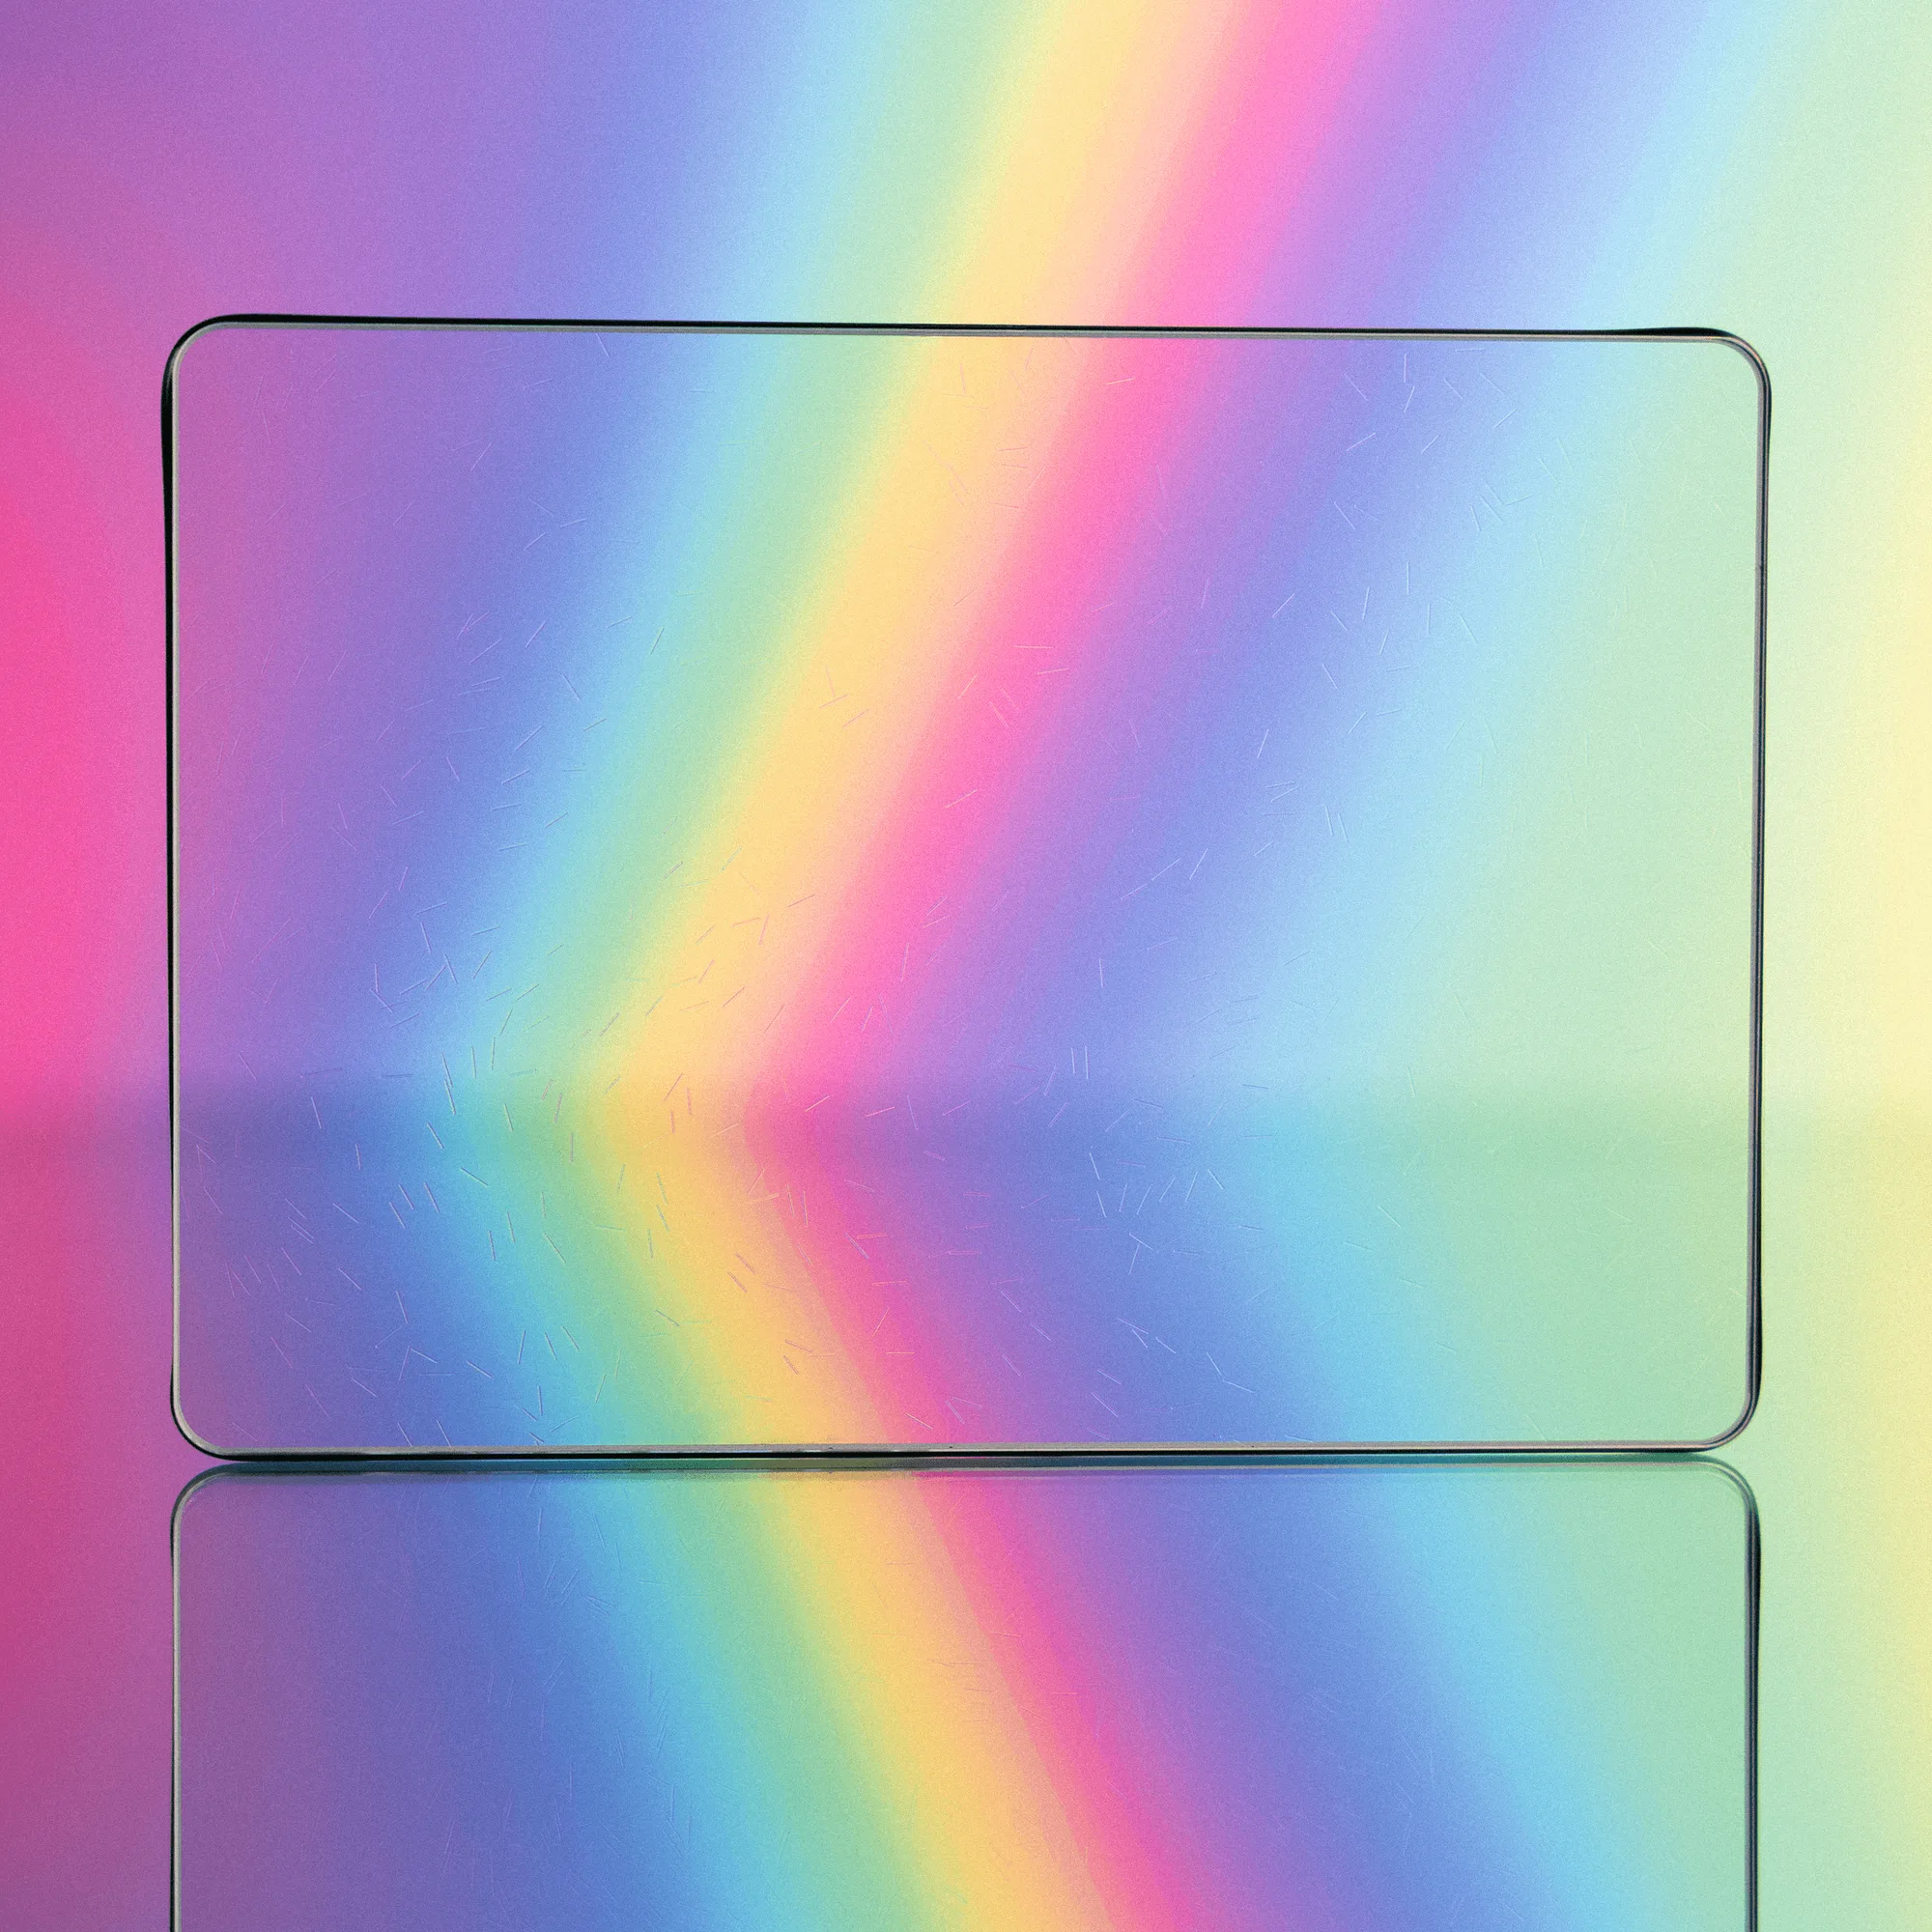
A standard clear filter mostly needs dust removed. An FX filter is doing optical work with its coating, so anything you leave on the surface changes the effect. A fingerprint in the middle of a 4x5.65 Flare FX Filter can scatter or soften the blue or rainbow anamorphic streak you positioned by rotating the filter. The same is true for the Radiant FX Filter, whose refractions depend on how highlights hit the uniquely coated glass.
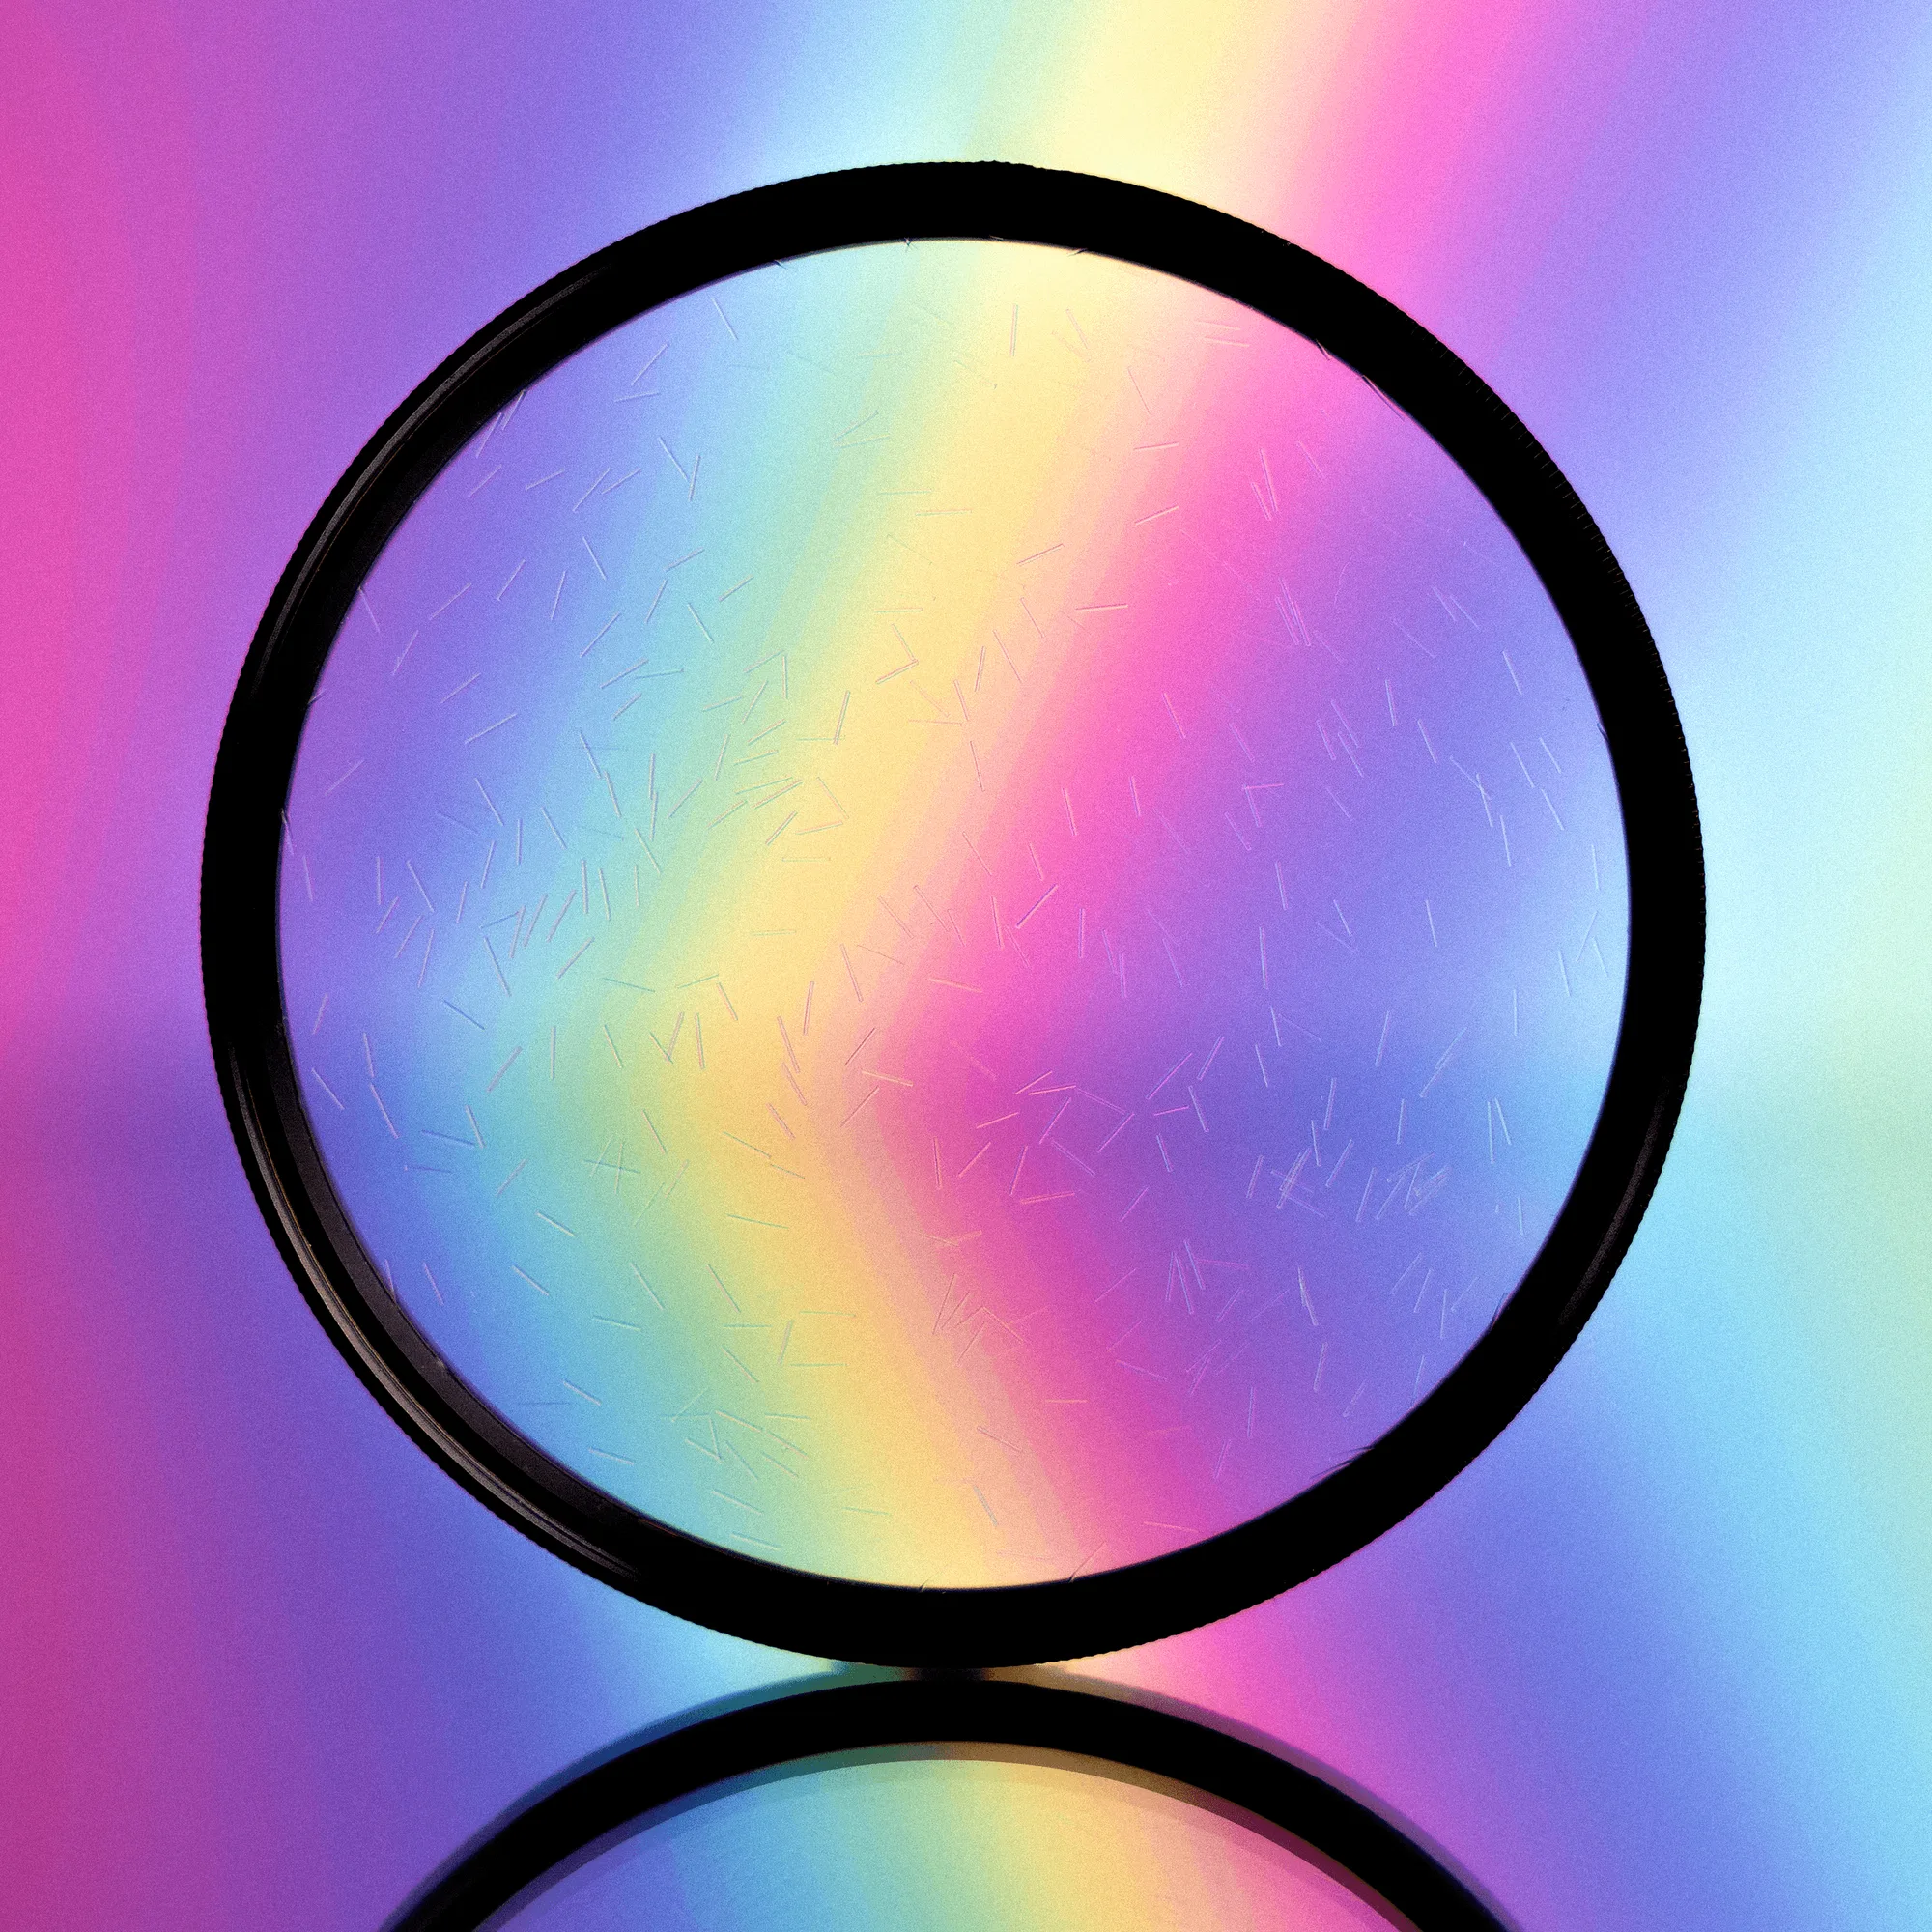
Radiant FX Filter
That is why the goal is not a spotless, polished surface. The goal is a surface with no smudges, no residue, and no new micro-scratches. Cleaning less aggressively and more often is the better habit.
What to keep in your filter pouch
You do not need a lab. You need tools that lift debris instead of grinding it across the coating. Keep these with your kit and replace them when they get dirty.
- A rubber-bulb blower for loose dust and grit.
- A soft lens brush or clean microfiber brush for stubborn particles.
- Lint-free lens wipes or a clean microfiber cloth reserved only for glass.
- A lens-safe cleaning solution, applied to the wipe, never sprayed on the filter.
- A hard or semi-rigid case with individual slots or pouches for each filter.
Cleaning sequence that protects the coating
Work in this order and stop as soon as the filter is clean. Skipping straight to a wipe is the most common way people add scratches to FX glass.
Start with the blower at an angle, not straight down, so dislodged grit falls away from the surface. Then use the brush with light strokes. If a smudge remains, breathe gently on the glass and use a lint-free wipe in a slow circular motion from the center outward. If the smudge is oily, add one drop of lens-safe cleaner to the wipe, not the filter. Finish by checking the coating under a light at a low angle, where residue shows up as a haze rather than a spot.
Storing filters so the next shoot starts clean
Storage is where most filter damage happens. A filter left in a bag pocket picks up lint and grit, and a filter stacked against another filter can trade coating for scratches. Use a case with individual slots and keep the coated side facing away from anything that can rub it.
For rotating designs, store the filter at a neutral position rather than leaving it locked at an extreme angle. That avoids unnecessary pressure on the rotation mechanism between shoots. Keep the case out of hot cars and direct sun, since heat is hard on coatings and adhesives over time.
Step-by-step FX filter care routine
- Step 1: Blow off loose debris: Use a rubber-bulb blower at an angle across both sides of the filter. Mistake to avoid: blowing straight down, which pushes grit into the coating instead of off it. Checkpoint: the surface should look dust-free before anything touches it.
- Step 2: Brush the surface lightly: Sweep a clean soft lens brush across the glass in one direction. Mistake to avoid: pressing hard or using a brush that has been stored loose in a bag. Checkpoint: if you can still see a smudge, move to a wipe rather than brushing harder.
- Step 3: Wipe only the smudged area: Use a lint-free wipe with a slow circular motion from center outward. Add lens-safe cleaner to the wipe, never to the filter. Mistake to avoid: scrubbing the whole filter when only one spot is dirty. Checkpoint: inspect at a low angle for haze, which means residue, not dust.
- Step 4: Let the filter air dry: Wait a few seconds before mounting the filter so any remaining moisture evaporates. Mistake to avoid: wiping again immediately, which can drag residue around the coating. Checkpoint: the glass should look clear and dry before it goes on the camera.
- Step 5: Store in a dedicated slot: Return the filter to a case with individual slots, coated side protected, and set rotating filters to a neutral position. Mistake to avoid: stacking filters or leaving them in a soft bag pocket where they rub together. Checkpoint: nothing should touch the coated surface between shoots.
Product notes for cleaning and storage
- 4x5.65 Flare FX Filter: The 4x5.65 Flare FX Filter creates an anamorphic style flare on point source highlights and uses a rotating filter design to adjust the flare position. Because the flare position is set by rotation, keep the rotation ring free of grit and store the filter at a neutral angle so the effect stays repeatable.
- 4x5.65 Radiant FX Filter: The 4x5.65 Radiant FX Filter creates flares and refractions off strong highlights and rotates to change the effect, look, and movement. Refractions exaggerate surface haze, so any leftover cleaning residue will show up in the effect. Clean only until the smudge is gone, then stop.
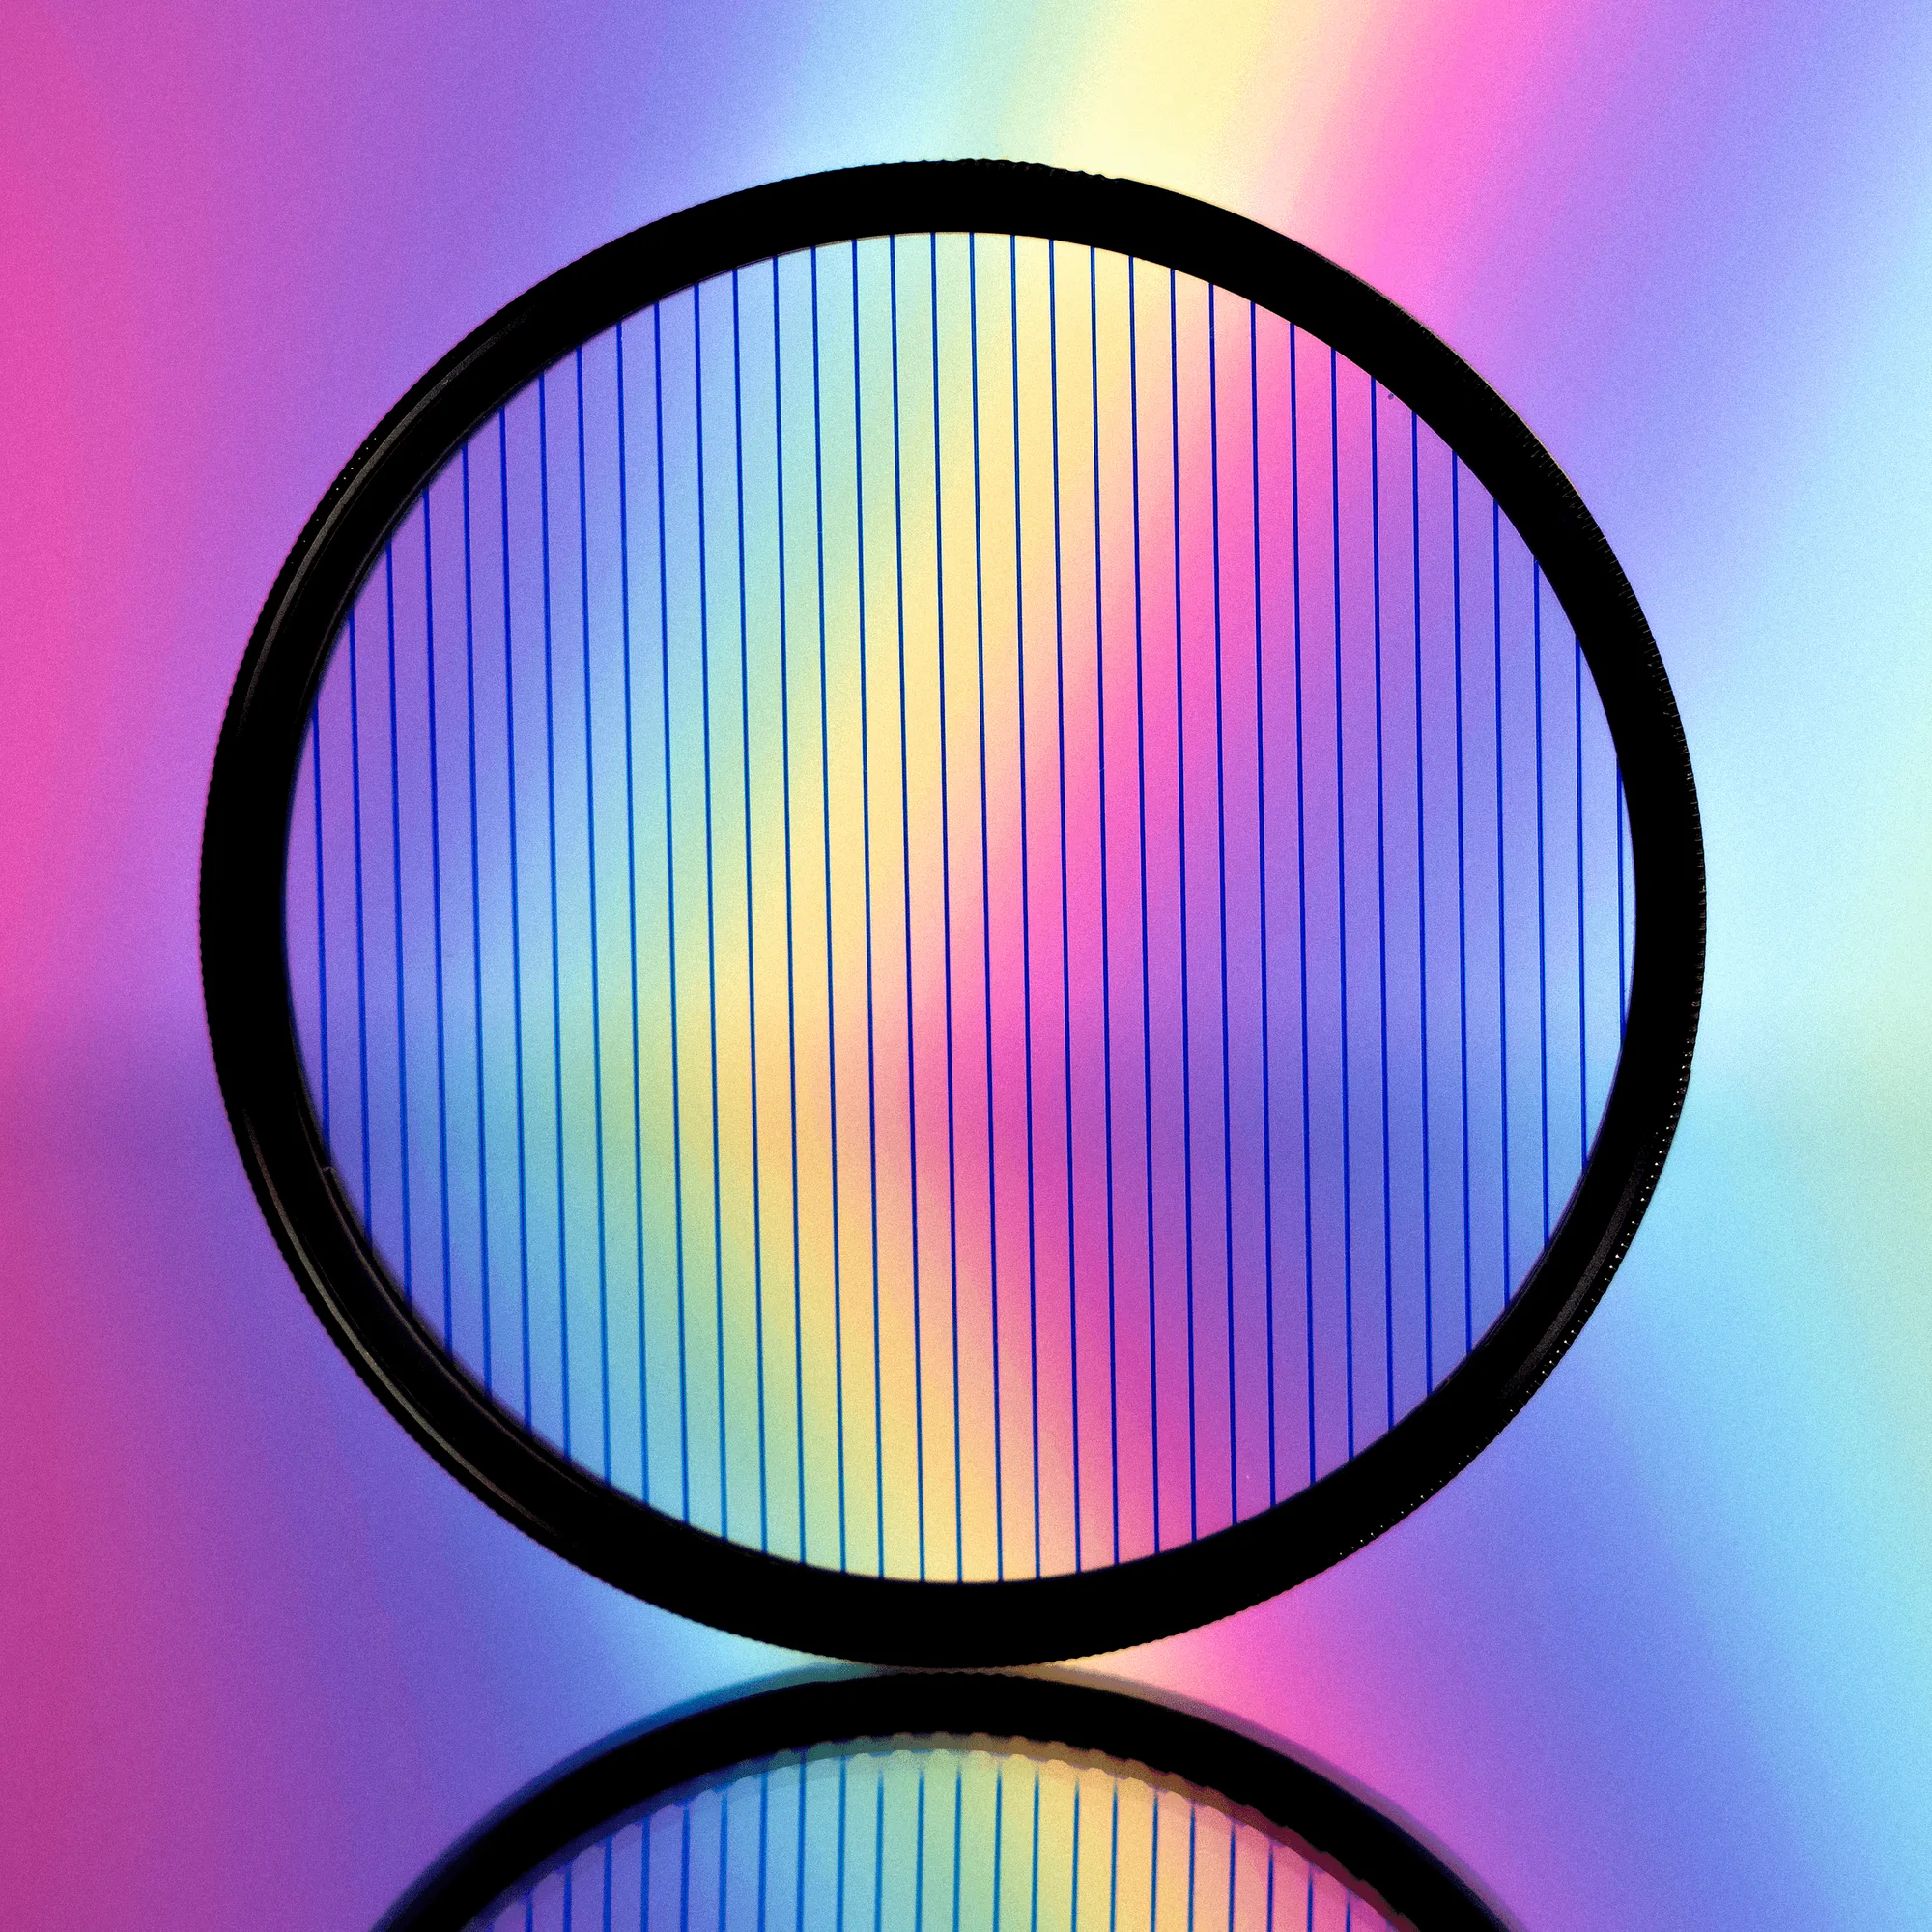
- Kaleidoscope FX Filter: The Kaleidoscope FX Filter creates kaleidoscope and refraction effects in camera and is available in 77mm and 82mm rotating filters with strength and size options. Round rotating filters need a case that supports the ring, not just the glass, so the filter does not sit on its edge and collect grit in the threads.