Quick Answer
To clean your FlexSeries Pro razor, remove the blade assembly and tap out loose hair, then use the Pro Micro Cleaning Brush to dislodge debris from the blades and housing. Rinse the head under warm running water, let it air-dry completely, and reassemble. Do this after every shave for best performance.
Micro Cleaning Brush
Why Regular Cleaning Matters
A clean razor isn't just about hygiene — it directly affects shave quality and blade longevity. Hair, oil, and dried shaving cream can clog the blades, causing the motor to work harder and the blades to dull faster. For a head shaver that touches sensitive skin, keeping the cutting assembly free of buildup also reduces the risk of irritation and bumps.
The FlexSeries Pro is designed for easy maintenance, but skipping a quick clean after each use can lead to performance drop-offs. A few seconds of care after every shave keeps the razor running smoothly and extends the life of your blade refills.
What You'll Need
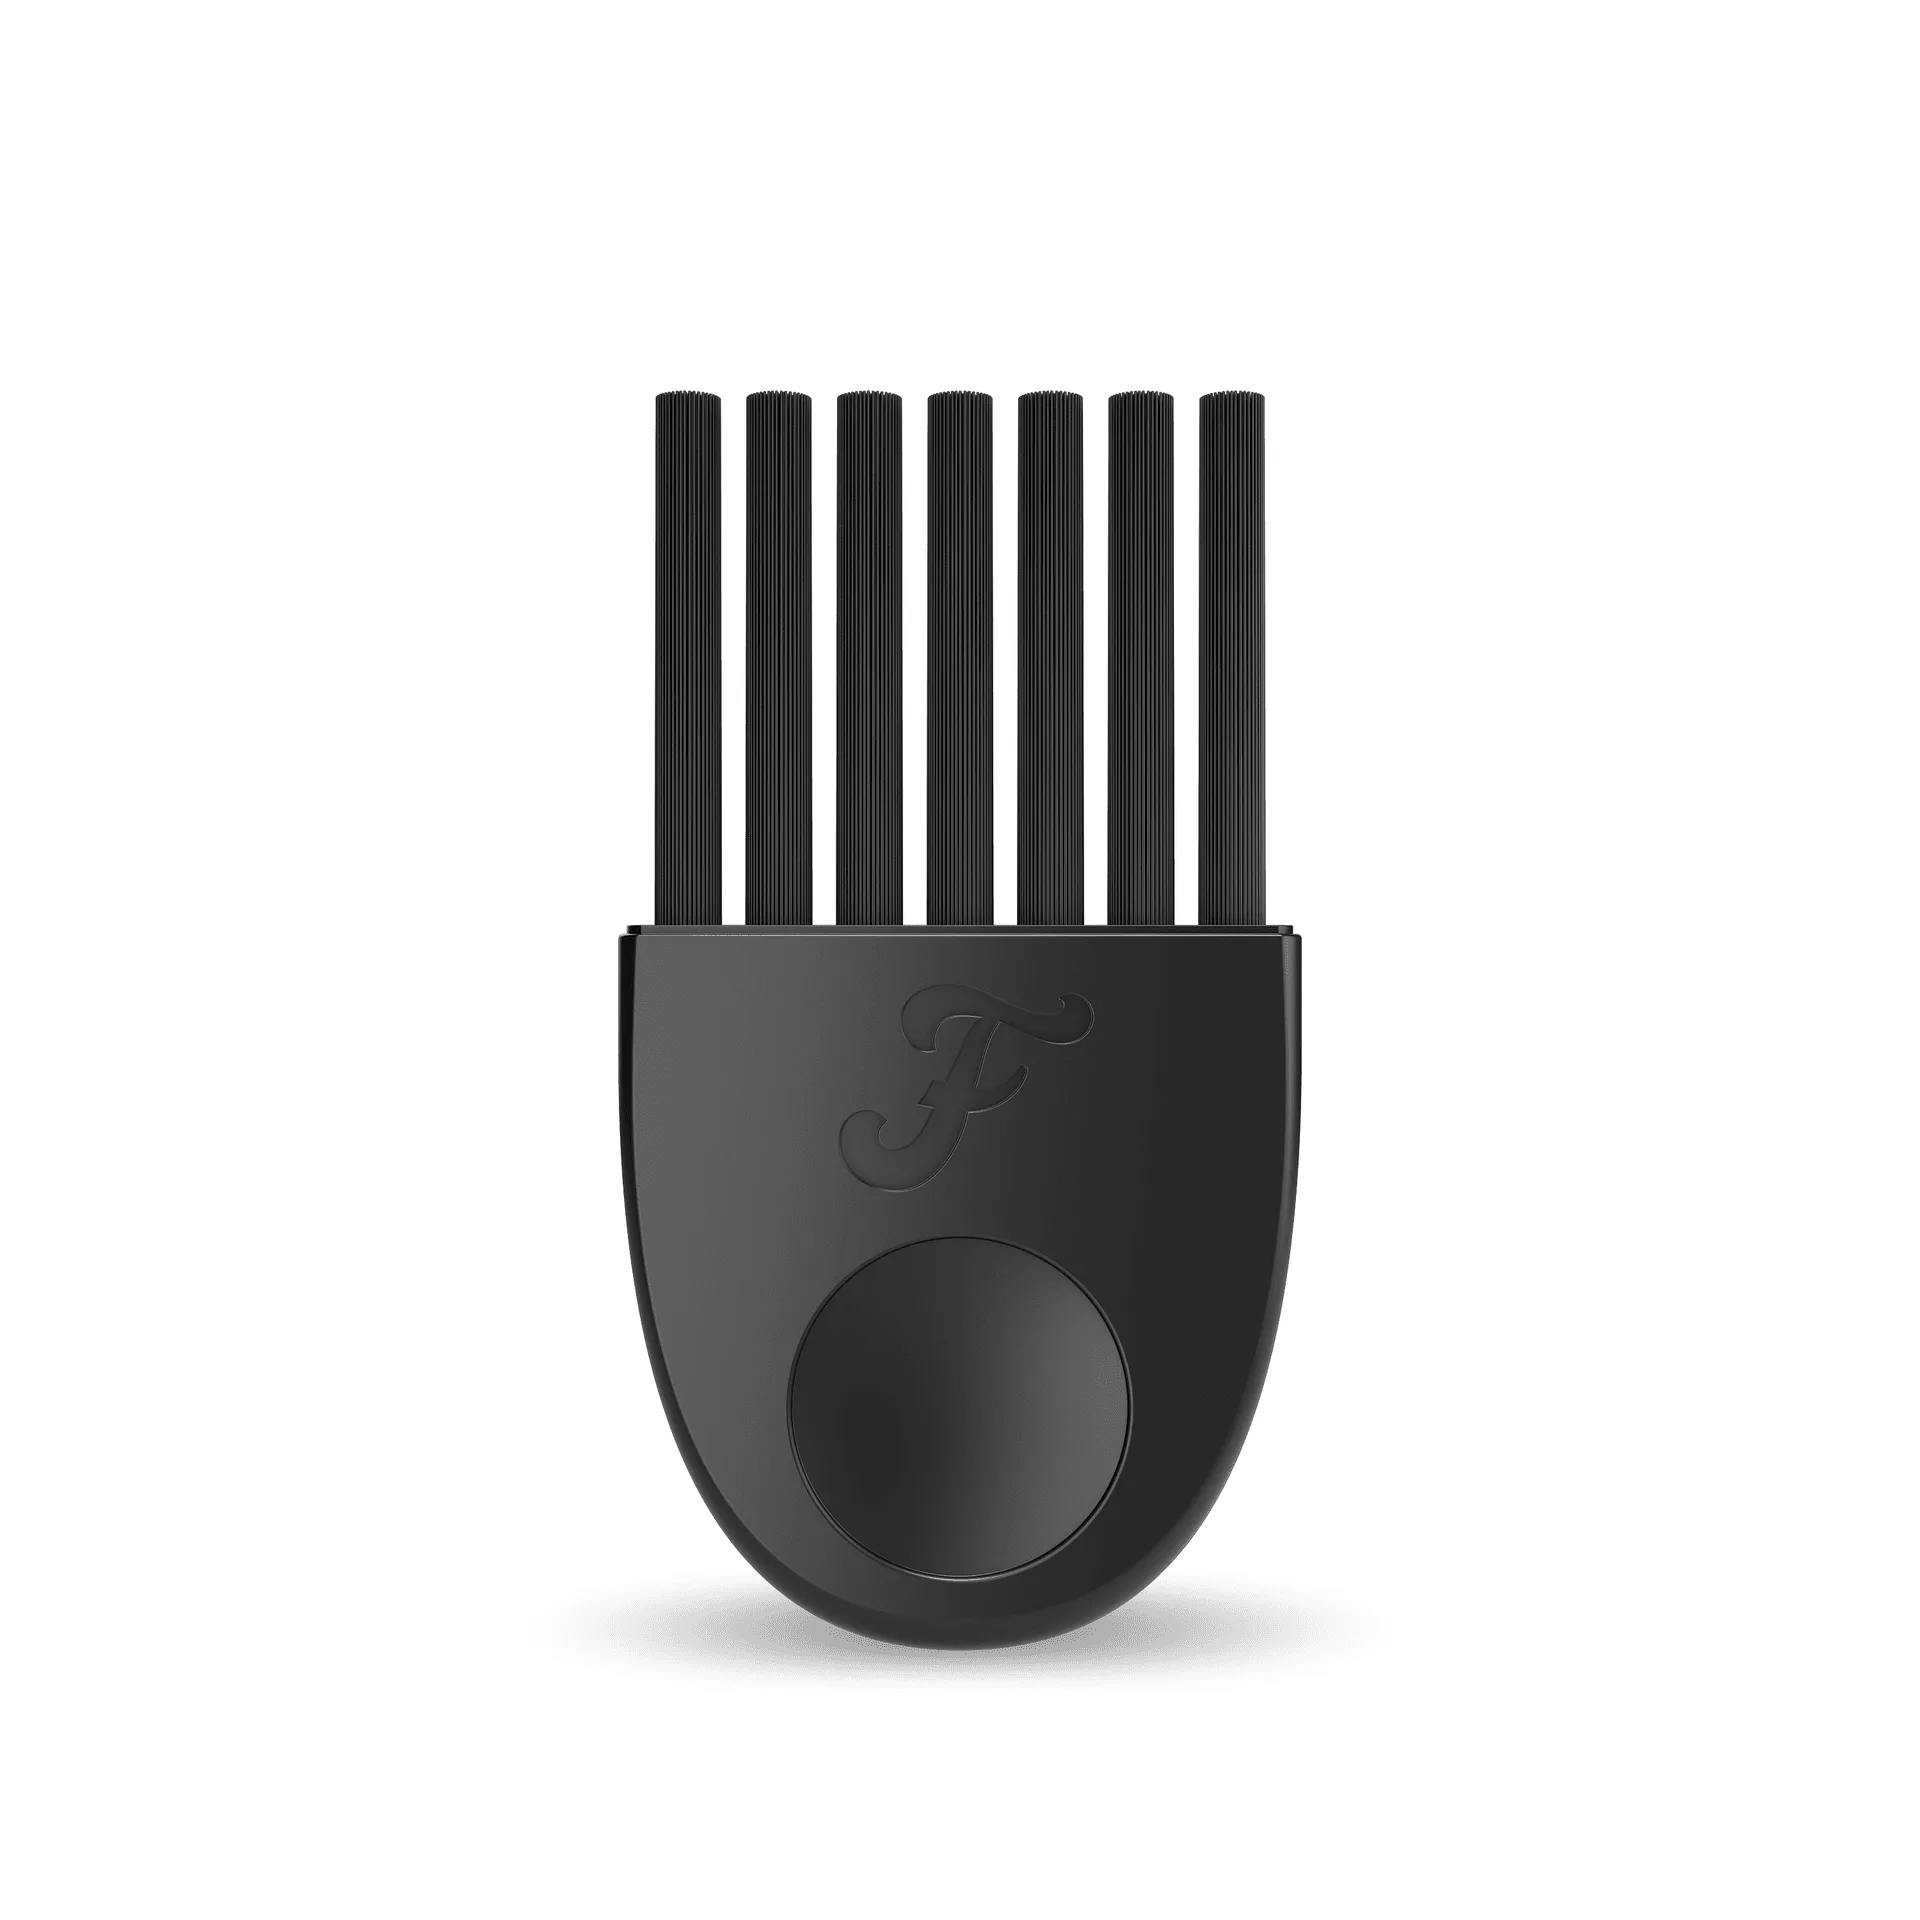
You don't need special tools or chemicals. Warm running water and a dedicated cleaning brush are enough. The Pro Micro Cleaning Brush is designed for this job — its longer, stronger bristles reach into the blade gaps and corners that a standard brush or rinse alone can't clean. An ergonomic handle makes it comfortable to use even with wet hands.
Avoid using compressed air, metal tools, or harsh solvents, which can damage the blades or the razor's internal components.
Step-by-Step Cleaning Routine
- Step 1: Remove the Blade Assembly: Press the release button on the side of the razor and lift the blade head off. Tap the head gently against the edge of a sink or trash bin to dislodge loose hair clippings. Common mistake: pulling the blade off without pressing the release can stress the locking mechanism. Always use the button.
- Step 2: Brush Out Debris: Hold the blade assembly over a sink and use the Pro Micro Cleaning Brush to sweep bristles through the blade gaps and around the cutter. Focus on areas where hair tends to pack in — the corners and under the foil. Checkpoint: if you see hair still trapped after brushing, hold the assembly under a gentle stream of warm water to flush it out.
- Step 3: Rinse the Head: Run the blade assembly under warm (not hot) tap water for 5-10 seconds. Rotate it to let water flow through all openings. Do not submerge the entire razor — only the removable head is water-safe. Common mistake: using hot water can warp plastic parts or degrade the blade coating over time. Stick to lukewarm.
- Step 4: Dry Thoroughly: Shake off excess water and place the blade assembly on a clean towel with the blades facing up. Let it air-dry for at least 30 minutes before reassembling. Do not use a hair dryer or microwave to speed up drying. Checkpoint: reassembling a wet head can trap moisture, leading to rust or bacterial growth. Patience here pays off.
- Step 5: Reassemble and Store: Once the blade assembly is completely dry, snap it back onto the razor body until you hear a click. Store the razor upright in a dry area, away from direct shower spray. Final tip: a weekly deep clean with a drop of mild soap on the brush bristles removes oil buildup that water alone won't dissolve.
Recommended Cleaning Tool
- Pro Micro Cleaning Brush: Keep your shaver in top condition with the FlexSeries Pro Micro Cleaning Brush. Upgraded with longer, stronger bristles and an ergonomic handle, this brush makes it easier to clean out hairs from your shaver, ensuring optimal performance and hygiene. The longer bristles reach deep into the blade assembly where hair and debris get trapped, preventing clogs that can reduce cutting efficiency and cause irritation.