Quick Answer
Clean your brush sets every 1–2 weeks with a gentle shampoo or brush cleanser, rinse thoroughly, reshape the bristles, and let them dry flat on a towel to preserve the brush shape and adhesive.
Why Regular Cleaning Matters for Your Brush Set
Dirty brushes collect oil, dead skin, and old product that can clog pores, cause breakouts, and make makeup application streaky. A consistent brush cleaner routine also prevents bacteria from building up on the bristles, which is especially important for face brushes that touch liquid or cream formulas.
For eye brushes, residue from dark shadows can muddy lighter shades, so a quick clean between color changes helps keep your looks crisp. The trade-off is that washing too often with harsh soaps can dry out natural bristles or loosen the glue holding the ferrule.
What You’ll Need
A gentle brush shampoo or a mild sulfate-free cleanser, a small bowl or sink of lukewarm water, a clean towel, and a brush drying rack or flat surface. Avoid soaking the ferrule (the metal part) to protect the adhesive.
Step-by-Step Brush Cleaning Routine
- 1. Wet the bristles: Hold each brush under lukewarm running water with the bristles pointing downward. Wet only the bristles, not the ferrule or handle, to keep water from loosening the glue. Avoid hot water — it can damage synthetic bristles and weaken the adhesive.
- 2. Apply cleanser and swirl: Squeeze a small amount of brush shampoo or mild soap into your palm or a silicone brush mat. Gently swirl the wet bristles in the cleanser, working up a light lather. Don’t press too hard or twist the bristles — that can splay them and ruin the brush shape.
- 3. Rinse thoroughly: Rinse the bristles under running water (still pointing down) until the water runs clear. Repeat the lather-and-rinse step if the brush was used with heavy cream products or dark pigments. Leftover soap residue can irritate skin and make brushes feel sticky.
- 4. Reshape and blot: Gently squeeze out excess water with your fingers, then reshape the bristles to their original form. Lay the brush flat on a clean towel and blot lightly to remove more moisture. Never pull or tug on wet bristles — they are fragile and can break or bend out of shape.
- 5. Dry flat on a towel: Place the brushes flat on a dry towel with the bristles hanging slightly off the edge of a counter or table. This allows air to circulate around the bristles while keeping water from seeping into the ferrule. Drying brushes upright in a cup can trap water in the ferrule and cause the glue to fail.
Brush Care Tip for Your Set
-
Ready, Set, Pro 16-Piece Face & Eye Brush Set: The Ready, Set, Pro 16-Piece Face & Eye Brush Set features brush heads engineered for less fraying, shedding, and streaking. Proper cleaning preserves those engineered bristle shapes, so your brushes continue to apply product evenly and last longer without shedding.
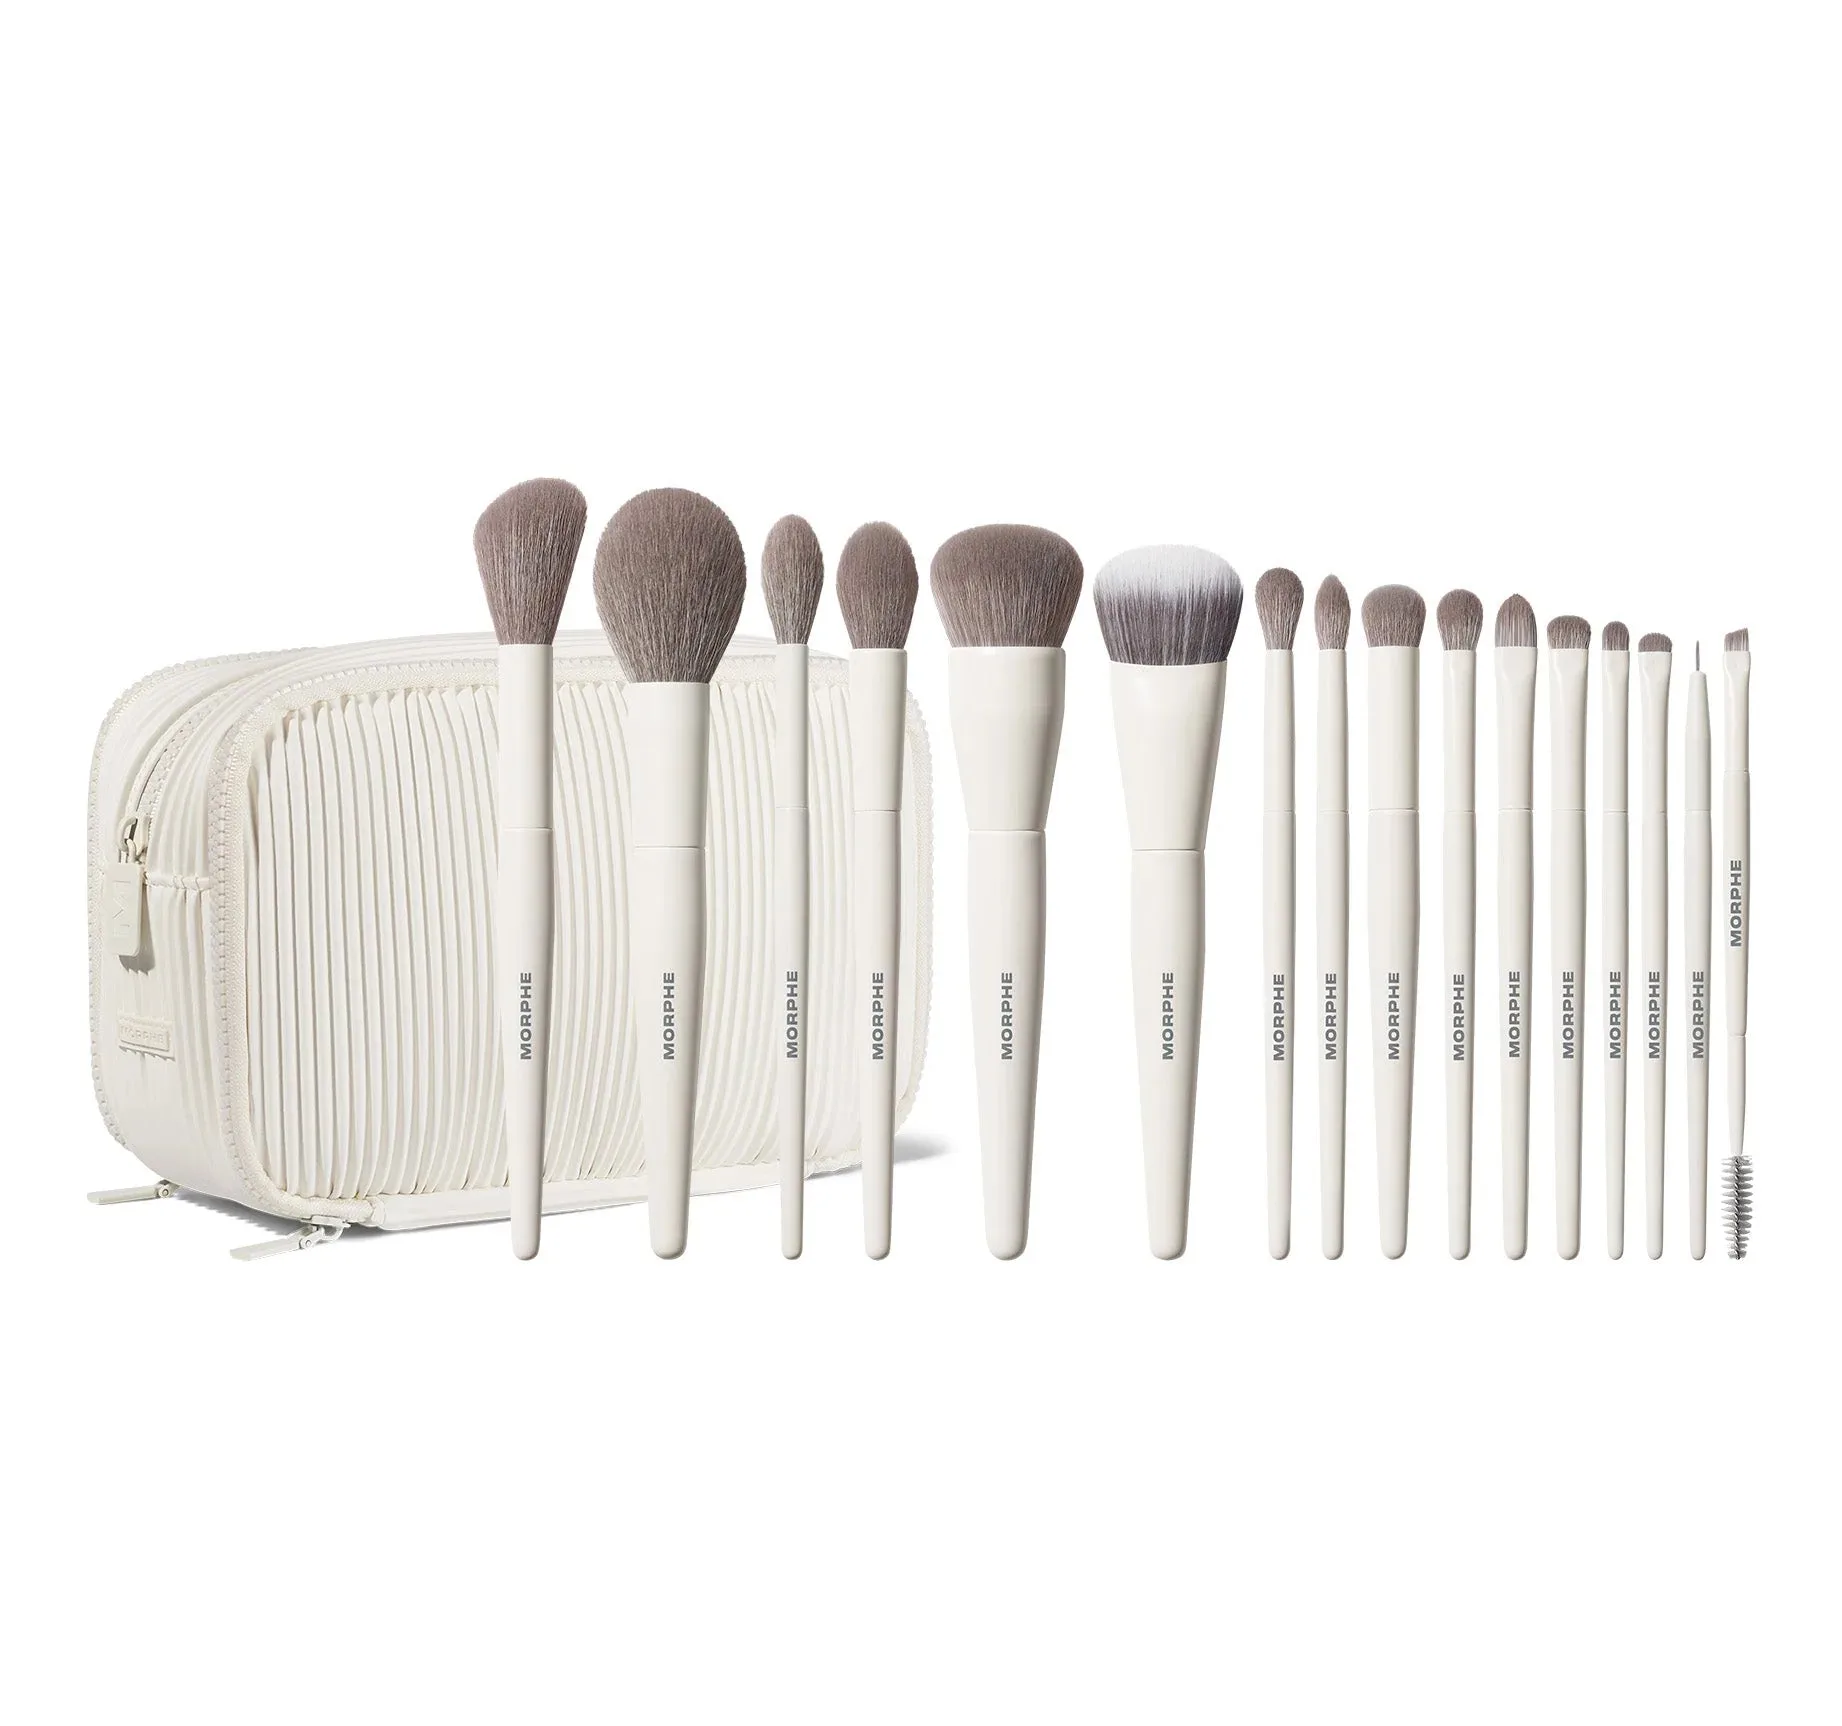
Ready, Set, Pro 16-Piece Face & Eye Brush Set