Quick answer
Unplug your keyboard, remove keycaps with a puller, and use compressed air and a soft brush to dislodge debris. Wipe the surface with a slightly damp microfiber cloth, then let everything dry fully before reassembling. Avoid liquids, abrasive cleaners, and excessive force to prevent switch or keycap damage.
What you need before you start
Gather a few basic tools: a keycap puller (wire style is gentler on stems), compressed air canister, a soft-bristle paintbrush or electronics brush, isopropyl alcohol (70% or higher), microfiber cloths, and a small container for soaking keycaps. Avoid using paper towels or cotton swabs that can leave lint inside switches.
How often should you clean your keyboard?
For a desk keyboard used daily, a light dust removal every two weeks and a deep clean every three months keeps grime from building up. If you eat near your keyboard or work in a dusty environment, increase the frequency. Overcleaning with harsh chemicals can wear down keycap legends, so stick to mild methods.
Step-by-step keyboard cleaning guide
- Step 1: Unplug and flip the keyboard: Disconnect the USB cable or turn off Bluetooth. Turn the keyboard upside down and gently shake it to dislodge loose crumbs, dust, and debris. Use compressed air in short bursts at a 45-degree angle to blow out stubborn particles from between the switches. Common mistake: Tilting the can too far can release liquid propellant onto the switches. Keep the can upright.
- Step 2: Remove and soak the keycaps: Use a wire keycap puller to gently lift each keycap by pulling straight up. Place them in a bowl with warm water and a drop of mild dish soap. Let them soak for 10–15 minutes, then scrub each cap with a soft brush. Rinse with clean water and lay them on a towel to dry completely (at least 4 hours). Checkpoint: Never soak keycaps in hot water or alcohol, as it can fade the legends or warp ABS plastic.
- Step 3: Clean the switch plate and case: With the keycaps removed, use a soft brush or compressed air to remove dust from around the switch stems. Dampen a microfiber cloth with isopropyl alcohol and wipe the plate and keyboard frame. Avoid getting any moisture into the switch openings. Common mistake: Spraying cleaner directly onto the board can seep into switches and cause corrosion. Always apply to the cloth first.
- Step 4: Reassemble and test: Once everything is bone dry, press each keycap back onto its switch stem until you hear a click. Plug the keyboard back in and test every key using a online keyboard tester to ensure all switches register correctly. Final tip: If a key feels sticky after cleaning, remove the cap again and check for leftover residue or a bent switch stem.
Products that make cleaning easier
- MX Keys S for Mac - Pale Grey - English US (QWERTY): The Logitech MX Keys S for Mac in Pale Grey offers a refined typing experience tailored for Mac users. This full-size keyboard features a US English QWERTY layout, designed for seamless integration with macOS. If you own a Mac-focused keyboard like the MX Keys S, the low-profile keycaps are easier to wipe down but still benefit from regular dust removal between keys to keep the backlighting consistent.
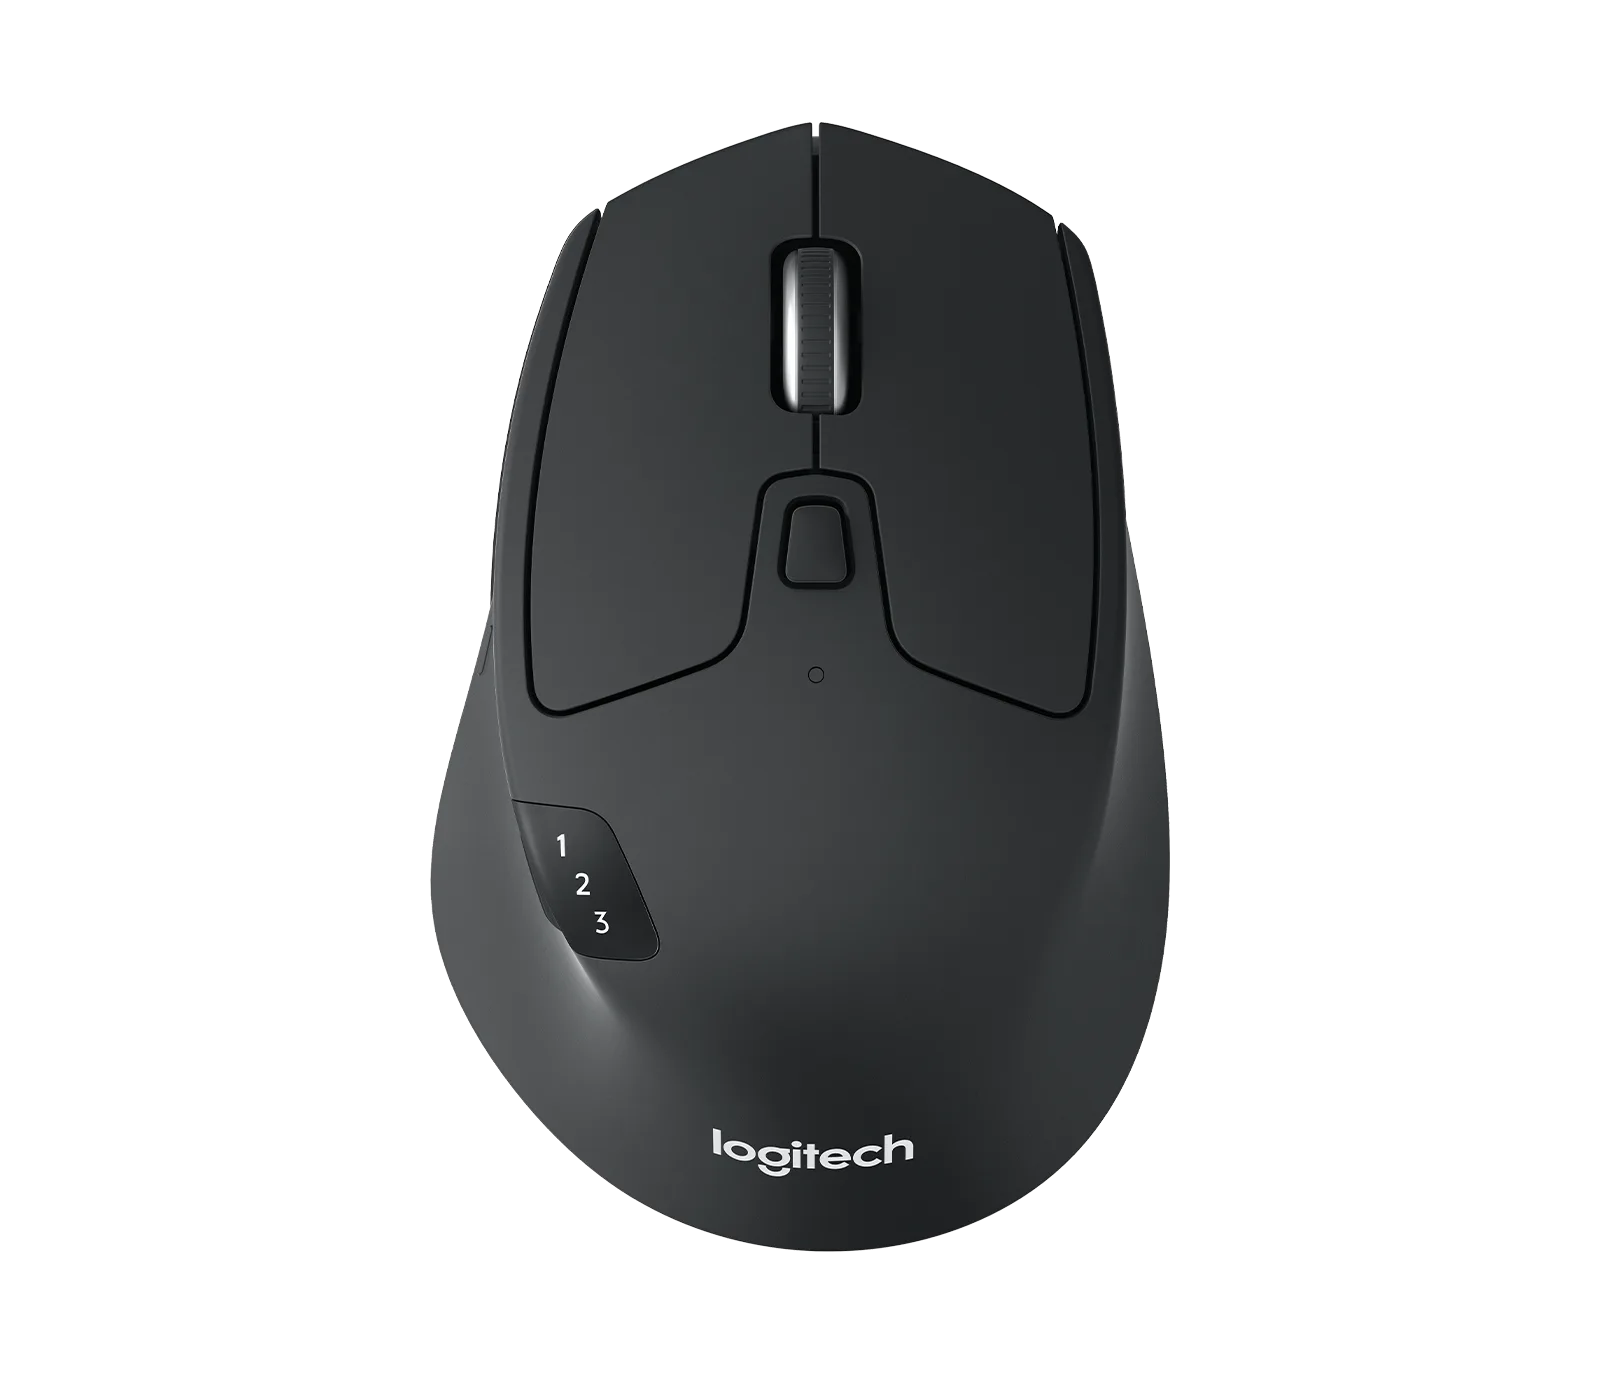
- Refurbished MX Master 3S - Black: This certified refurbished MX Master 3S in Black offers a reliable and precise computing experience from Logitechmalls. Designed for productivity, this mouse combines comfort with advanced tracking capabilities. Pair your clean keyboard with a refurbished MX Master 3S mouse. Its sculpted shape and quiet clicks reduce the need for frequent cleaning, but the rubber side grips should be wiped gently with a damp cloth to prevent deterioration.