Quick answer
Use a sewing machine cleaning kit to safely remove lint and dust from the bobbin area, feed dogs, and tension disks, then apply a drop of oil to the recommended points. This routine prevents skipped stitches, thread breakage, and motor strain.
Why a dedicated kit matters
Household brushes or canned air can push debris deeper into the machine or damage delicate components. A sewing machine cleaning kit includes soft brushes, a lint pick, and a small vacuum attachment designed for the tight spaces inside the machine. Using the right tools avoids scratching metal parts or dislodging springs.
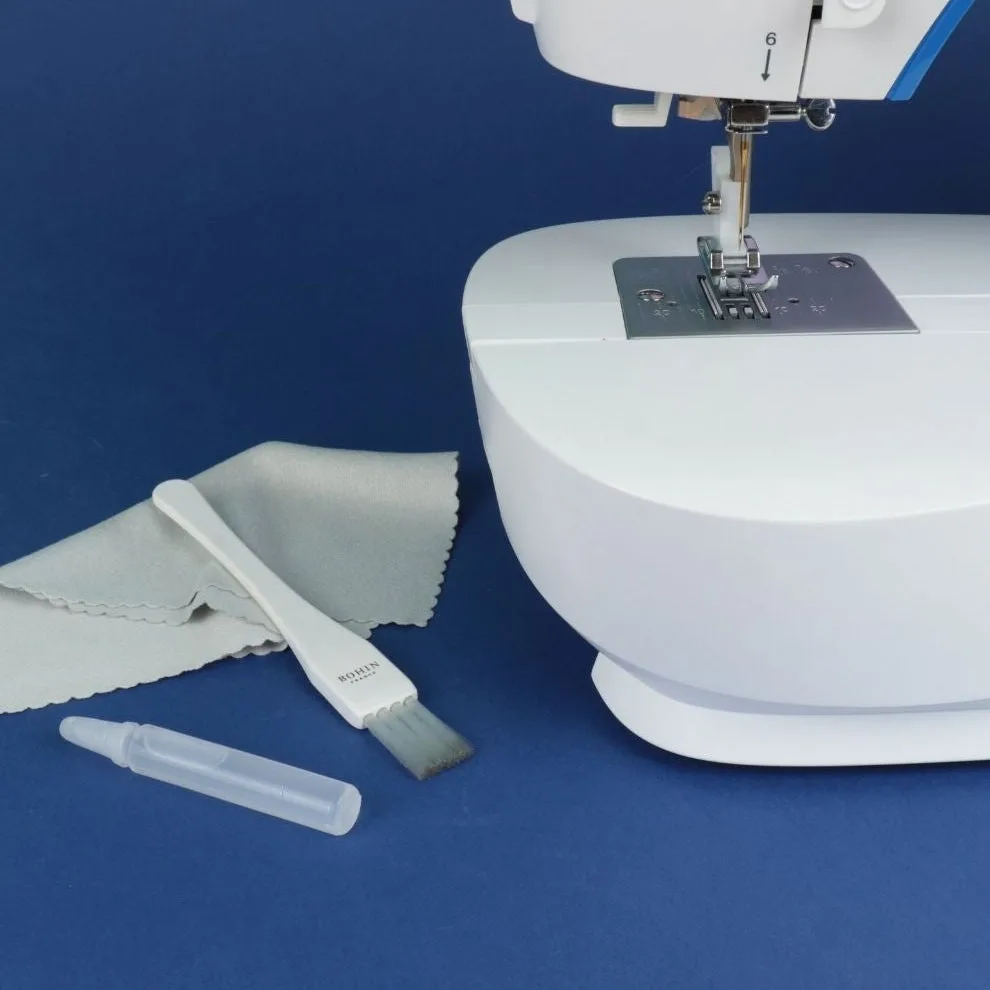
The BOHIN Kit de nettoyage pour machine à coudre is a complete set that includes everything you need for routine care. It is compact enough to store in your sewing drawer and costs a fraction of a single repair visit.
When to clean your machine
Clean your machine after every 8–10 hours of sewing, or whenever you change the bobbin. If you sew with lint-heavy fabrics such as fleece, velvet, or felt, clean it after each project. A quick visual check of the bobbin area before starting a new seam will tell you if it is time for a cleaning.
What not to do
Never use compressed air—it forces lint into the motor and gears. Do not apply oil to the bobbin case or the hook race unless your manual specifically says so. Over-oiling attracts dust and can cause the machine to run sluggishly. Stick to the oil points shown in your machine's manual.
Step-by-step cleaning process
- Unplug the machine and remove the needle and presser foot: Safety first: always disconnect power before cleaning. Take off the needle plate and the bobbin case. Remove the presser foot to access the feed dogs. A common mistake is leaving the needle in place—it can bend or break if you brush against it.
- Brush out the bobbin area and feed dogs: Use the soft brush from your cleaning kit to sweep lint and thread fragments out of the bobbin housing and around the feed dogs. Hold the machine upside down over a trash bin so debris falls out freely. Do not use a metal tool—it can scratch the hook race. A plastic lint pick is safer.
- Clean the tension disks and thread path: With the presser foot raised, run a soft brush or a lint-free cloth between the tension disks. Do not insert anything sharp. Wipe the thread path from the spool pin to the needle. Thread jammed in the tension disks is a common cause of uneven stitches. A quick brush here often fixes the issue.
- Vacuum remaining dust with the kit's nozzle: Attach the small vacuum nozzle from your cleaning kit and gently vacuum around the bobbin area, feed dogs, and any visible crevices. This removes fine particles that brushing alone leaves behind. Hold the nozzle at a slight angle to avoid sucking up small springs or screws.
- Oil the specified points (if your manual says so): Check your machine's manual for oil points. Apply one drop of sewing machine oil to each indicated spot. Wipe away any excess with a lint-free cloth. Do not oil the bobbin case or the hook race unless instructed. Over-oiling is a common mistake—excess oil attracts dust and can stain fabric.
- Reassemble and test on scrap fabric: Replace the needle plate, bobbin case, and presser foot. Thread the machine with fresh thread and sew a few inches on scrap fabric. Listen for unusual noises and check that stitches are even. If the machine skips stitches or makes a grinding sound, recheck for lint in the bobbin area.
Product used in this guide
-
Kit de nettoyage pour machine à coudre: The BOHIN cleaning kit includes brushes, a lint pick, and a small vacuum attachment for reaching tight spaces inside the machine. Using the correct tools prevents damage to delicate parts and makes the cleaning process faster and more thorough.
Kit de nettoyage pour machine à coudre