Quick answer
Converting miniatures with Arcadian heads and Eagle Cuirass torsos works best when you treat the head swap and torso swap as two separate operations. Test-fit every joint before glue, pin the heavier torso connections, and only then blend the neck and waist with putty. If you rush the dry-fit, you risk mismatched scale, tilted heads, or a torso that sits too high on the legs.
Arcadian heads and Eagle Cuirass torsos are popular conversion parts because they change a miniature's silhouette without changing its role on the table. The head swap gives you a new helmet or face profile; the torso swap gives you a different chest and shoulder line. Done well, the result looks like a single sculpt rather than a pile of parts.
This guide walks through an ordered process you can repeat across a squad. Each step includes the checkpoint that tells you the fit is correct and the mistake that most often ruins the result. You do not need a full sculpting studio, but you do need to slow down at the dry-fit stage.
Prepare the parts and check scale before you cut
Lay out your donor legs, arms, and weapons next to the Arcadian heads and Eagle Cuirass torsos. Compare the neck socket on the torso to the neck peg on the head, and compare the torso's waist to the leg set you plan to use. Heroic-scale parts and 28mm parts can look similar in a photo but sit differently once assembled. If a neck peg is too large, trim it in small increments rather than cutting the socket.
Keep the parts on their sprues until you have chosen a pair. Once you cut, you lose the ability to swap. A clean cutting mat and a sharp hobby knife reduce the chance of crushing a thin neck or shoulder. If you are converting a full squad, work in batches of five so your test-fit decisions stay consistent.
- Checkpoint: the head should sit on the torso with no gap and no wobble before you apply glue.
- Common mistake: trimming the neck socket first. Trim the peg instead, because a loose socket is much harder to fix.
Dry-fit the head and torso together
Press the Arcadian head onto the Eagle Cuirass torso without glue. Rotate the head through a small arc to find the angle that matches the pose of the arms and legs you have chosen. A forward-leaning torso usually wants a head angled slightly down; a standing torso wants a level head. Mark the best angle with a pencil dot on the neck peg so you can repeat it after you separate the parts.
If the head sits too high, check whether the torso's collar is interfering. Some cuirass torsos have a raised collar that pushes the head up. You can carefully shave the inside of the collar, but only remove material you can see. If the head sits too low, a small shim of putty under the neck peg will raise it without changing the visible join.
- Checkpoint: the chin should clear the collar and the eyes should point where the weapon points.
- Common mistake: forcing the head down until it touches the collar, which flattens the neck and makes the head look sunken.
Pin the torso to the legs for a durable join
The waist join carries most of the model's handling stress, so pin it. Drill a small hole in the top of the leg assembly and a matching hole in the bottom of the Eagle Cuirass torso. Use a short piece of paperclip or brass rod as the pin. Test the pin without glue first; it should seat fully with the torso sitting at the height you want.
If you are converting plastic legs, drill slowly and let the bit do the work. Resin torsos can chip if you apply sideways pressure. When the pin fits, remove the torso, apply a small amount of two-part epoxy or thick superglue to both surfaces, and press the parts together. Hold for the glue's working time, then set the model aside to cure before touching it again.
- Checkpoint: the torso should not rotate or slide on the pin once the glue sets.
- Common mistake: using only thin superglue on a heavy resin torso. It bonds fast but snaps easily under handling.
Blend the neck and waist with putty
After the structural joins cure, blend the transitions with a small amount of epoxy putty. Roll a thin snake for the neck and press it into the join with a silicone-tipped tool. Do the same at the waist, keeping the putty line thin so you do not lose the waist detail. Work in small sections and keep your tools wet to prevent the putty from dragging.
The goal is not to sculpt new anatomy but to hide the seam where two parts meet. If the cuirass has a defined lower edge, follow that line with your putty rather than covering it. Let the putty cure fully before priming. If you plan to add a backpack or pouches, leave the upper back slightly rough so the glue has something to grip.
- Checkpoint: under a light, the neck and waist should read as one continuous surface.
- Common mistake: applying too much putty at once, which buries detail and creates a bulge you then have to sand back.
Add compatible gear and check the silhouette
Once the main conversion is solid, add the details that sell it: a backpack, ammo pouches, or a weapon swap. Victoria Miniatures makes several parts that fit this kind of build. The Commando backpacks x5 are hand-cast resin backpacks designed to add to your own Guard Squads and are compatible with Victoria Miniatures Guard and popular plastic kits. That compatibility means you can test-fit them on your converted torso before committing to glue.
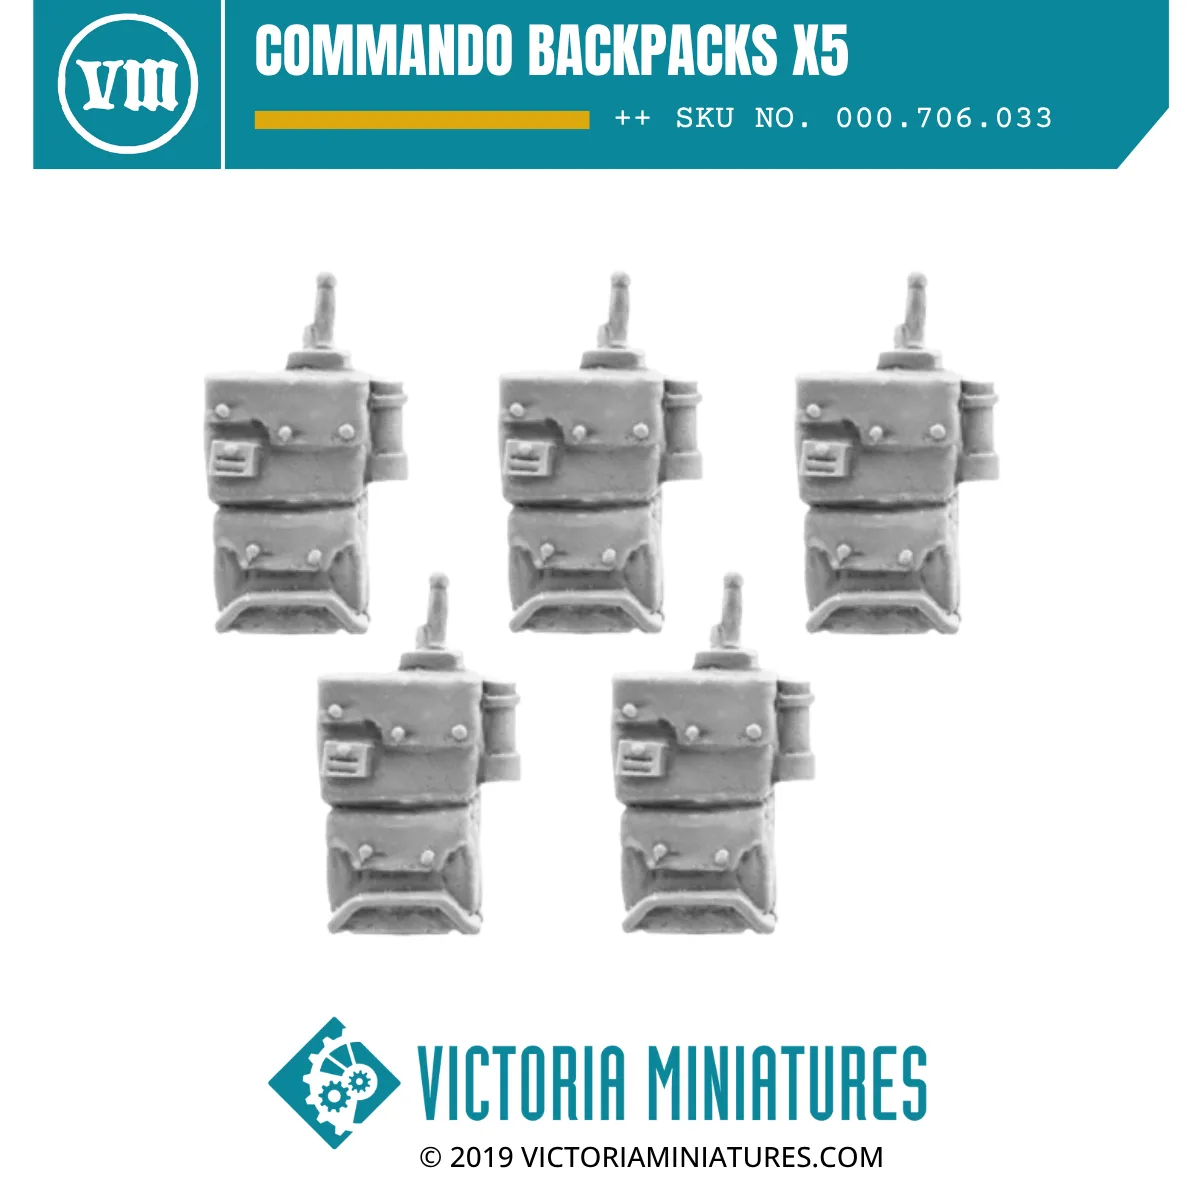
Commando backpacks x5
Step back and look at the model from tabletop distance, roughly arm's length. If the head, torso, and legs read as one figure, the conversion works. If one part pulls your eye, adjust that part before you prime. A quick silhouette check now saves stripping paint later.
- Checkpoint: the backpack should sit flat against the upper back without pushing the head forward.
- Common mistake: adding gear before the neck and waist are blended, which makes it harder to reach the seams.
Conversion steps at a glance
- Step 1: Sort and inspect parts: Lay out Arcadian heads, Eagle Cuirass torsos, legs, and arms. Check neck peg and waist fit before cutting anything. Checkpoint: every joint should meet with no gap and no wobble.
- Step 2: Dry-fit the head to the torso: Press the head on without glue and rotate it to match the pose. Mark the angle on the neck peg. Checkpoint: chin clears the collar and eyes follow the weapon line.
- Step 3: Pin the torso to the legs: Drill matching holes, insert a paperclip pin, test the fit, then glue with epoxy or thick superglue. Checkpoint: no rotation or sliding once the glue cures.
- Step 4: Blend the neck and waist: Apply thin epoxy putty snakes to the joins and smooth with a wet silicone tool. Keep detail lines visible. Checkpoint: seams disappear under a light without burying detail.
- Step 5: Add gear and check silhouette: Test-fit backpacks and pouches, then view the model at arm's length. Adjust anything that pulls the eye. Checkpoint: the figure reads as one model from tabletop distance.
Parts that work well in this conversion
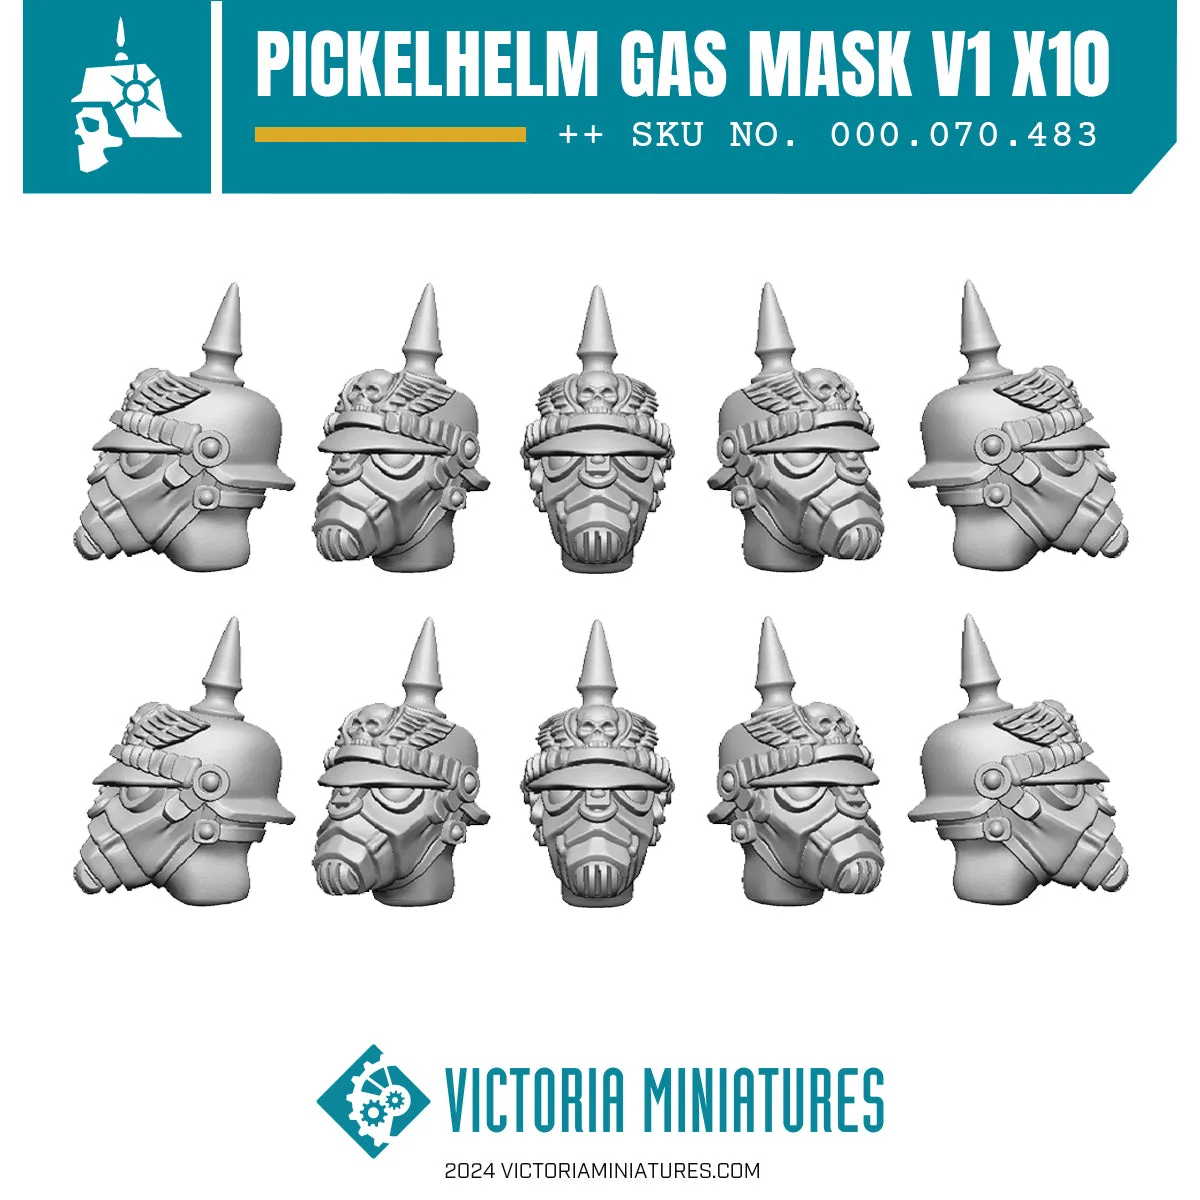
- Pickelhelm Heads with Gasmask V1 x10: Pickelhelm heads with Gasmasks x10 suitable for Heroic scale troops. Compatible with Victoria Miniatures and popular plastic guard. If you want a helmeted alternative to Arcadian heads, this set gives you ten heads in one pack and is designed to fit the same heroic-scale torsos and plastic guard kits.
- Commando backpacks x5: 5 quality hand cast resin Commando Backpacks to add to your own Guard Squads. Compatible with Victoria Miniatures Guard and popular plastic kits. These backpacks let you finish the silhouette after the head and torso swap without hunting for a matching scale, and the pack of five covers a small squad.
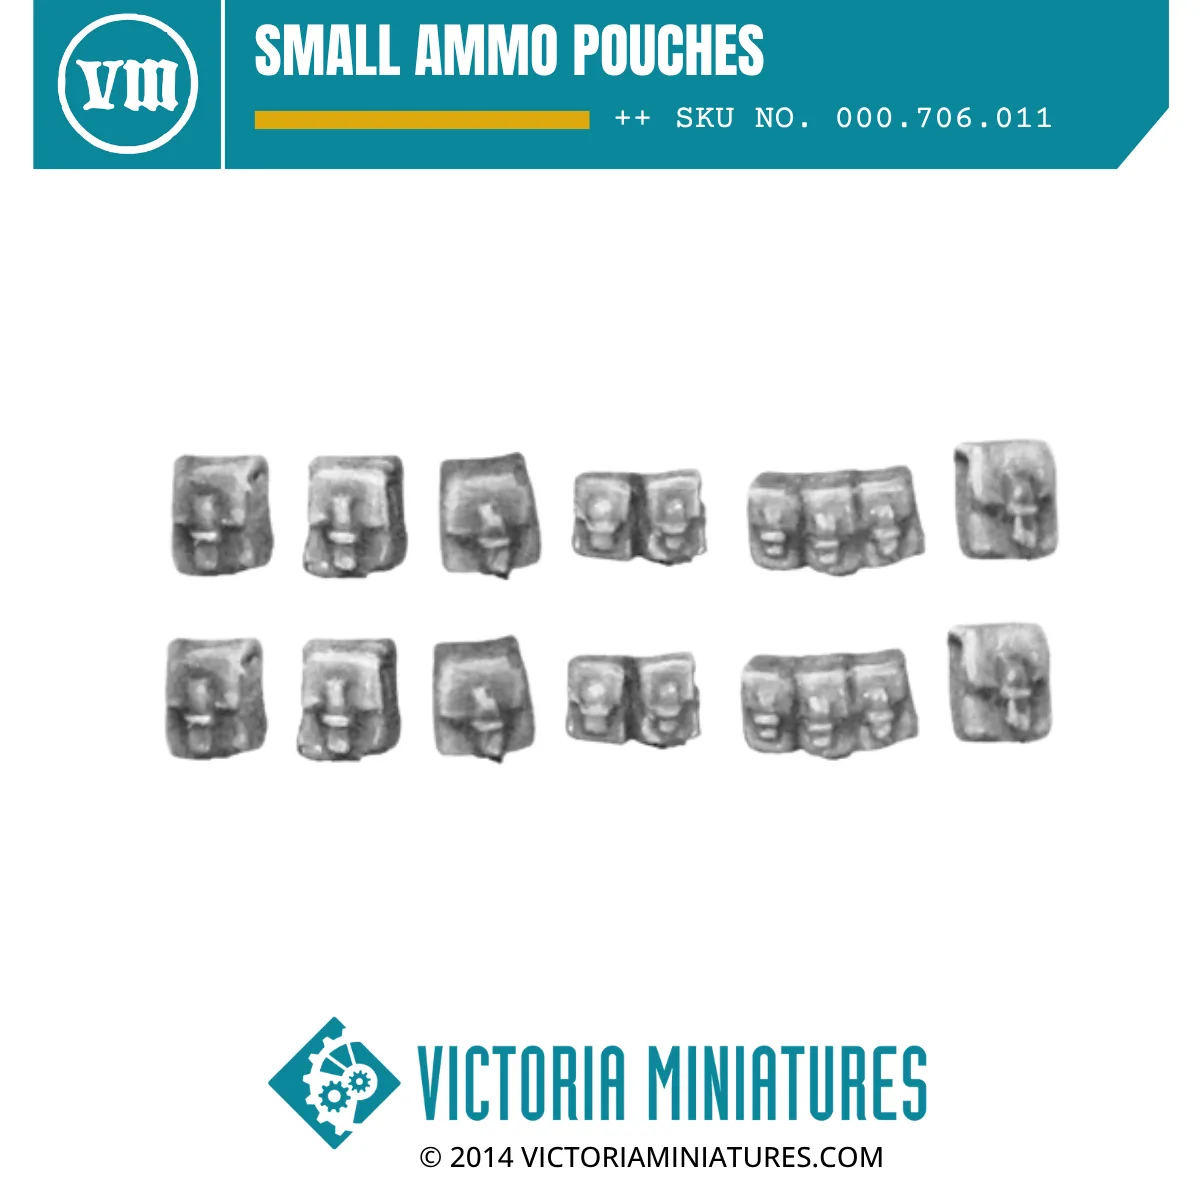
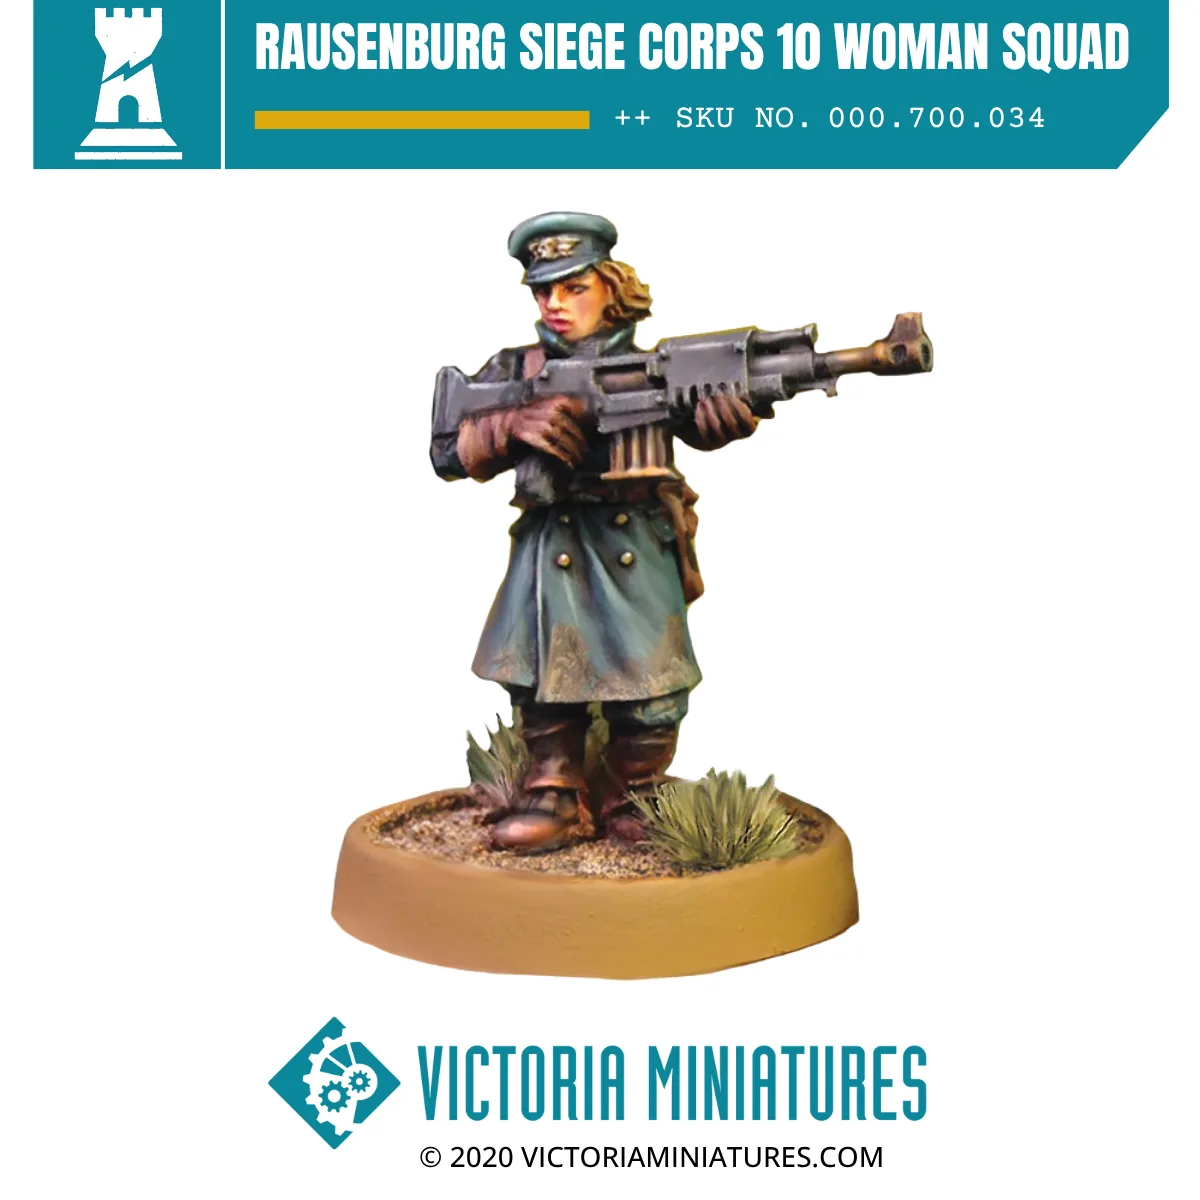
- Rausenburg Siege Corps 10 Woman Squad: This resin kit is packed with character and contains plenty of extra bits to customize your troops. This kit includes: 11 Female Dress Cap Heads 1 Spare Dress Cap 10 Female Greatcoat Legs Standing 10 Female Greatcoat Torsos 20 Small Ammo Pouches 1 Female Officer Arms Sprue 10 Bayonets in Sheathes 10 Bread Bags 10 Female Winter Universal Rifle Arms 1x Kill Team Special Weapons. The spare heads, torsos, and pouches in this kit give you conversion parts for other projects, so it doubles as a bits source when you are building a mixed squad.
Converting with Arcadian heads and Eagle Cuirass torsos rewards patience at the dry-fit stage more than any tool or glue. Test each join, pin the waist, blend the seams, and check the silhouette before you prime. If you want to expand the project, the Pickelhelm Heads with Gasmask V1 x10 and Commando backpacks x5 are practical additions that match the same heroic scale and plastic guard compatibility.