Coffee tasting, also known as coffee cupping, is a sensory journey that reveals the intricate flavors hidden within each bean. While professional cuppers have elaborate setups, you can create a simple yet effective coffee tasting station right in your own kitchen. Whether you're a curious beginner or a seasoned enthusiast, a dedicated space helps you focus on the nuances of aroma, acidity, body, and finish.
This guide will walk you through the essential equipment, the ideal environment, and a step-by-step tasting method. You'll learn how to select beans, prepare your palate, and document your findings. By the end, you'll be ready to host your own tasting sessions and explore the rich world of specialty coffee like never before.
Choosing the Right Equipment for Your Home Tasting Station
A successful coffee tasting station doesn't require a lab-grade setup, but a few key tools will make a significant difference. Start with a reliable grinder that delivers consistent particle size — a burr grinder is ideal. You'll also need a scale accurate to 0.1 grams, a gooseneck kettle for controlled pouring, and a set of cupping bowls or small glasses. A cupping spoon (or a clean, wide spoon) is essential for slurping and evaluating the coffee.
For brewing, the Kalita Wave Coffee Dripper is an excellent choice for home tastings because it produces a clean, balanced cup that highlights flavor clarity. Its flat-bottom design ensures even extraction, making it easier to compare different coffees side by side. Pair it with paper filters and a carafe to hold your brews. If you're tasting multiple coffees, label each station clearly to avoid confusion.
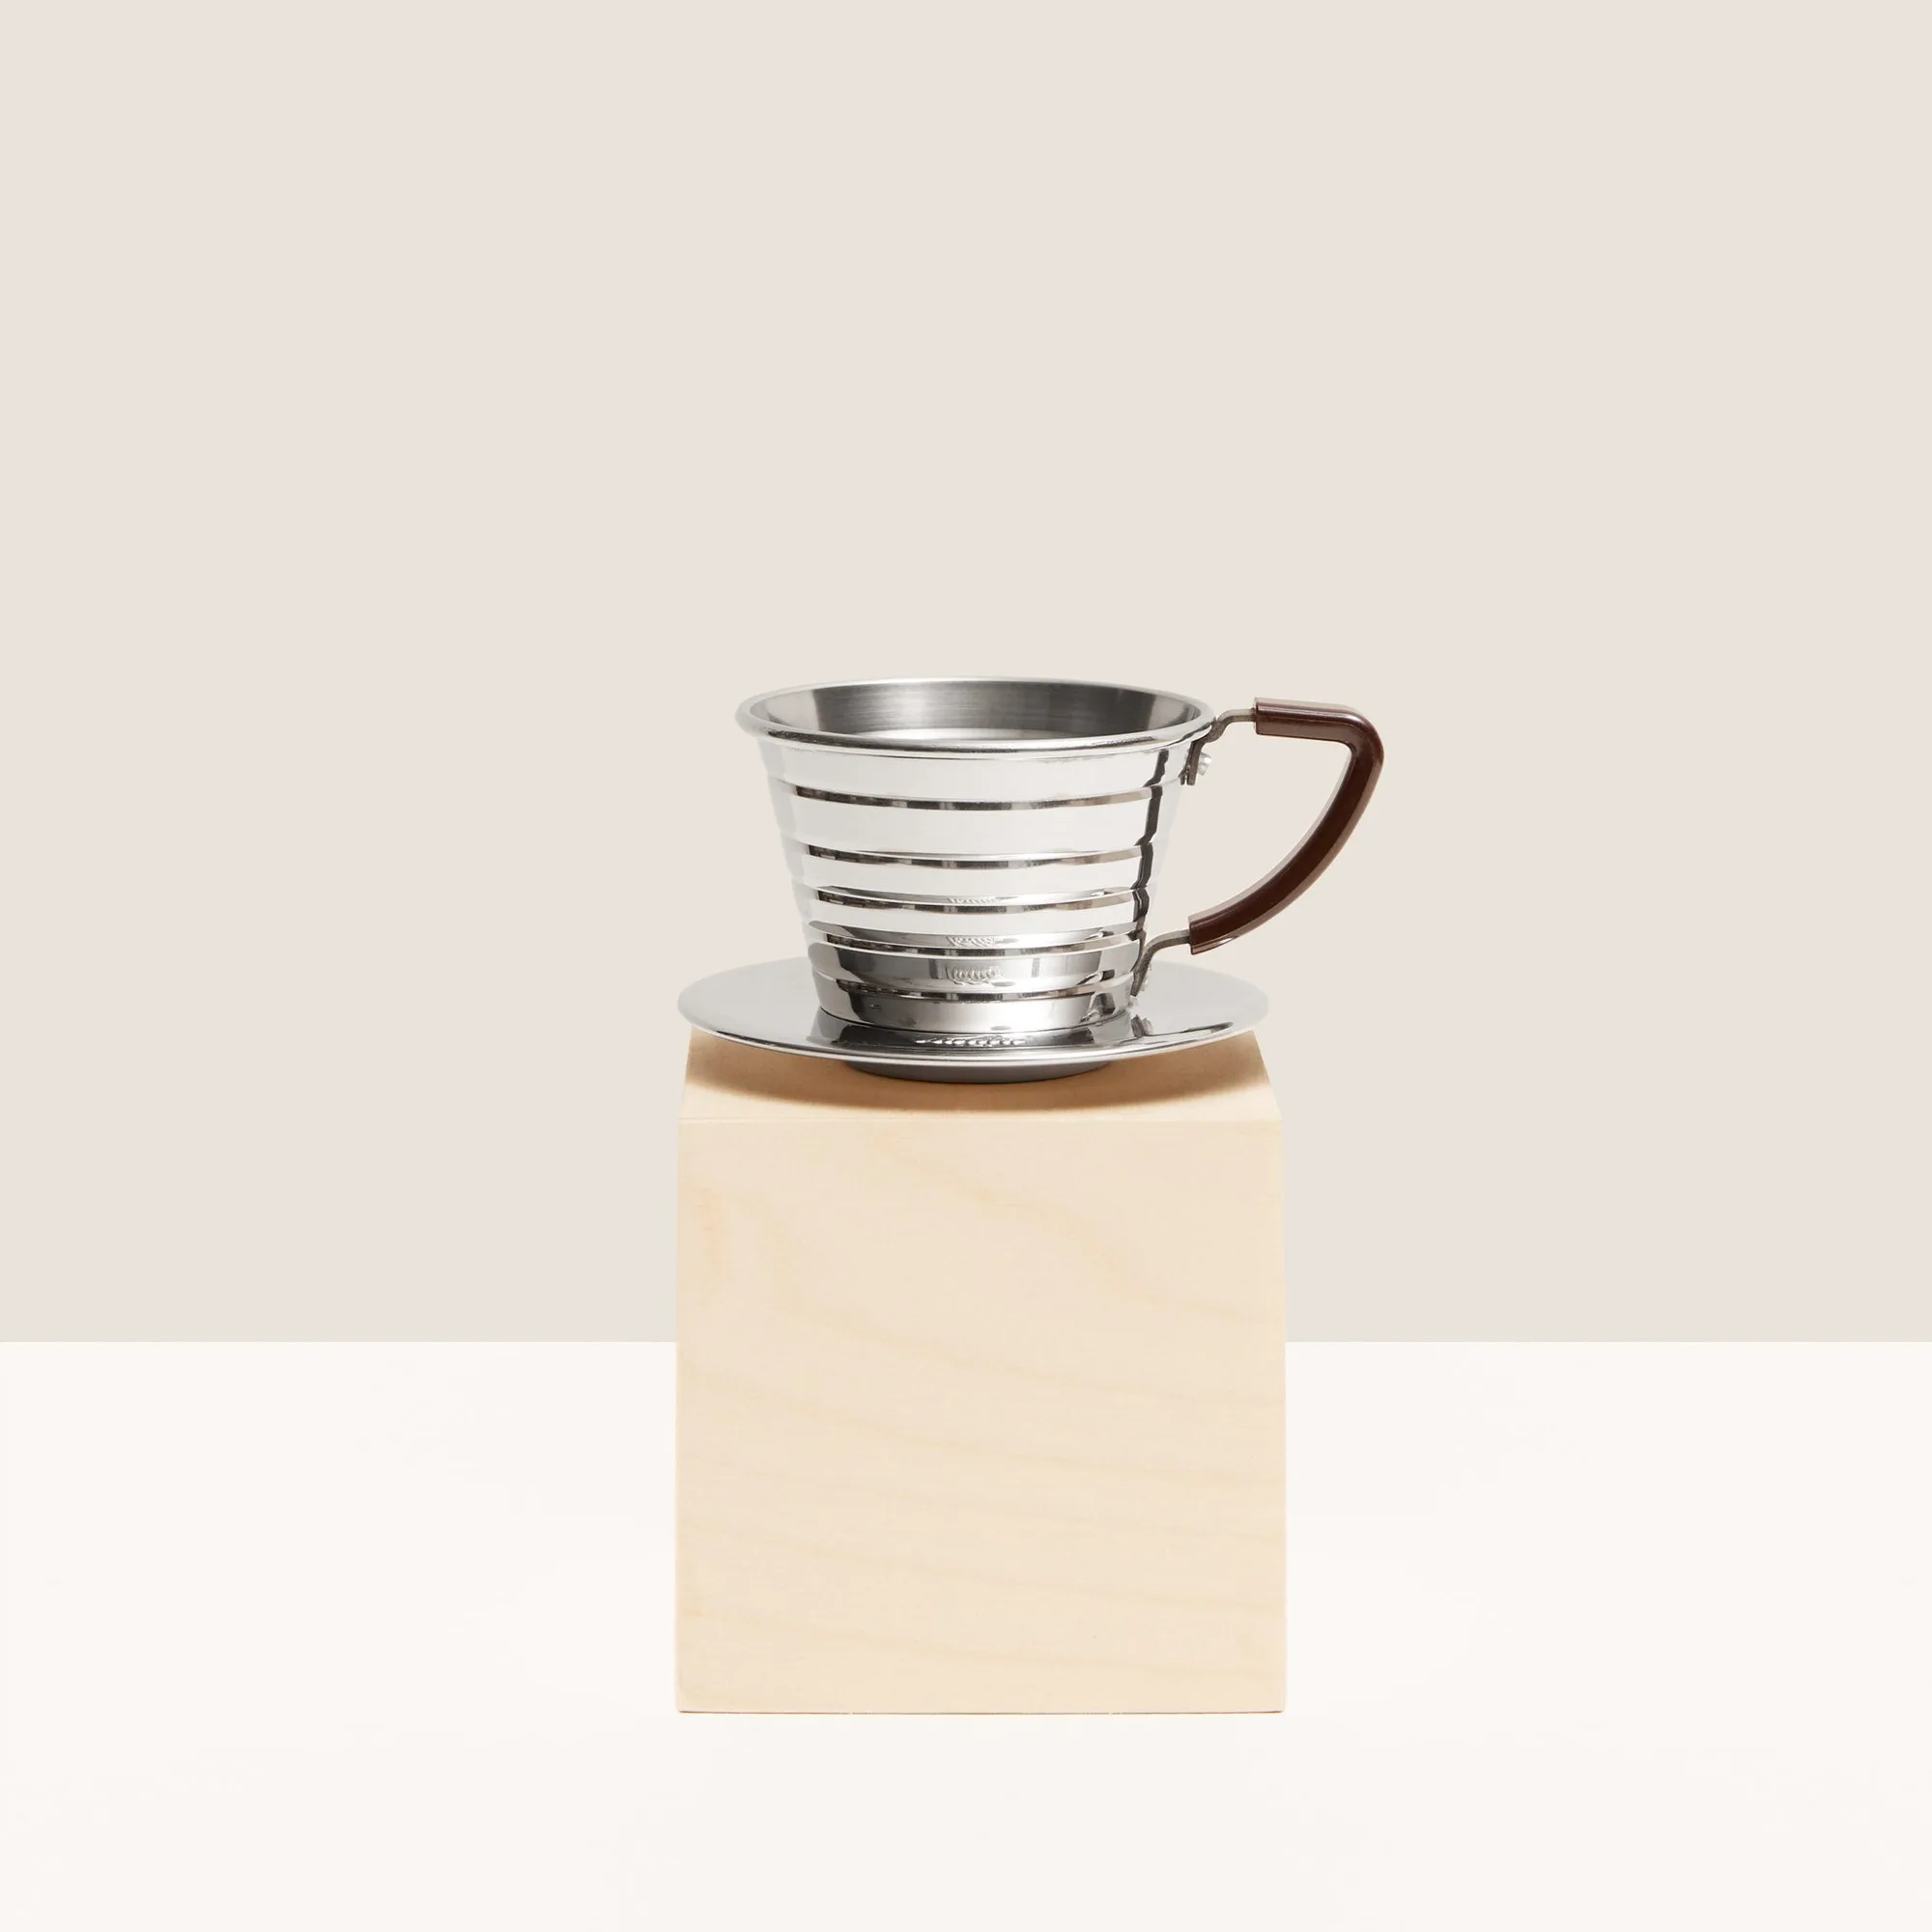
Kalita Wave Coffee Dripper
- Burr grinder for consistent grind size
- Digital scale with 0.1g precision
- Gooseneck kettle for controlled pour
- Cupping bowls or small glasses
- Cupping spoons or wide spoons
- Kalita Wave Coffee Dripper for clean extraction
Setting Up the Ideal Tasting Environment
Your tasting station should be free from strong odors, such as food, perfume, or cleaning products, as these can interfere with your perception of coffee aromas. Choose a well-lit area with neutral-colored surfaces — white or light gray is best for evaluating the coffee's color and clarity. Keep a notebook or a tasting journal handy to record your observations. The Assembly Journal 01 makes a perfect companion for this purpose, offering guided prompts for flavor notes, aroma, and overall impressions.
Temperature control is also crucial. Serve coffee at around 160°F (71°C) to start, and taste it as it cools to experience how flavors evolve. Provide a cup of sparkling water or plain crackers to cleanse your palate between samples. If you're tasting with others, set up individual stations with enough space for each person to focus without distraction.
- Eliminate strong odors from the room
- Use neutral-colored surfaces for visual evaluation
- Keep a tasting journal for notes
- Serve coffee at 160°F and taste as it cools
- Have palate cleansers like water or crackers
Selecting and Preparing Coffee for Tasting
The heart of any tasting session is the coffee itself. Choose two to four different single-origin coffees to compare. For example, the Panama — Carmen Estate Caturra offers bright citrus and floral notes, while the Colombia — Cata Pacamara presents a heavier body with stone fruit and chocolate undertones. These contrast nicely and will help you train your palate to identify distinct flavor profiles. Make sure each coffee is freshly roasted — ideally within two weeks of roasting — and grind just before brewing.
For consistency, use a standard coffee-to-water ratio, such as 60 grams of coffee per liter of water. If you're using the cupping method, steep the grounds for four minutes, then break the crust and skim off the foam. For a pour-over using the Kalita Wave, follow the manufacturer's recommended recipe. Let the coffee cool for a few minutes before tasting to avoid burning your palate and to allow flavors to open up.
- Select 2-4 single-origin coffees with contrasting profiles
- Use freshly roasted beans (within 2 weeks of roast date)
- Grind just before brewing
- Standard ratio: 60g coffee per 1 liter water
- Let coffee cool slightly before tasting
The Tasting Process: Engage Your Senses
Begin by evaluating the dry fragrance of the ground coffee — inhale deeply and note any initial impressions. Then, add hot water and smell the wet aroma as the coffee blooms. After a few minutes, break the crust with a spoon and inhale the released aromas. This is where you'll detect subtle notes like jasmine, cocoa, or berries. Slurp the coffee loudly to aerate it across your palate, covering all taste zones.
Focus on four key attributes: acidity (brightness), body (mouthfeel), sweetness, and finish (aftertaste). Rate each on a scale from low to high, and note any specific flavors you recognize. For example, Colombia — Wilber Gómez often exhibits a clean, wine-like acidity with hints of red apple and caramel. Compare it side by side with other coffees to see how they differ. Take your time — a thorough tasting can last 20 to 30 minutes.
- Evaluate dry fragrance, wet aroma, and crust break
- Slurp to aerate coffee across your palate
- Rate acidity, body, sweetness, and finish
- Compare multiple coffees side by side
- Spend 20-30 minutes for a full session
Documenting and Sharing Your Tasting Experience
After each tasting, write down your observations in a consistent format. Include the coffee's origin, roast date, processing method, and your sensory notes. Over time, this record will help you identify your preferences and track how flavors change with different brewing variables. The Assembly Journal 01 is designed specifically for this purpose, with sections for aroma, flavor, acidity, body, and overall rating.
Sharing your tasting notes with friends or online communities can deepen your understanding and introduce you to new perspectives. Consider hosting a small tasting party where each guest brings a different coffee to evaluate. This not only makes the experience social but also expands your palate through collective discovery. Remember, the goal is to enjoy the process and learn something new with every cup.
- Record origin, roast date, and sensory notes
- Use a structured journal for consistency
- Share notes with others for feedback
- Host tasting parties to explore new coffees
Setting up a coffee tasting station at home transforms your daily brew into an opportunity for exploration and learning. With the right tools, a quiet environment, and a curious mind, you can unlock the full spectrum of flavors that specialty coffee has to offer. Start your journey today by exploring our curated selection of single-origin coffees, like the Panama — Carmen Estate Caturra, and discover what makes each cup unique.