Quick Answer
For a standout feature wall, use Signal Brick Denim tile in a simple running bond pattern, starting from the wall's center to keep cuts balanced. Prepare the surface properly and use a tile adhesive suited for wall tiles.
Why Signal Brick Denim Works for a Feature Wall
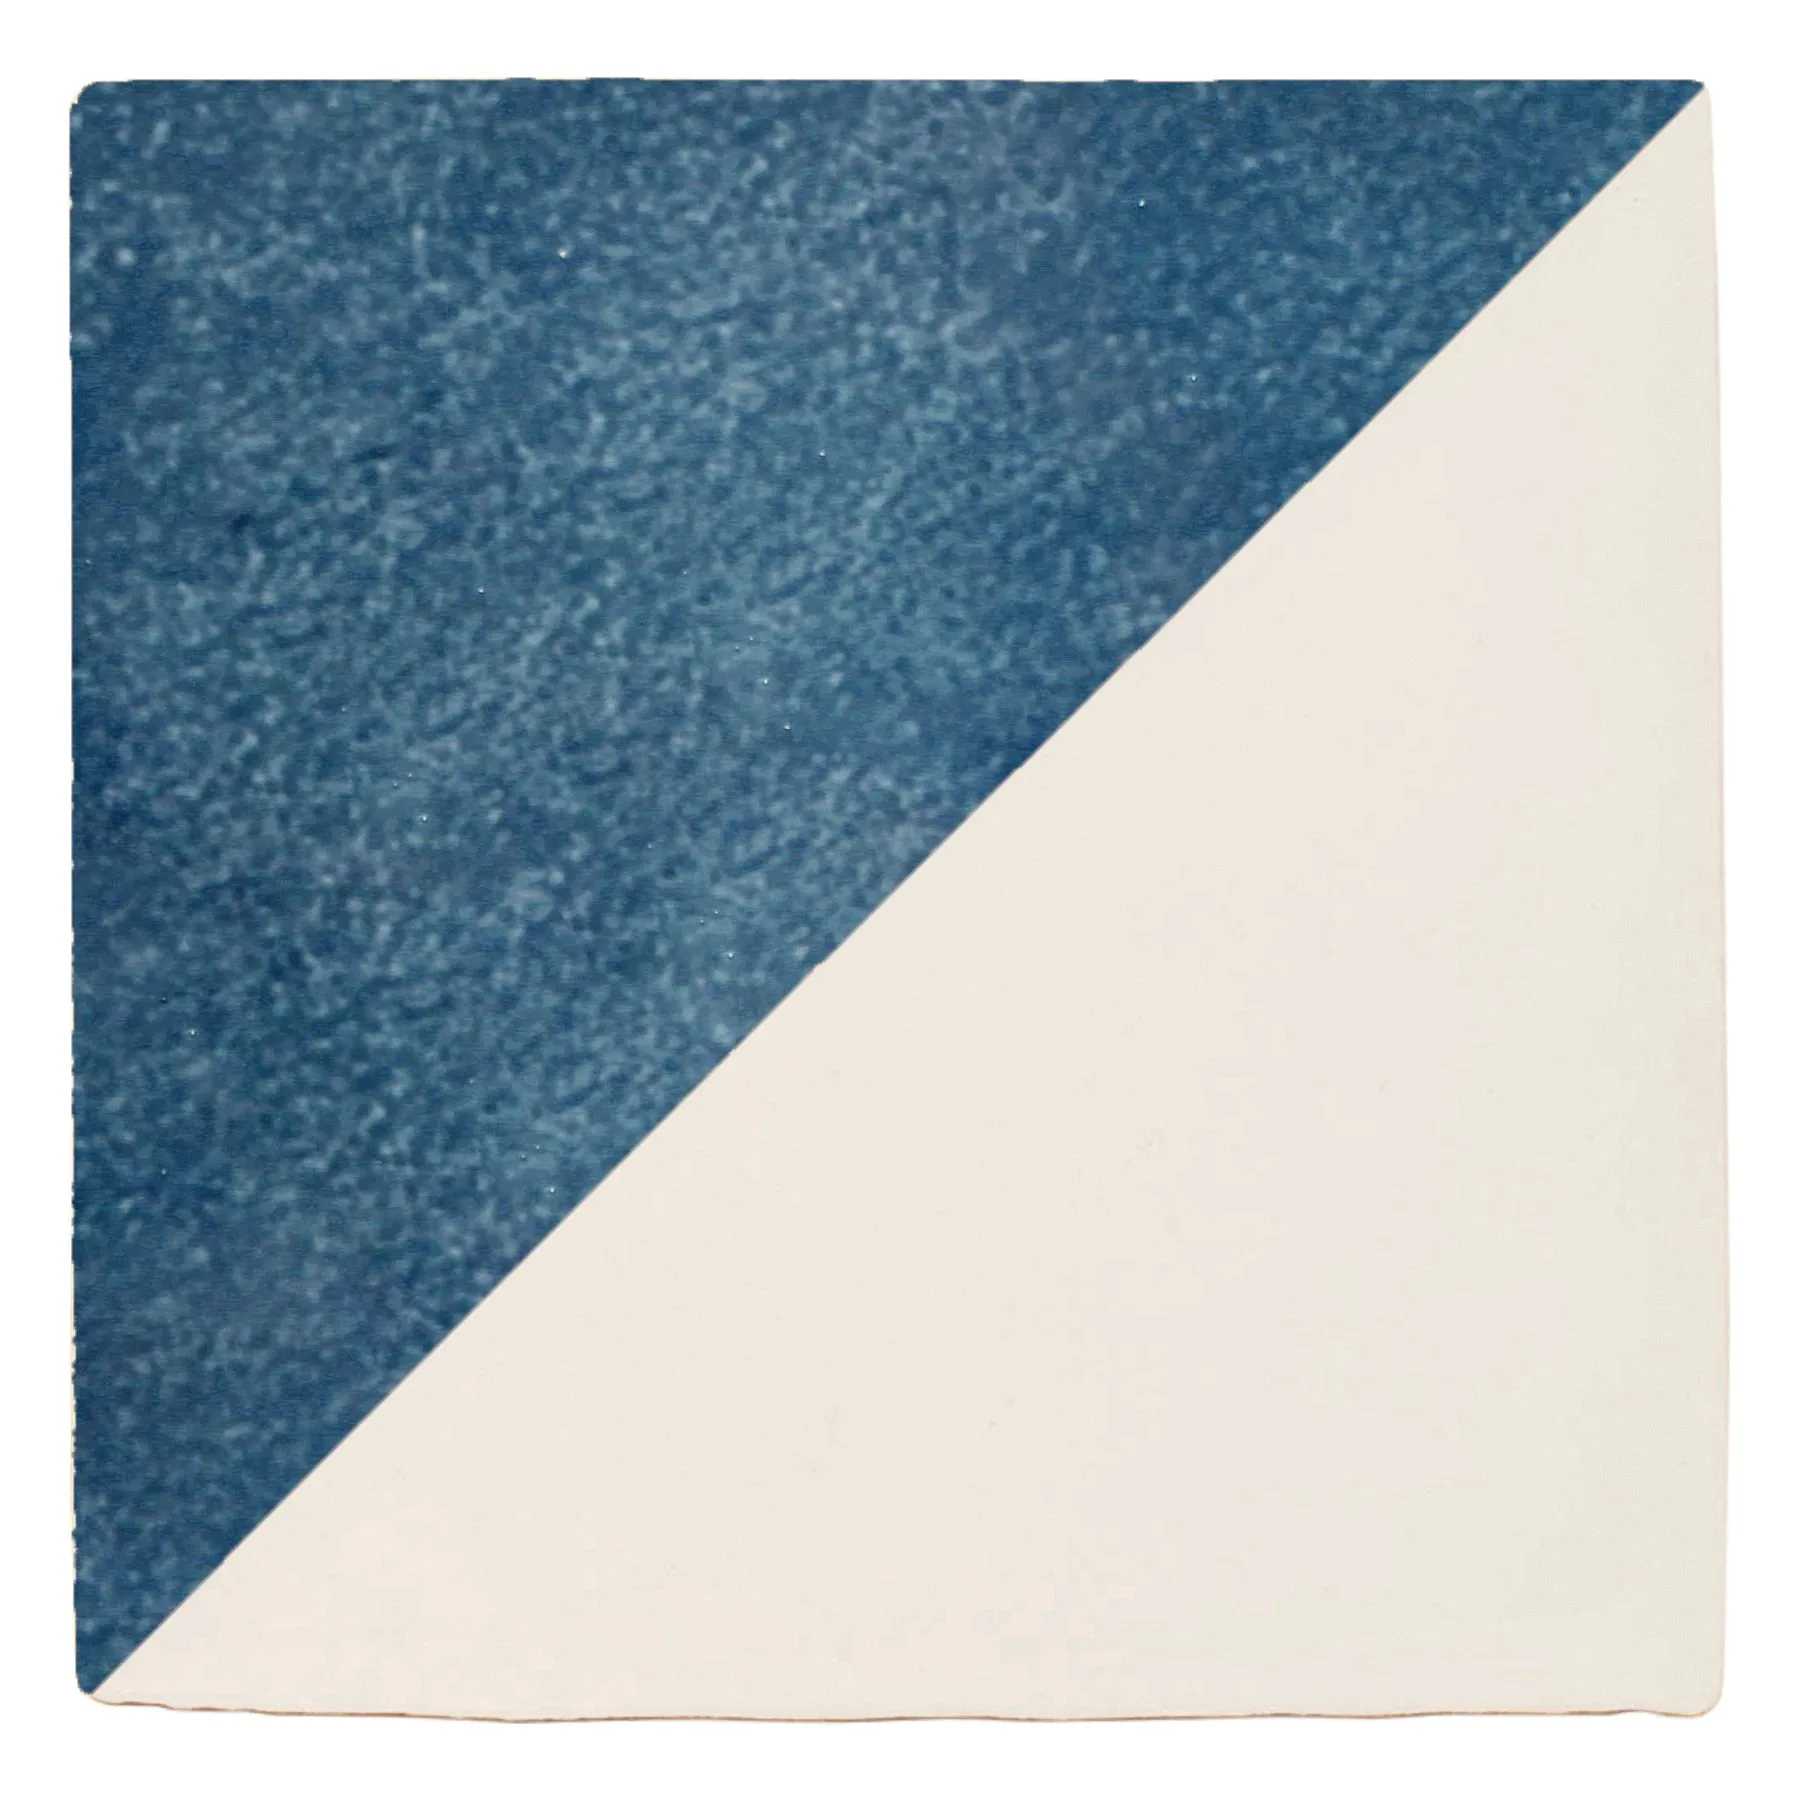
Signal Brick Denim is part of the Shape Play collection, inspired by horizon lines and contours in the Cornish landscape. Its denim-blue color adds a tactile, coastal feel that works well in living rooms, bedrooms, or hallways.
The 20 x 10 cm size gives you a classic brick format that's easy to handle and forgiving for DIYers. Because the collection is designed to mix with other shapes, you can extend the design later if you want to refresh the wall without a full redo.
Trade-offs to Consider Before You Start
Like any real brick tile, Signal Brick Denim has a textured surface that can catch dust and require a bit more cleaning than a smooth tile. Also, because it's a wall tile, it's not rated for floors, so keep it above the skirting line.
If your wall is very uneven, you'll need to spend extra time leveling it; otherwise, the brick pattern will highlight every dip. Plan for a few extra tiles for cuts and future repairs—buying a spare box is a smart habit.
Step-by-Step Feature Wall Installation
- Prepare the Wall Surface: Clean the wall thoroughly, remove any loose paint or debris, and fill any holes. If the wall is uneven, apply a leveling compound and let it dry completely before tiling. A smooth, clean surface is non-negotiable for a professional finish.
- Plan Your Layout and Find the Center: Measure the wall width and mark the center point. Dry-lay a row of tiles along the floor to see how cuts will fall at the ends. Aim for cuts that are at least half a tile wide to avoid tiny slivers. Starting from the center ensures balanced cuts on both sides.
- Mix and Apply Adhesive: Use a tile adhesive suitable for wall tiles. Mix it according to the manufacturer's instructions, then apply it to a small section of the wall using a notched trowel. Work in small areas so the adhesive doesn't skin over before you place the tiles. Don't spread more adhesive than you can tile in 15–20 minutes.
- Lay the First Row: Starting from the center mark, press the first tile into the adhesive with a slight twisting motion. Use tile spacers to maintain even gaps. Continue laying tiles outward, checking level frequently with a spirit level. Check level after every few tiles—small errors compound quickly.
- Continue with Offset Rows: For a classic brick pattern, offset each row by half a tile. Use a tile cutter to cut tiles to fit at the ends and around obstacles like sockets. Always cut from the back side to avoid chipping the glaze. Measure twice, cut once—precision here saves waste.
- Grout and Clean: After the adhesive has cured (usually 24 hours), remove spacers and apply grout with a rubber float, pressing it into the joints. Wipe off excess grout with a damp sponge before it hardens. Buff the tile surface with a dry cloth after grouting to remove any haze.
- Seal and Finish: Once the grout is fully dry, apply a penetrating sealer if recommended for your grout type. This protects against stains and makes future cleaning easier. Sealing is optional but worth it in high-traffic areas.
About the Tile
-
Signal Brick Denim (right): Signal Brick Denim (right) is a 20 x 10 cm wall tile from the Shape Play collection, inspired by horizon lines and contours within the Cornish landscape. The size and design make it ideal for a feature wall where you want a subtle, natural texture without overpowering the room.
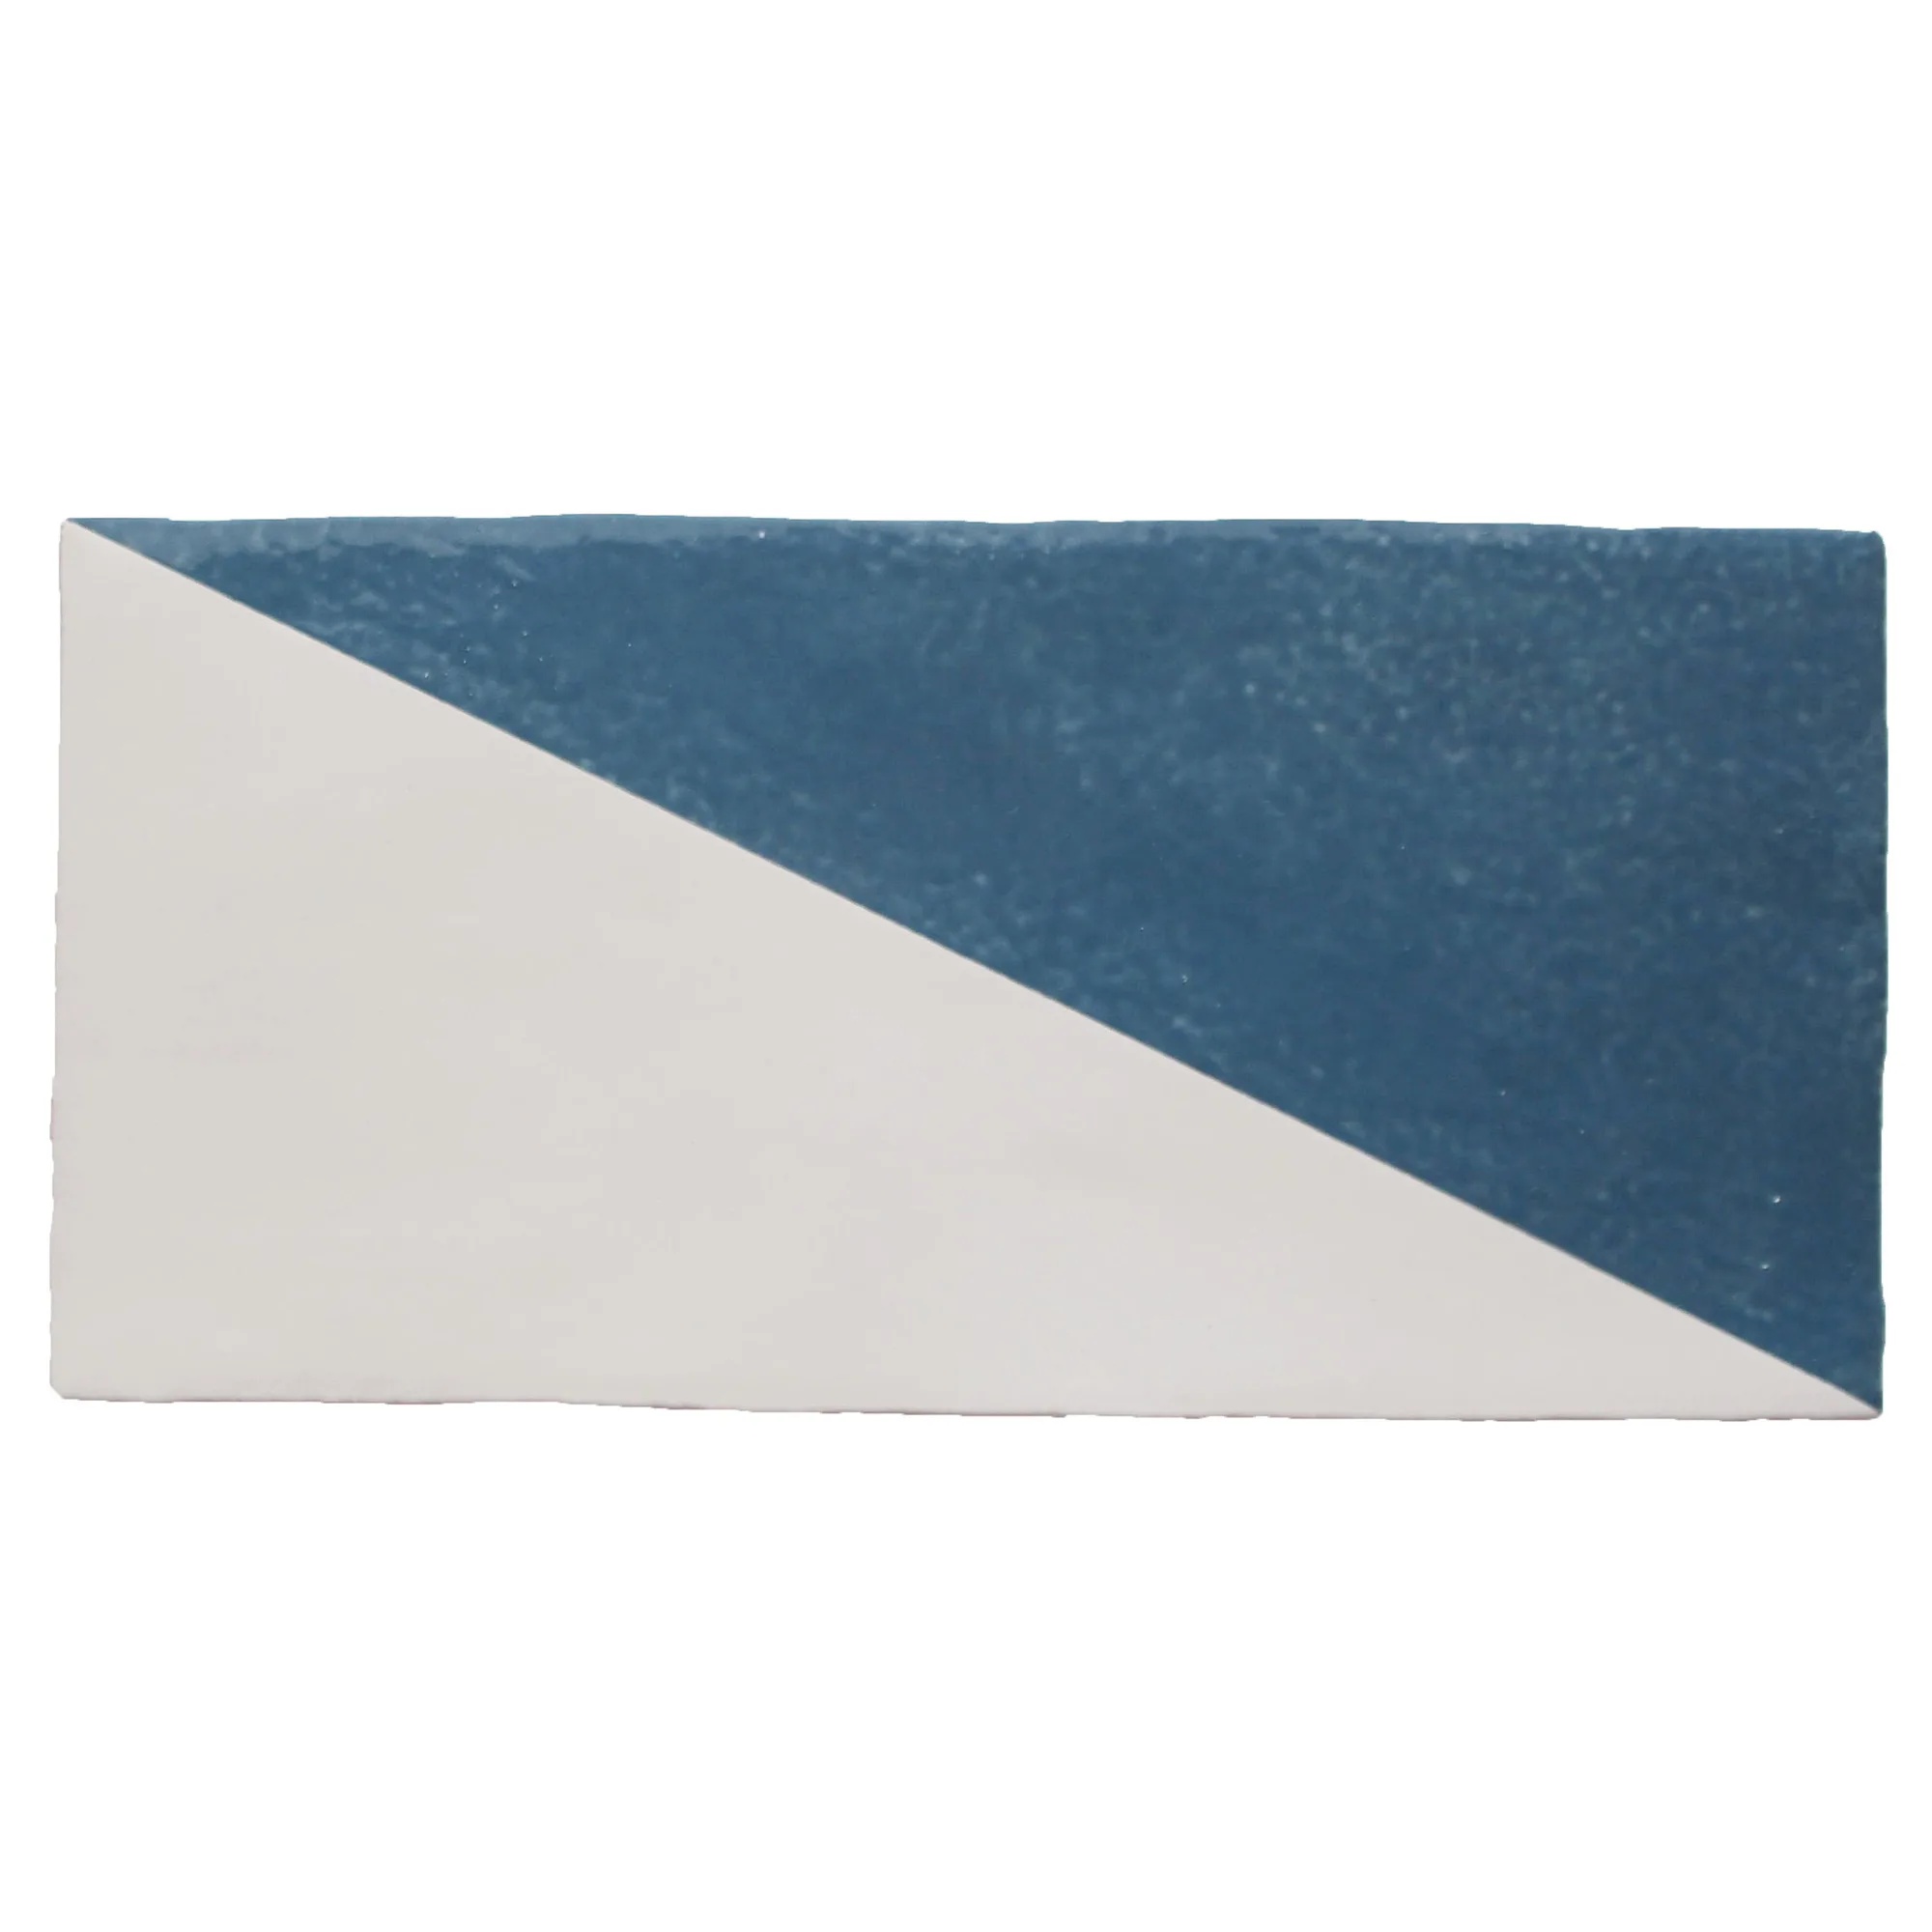
Signal Brick Denim (right)