Quick answer
To make ombre nails with gel polish, apply and cure a base color, then pick up both shades on a makeup sponge or small brush and dab or drag them across the nail to blend the fade. Cure the blended layer, repeat once or twice for opacity, and seal with a top coat. The sponge method gives the softest gradient; the brush method gives you more control near the cuticle.
A gel ombre looks like a professional salon fade, but it is really just two colors meeting in the middle of the nail and blended before they cure. Because gel polish stays workable until you put it under the lamp, you have more time to soften that transition than you would with regular polish.
The tradeoff is that gel punishes thick application. Pile on too much while blending and you get wrinkles, flooding, or a lumpy fade that never fully cures. This guide walks through the order of operations, the two blending methods worth learning, and the checkpoints that tell you the gradient is actually smooth before you commit it to the lamp.
What you need before you start
You need two gel polish shades that share a similar finish, a base coat, a top coat, a UV or LED lamp, a makeup sponge or a small flat brush, and lint-free wipes. A silicone mat or foil keeps the sponge from sticking to your table between nails. If you are using a creamy, heavily pigmented formula, you can often get a clean fade in two blended passes rather than four.
Color choice matters more than technique. Pick shades that sit near each other on the color wheel, or use one neutral and one accent, so the midpoint reads as a deliberate blend rather than mud. A light and a dark version of the same family is the easiest starting point.
- Two gel polishes with a similar finish, a base coat, a top coat, and a UV or LED lamp
- A makeup sponge cut to fit your nail, or a small flat brush for tighter control
- Lint-free wipes and 91% isopropyl alcohol for cleanup before curing
Prep and base layer: the part that decides how long it lasts
Push back cuticles, buff the shine off the nail plate, and wipe with alcohol. Skipping this step is why ombre gel lifts at the sides within a few days, because the blended layers are slightly thicker than a single color and need a clean surface to grip. Apply a thin base coat and cure it fully according to your lamp's instructions.
Then apply your first color as a full, thin coat and cure it. This is your anchor layer, so choose the shade you want at the cuticle end, or the lighter shade if you plan to fade toward a darker tip. Keep it thin enough that you cannot see ridges under the lamp.
- Checkpoint: the base layer should look almost translucent at the edges, not pooled
- If the base coat feels tacky after curing, wipe the inhibition layer before adding color
Method one: the sponge ombre
Paint a stripe of each color onto the sponge so they touch in the middle, then press the sponge onto the nail and dab with light, rolling pressure. Lift straight up rather than dragging sideways, which keeps the fade centered. Cure, then repeat with a fresh stripe of polish on a clean area of the sponge for a second pass.
The sponge method is the fastest route to gradient gel nails because it deposits both colors at once and softens the seam automatically. The downside is waste: the sponge absorbs polish, so you use more product per nail. Work one nail at a time so the polish on the sponge does not start to cure or dry out.
- Common mistake: pressing too hard, which pushes polish into the sidewalls and floods the cuticle
- Use a fresh section of sponge for each nail to avoid a muddy transfer
Method two: the brush blend
Apply your base color and cure. Then paint a thin stripe of the second color across the tip, and while it is still wet, use a small flat brush to drag the color downward in short strokes. Wipe the brush between strokes so you are always pulling clean gel into the fade rather than pushing pigment back up the nail.
This is the better option when you want the lightest part of the gradient to stay near the cuticle or when you are working with a very pigmented shade that would overwhelm a sponge. It takes longer per nail, but it gives you precise control over where the transition sits.
- Checkpoint: the midpoint should look like a soft wash, not a visible line where the two colors meet
- If the blend starts to look streaky, stop and cure before adding more gel
Curing and sealing the gradient
Cure each blended layer fully before adding the next. Gel polish that is under-cured will wrinkle during the top coat and may cause sensitivity later. Two thin blended passes usually give enough opacity; a third is fine if your colors are sheer, but keep each pass thin.
Finish with a glossy or matte top coat, cap the free edge, and cure. If you used the sponge method, wipe away any stray pigment on the skin with a brush dipped in alcohol before you cure the top coat, because gel that cures on the skin is much harder to remove cleanly.
- Common mistake: applying the top coat over a still-tacky blended layer, which drags the gradient
- Cap the tip of the nail with top coat to reduce chipping at the edge
Ombre gel steps at a glance
- Prep and base coat: Buff, wipe with alcohol, apply a thin base coat, and cure fully. Checkpoint: no shine left on the nail plate before you start.
- Apply and cure the anchor color: Paint one thin full coat of your first shade and cure it under the lamp. Mistake to avoid: applying it thick enough to pool at the cuticle.
- Blend the second shade: Use a sponge with two stripes of polish or a flat brush to drag the tip color into the base color. Checkpoint: the transition should look like a soft wash, not a hard line.
- Repeat for opacity: Add one or two more thin blended passes, curing between each one. Mistake to avoid: adding more gel before the previous layer is fully cured.
- Top coat and cure: Apply a glossy or matte top coat, cap the free edge, and cure. Checkpoint: clean any gel from the skin before the final cure.
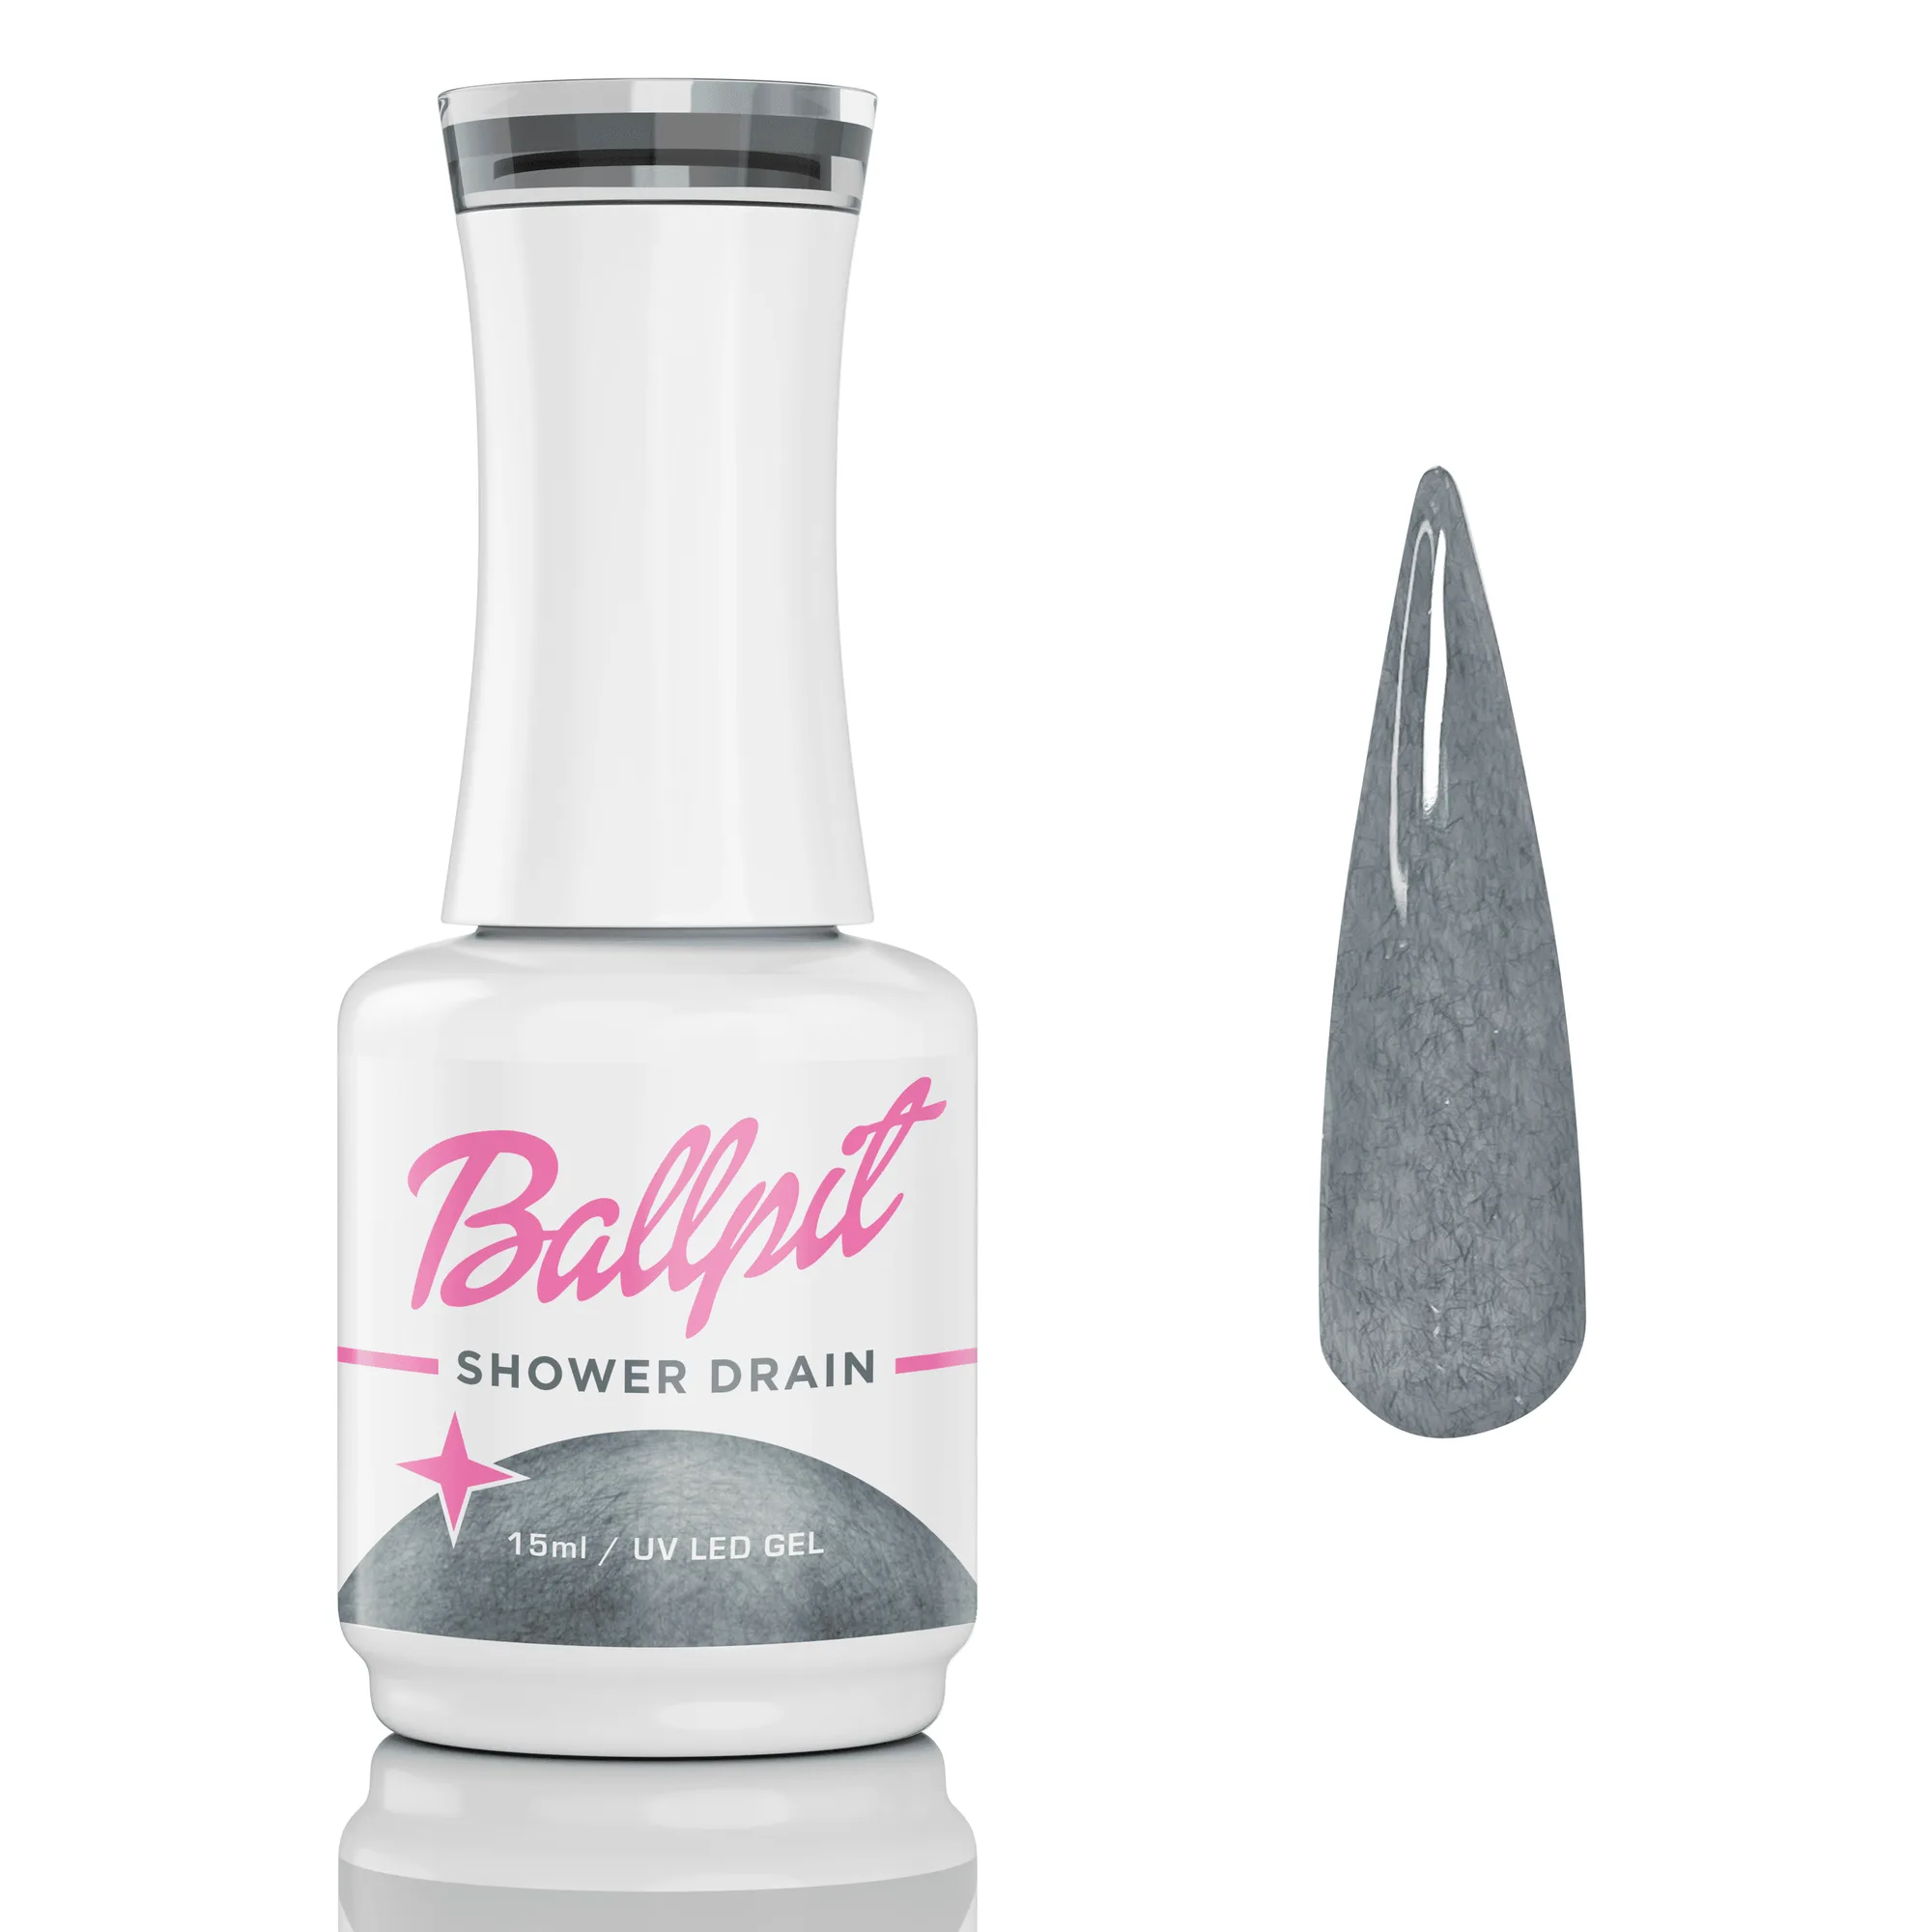
Ballpit Nails shades that work well for gradients
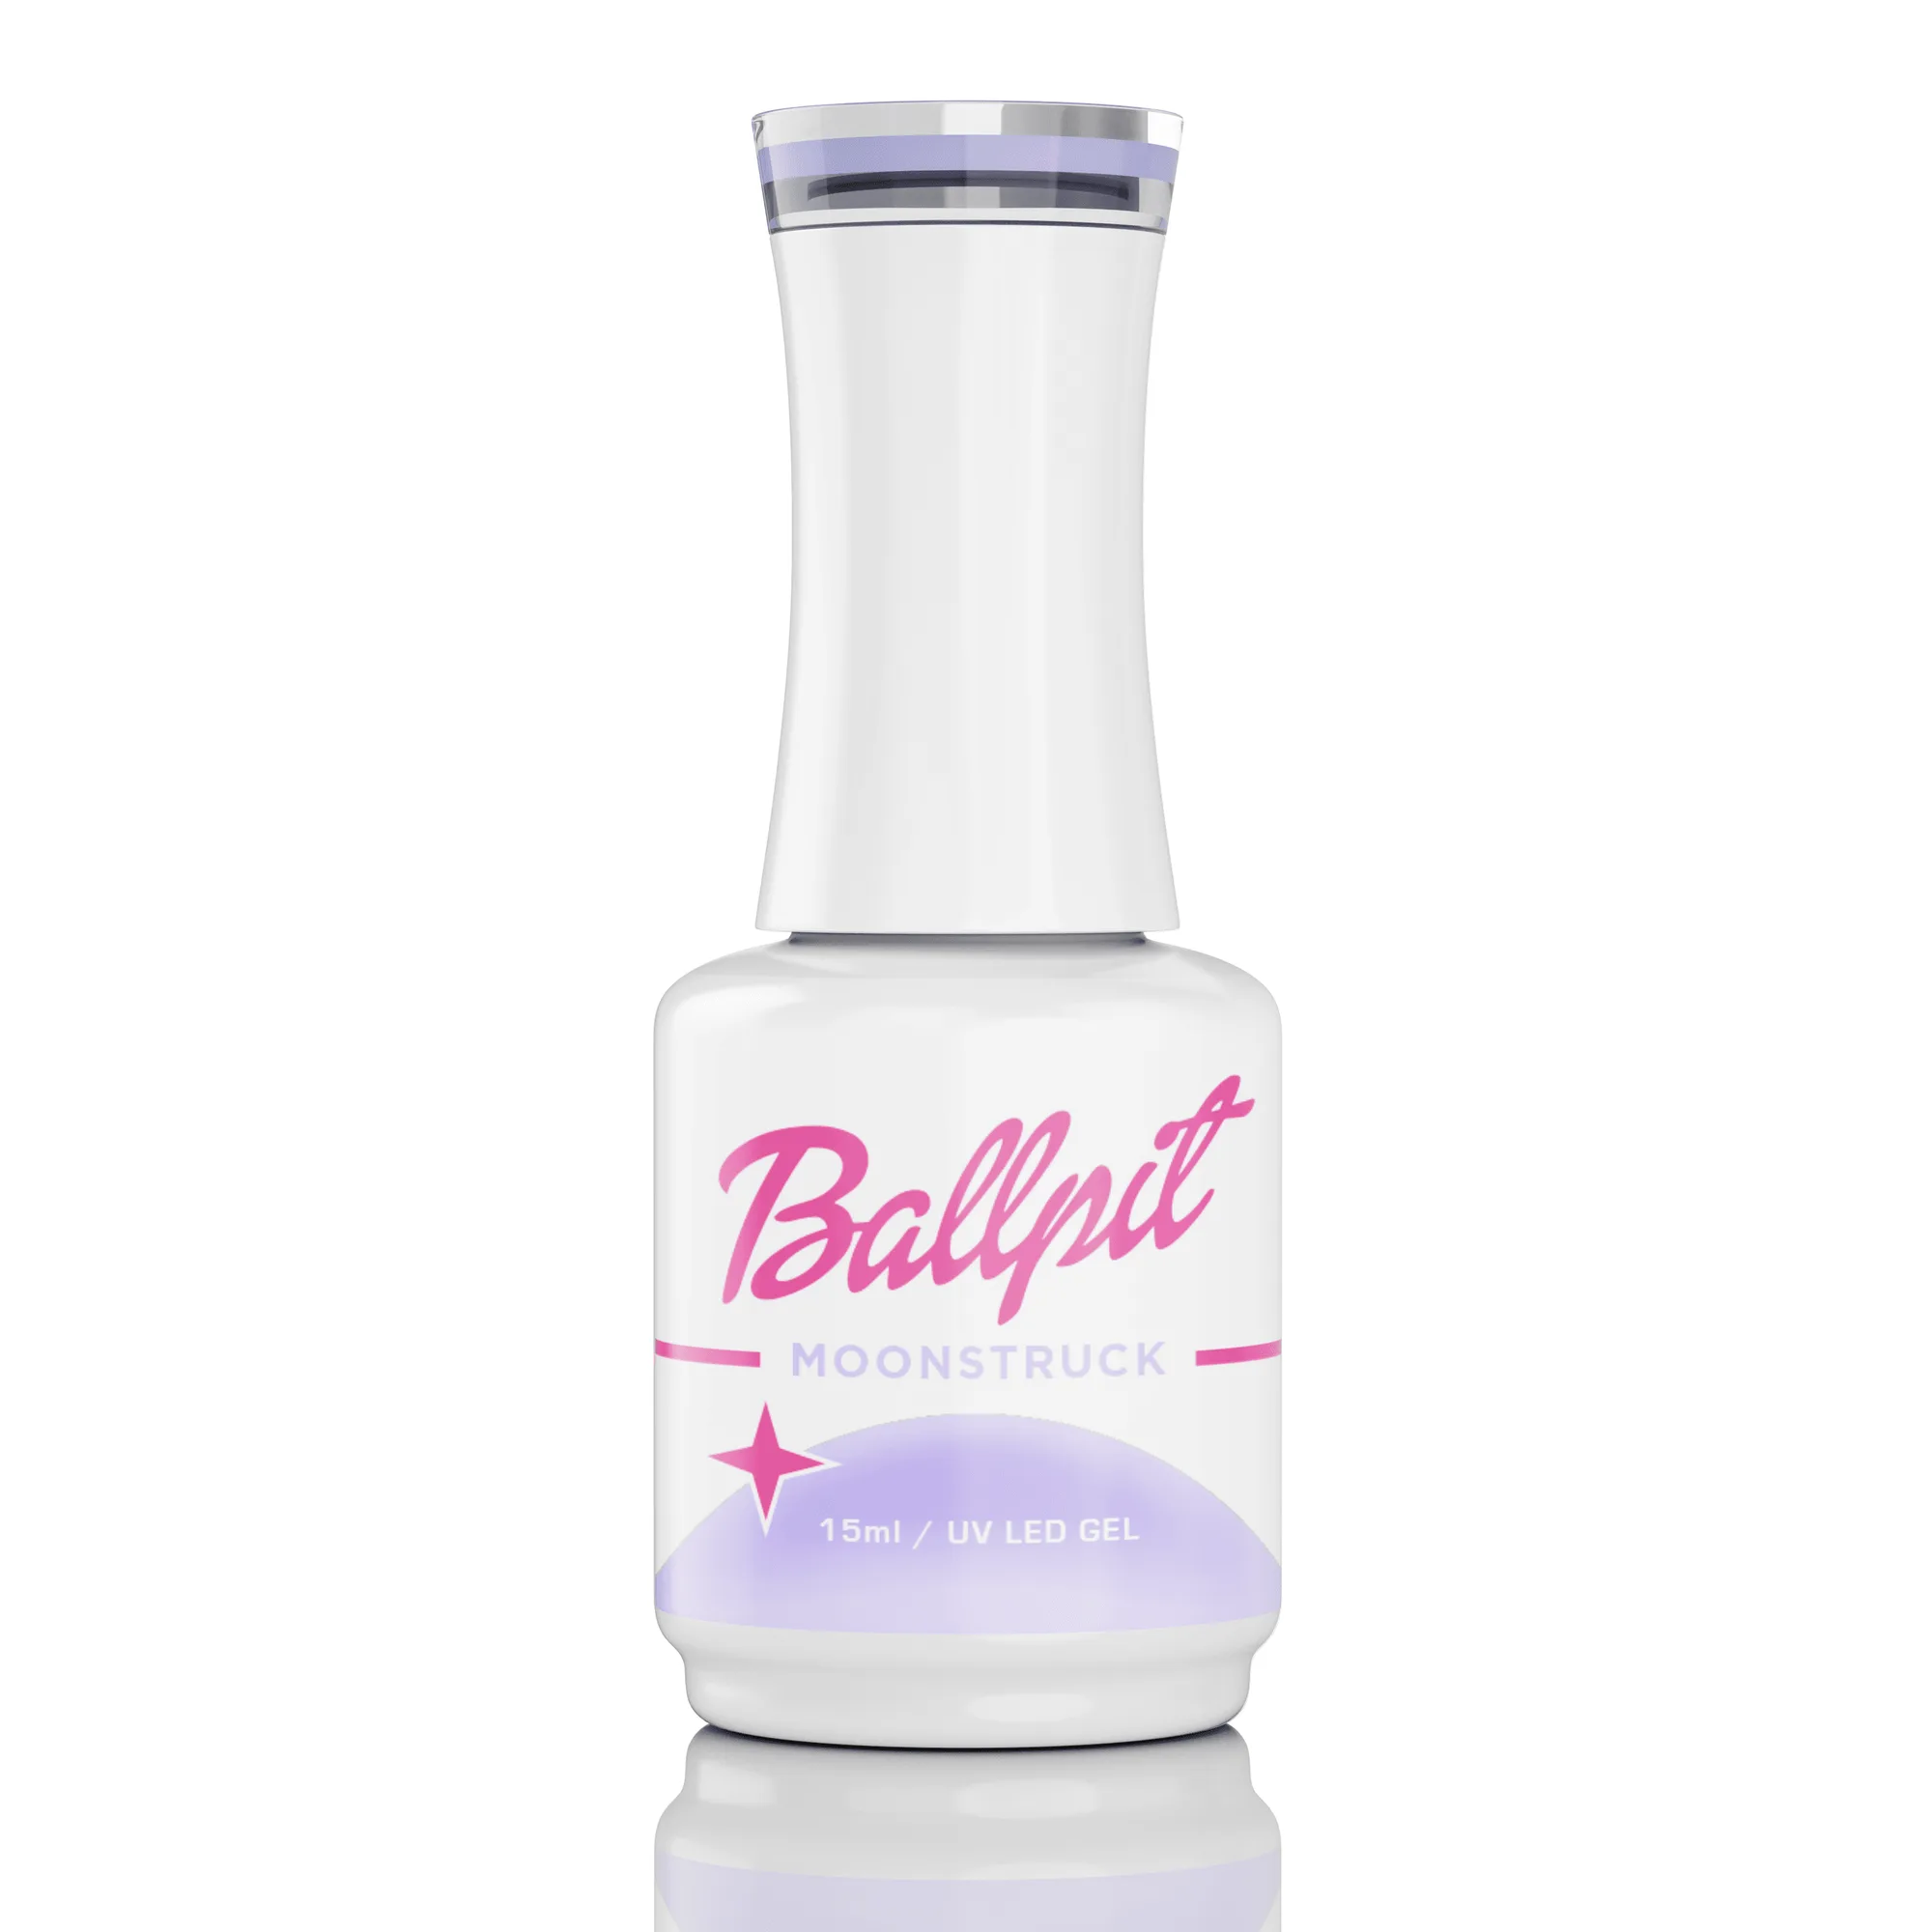
- Moonstruck - Gel Polish: A 15ml soak-off gel polish in a creamy periwinkle shade, designed for use with UV or LED lamps, with an extreme-pigment, anti-spread formula. The anti-spread formula keeps the color where you place it, which makes the midpoint of a fade easier to control when you are blending by brush.
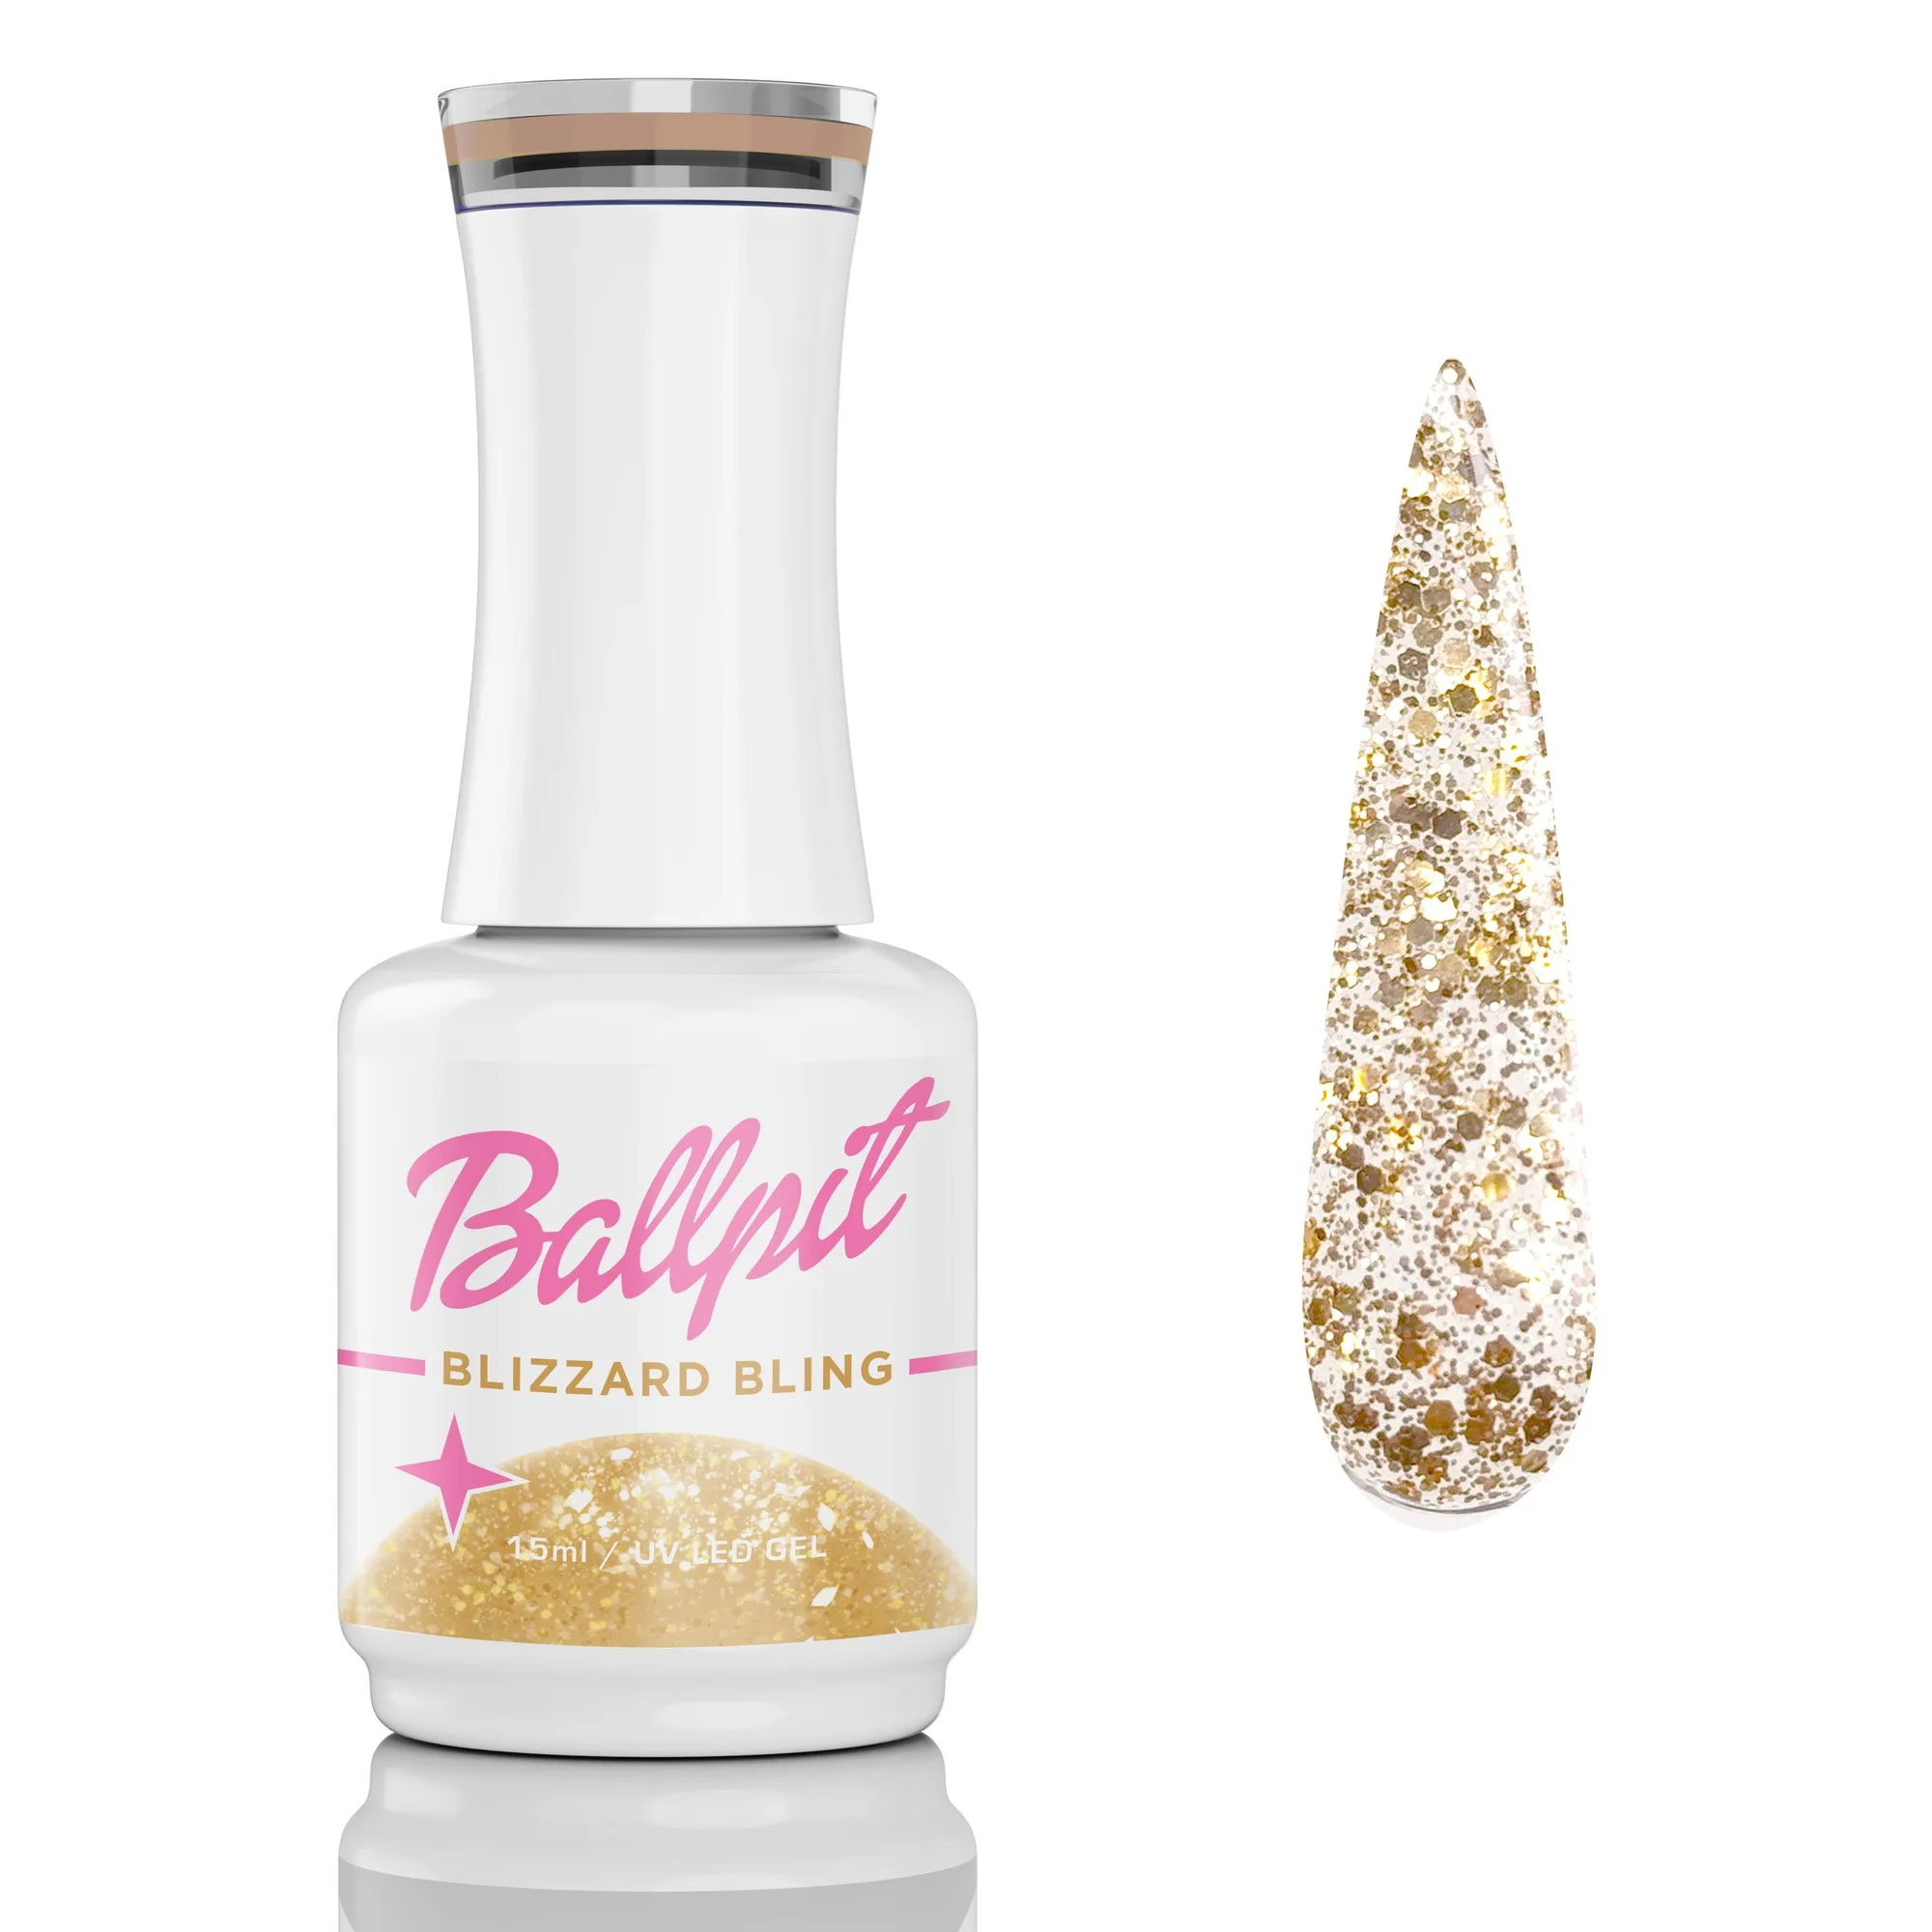
- Blizzard Bling - Gel Polish: A 15ml UV/LED soak-off gel using the classic creamy gel formula with extreme pigment and anti-spread performance. High pigment means you can build a gradient in fewer thin layers, so the finished ombre stays slim instead of feeling thick.
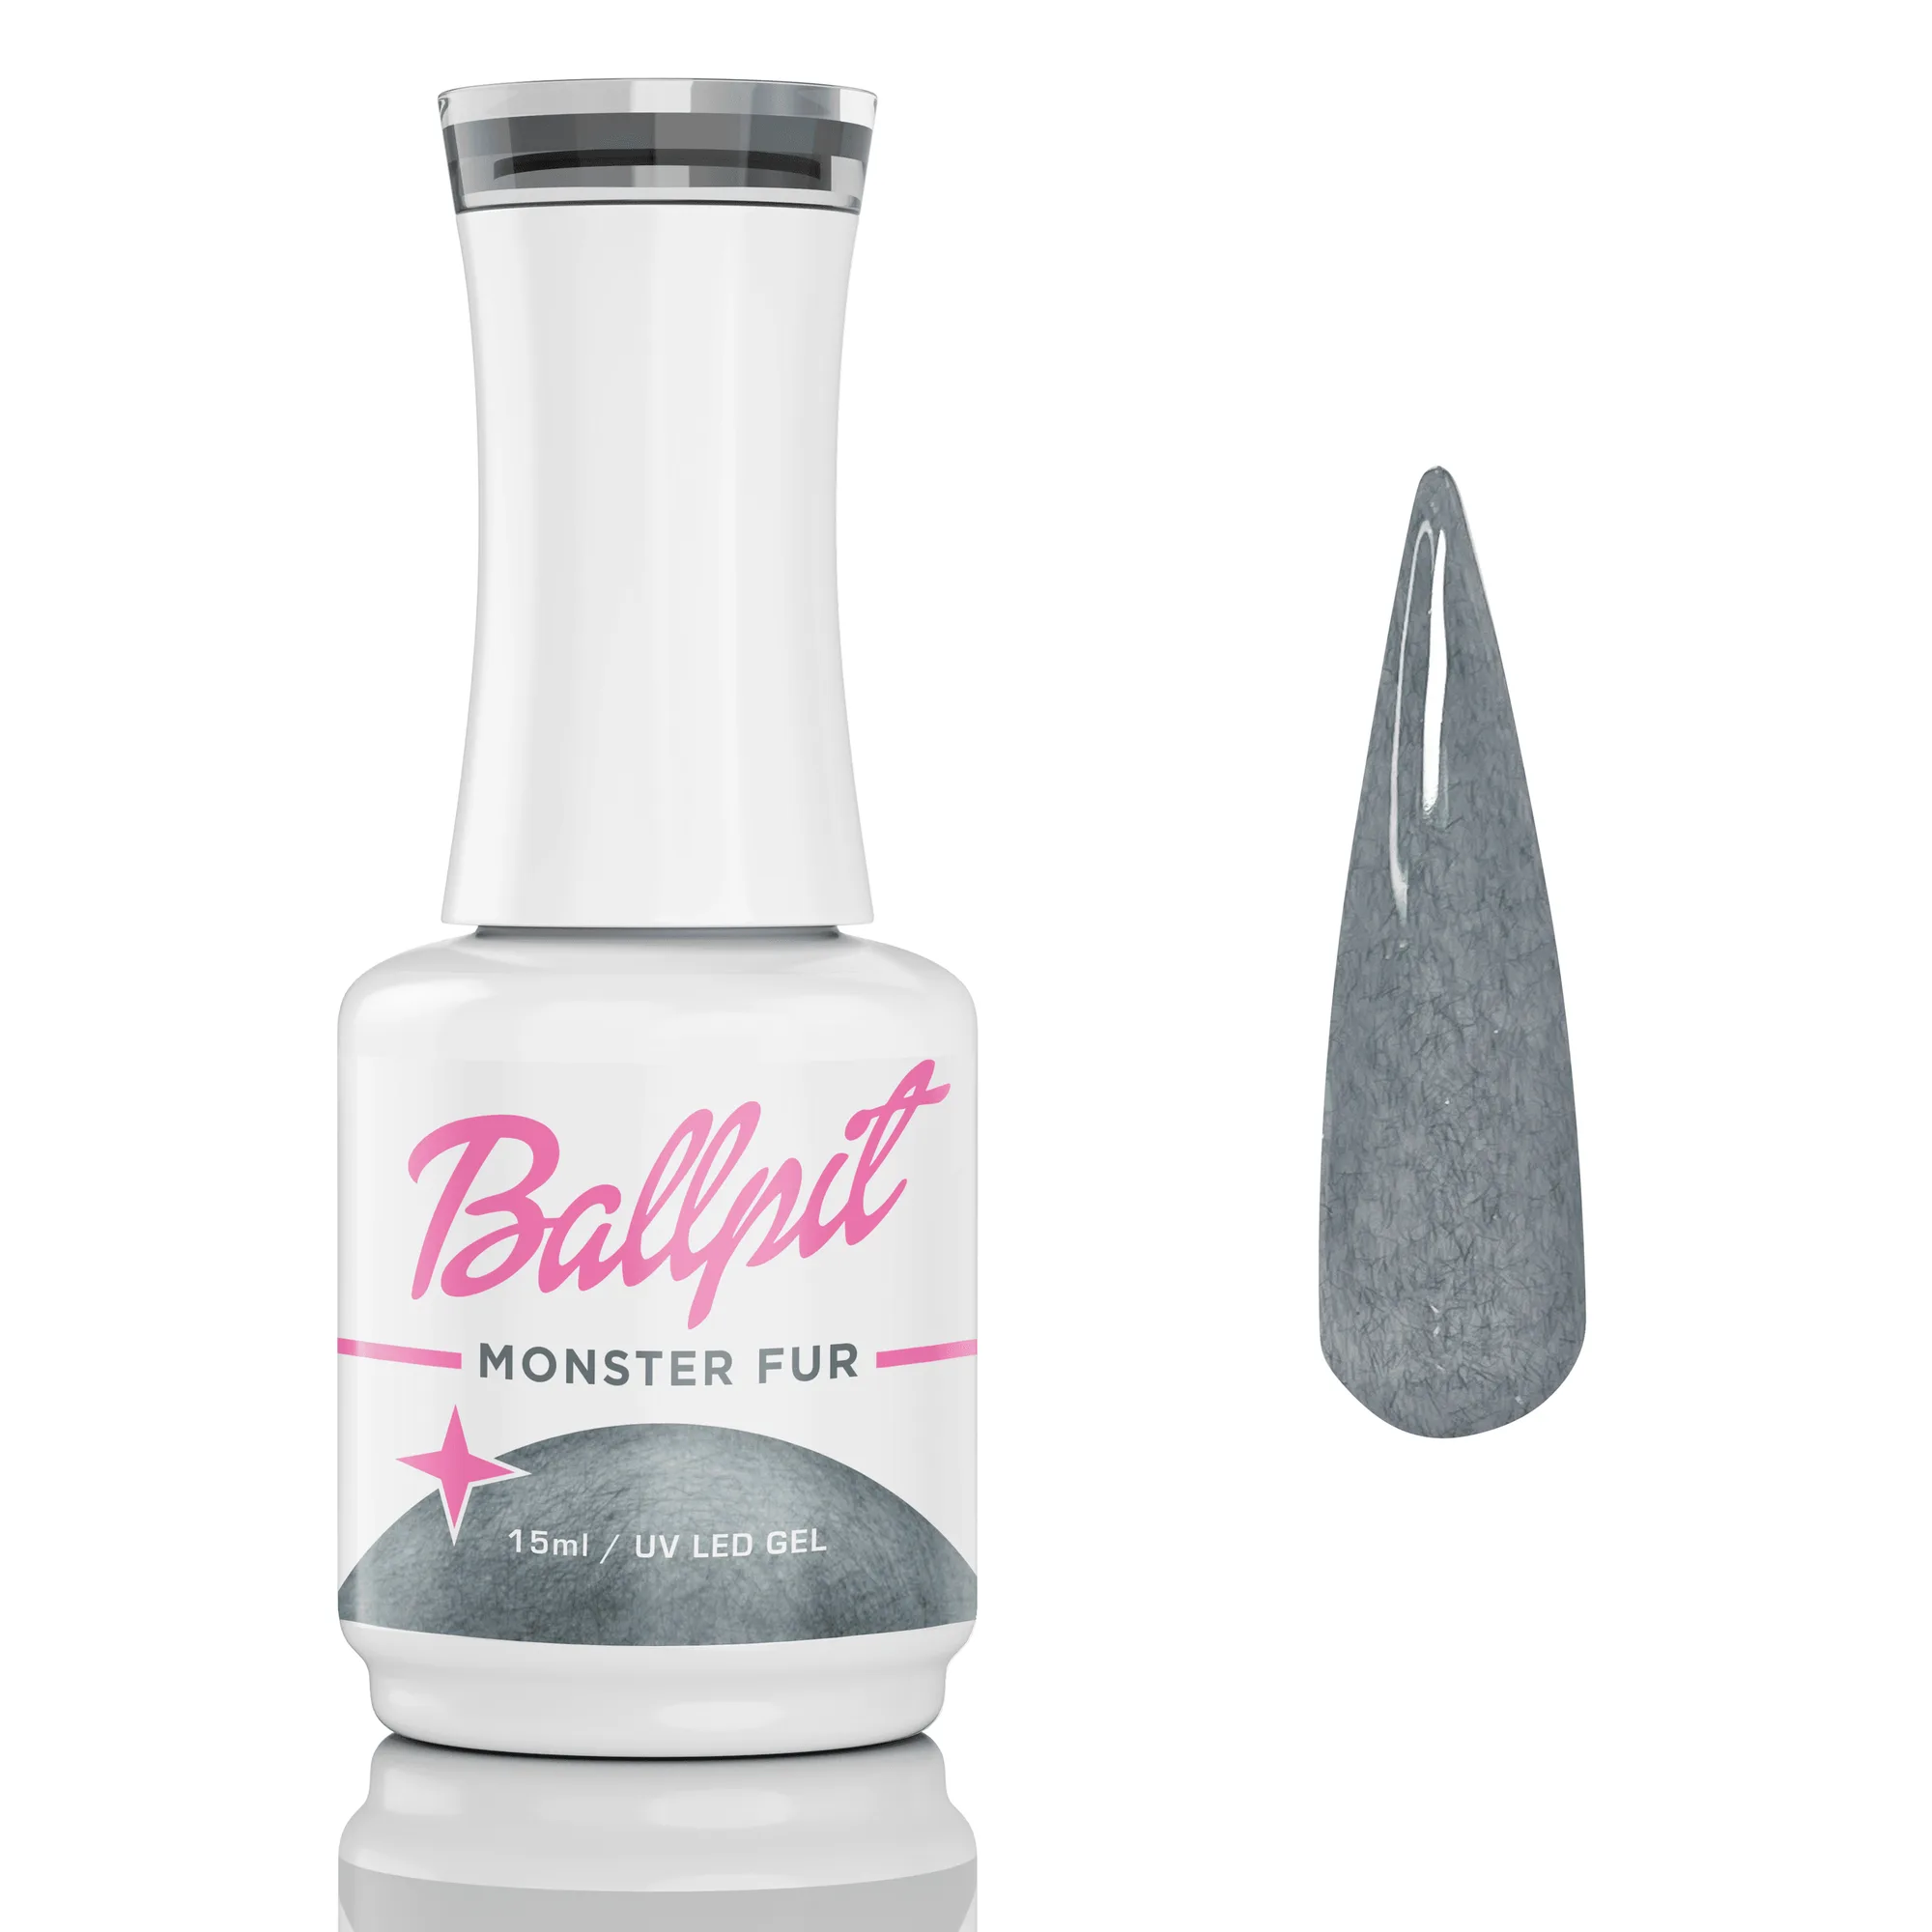
- Monster Fur - Gel Polish: A 15ml soak-off gel polish in a grey werewolf fur shade, cured with UV or LED lamps, with the classic creamy formula and anti-spread properties. A grey neutral pairs cleanly with brighter shades, so it is a useful anchor color when you want the fade to read as a soft shadow rather than a color change.
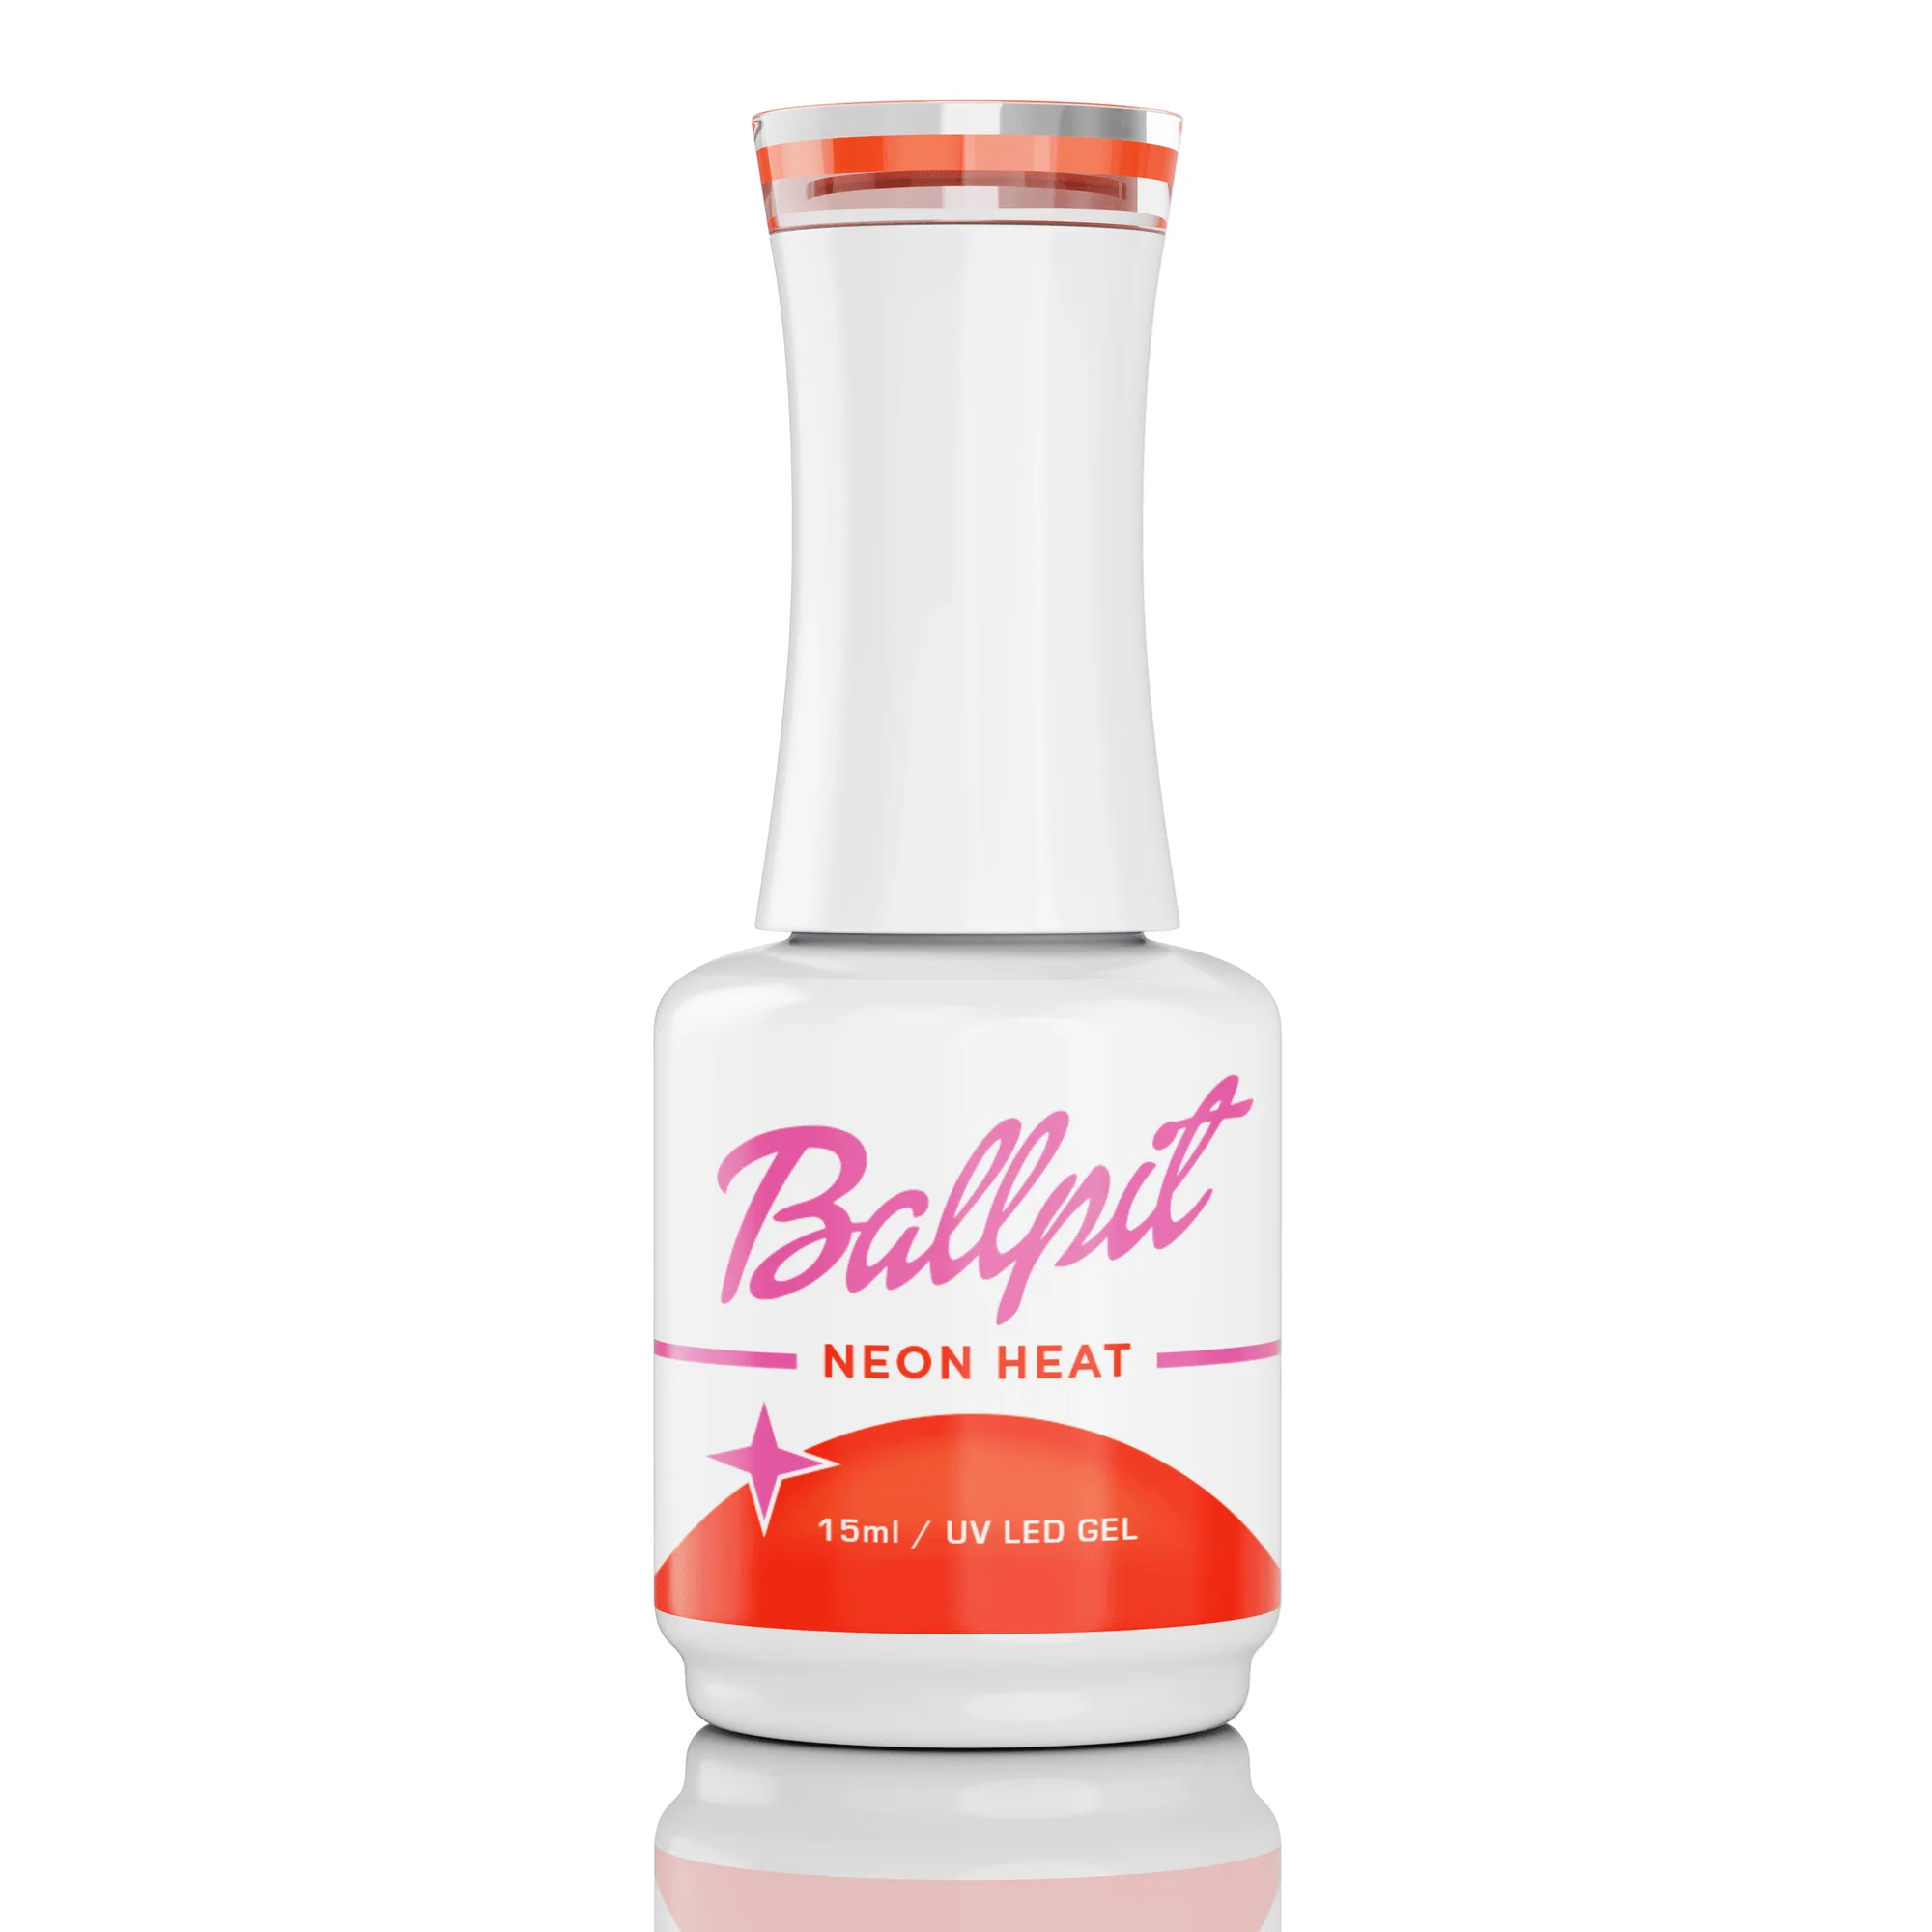
- Neon Heat - Gel Polish: A 15ml UV/LED soak-off gel in an insanely electric orange shade, made with the classic creamy formula, extreme pigment, and anti-spread properties. A shade this saturated is best used at the tip of a gradient with a lighter base, because a little goes a long way and over-blending can dull the brightness.
Ombre gel nails come down to thin layers, a clean base, and blending before you cure. Pick two shades that share a finish, choose the sponge for speed or the brush for control, and check the fade before it goes under the lamp. Once you have the sequence down, the same steps work for a two-color fade or a full rainbow gradient.