Quick answer
Use a fresh, sharp blade, cut on a self-healing mat over a rigid surface, and make two or three light passes instead of one hard press. Leather rewards a firm, slow pull with a scalpel-style blade; fabric rewards a smooth, gliding stroke with a longer blade and a bit of tension. Change the blade the moment it starts dragging.
Cutting leather and fabric with the same knife sounds simple until you try it. Leather is dense and wants to grab the blade; fabric shifts, stretches, and frays unless it is supported. The knife matters less than the blade, the surface, and how many passes you take.
This guide walks through a repeatable process that works for both materials, with the checkpoints that tell you when to change blades, when to add tension, and when to stop and re-mark instead of forcing a cut.
Match the blade to the material before you cut
Leather and fabric pull the blade in different ways, so start by choosing the blade shape rather than the handle. A pointed, medical-grade blade such as the #10 Blade Scalpel gives you a fine tip for curves, corners, and detail work on leather, card stock, and film. Its stainless steel edge holds up to the drag of dense material without tearing the surface.
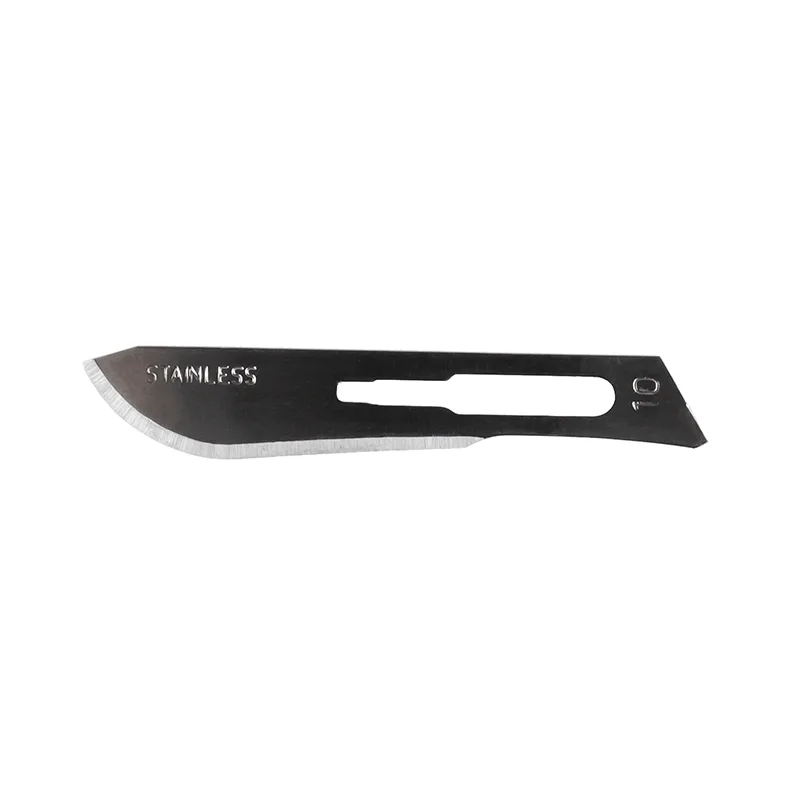
#10 Blade Scalpel
For fabric, a longer, heavier blade helps you glide through the weave in one continuous motion. If your cut wanders, the blade is probably dull or too short for the thickness you are cutting. Keep a spare blade within reach so you swap instead of sawing.
- Mark your cut line on the back of leather and on the wrong side of fabric so pencil or chalk marks stay hidden.
- Test the blade on a scrap of the same material before committing to the real piece.
Set up a surface that will not fight you
A self-healing cutting mat on a solid table is the baseline. Fabric needs a little more help: tape or weight the edges so the weave cannot shift under the blade. Leather needs less support but more stability, because a rocking motion on a soft surface will create a beveled, uneven edge.
If you are cutting a long straight line, clamp a metal ruler to the mat and run the blade along its edge. Do not use your fingers as a guide. The ruler does two jobs: it keeps the line straight and it keeps your hand out of the blade path.
- Replace your mat when the surface is scored deeply enough that the blade sinks into old grooves.
- For small pieces, a rotating mat saves you from lifting and repositioning the material mid-cut.
Make light passes instead of one hard cut
This is the step most people rush. Pressing hard on the first pass compresses leather and stretches fabric, so the finished edge is ragged even when the line is straight. Instead, score the surface on the first pass, then follow the same line with two or three more passes until the blade separates the material.
On leather, keep the blade angle consistent and pull toward yourself in one smooth stroke. On fabric, let the blade do the work and keep your non-cutting hand flat and behind the blade, not in front of it. If you feel the blade snagging, stop and change it.
- Count your passes out loud on the first few cuts to build the habit.
- If the material starts to bunch, lift the blade and re-tension the fabric before continuing.
Finish edges and clean up the cut
Leather edges can be left raw or burnished, but a ragged cut will show through any finish. Trim any fuzz with a fresh blade rather than sanding, which can stretch the edge. Fabric edges should be pinked, zigzag-stitched, or folded into a seam if the piece will be handled or washed.
Before you put the knife away, retract or remove the blade and store it separately from the handle. Used blades go in a rigid container, not loose in a drawer.
- Label scrap pieces by material so you do not accidentally cut a test scrap into a final pattern.
- Wipe leather dust off the blade before storage to slow corrosion.
The cut sequence, step by step
- Pick the blade for the material: Use a pointed scalpel-style blade for leather detail and a longer blade for fabric. Check the edge on scrap before you start. Checkpoint: if the blade drags on scrap, replace it now, not halfway through the real cut.
- Stabilize the material: Lay a self-healing mat on a solid table. Tape or weight fabric edges; clamp a metal ruler for straight leather cuts. Checkpoint: press the material with your palm. If it shifts, add more tape or weight.
- Score, then separate: Make one light scoring pass along the line, then two or three follow-up passes until the blade cuts through. Checkpoint: if the blade starts to wander, stop and re-mark the line instead of correcting mid-cut.
- Keep hands behind the blade: Pull the blade toward yourself with a smooth stroke and keep your guide hand flat and behind the cut line at all times. Checkpoint: no fingers in front of the blade, even for a short cut.
- Finish and store safely: Trim fuzzy edges with a fresh blade, then retract or remove the blade and place used blades in a rigid container. Checkpoint: a clean edge should look smooth, not fuzzy or beveled. If it is ragged, the blade was dull.
Tools that fit this process
- #10 Blade Scalpel: Stainless steel, medical-grade replacement scalpel blades sold in packs of two, used on paper, card-stock, stencils, film, photographs, tape, plastic, cork, wood, vinyl, cloth, leather, cardboard, foam boards, and most other light-weight crafting. The fine point and stainless edge make it a strong choice for leather curves and detail cuts where a heavier utility blade would crush the material.
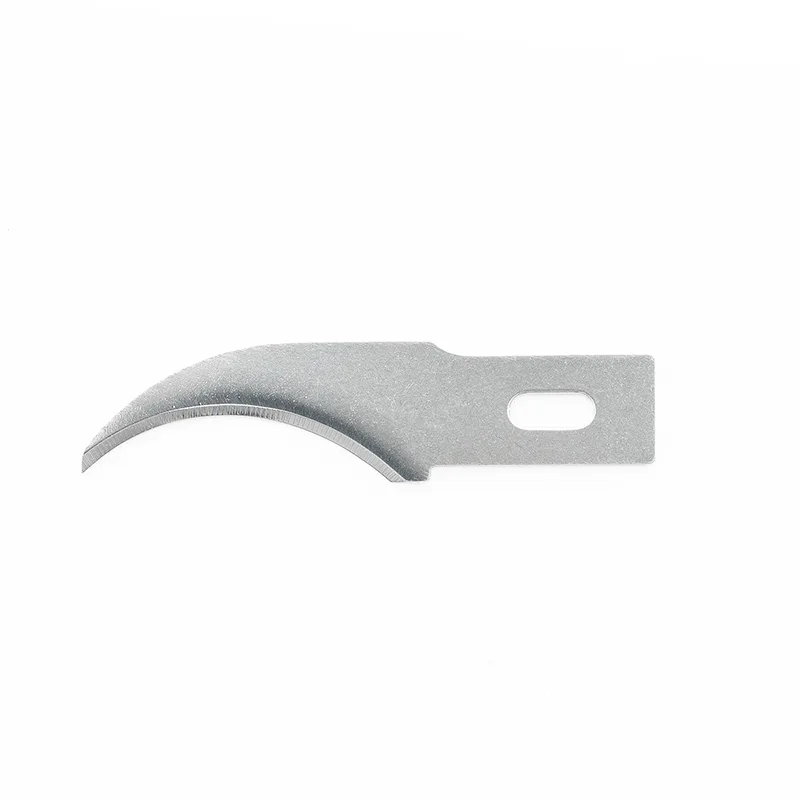
- #28 Concave Carving Blades, USA Made: Carbon steel, medium-duty concave blades made in the USA that fit all standard medium to heavy-duty craft knife handles. The concave shape is useful for scooping cuts and shaping leather edges, and the standard fit means you can use them with a handle you already own.
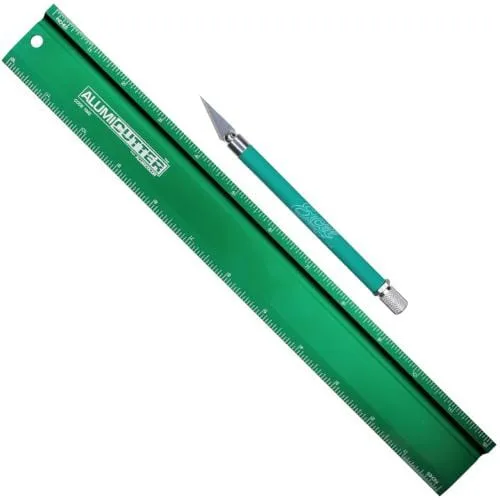
- AlumiKit by Alumicolor x Excel Blades: An all-in-one cutting and measuring set that pairs a high-quality aluminum ruler with an Excel Blades K18 Cushion Grip Hobby Knife, in a collaboration with Alumicolor. The included ruler gives you a straightedge for long fabric and leather cuts, so you are not hunting for a separate guide mid-project.
Cutting leather and fabric cleanly comes down to blade sharpness, surface stability, and patience with multiple passes. Set up once, change blades without hesitation, and your edges will look intentional instead of improvised.