Quick answer
Cut 120 film into strips of three 6x6cm frames, working on a clean, dust-free surface with anti-static gloves, then slide each strip into a print-through acetate page with the emulsion side facing away from the page's open edge. Store the filled pages upright in an acid-free binder away from heat and daylight. This keeps frames flat, scannable through the page, and safe from fingerprints or scratches.
Why print-through acetate suits 6x6 filing
Print-through acetate pages let you read or scan a negative without removing it, which matters for medium format because each 6x6cm frame carries a lot of detail you do not want to handle repeatedly. Translucent paper pages are cheaper but hide the image, so you must pull the strip out every time you want to check a frame. Acetate pages cost a little more and add a slight sheen under a scanner, but they reduce handling and therefore reduce the main cause of scratches. If you plan to make contact proofs or digitise a roll later, print-through pages save you from re-sleeving the whole archive.
Prepare the workspace before you touch the film
Work on a surface that has been wiped down and allowed to dry, not one you have just dusted with a cloth that sheds fibres. Keep the room still, avoid carpets that hold static, and wear anti-static gloves so you never touch the emulsion with bare skin. Have your pages, a binder, scissors or a film cutter, and a pen for the indexing card within reach so you are not searching mid-cut. A common mistake is cutting on a soft mat that flexes and lets the film curl into the blade; use a firm, flat cutting surface instead.
Cut strips of three frames, not six
A 6x6cm frame is roughly 6cm wide plus the frame gap, so a strip of three frames fits comfortably in most medium format pages and stays flat under its own weight. Longer strips of four or more can bow inside the pocket, and a bowed strip is harder to scan and easier to catch when you slide it in. Cut between frames, not through them, and leave a small tab of blank film at each end so you have something to grip. If you are cutting a roll you have just processed, let it hang and dry fully first; cutting damp film risks scratching the emulsion and leaving water marks trapped in the pocket.
Load the page emulsion-side correctly
The emulsion side is the duller, slightly matte surface; the base side is glossier. Slide the strip into the pocket so the emulsion faces the page's backing rather than the open edge, which keeps the delicate side away from fingers and dust during later handling. Do not force a strip that binds; if it sticks, the page is probably too full or the strip is slightly too long, so trim a millimetre rather than bending the film. Once loaded, write the roll reference, film stock, exposure notes and date on the supplied indexing card so the page is self-documenting.
Store pages upright and keep them dry
File filled pages upright in an acid-free binder or box, like books on a shelf, rather than stacking them flat where the weight of pages above can press dust into the acetate. Keep the archive out of direct sun, away from radiators and damp walls, and aim for a stable, dry room rather than an attic or garage that swings between humid and cold. If you live in a humid climate, a sealed storage box with a silica gel sachet is a reasonable extra step, but check the sachet periodically. The goal is steady conditions, not a perfectly sterile room.
Step-by-step: cutting and filing a 6x6 roll
- Clean and still the workspace: Wipe the bench, let it dry, and put on anti-static gloves before the film comes out of its sleeve. Checkpoint: if you can see dust in the air near a window, move to a calmer spot first.
- Cut three-frame strips: Use a firm flat surface and cut cleanly between frames, leaving a small blank tab at each end to grip. Common mistake: cutting through a frame edge because the strip was measured from the image rather than the gap.
- Slide strips into print-through pockets: Insert the strip so the dull emulsion side faces the page backing, and stop if it binds rather than forcing it. Checkpoint: the frame should sit flat and be readable through the acetate without lifting the page.
- Record the roll details: Fill in the indexing card with film stock, exposure notes, lighting and date, then note the same reference on the binder spine. Common mistake: writing only a roll number, which becomes meaningless once you have more than a dozen rolls.
- File upright and check conditions: Stand pages upright in an acid-free binder away from heat, damp and direct sun, and review the storage spot once a season. Next step: if humidity is high where you store film, add a sealed box and a silica gel sachet.
Products that fit this workflow
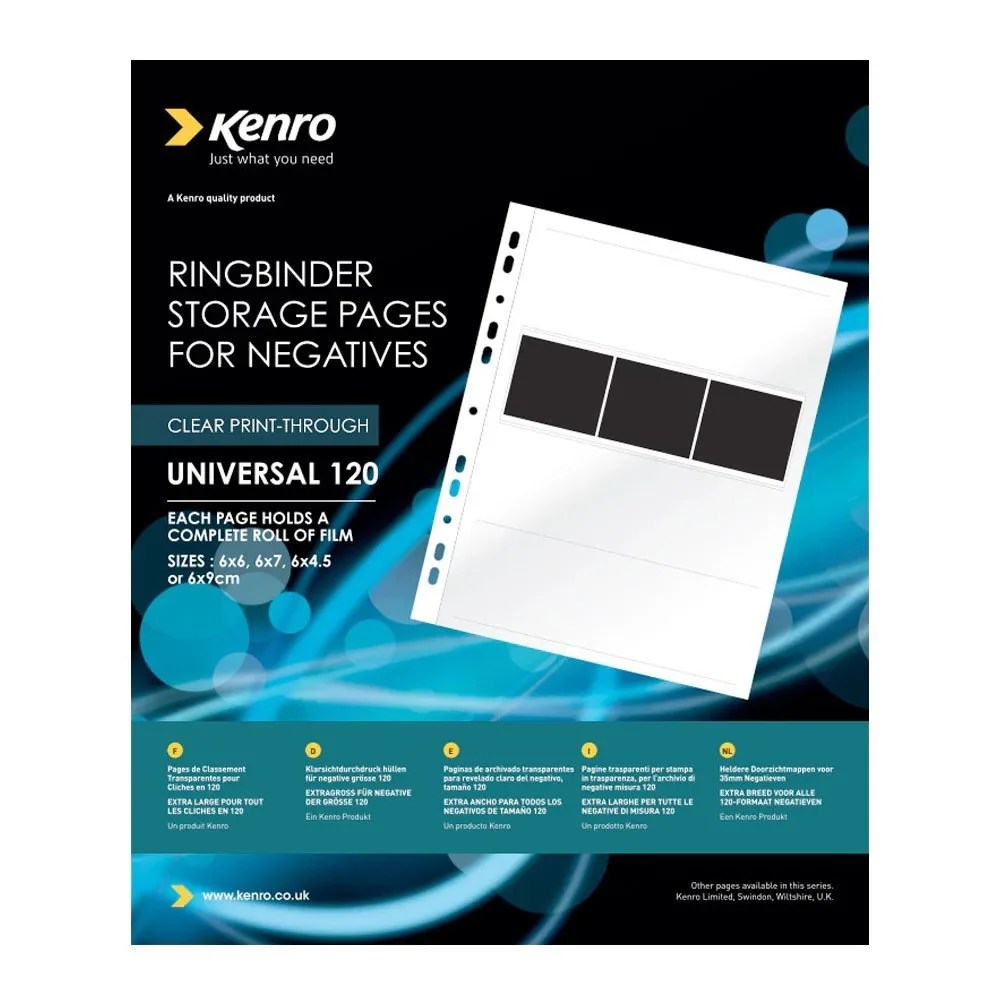
- Kenro Negative Pages Print Thru Acetate - 6 x 6cm 25 Sheets: Kenro Negative Pages Print Thru Acetate - 6 x 6cm 25 Sheets are acid- and chlorine-free acetate pages supplied with an indexing card for recording lighting, filtration and exposure data. Acid-free acetate is the safer long-term choice for 6x6 negatives, and the indexing card turns each page into a searchable record instead of an anonymous sleeve.
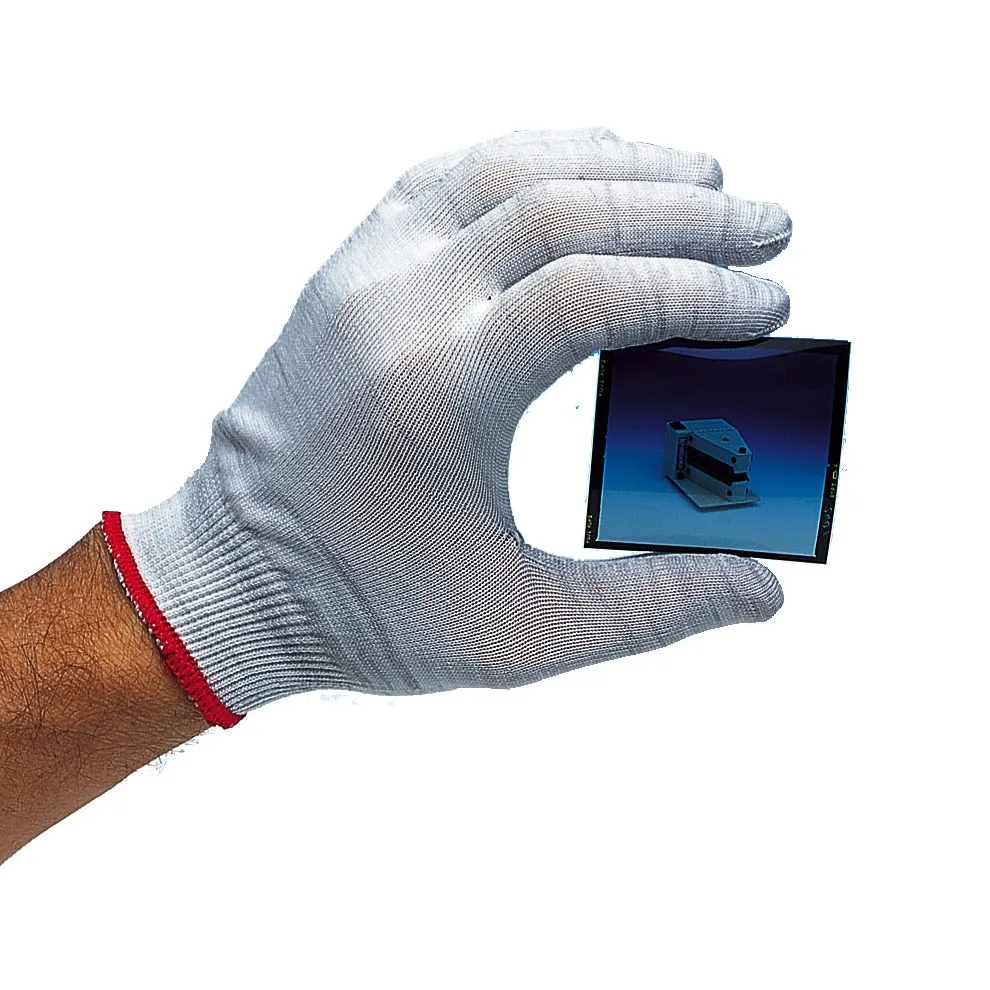
- Kaiser Anti-Static Gloves Medium: Kaiser Anti-Static Gloves Medium are a soft microfibre blend with conductive fibres, designed for handling film, optics and photographs where dust, static and fingerprints must be avoided. Wearing them while cutting and loading strips cuts the two most common causes of marks on medium format negatives: skin oils and static-attracted dust.