Quick answer
Mount your Hickory Crawdads pins on a rigid felt or cork-backed board using locking pin backs, not the standard rubber clutches. Keep the board vertical but tilted slightly back, and store spare pins in a felt-lined box with individual slots. This prevents the two most common losses: backs sliding off and pins snagging on fabric.
Choose a backing that grips the pin post
A pin stays put when the backing material creates friction around the post. Corkboard works, but felt over foam board is better because the fabric fibers close around the metal. Avoid plain cardboard or thin foam core; the post enlarges the hole over time and the pin leans forward. Cut your board at least one inch larger than your planned layout so you can reposition pins without hitting the edge.
Upgrade to locking backs before you mount anything
The rubber clutch that comes with most enamel pins is designed for temporary wear, not long-term display. A locking back (also called a deluxe or safety back) uses a small set screw or a spring mechanism that grips the post. You can buy them in bulk and swap them onto every pin in an afternoon. This single change solves the most common complaint in pin collecting: backs that slide off when you brush against the board.
Separate keychains from lapel pins
Keychains and pins need different storage. A keychain with a split ring can scratch enamel if it swings against a pin face. Hang keychains on a separate hook or a short dowel rod mounted below the pin board. If you keep them in a drawer, use a small organza bag per keychain. For pins, a felt roll or a binder page with clear pockets keeps them from touching each other.
Plan a layout that leaves room to grow
Lay pins out on a table before you push them into the board. Group by color, logo style, or era. Leave at least half an inch between pins so you can remove one without disturbing its neighbors. If you collect Hickory Crawdads pins from different seasons, a simple grid or a spiral pattern makes it easy to add new ones without rearranging everything. Take a photo of the final layout so you can restore it after cleaning.
Step-by-step: secure your pin display
- Gather your backing and tools: Use a felt-covered foam board, a corkboard, or a framed fabric panel. You will also need locking pin backs, a ruler, and a pencil. Common mistake: using a plain corkboard without fabric; cork crumbles and the post loosens. Checkpoint: press a pin into a scrap piece to confirm the backing holds without wobbling. A firm backing is the foundation of a loss-proof display.
- Replace every rubber clutch with a locking back: Remove the original clutch from each pin and push on a locking back until it clicks or you tighten the set screw. Common mistake: forcing a locking back onto a bent post; straighten the post first with small pliers. Checkpoint: tug gently on each pin; it should not slide off. Locking backs are the single most effective upgrade for keeping pins from falling off.
- Mount the board at a slight backward tilt: Hang the board so the top leans toward the wall by about five degrees. This uses gravity to keep pins seated rather than pulling them forward. Common mistake: hanging the board perfectly flat or tilted forward, which invites pins to creep out. Checkpoint: after mounting, press each pin once more to seat it fully. A slight tilt reduces the chance of pins working loose over time.
- Add a keychain hook below the board: Install a small cup hook or a short dowel under the pin display for keychains. Keep keychains from touching pins to avoid scratches. Common mistake: hanging keychains on the same pin post, which stresses the board and can pull the pin out. Checkpoint: each keychain should hang freely with at least an inch of clearance from the board. Separating keychains protects both the pins and the display surface.
- Store spare pins in a felt-lined box: For pins not on display, use a box with individual compartments or a felt pin roll. Keep it in a dry place away from direct sun. Common mistake: tossing loose pins into a single bag where they scratch each other. Checkpoint: every spare pin should have its own slot or be separated by felt. Organized storage makes rotation easy and prevents damage.
- Rotate and inspect every few months: Take the board down, check each locking back for tightness, and dust the felt with a lint roller. Swap in different pins if you like. Common mistake: never checking backs until a pin is already lost. Checkpoint: set a calendar reminder for every three months. A quick inspection keeps your collection secure and fresh.
A display piece that fits the theme
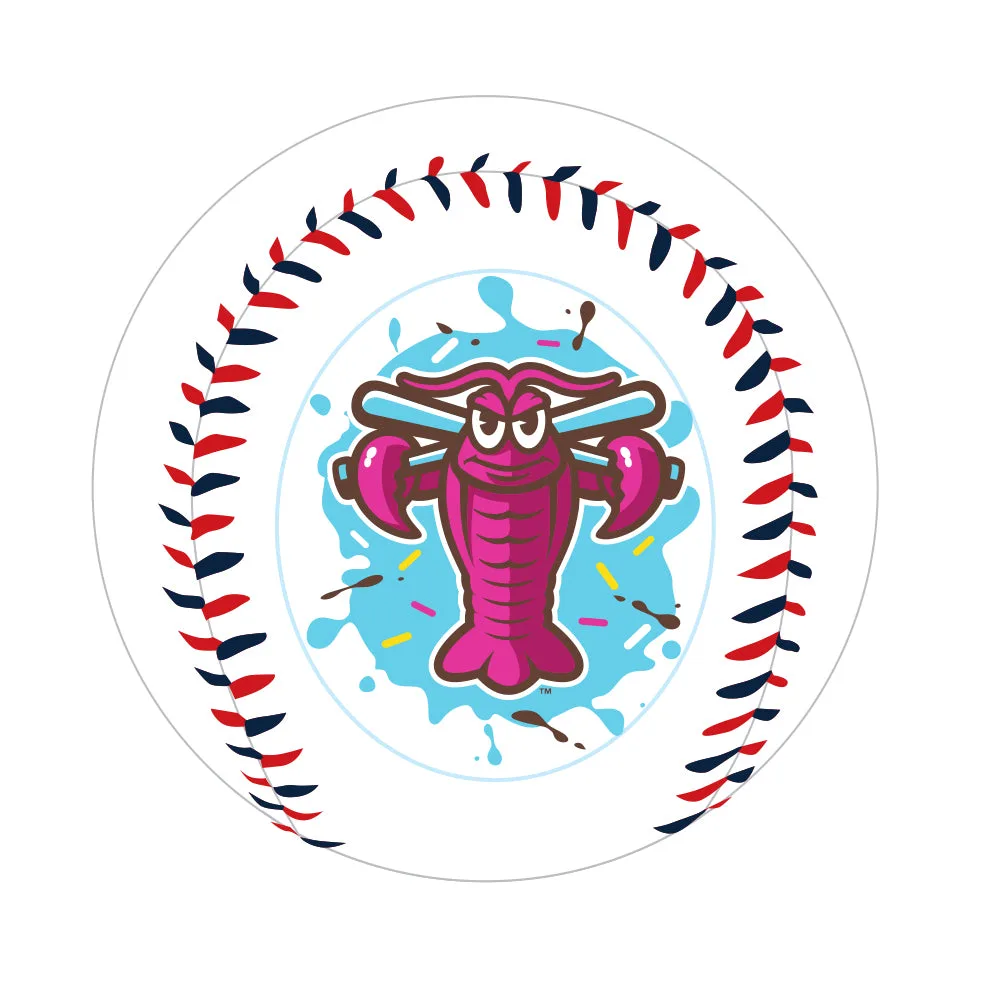
- Hickory Crawdads White Ice Cream Rawlings Baseball: White Rawlings souvenir baseball with red/navy stitching, pink ice cream splatter on one side and blue on the other. This ball can sit on a small stand below your pin board, tying the display to Crawdads game-day memories without competing for wall space.
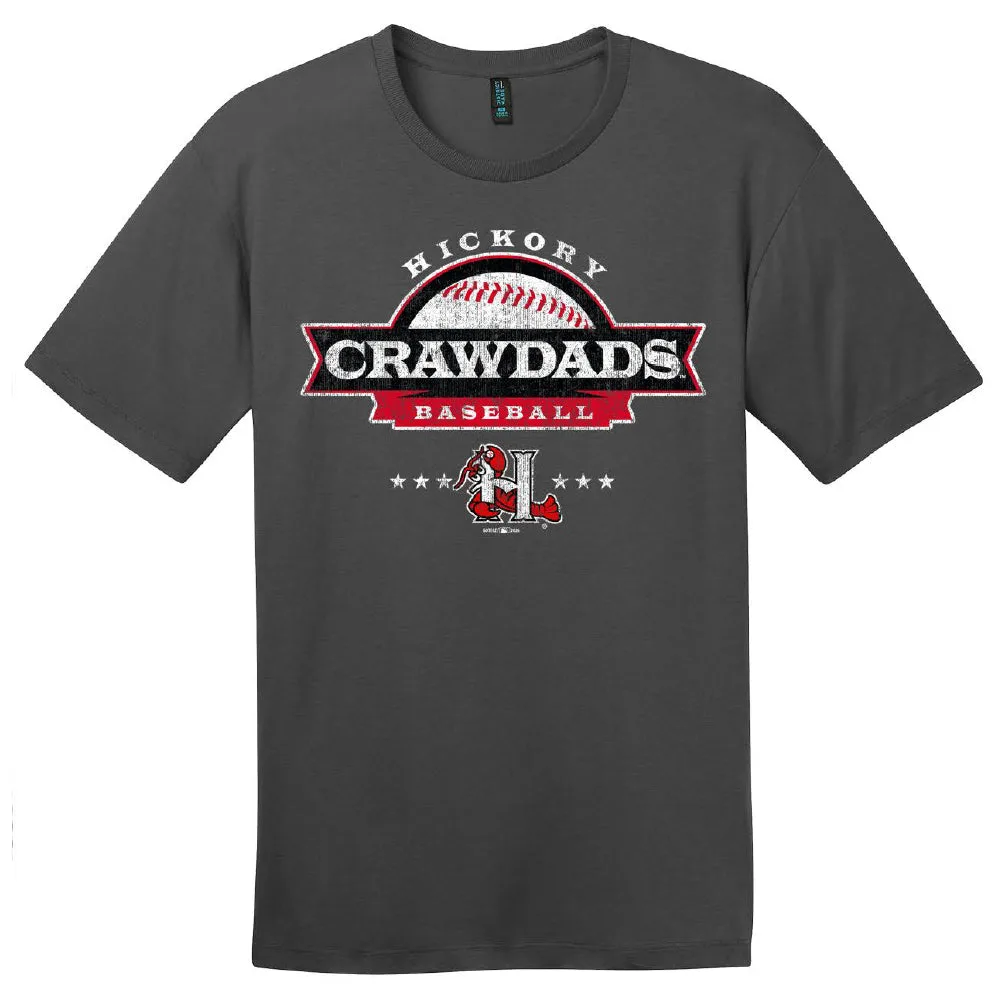
- Hickory Crawdads Dark Gray Banner Ring Spun Tee: Crawdads ring spun cotton tee from GoTeez, officially licensed. If you wear your pins on a shirt, ring spun cotton holds a pin post more securely than a thin synthetic fabric, reducing the chance of a pin pulling loose.