Quick answer
Start by sketching a large head and small body with simple shapes, then add big eyes and tiny features. Use watercolor pencils from a manga kit to add soft color and bring your chibi to life.
Why a manga workshop kit helps beginners
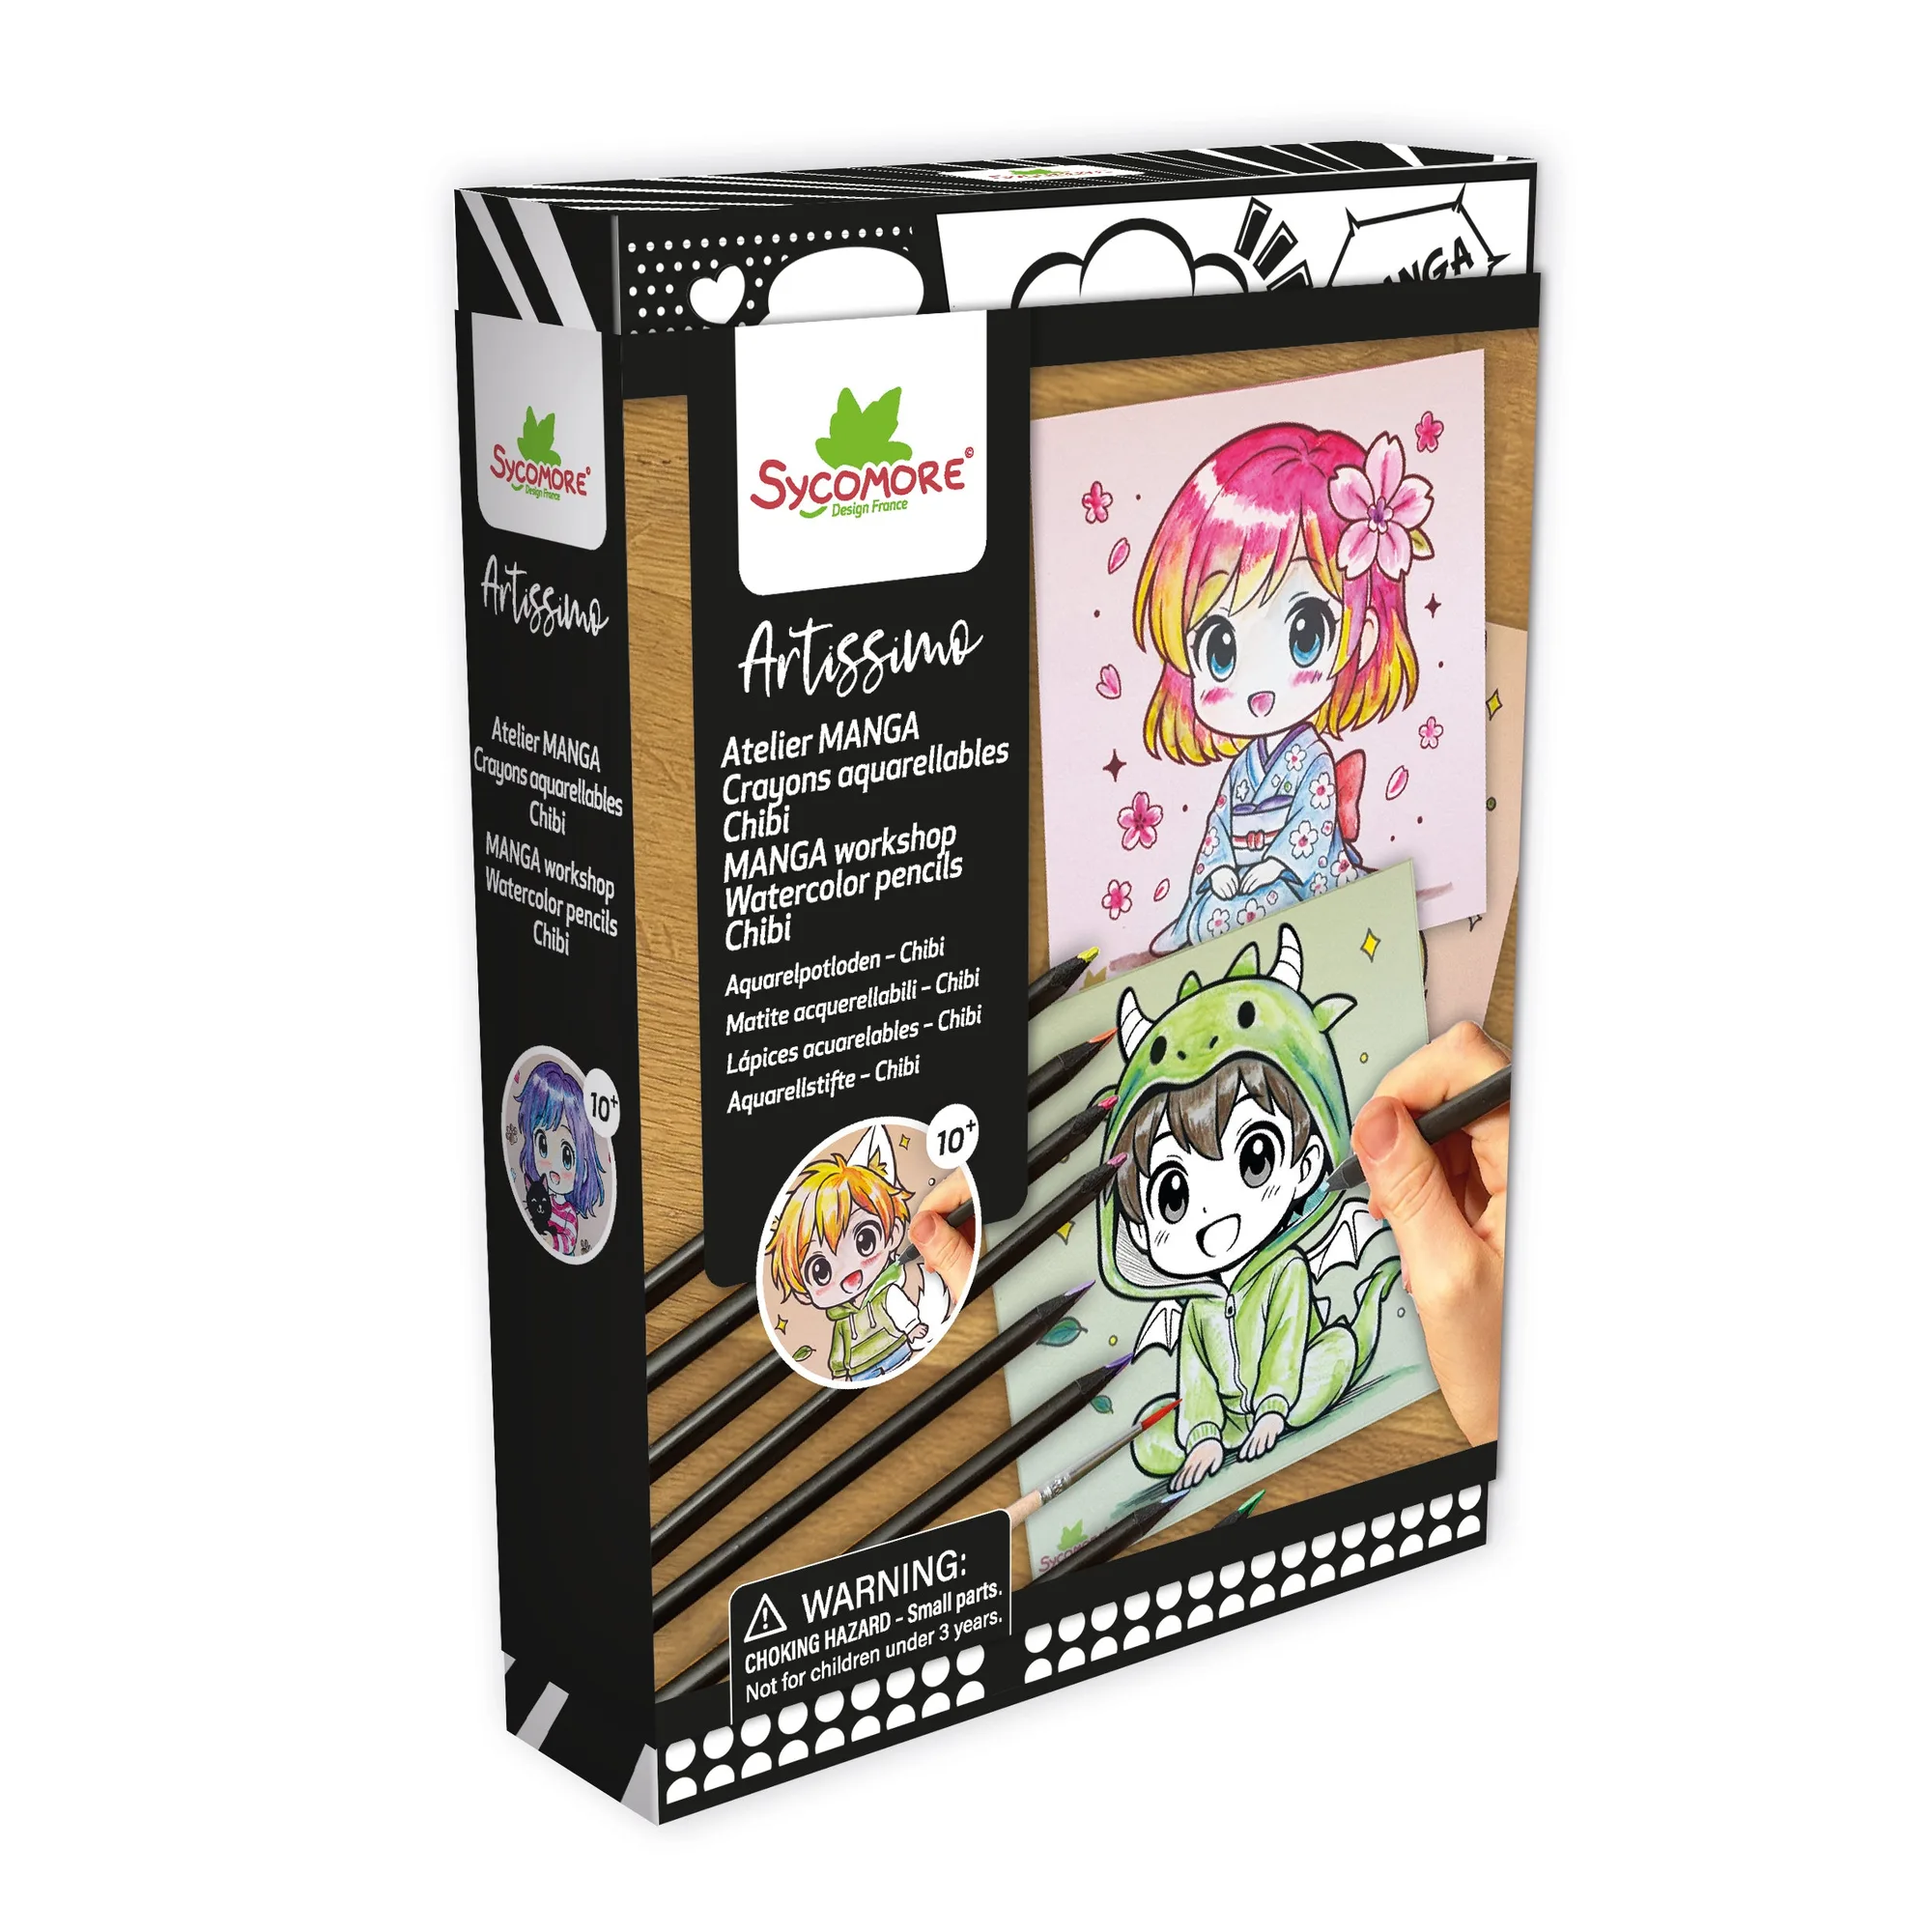
A dedicated manga kit gives you the right tools from the start. The Artissimo -S Manga Workshop Watercolor Pencils – Chibi set includes a curated selection of colors and a water-soluble tip that lets you blend smoothly. This removes the guesswork of choosing individual supplies and keeps the focus on learning the style.
Common trade-off: pencil vs. marker
Watercolor pencils give you more control over shading and blending compared to markers, but they require a brush and a little water. If you prefer a cleaner, line-art look, markers might be faster. For a soft, painted finish that suits chibi characters, watercolor pencils are the better choice.
Step-by-step chibi drawing guide
- Step 1: Sketch the head and body shapes: Draw a large circle for the head and a smaller oval below it for the body. Keep the body about one-third the size of the head. This exaggerated proportion is the hallmark of chibi style. Common mistake: making the body too large. If your character looks more like a normal person, shrink the body oval until it feels cute and compact.
- Step 2: Add facial guidelines and big eyes: Lightly draw a vertical and horizontal line across the head circle to place the eyes. Chibi eyes are large and low on the face. Draw two big ovals that touch or nearly touch the horizontal line. Add a small nose and a tiny mouth below the eyes. Checkpoint: eyes should take up about half the face height. If they are too small, the character loses its chibi charm.
- Step 3: Outline the hair and simple clothes: Draw a few curved lines on top of the head for hair. Keep it simple—spikes, bangs, or a ponytail work well. For clothes, sketch a basic shirt or dress shape over the body oval. Avoid complex folds or details. Common mistake: adding too many hair strands. Stick to 3-5 main sections to keep the drawing clean and readable.
- Step 4: Apply watercolor pencils and blend: Color your chibi using the watercolor pencils from the manga kit. Start with light pressure, then dip a clean brush in water and gently stroke over the pencil marks. The color will soften and spread. Let each area dry before moving to the next to prevent smudging. Checkpoint: test the blending on a scrap paper first. If the color becomes too watery, you are using too much water. Dab the brush on a paper towel to remove excess.
- Step 5: Add final details and outlines: Once the watercolor is dry, use a fine-tip pen or dark pencil to trace the main outlines. Add highlights to the eyes by leaving a small white circle or adding a white gel pen dot. Erase any remaining pencil guidelines gently. Common mistake: outlining before the watercolor is fully dry. This can cause the ink to bleed. Wait at least 10 minutes or use a heat tool on low.
Product used in this guide
-
Artissimo -S Manga workshop watercolor pencils Chibi - 10y+: The Artissimo -S Manga Workshop Watercolor Pencils – Chibi set is designed for young manga enthusiasts and features a vibrant selection of watercolor pencils perfect for drawing and coloring adorable chibi-style characters. The included colors are pre-selected for chibi art, so you can start shading and blending immediately without needing to mix or buy extra pencils.
Artissimo -S Manga workshop watercolor pencils Chibi - 10y+