Quick Answer
The Zendure Solar Parallel Y Cable lets you connect two photovoltaic panels to one input on your balcony solar system, simplifying wiring and keeping your setup tidy. It works with the Zendure AIO 2400 and SolarFlow balcony systems, so you can expand your power plant without adding extra cables or clutter.
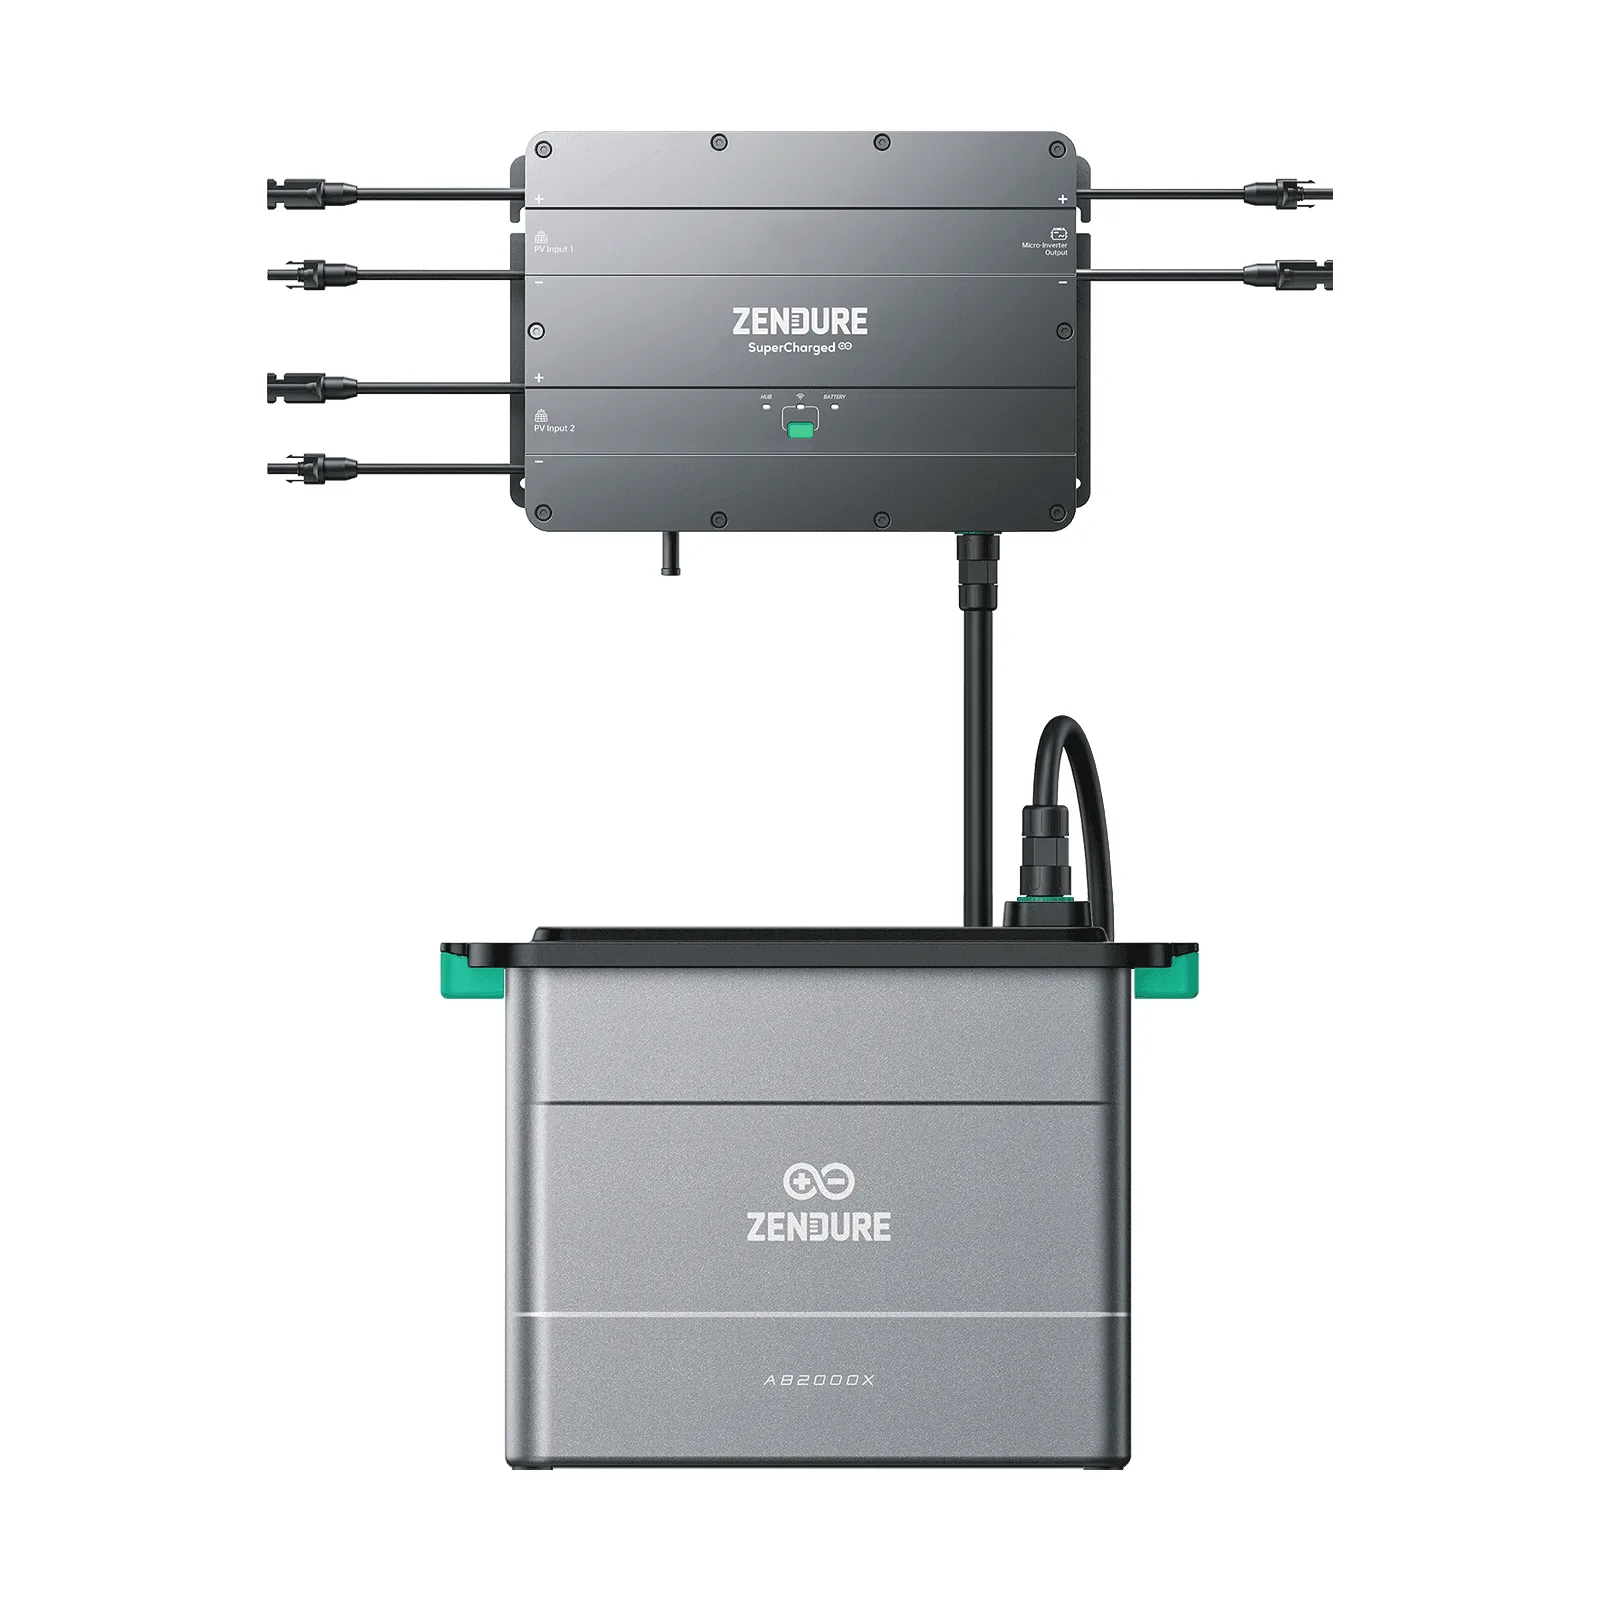
SolarFlow
If your balcony solar setup is ready for more panels, the Zendure Solar Parallel Y Cable (3M) is the simplest way to add another photovoltaic module without rewiring everything. Instead of running separate cables for each panel, this Y-shaped cable merges two panels into one connection point on your system.
In this guide, you'll learn how to install the cable step by step, which Zendure systems it works with, and the common mistakes to avoid so your expanded balcony power plant runs safely and efficiently.
What the Zendure Solar Parallel Y Cable Does
The Zendure Solar Parallel Y Cable is designed to streamline your balcony solar system wiring. It enables the parallel connection of two photovoltaic panels using just one wire, ensuring a neat and orderly setup. This is especially useful if you're adding a second panel to your existing array and don't want a tangle of cables hanging over your railing.
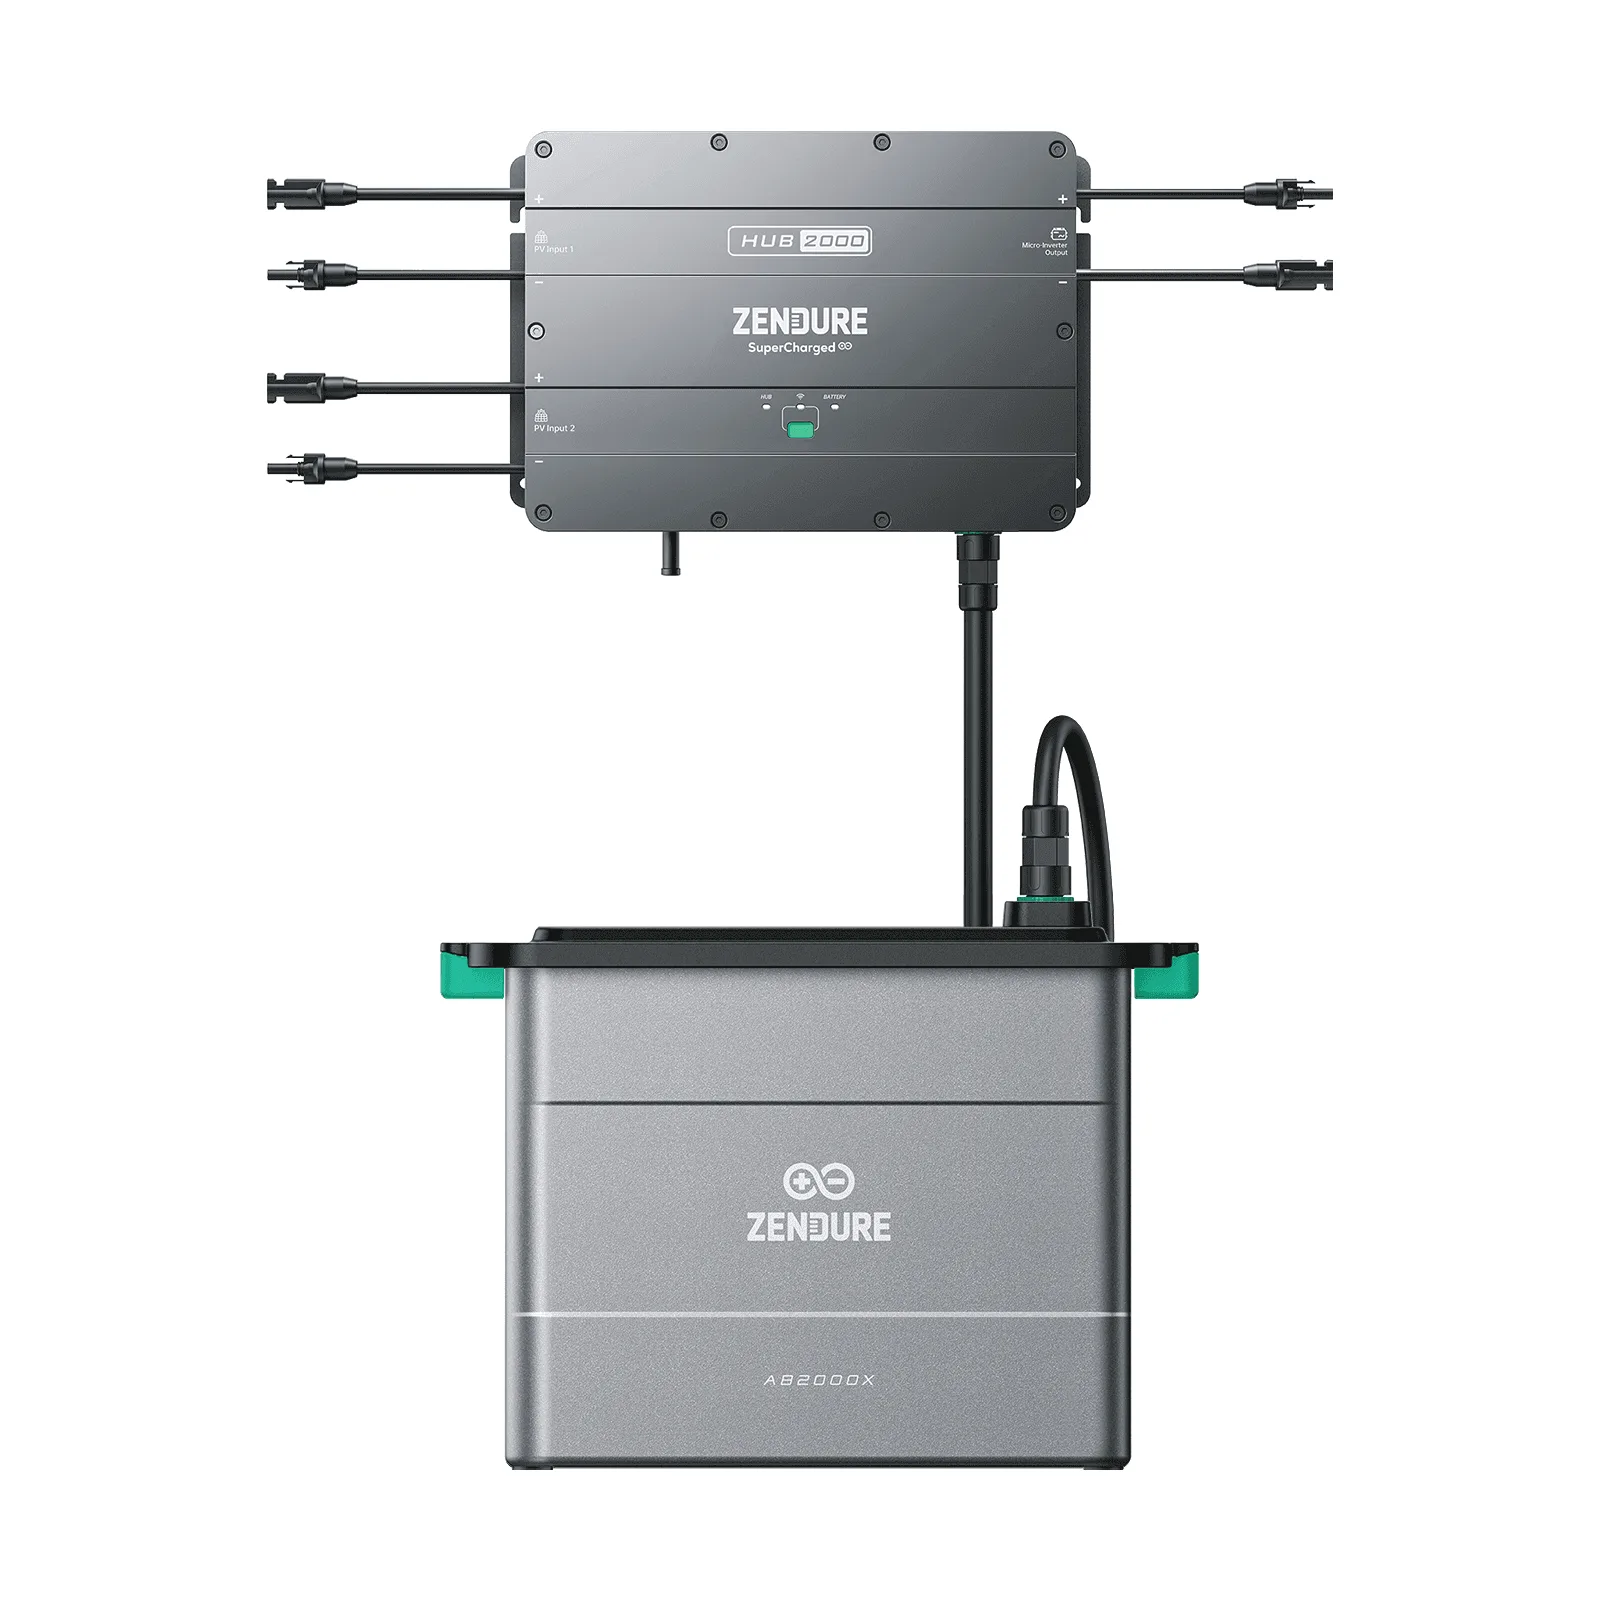
The cable is compatible with Zendure's AIO 2400 and SolarFlow balcony solar systems. Before you buy, double-check that your system is one of these models. If you have a different Zendure power station or a third-party inverter, the connection may not match, so it's worth confirming compatibility first.
- Measure the distance between your panels and the system input to ensure the 3-meter cable length is sufficient.
- Use the Y cable only with two panels of the same type and wattage to avoid mismatched output.
- Keep the cable away from sharp edges and direct sunlight where possible to extend its life.
Safety Checks Before You Start
Before you plug anything in, turn off your balcony solar system and disconnect it from the grid if possible. Working with live solar panels can produce a dangerous voltage, especially in bright sunlight. Even though the Y cable is plug-and-play, you should handle the connections with care.
Inspect the cable for any visible damage, such as cuts or frayed ends. If you see any, don't use it. Also, make sure the connectors are clean and free of dirt or moisture before plugging them in. A dirty connection can cause poor contact and reduce power output.
- Always disconnect the system from the grid before handling connectors.
- Check that the Y cable connectors are clean and dry before use.
- Never connect more than two panels to one Y cable; use a different method for larger arrays.
Step-by-Step Installation Overview
Once you've confirmed compatibility and safety, the installation is straightforward. First, position your two solar panels so their output cables reach the Y cable's input connectors. Then, plug each panel's cable into one of the Y cable's two inputs. Finally, connect the Y cable's single output to your system's solar input port.
After everything is connected, power on your system and check the app or display to confirm that both panels are being recognized and generating power. If only one panel shows up, there's likely a loose connection or a mismatch between the panels.
- Secure the Y cable to your balcony railing or wall to keep it out of the way.
- Use cable ties to bundle the panel cables neatly, but avoid bending them sharply.
- Test the system after installation to verify both panels are contributing.
Installation Steps
- Turn off your system: Switch off your balcony solar system and disconnect it from the grid. This prevents any electrical shock while you work. Checkpoint: Confirm the system is completely powered down before proceeding.
- Position your panels: Place both solar panels so their cables can reach the Y cable's inputs. Ensure the panels are not shaded and are oriented to maximize sunlight. Checkpoint: Verify the panels are in a safe, stable position before connecting cables.
- Connect the Y cable inputs: Plug each panel's output cable into one of the two input connectors on the Y cable. Push firmly until you hear a click, indicating a secure connection. Common mistake: Loose connections cause intermittent power. Always double-check that both inputs are fully seated.
- Connect the Y cable output: Plug the Y cable's single output connector into the solar input port on your Zendure system (AIO 2400 or SolarFlow). Make sure the connection is tight. Checkpoint: Confirm the output connector is properly aligned and locked in place.
- Power on and test: Reconnect your system to the grid and turn it on. Check the app or display to verify that both panels are recognized and generating power. If only one panel shows up, re-check all connections and ensure both panels are of the same type and wattage.
Key Product Facts
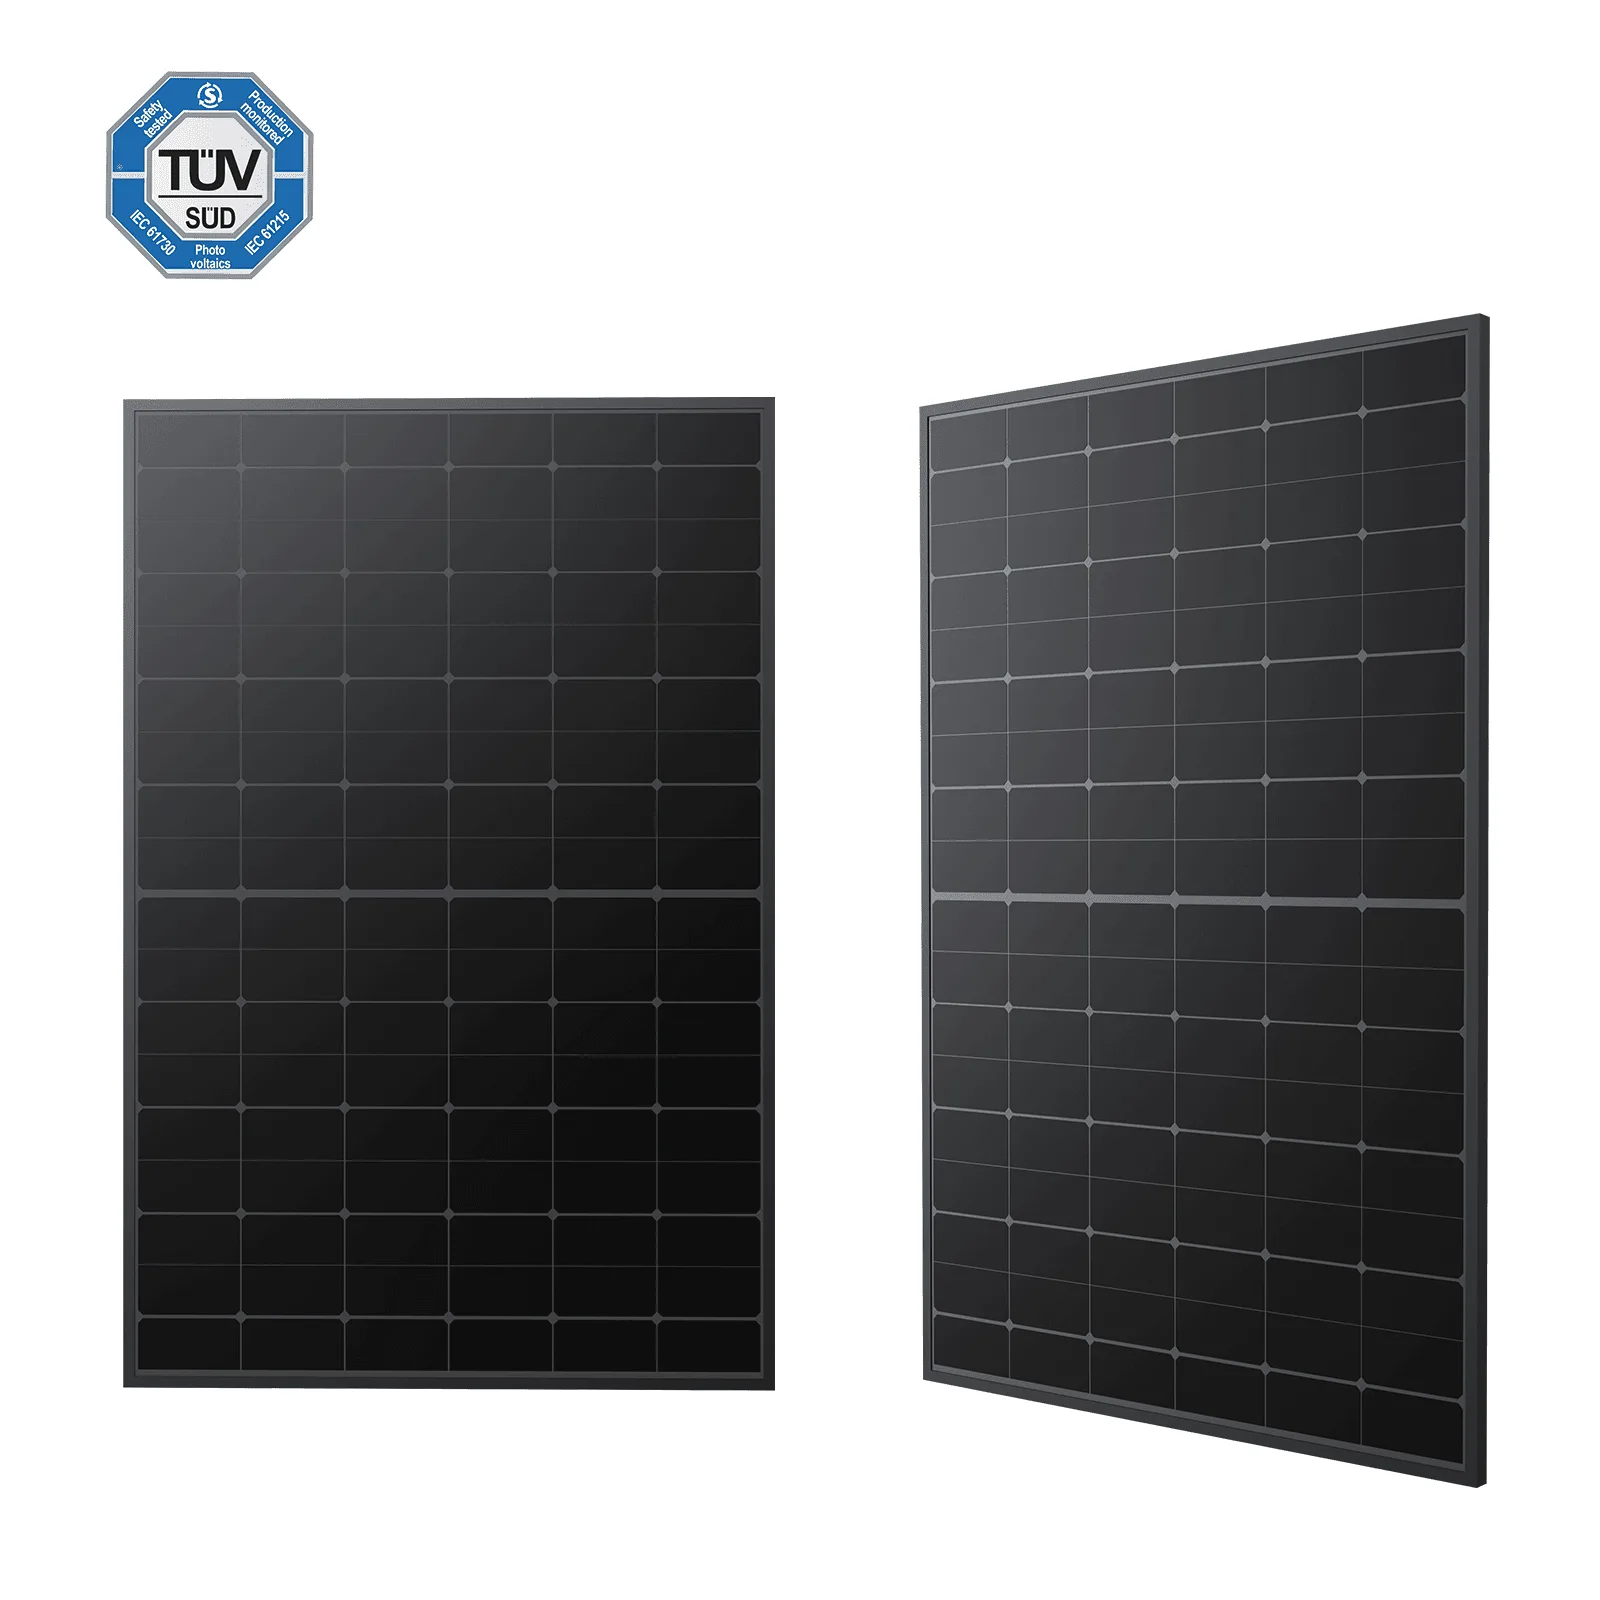
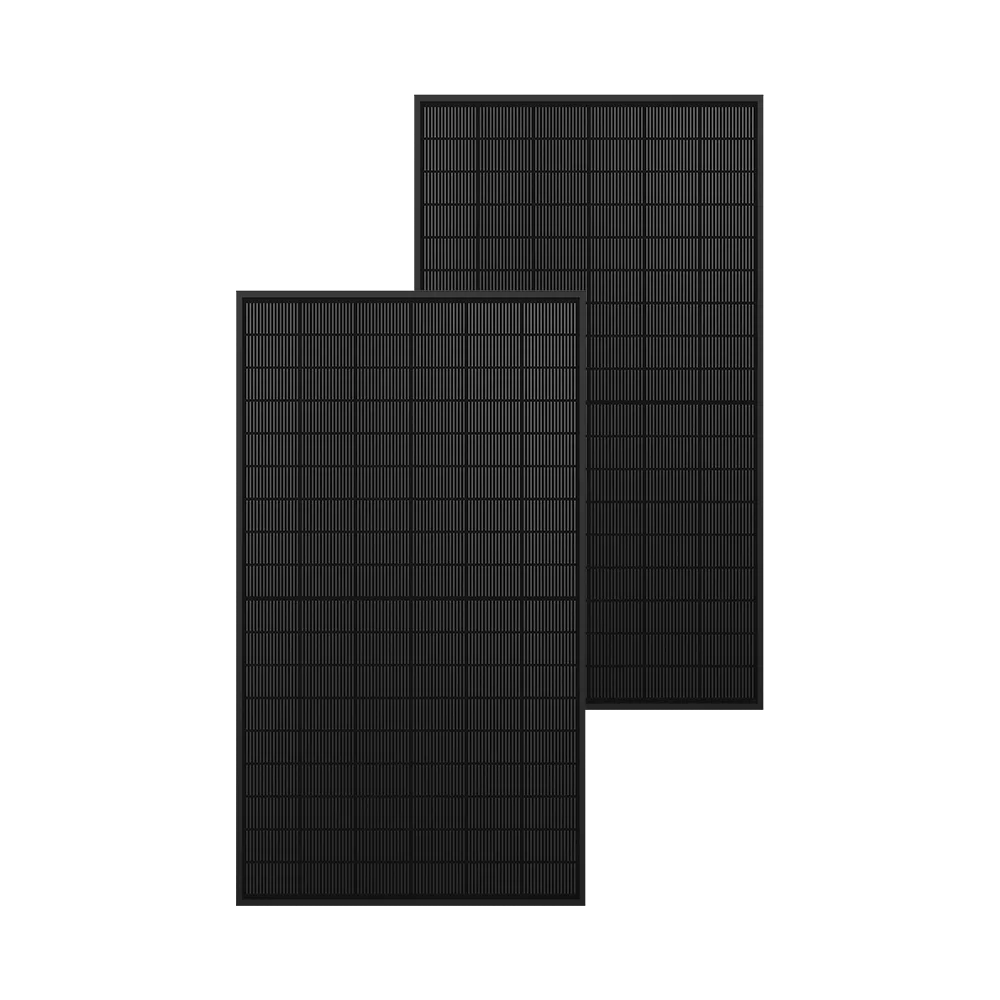
- Zendure Flexible Solar Panels: Weighing just 4.3 kg, it is 70% lighter than conventional glass photovoltaic panels, making it incredibly easy to transport and install. When expanding your balcony power plant, lighter panels are easier to mount and don't overload your railing, so you can add more capacity without heavy-duty brackets.
- Balcony Easy Solar Bracket: Crafted from highly anti-corrosion 6005-T5 aluminum alloy and robust 304 stainless steel, these brackets offer exceptional durability for outdoor installations. If you're adding a second panel, a sturdy bracket ensures it stays secure in windy conditions, protecting your investment and your balcony.
- Zendure SolarFlow 2400 AC+: The Zendure SolarFlow 2400 AC+ comes with a 2.4 kWh base capacity and can be expanded up to 14.40 kWh with additional AB3000L batteries. With a Y cable connecting two panels, you can feed more power into the SolarFlow 2400 AC+, making the most of its expandable storage and increasing your energy independence.
The Zendure Solar Parallel Y Cable is a simple, effective way to add a second solar panel to your balcony power plant without extra wiring clutter. By following these steps and checking compatibility with your Zendure system, you can expand your setup confidently and keep your balcony looking clean and organized.