Quick Answer
To extend the burn time of your Heirloom Tomato XL Candle, always allow the wax to melt to the edges on the first burn, trim the wick to 1/4 inch before each lighting, and avoid burning for more than 4 hours at a time. Follow these steps to enjoy your candle for many more evenings.
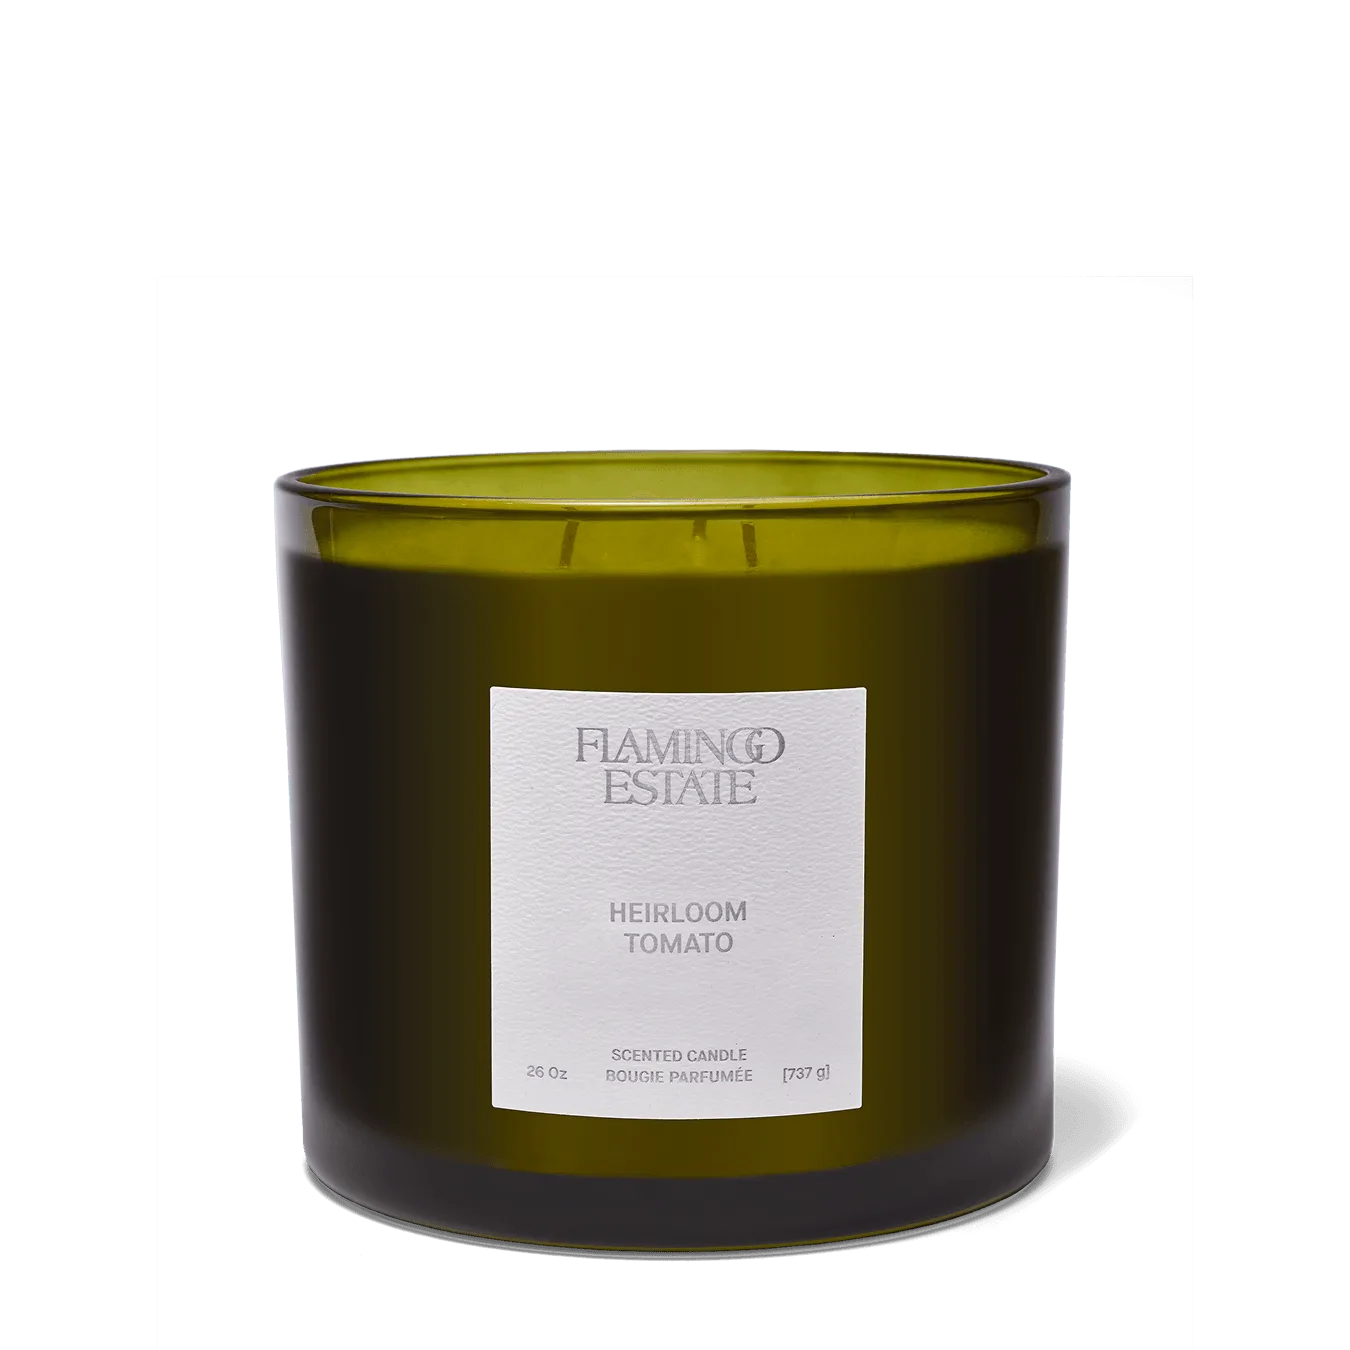
Heirloom Tomato XL Candle
There’s nothing quite like the scent of ripe tomatoes on the vine, especially at sunset when the garden is watered and the aroma fills the air. The Heirloom Tomato XL Candle captures that moment, and you want it to last as long as possible. Fortunately, with a few simple habits, you can significantly extend the life of your candle and enjoy its fragrance for many more hours.
This guide walks you through the essential steps for proper candle care, from the first burn to daily maintenance. Whether you're new to candles or a seasoned enthusiast, these practical tips will help you get the most out of your Heirloom Tomato XL Candle and other Flamingo Estate favorites.
Why Burn Time Matters
A candle's burn time isn't just about how many hours you get; it's about how well the candle performs. When a candle burns unevenly or tunnels, you lose wax that never melts, shortening the overall life. By following a few simple practices, you can ensure a clean, even burn that maximizes every ounce of wax.
The Heirloom Tomato XL Candle is designed to fill your space with the scent of the summer garden. To fully experience that aroma and make the candle last, proper care is key. Small adjustments in how you burn your candle can make a noticeable difference in both burn time and scent throw.
- Always place your candle on a heat-resistant surface away from drafts.
- Keep the wax pool free of debris like wick trimmings or matches.
The First Burn: Set the Foundation
The first time you light your Heirloom Tomato XL Candle is the most important. Allow the wax to melt all the way to the edges of the container. This might take 2 to 3 hours, depending on the size of the candle. Doing this creates a 'memory' in the wax, preventing tunneling on subsequent burns.
If you don't let the first burn reach the edges, the candle will tunnel, leaving a ring of unmelted wax along the sides. This wasted wax never gets burned, reducing the total burn time. Be patient on that first lighting—it's worth the wait.
- Set aside enough time for the first burn to reach the edges—don't rush it.
Trim the Wick Before Every Lighting
Before each burn, trim the wick to about 1/4 inch (6 mm). A shorter wick produces a smaller, more controlled flame, which burns the wax more efficiently. A long wick can cause a tall, flickering flame that burns through wax faster and may produce soot.
Use a wick trimmer or small scissors. Trim while the candle is cool and the wick is firm. Remove any wick trimmings from the wax pool before lighting. This simple step not only extends burn time but also keeps the flame clean and reduces smoke.
- Check the wick length before each burn—it's a quick habit that pays off.
Burn in Sessions of 3 to 4 Hours
Avoid burning your candle for more than 4 hours at a time. After that, the flame can become unstable, and the wax may overheat, causing it to evaporate faster. Instead, burn in sessions of 3 to 4 hours, then allow the candle to cool completely before relighting.
This practice not only extends the burn time but also preserves the fragrance. Overheating can cause the scent to dissipate more quickly. By giving your candle a break, you ensure a consistent and pleasant aroma every time you light it.
- Set a timer if needed—burning in shorter sessions is better for the candle's lifespan.
Keep the Wax Pool Clean
Debris in the wax pool, such as wick trimmings or dust, can affect how the candle burns. These particles can act as additional fuel, causing the flame to flare up and burn the wax faster. Always remove any foreign material before lighting.
Also, avoid moving the candle while the wax is liquid. Slopping wax can get on the wick, leading to a larger flame and uneven burn. Let the candle cool and solidify before moving it to a new location.
- Inspect the wax pool each time before you light the candle.
Step-by-Step to a Longer-Lasting Candle
- First Burn: Melt to the Edge: Light your Heirloom Tomato XL Candle and let it burn until the entire top layer of wax is liquid, reaching the sides of the container. This may take 2-3 hours. Checkpoint: The wax pool should be even and reach the edges before you extinguish.
- Trim the Wick to 1/4 Inch: Before each lighting, trim the wick to about 1/4 inch. Use a wick trimmer or scissors. Remove any trimmings from the wax. Checkpoint: A shorter wick means a cleaner, more efficient burn.
- Burn in 3-4 Hour Sessions: Light the candle for no more than 3-4 hours at a time. Extinguish and let it cool completely before relighting. Checkpoint: Allow the candle to cool and solidify between burns to prevent overheating.
- Keep the Wax Pool Clean: Before each burn, check the wax pool for debris like wick trimmings or dust. Remove them to avoid a larger flame. Checkpoint: A clean wax pool ensures a steady, even burn.
- Place Away from Drafts: Position your candle on a stable, heat-resistant surface away from open windows, fans, or air vents. Drafts can cause uneven burning and faster wax consumption. Checkpoint: A stable environment helps the candle burn evenly and last longer.
Candle Care with Flamingo Estate
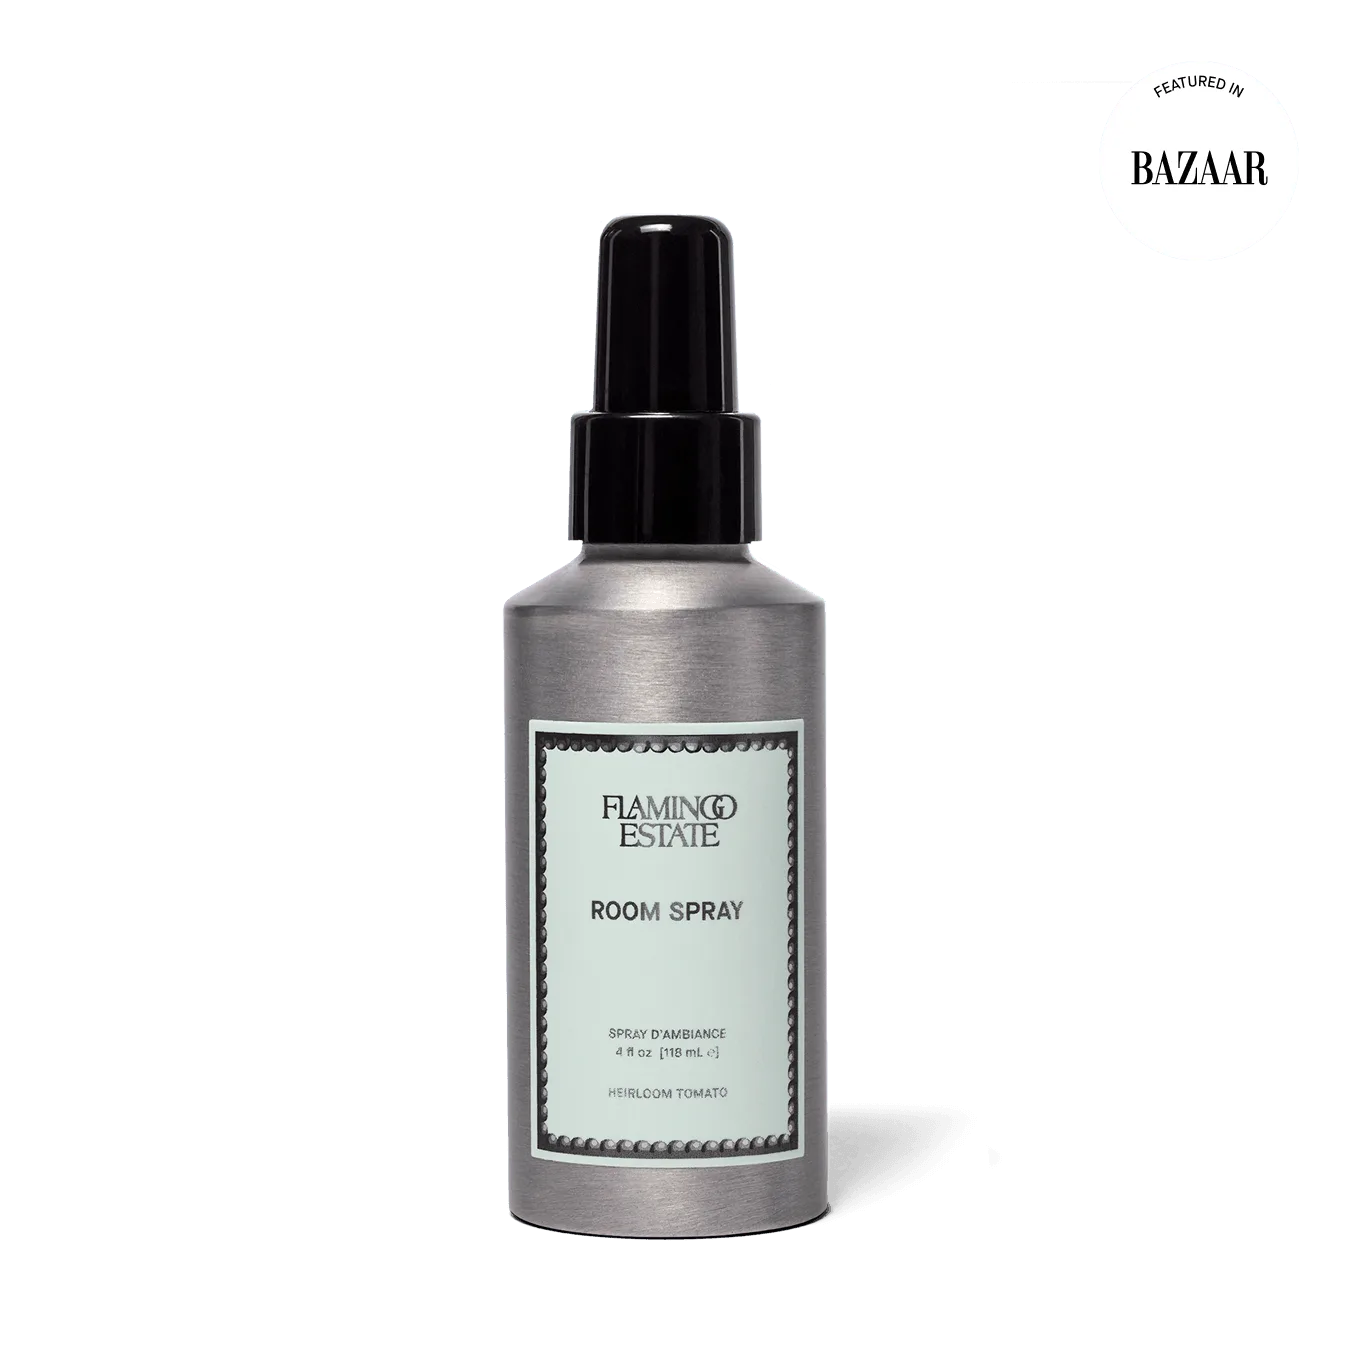
- Heirloom Tomato Room Spray: This bottle, whether as a Room Spray or Hand Soap, is the Summer garden, distilled. As we run down the terrace and bathe beneath moonlight, our beloved Heirloom Tomato wraps all around us, hanging heavy from the vine and releasing its intoxicating aroma—especially at sunset when the Tomato vines are watered. If you love the Heirloom Tomato scent but want to extend your candle's life, use this room spray to refresh a space between candle burns, saving your candle for special moments.
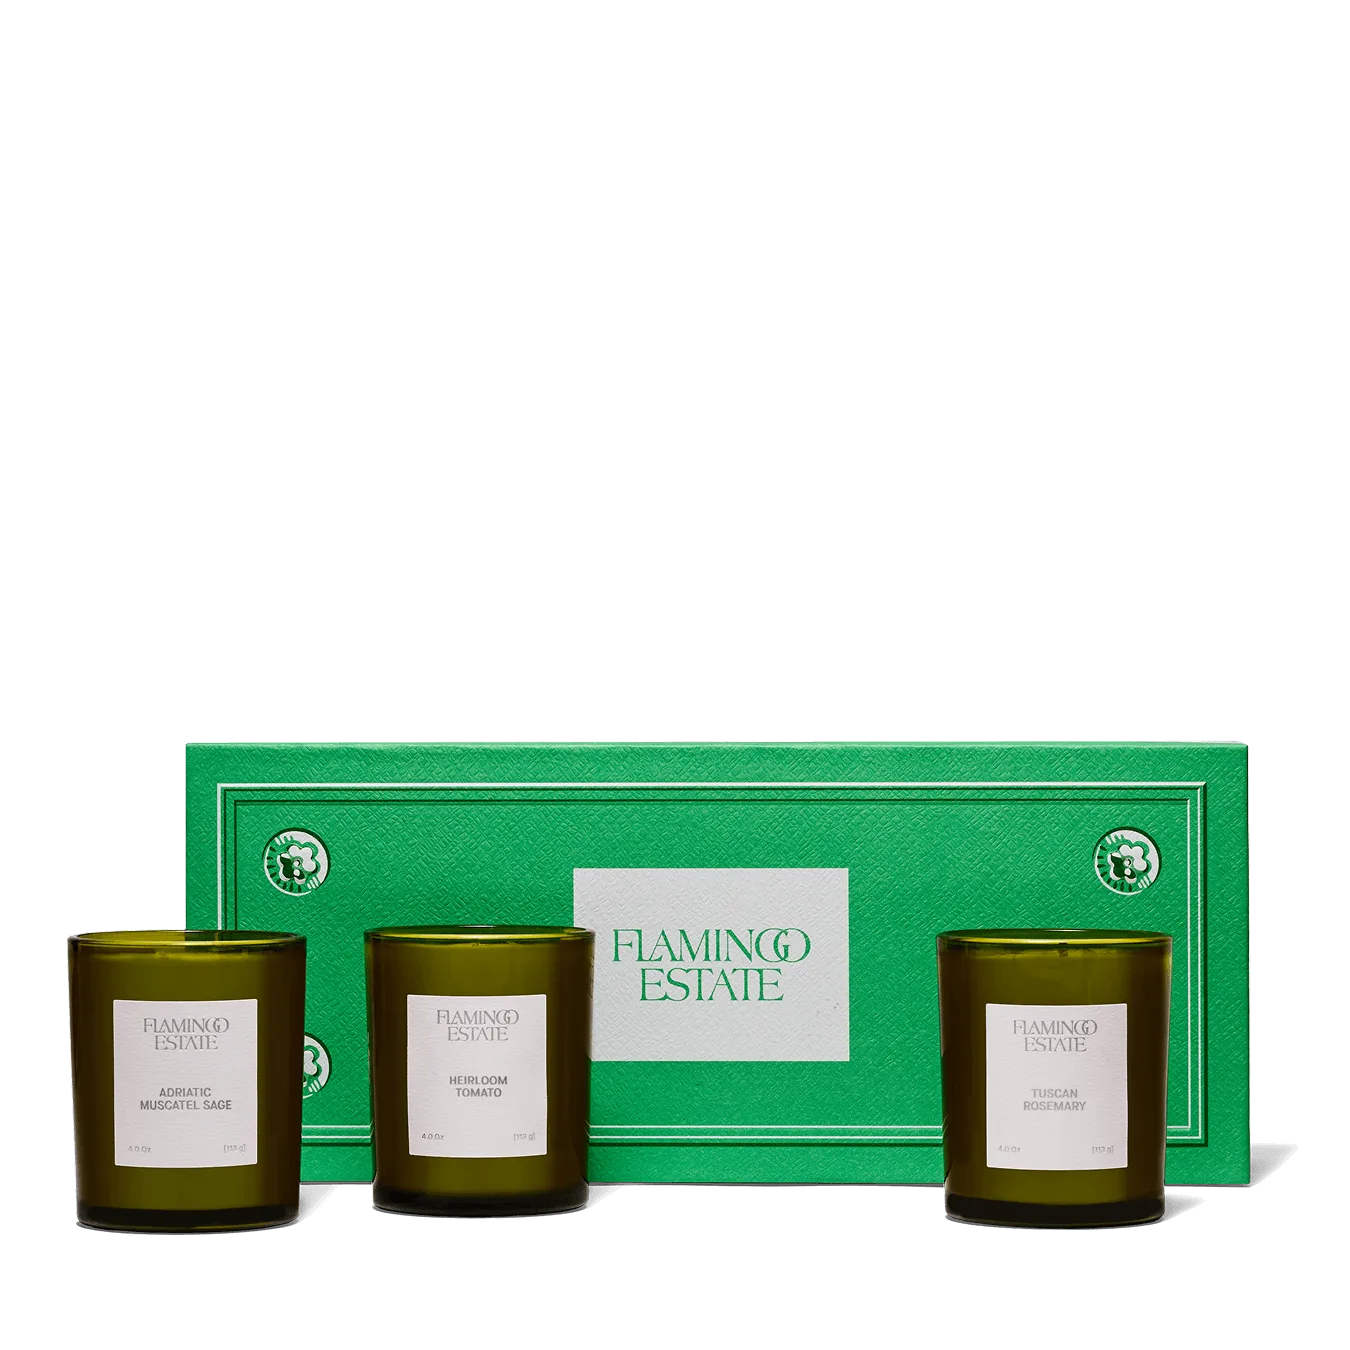
- Mini Three Sisters Set: These three Candles are our most beloved scents. They are our origin story, and an embodiment of our garden—where a sea of Rosemary, Sage, and Tomato plants tingle your nose and push you along the pathways. We've hand-poured them in petite glass vessels so you can light them all at once and create ambiance, gift them, or trial our most iconic scents. If you're new to Flamingo Estate candles, this set lets you sample the iconic scents without committing to a large candle. Perfect for testing which fragrance you want to invest in for longer burns.
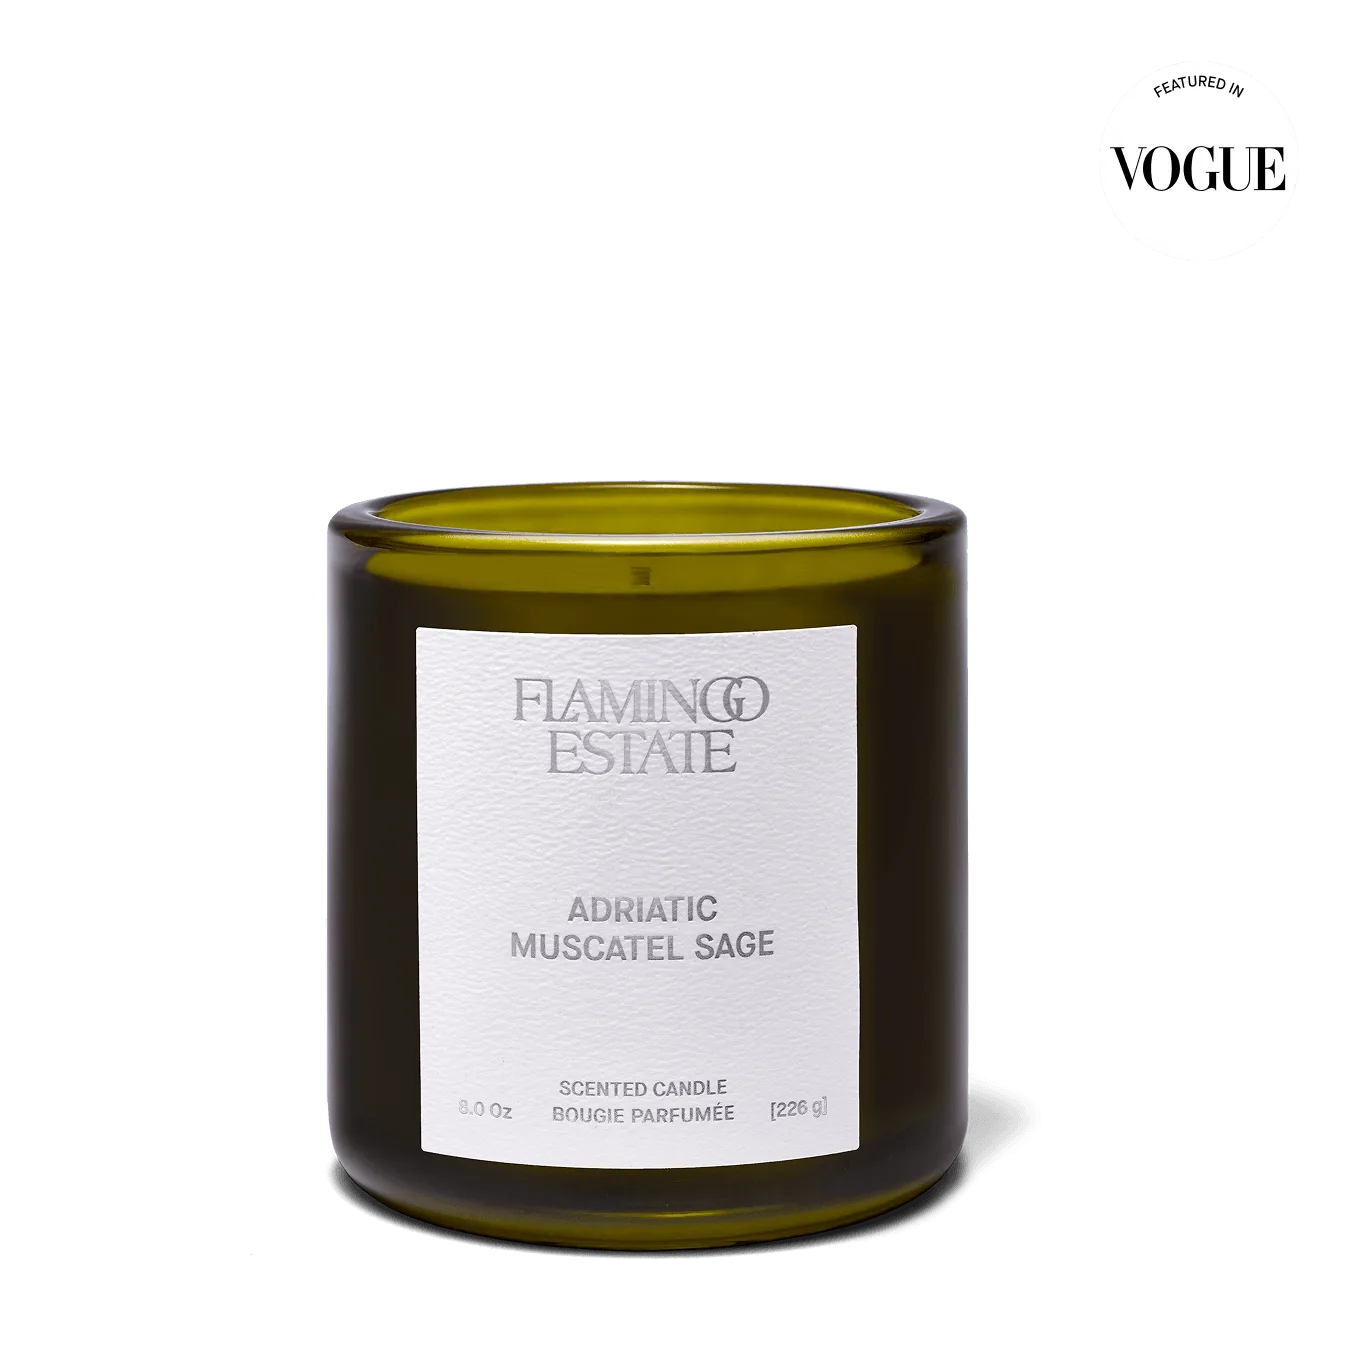
- Adriatic Muscatel Sage Candle: Sage's botanical name comes from the Latin word 'salvere', which means, 'to be saved.' Sage is our savior, its scent, our origin story. There are over 900 species of Sage worldwide, with 19 of them having their origins in California. If you enjoy the Heirloom Tomato Candle, this Sage candle offers another garden-inspired scent. Use the same care tips to extend its burn time and enjoy a variety of aromas.
By following these simple steps, you can extend the burn time of your Heirloom Tomato XL Candle and enjoy its garden-fresh scent for many more evenings. Proper candle care not only saves you money but also enhances the fragrance experience. For more Flamingo Estate candle options, explore the Mini Three Sisters Set or the Adriatic Muscatel Sage Candle to expand your collection.