Quick answer
Use a permanent fabric gel pen like the Pentel Fabric Gel Pen to write on an organic cotton write-in label. Include the quilt's name, your name, the date, and the recipient if it's a gift. Set the ink with a hot iron before washing. This simple habit turns your quilt into a documented heirloom.
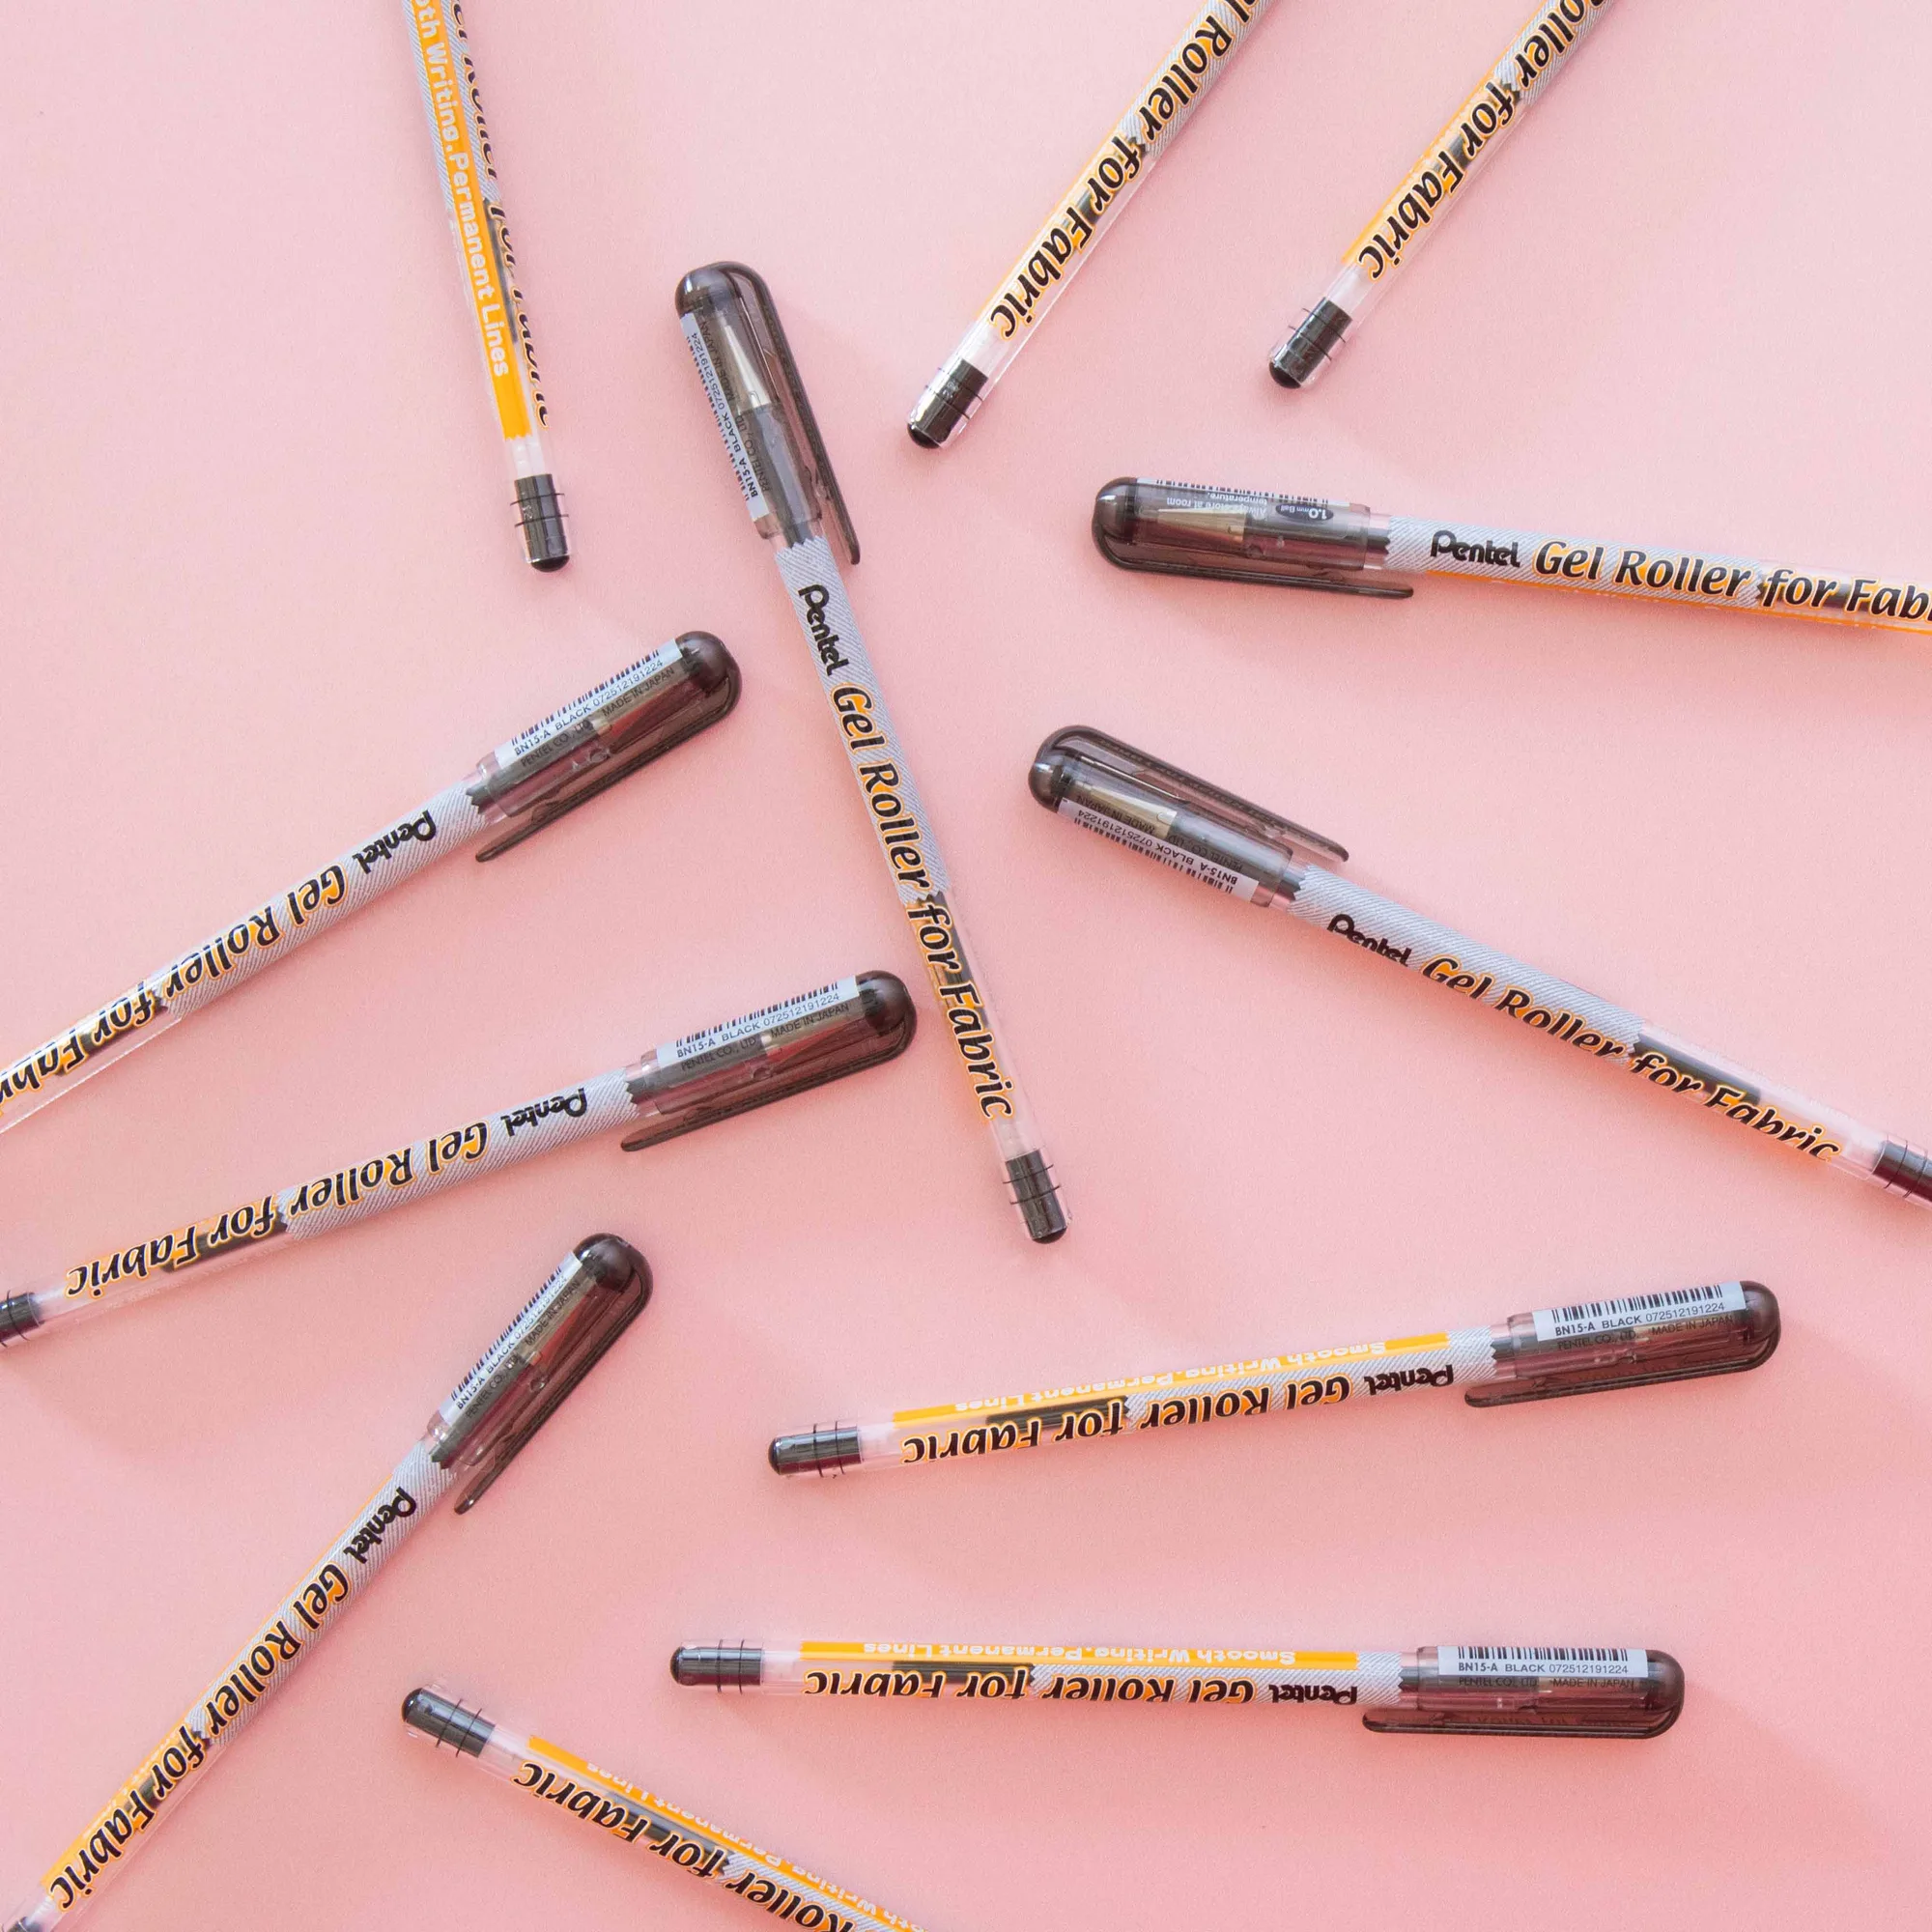
Pentel Fabric Gel Pen
You've spent hours cutting, piecing, quilting, and binding. A write-in label is your chance to sign that work and tell its story. Without a label, even the most beautiful quilt becomes anonymous—future owners won't know who made it, when, or why.
Filling out a quilt label takes just a few minutes, but the details matter. The right pen, the right information, and a quick heat-set step make the difference between a label that fades away and one that lasts for generations.
Choose the right pen for fabric labels
Not all pens work on fabric. A regular ballpoint or gel pen may bleed, skip, or wash out completely. You need a pen specifically designed for fabric—one with pigment ink that bonds to the fibers. The Pentel Fabric Gel Pen is a favorite for this task: it has a 1.0mm ball tip, writes without bleeding, and stays put after washing and dry cleaning.
Avoid Sharpies or other permanent markers unless they're labeled for fabric. They often bleed into the weave, creating a blurry mess. Water-based pigment ink, like the Pentel's, is the safer choice. It goes on smooth and dries clean.
- Test your pen on a scrap of similar fabric before writing on the actual label.
- If you're left-handed, place a scrap of paper under your hand to prevent smudging as you write.
Gather the information you want to record
A quilt label should answer the who, what, when, and why. At minimum, include your name and the date the quilt was finished. If it's a gift, add the recipient's name. You might also include the quilt's name, the pattern, or a short message. For a baby quilt, the birth date and baby's name are meaningful additions.
Think of it as a mini time capsule. In 50 years, someone will want to know the story. Write legibly—cursive is fine if it's clear, but print if your handwriting tends to be messy. Use a pencil to draft the text on paper first, so you can check spacing and spelling.
- Include the city and state if the quilt has local significance.
- If the quilt is a gift for a wedding or anniversary, add the occasion and the couple's names.
Write on the label with care
Place the label on a flat, stable surface. If the label is an end-fold style, you can write on it before attaching it to the quilt—this is often easier. For a write-in label like the Vintage Handmade with Love Organic Cotton Write-In Labels, there's space to sign and date your work and add the recipient. Write slowly and steadily, letting the ink flow without pressing too hard.
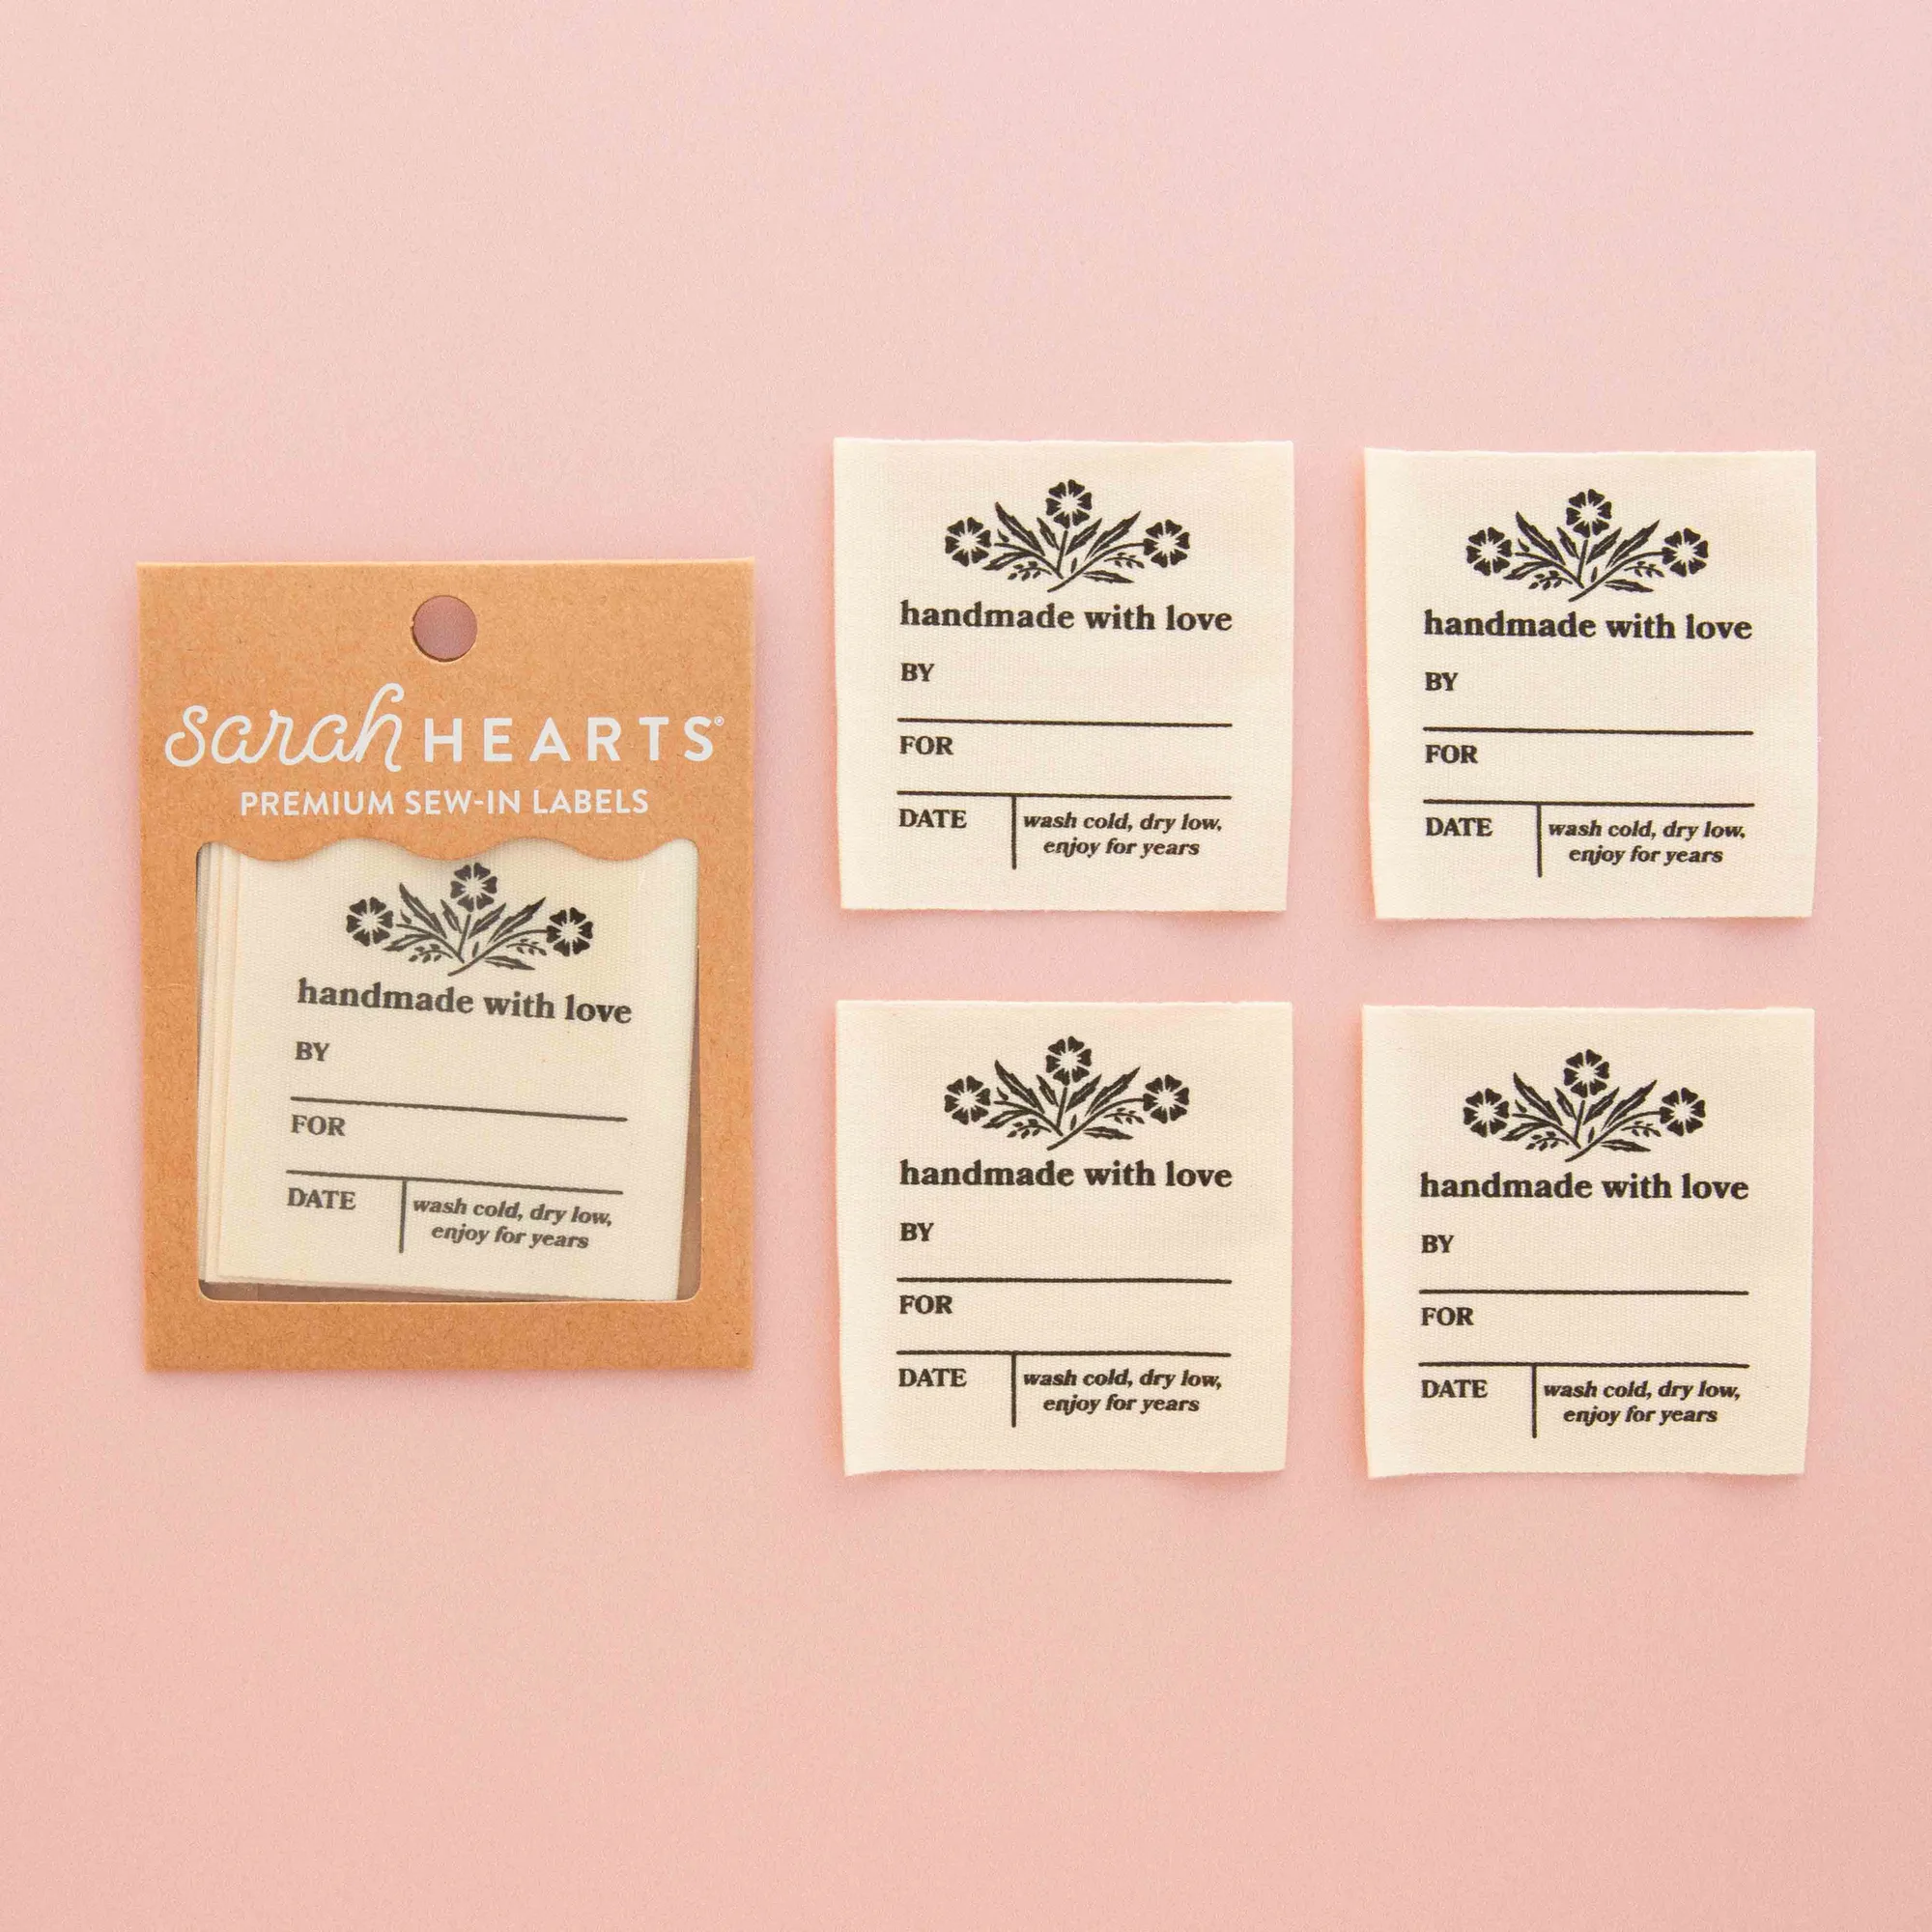
Vintage Handmade with Love Organic Cotton Write-In Labels
If you make a mistake, don't panic. A small error can be turned into a decorative element, or you can start with a fresh label. Since these labels come in packs of 4, you have a spare or two. Once the ink is dry to the touch, it's time to set it.
- Write in a single direction to avoid smearing—left to right for right-handed, right to left for left-handed (or use a smudge guard).
- Leave a small margin around the edges so the ink doesn't bleed off the label.
Heat-set the ink for permanence
Even though the Pentel Fabric Gel Pen is designed to last after washing, heat-setting adds an extra layer of protection. Wait until the ink is completely dry, then press a hot iron (no steam) over the label for 15–20 seconds. Use a pressing cloth or a piece of scrap cotton between the iron and the label to prevent scorching.
This step is especially important if the quilt will be washed frequently. Heat-setting helps the pigment bond with the fabric fibers, making the writing more resistant to fading and abrasion.
- Always test the iron temperature on a scrap label first.
- Let the label cool completely before attaching it to the quilt.
Attach the label securely
Once the ink is set, attach the label to the back of your quilt. You can hand-sew it using a blind stitch, or machine-sew it if you prefer. Place it in a corner or along the bottom edge, where it won't interfere with the quilting. For a neat finish, fold under the raw edges of the label before stitching.
If you're using an end-fold label, fold it over the edge of the quilt and stitch through all layers. This hides the raw edges and creates a professional look. Make sure your stitches don't cover any of the writing.
- Use a thread color that matches the label or the quilt backing.
- Sew around all four sides for security, especially on quilts that will be used daily.
Step-by-step: filling out your quilt label
- Test your pen: Write a sample on a scrap of fabric or an extra label to check ink flow, bleed, and drying time. If the ink bleeds or skips, try a different pen or adjust your writing pressure.
- Draft your text: On paper, write out exactly what you want to include: name, date, recipient, quilt name, and any special message. Check spelling and spacing. This is your permanent record—accuracy matters.
- Write on the label: Copy your draft onto the label using the Pentel Fabric Gel Pen. Work slowly and steadily, keeping your hand off the wet ink. If you make a mistake, start fresh with a new label. Don't try to erase or cover it up.
- Let it dry: Allow the ink to dry completely—usually a few minutes—before touching or ironing. A quick touch test: if it feels dry, it's ready for the next step.
- Heat-set the ink: Press with a hot, dry iron for 15–20 seconds using a pressing cloth. This step locks in the ink and makes it more durable through repeated washings.
- Attach to your quilt: Sew the label to the back of the quilt, folding under raw edges or using the end-fold if applicable. Stitch securely so the label stays put for the life of the quilt.
Products that make labeling easier
- Vintage Handmade with Love Organic Cotton Write-In Labels: These organic cotton labels have space to sign and date your work and add the recipient. Sold in packs of 4 labels, size 6cm x 6cm end fold. The generous writing area and end-fold design give you room for details and a clean finish. The organic cotton is soft and washable, so your label feels as good as it looks.
- Pentel Fabric Gel Pen: 1.0mm ball tip, writes without bleeding, lasts after washing and dry cleaning, water-based pigment ink. Recommended to set with an iron. This pen is specifically designed for fabric, so your writing stays clear and permanent. The fine tip lets you write small, neat text that fits on a label.
A well-filled quilt label is a gift to future generations. With the right pen and a few careful steps, you can document your quilt's story in a way that lasts. Take the time to do it now—your future self, and whoever inherits your quilt, will thank you.


