Quick Answer
To finish a needlepoint kit, first block the canvas to straighten it, then mount it in a frame or hoop. This guide walks you through each step, from wet blocking to final assembly, with common pitfalls to avoid.
Why Blocking Matters for Your Finished Needlepoint
After stitching your needlepoint kit, the canvas is often distorted from tension. Blocking reshapes it to its original dimensions, making it square and ready for framing. Skipping this step can result in a crooked or wavy display, no matter how carefully you stitch.
Choosing the Right Frame or Display Method
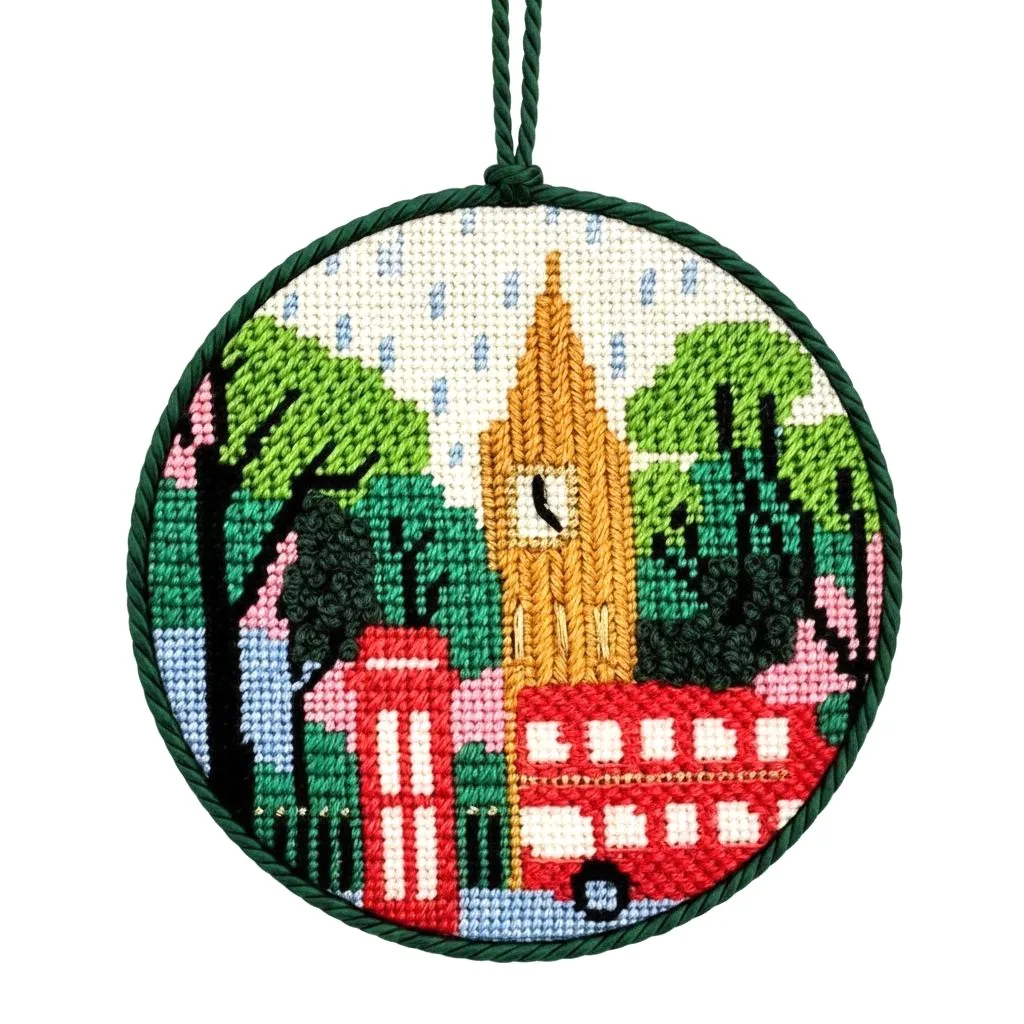
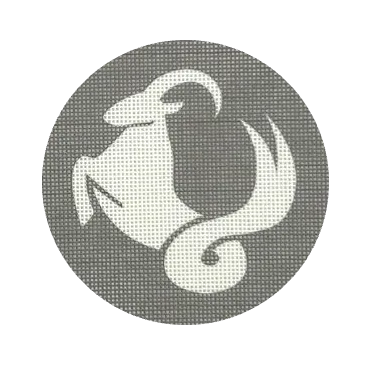
A round needlepoint kit like the London In Summer Needlepoint Kit (4" diameter) looks great in a small hoop or round frame. Larger or rectangular designs, such as the Capricorn Needlepoint Canvas Kit (4" square), work well in standard picture frames or stretched over stretcher bars. Consider the final size and shape when selecting your display method.
Step-by-Step Guide to Blocking and Framing Your Needlepoint Kit
- Wet Block the Canvas: Soak your finished needlepoint in cool water for 15-20 minutes to relax the fibers. Gently squeeze out excess water (do not wring). Lay the canvas face-up on a blocking board covered with a towel. Use rust-proof pins to stretch the canvas to its original shape, pinning every 1/2 inch along the edges. Let it dry completely, usually 24-48 hours. Common mistake: pulling too hard can distort the design. Pin gently and measure diagonals to ensure squareness.
- Trim and Prepare the Canvas: Once dry, remove the pins and trim the excess canvas, leaving at least 1 inch of border around the design for mounting. If your kit came with a project bag, use it to store the canvas until you are ready to frame. Checkpoint: ensure the canvas lies flat and all stitches are even before trimming.
- Mount the Canvas in a Frame or Hoop: Center the design in your chosen frame or hoop. For a hoop, place the canvas over the inner ring, press the outer ring down, and tighten the screw. For a picture frame, use acid-free tape or staples to secure the canvas to the backing board, keeping the tension even. Common mistake: overtightening a hoop can crush stitches. Adjust until the canvas is taut but not stretched.
- Finish the Back and Display: Trim any excess canvas close to the frame or hoop, then cover the back with felt or a dust cover for a clean finish. Attach a hanging hardware if desired. Your needlepoint is now ready to display as a wall hanging, ornament, or gift. Verdict: a well-blocked and framed needlepoint kit will stay straight and beautiful for years.
Products to Help You Finish Your Needlepoint
- Capricorn Needlepoint Canvas + Optional Thread Pack: Honor the steady, determined spirit of Capricorn with this 4" Zodiac Capricorn Needlepoint Canvas Kit—a complete, ready-to-stitch mini project on premium 18-count Zweigart needlepoint canvas. Perfect for Capricorn birthday gifts, zodiac collectors, and needlepoint lovers who appreciate clean design, high-quality materials, and a project that’s satisfying but manageable in size. Its compact 4" size makes it ideal for practicing blocking and framing techniques, and the included thread pack means you have everything you need to finish it as a gift or keepsake.
- London In Summer Needlepoint Kit: London in Summer captures leafy Hyde Park, Big Ben, and London’s iconic red bus and phone box, all under a playful drizzle. Stitch your own colourful keepsake of warm days, wandering tourists, and those unexpected summer showers. What's In The Kit: Precision-Printed Canvas: A 4" diameter design on 18-mesh mono canvas. Luxury Thread Palette: A hand-picked selection of single-ply Pepperpot Silk, Essentials silk/wool… The round shape and detailed scene make this kit a great candidate for hoop framing, and the included luxury threads ensure a vibrant finish that deserves proper blocking.