Quick answer
Secure the tether strap hook to a dedicated anchor point in your vehicle, then tighten the strap until it is firm with no slack, checking that the car seat does not move more than 1 inch at the belt path.
Why correct tether strap installation matters
A properly fitted tether strap reduces forward head movement during a sudden stop or collision, which is especially important for rear-facing seats that rely on the tether to stay stable. Many parents assume the seat is secure after tightening the lower anchors or seat belt, but a loose or incorrectly routed top tether can allow dangerous rotation.
The tether strap also helps maintain the correct recline angle for younger children. If you are using an extension strap because your vehicle lacks a nearby anchor loop, ensure the extension itself is rated for the same load as the original strap.
Choosing the right tether strap for your seat
Not all tether straps are universal. Some car seat models require specific extension straps that match their hardware and load rating. Using the wrong strap can compromise safety because the buckle or hook may not lock correctly.
For Axkid seats, the tether strap design varies between models. The Axkid Move, Movekid, and Minikid 4 Pro use one type of extension, while the Minikid 2, 3, 4, and 4 Max use a different version. Check your car seat manual before purchasing an extension to confirm compatibility.
Step-by-step tether strap installation
- Locate the tether anchor point: Check your vehicle owner's manual to find the designated top tether anchor. Common locations include the rear shelf behind the back seat, the back of the seat itself, or the floor of the cargo area. If no anchor exists, consult your vehicle dealer about retrofitting one. Never attach the tether hook to a seat belt buckle, cargo tie-down, or any non-anchor point.
- Route the tether strap correctly: Follow the path marked on the car seat or described in its manual. For rear-facing seats, the strap usually routes under the headrest and over the top of the seat shell. Ensure the strap is not twisted and lies flat against the seat. A twisted strap reduces its effective strength and can cause uneven tension during a crash.
- Attach the hook and tighten: Clip the tether hook onto the anchor point. Pull the free end of the strap to remove all slack. The strap should be tight enough that you cannot pinch any webbing between your fingers. Push down firmly on the car seat at the belt path to ensure it does not move more than 1 inch side-to-side or forward. If the seat moves more than 1 inch, re-tension the strap and check that the lower anchors or seat belt are also tight.
- Secure any excess strap length: Once the tether is tight, gather the excess webbing and use the strap's built-in clip or a twist tie to keep it out of the way. Do not cut the strap or fold it in a way that creates a loop. Loose excess webbing can become a choking hazard or interfere with the seat's recline mechanism.
Products mentioned in this guide
-
Axkid Move, Movekid and Minikid 4 Pro Tether Straps: These extension straps are designed exclusively for the Axkid Move, Movekid and Minikid Pro Car Seat and provide additional reach when installing rear-facing where there are no attachment loops. If your vehicle lacks a nearby anchor loop, this extension gives you the extra length needed to reach a suitable anchor point without compromising the strap's strength.
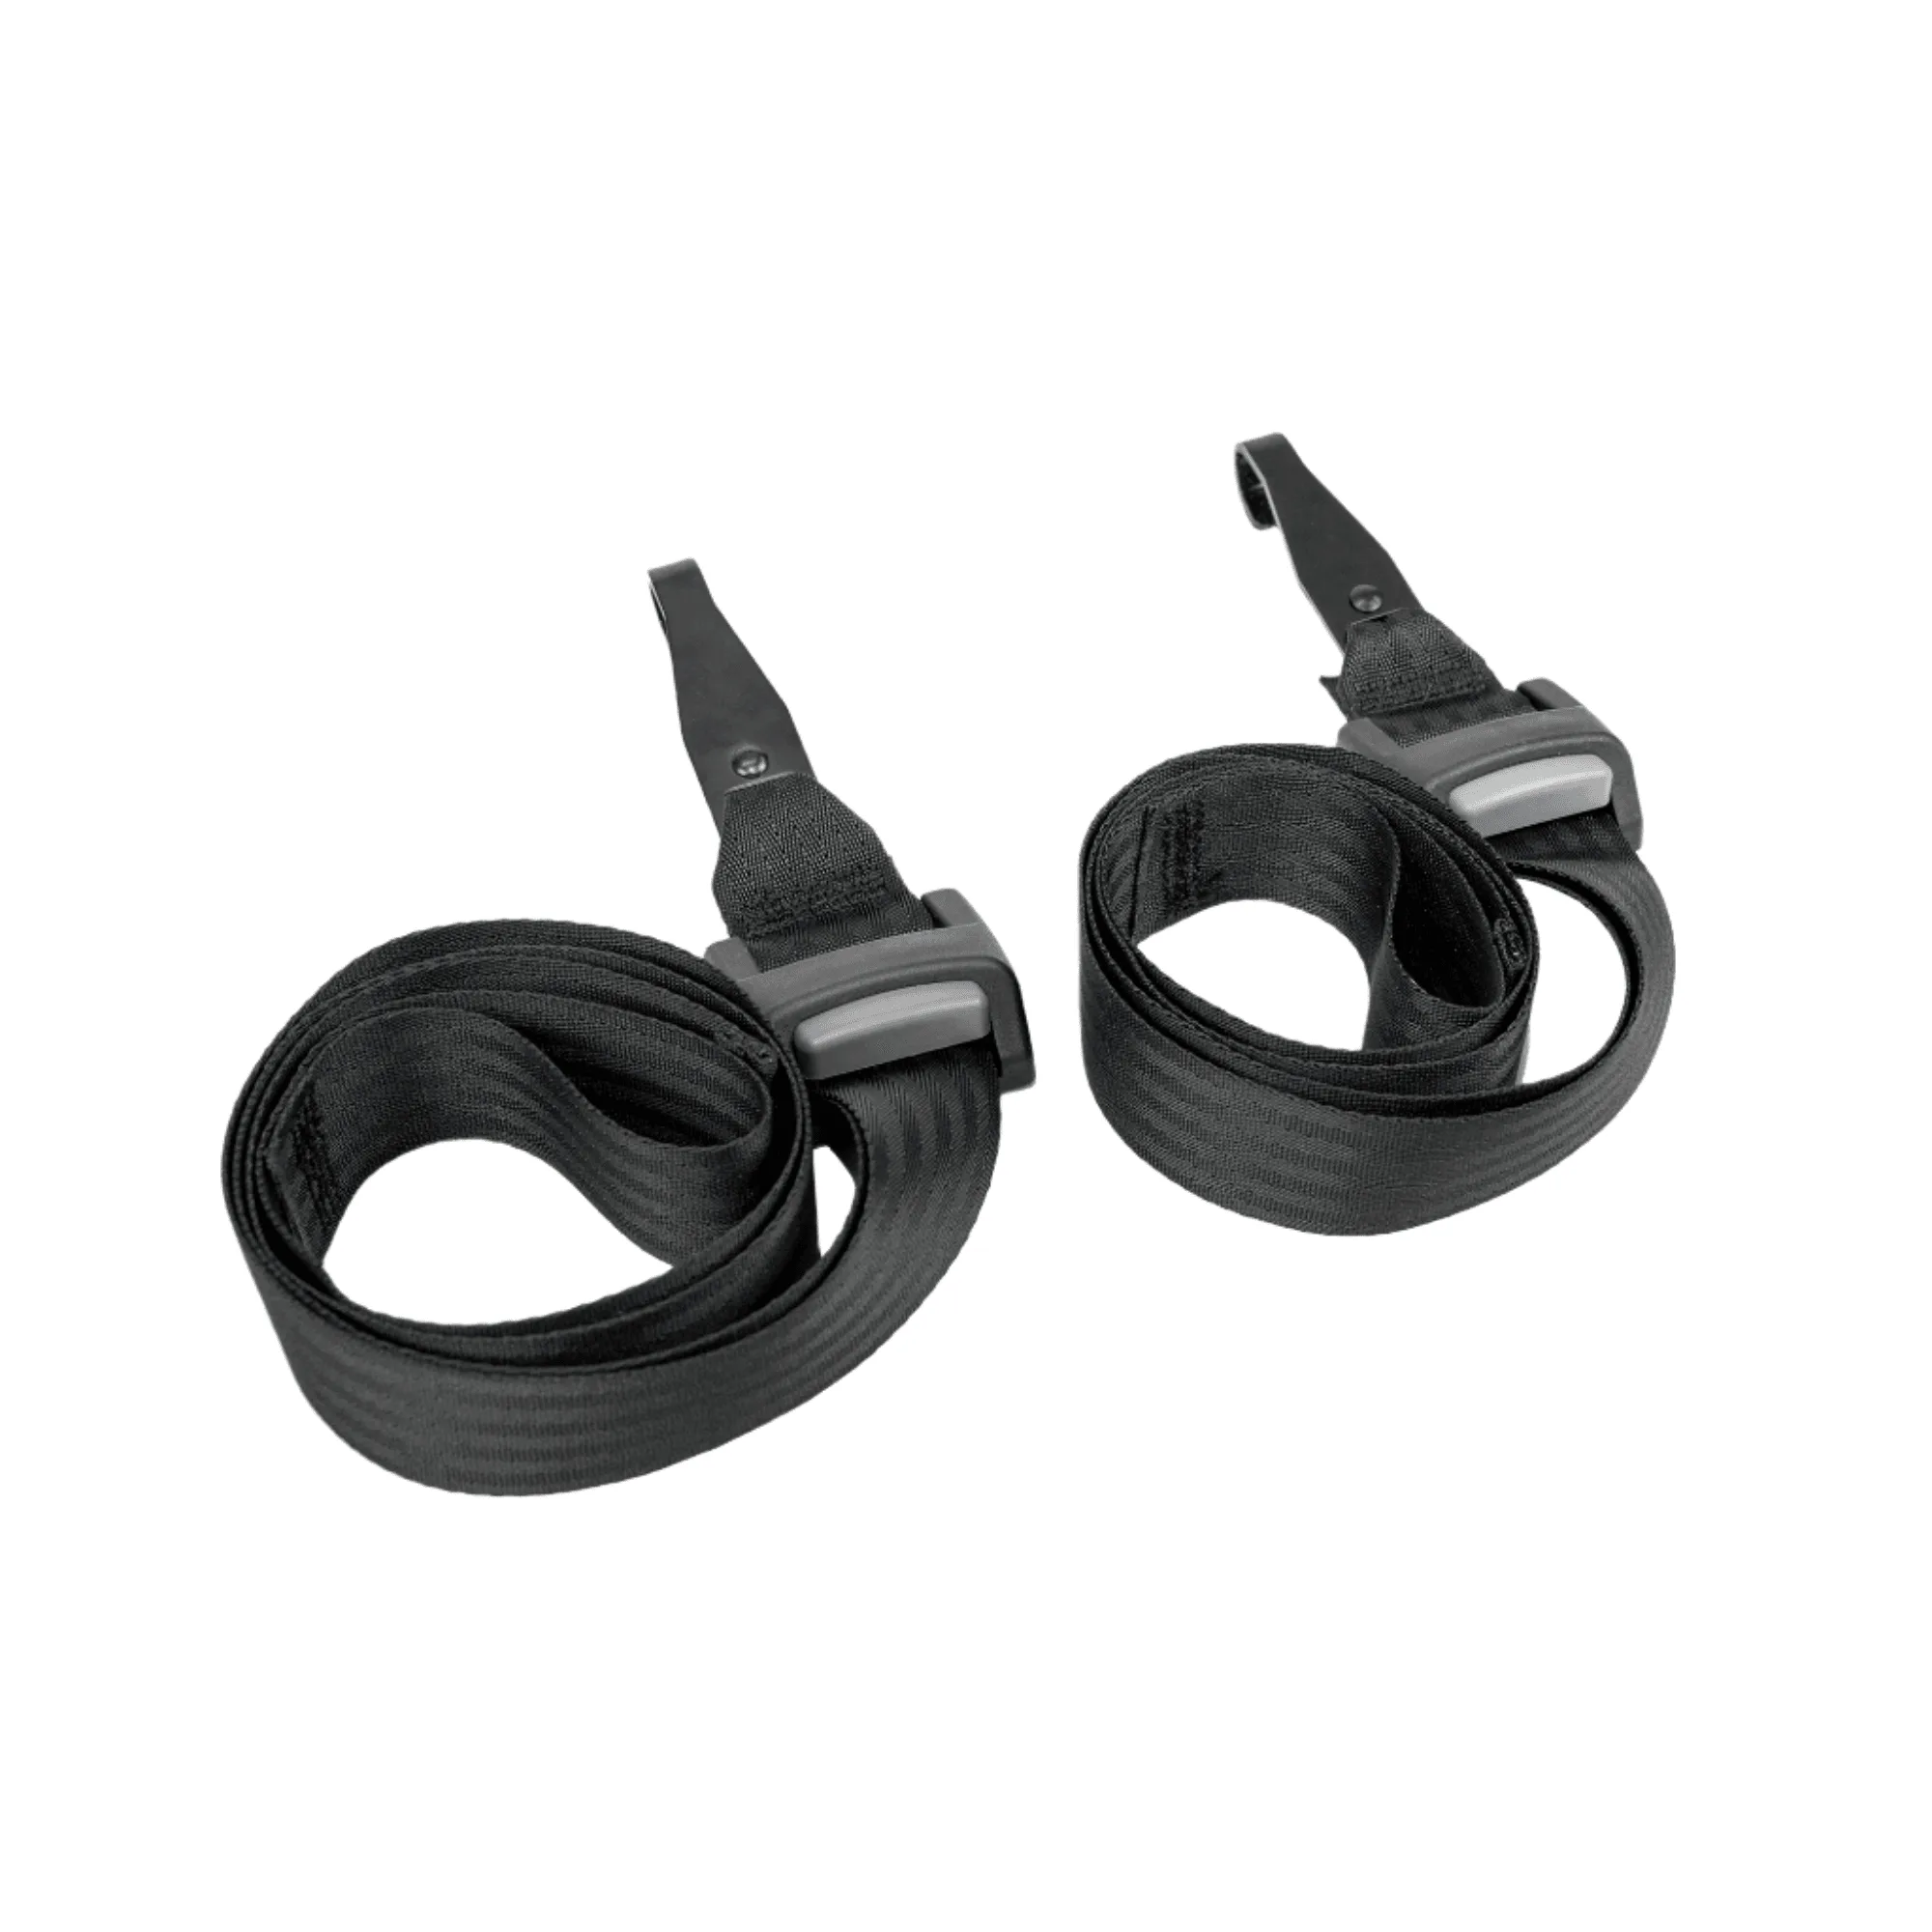
Axkid Move, Movekid and Minikid 4 Pro Tether Straps
-
Axkid Minikid 2,3,4 and 4 Max Tether Straps: These tether straps are crafted exclusively for the Axkid Minikid Car Seat and offer additional reach for rear-facing installation when attachment loops are absent. Using the correct model-specific extension ensures the buckle locks securely and the strap maintains its rated load capacity during use.
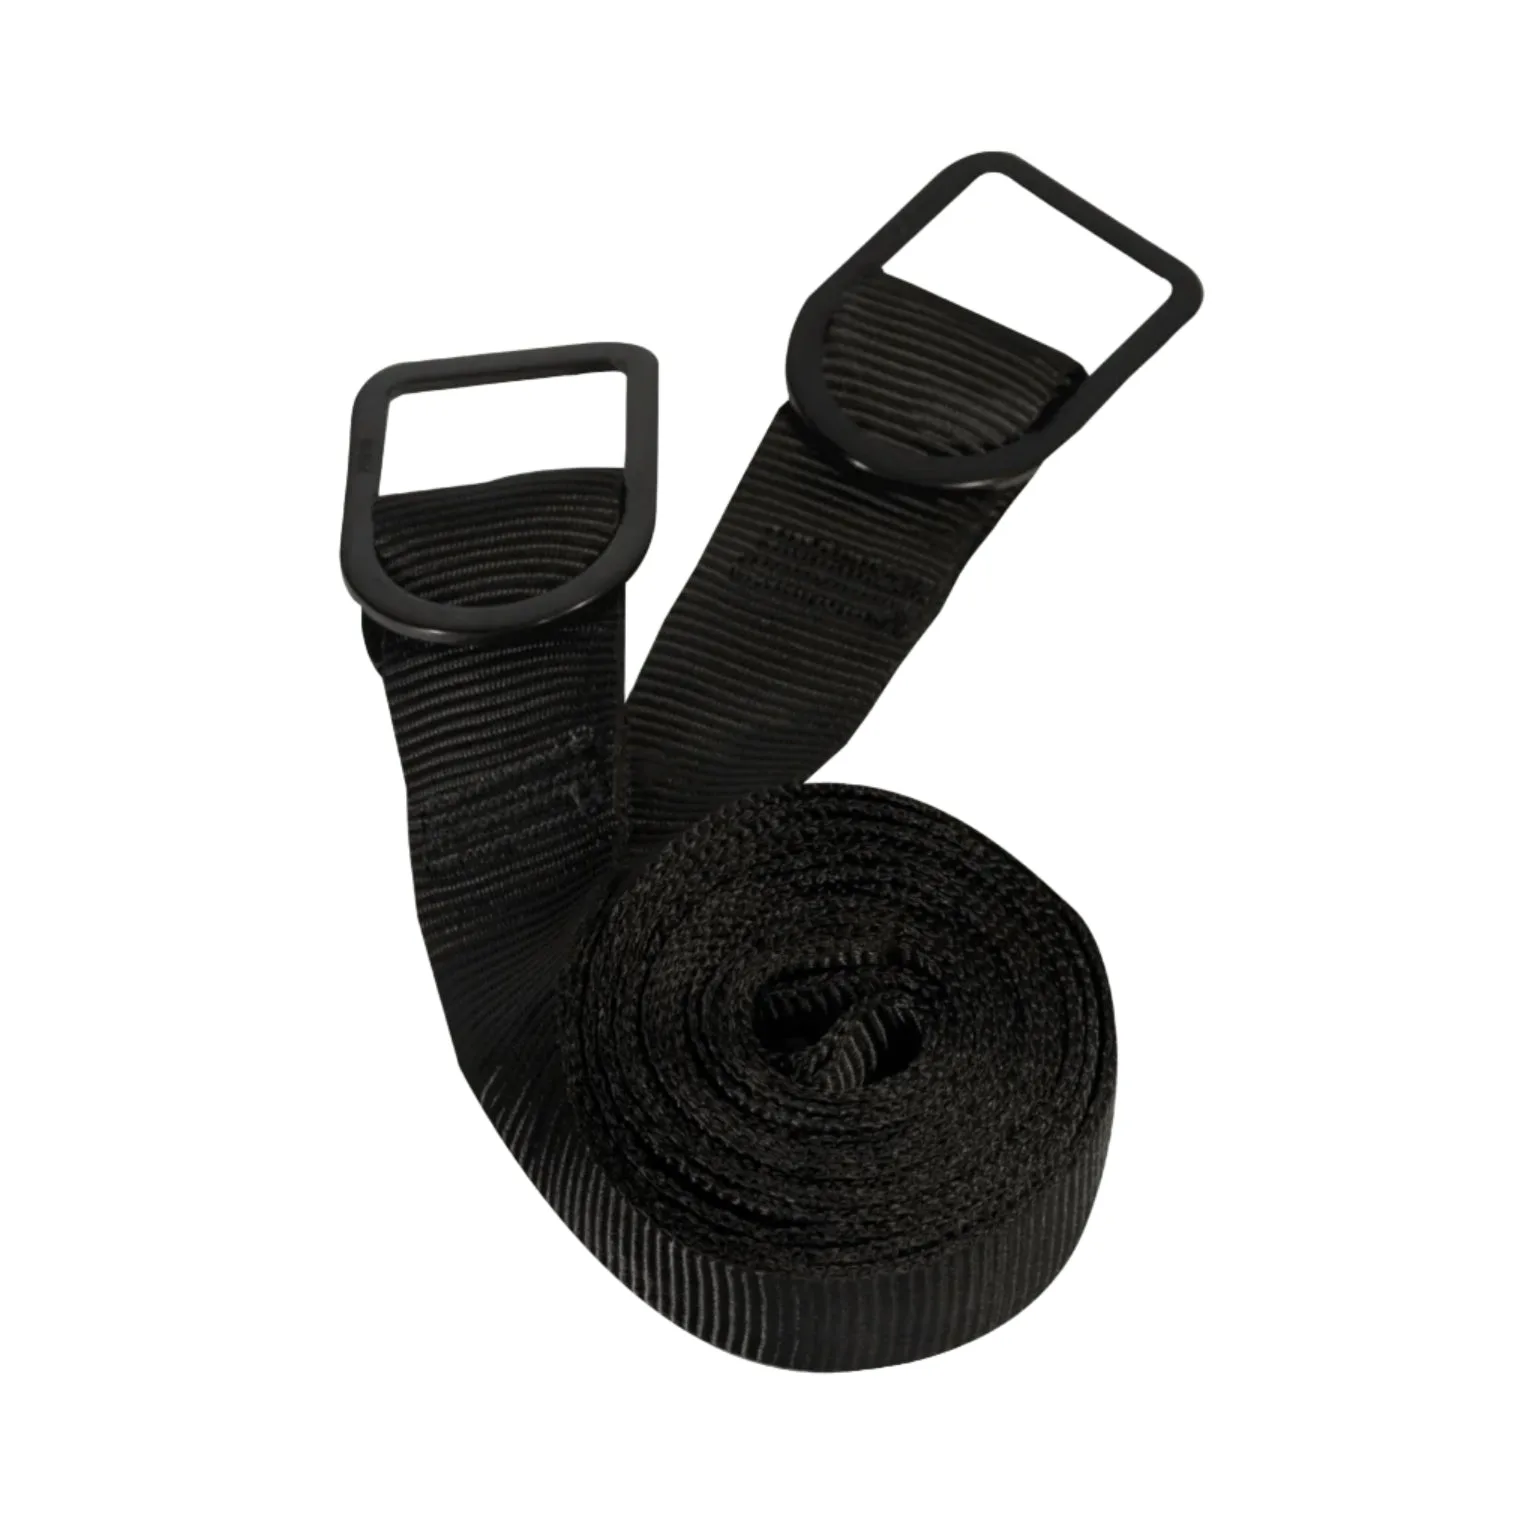
Axkid Minikid 2,3,4 and 4 Max Tether Straps