Quick answer
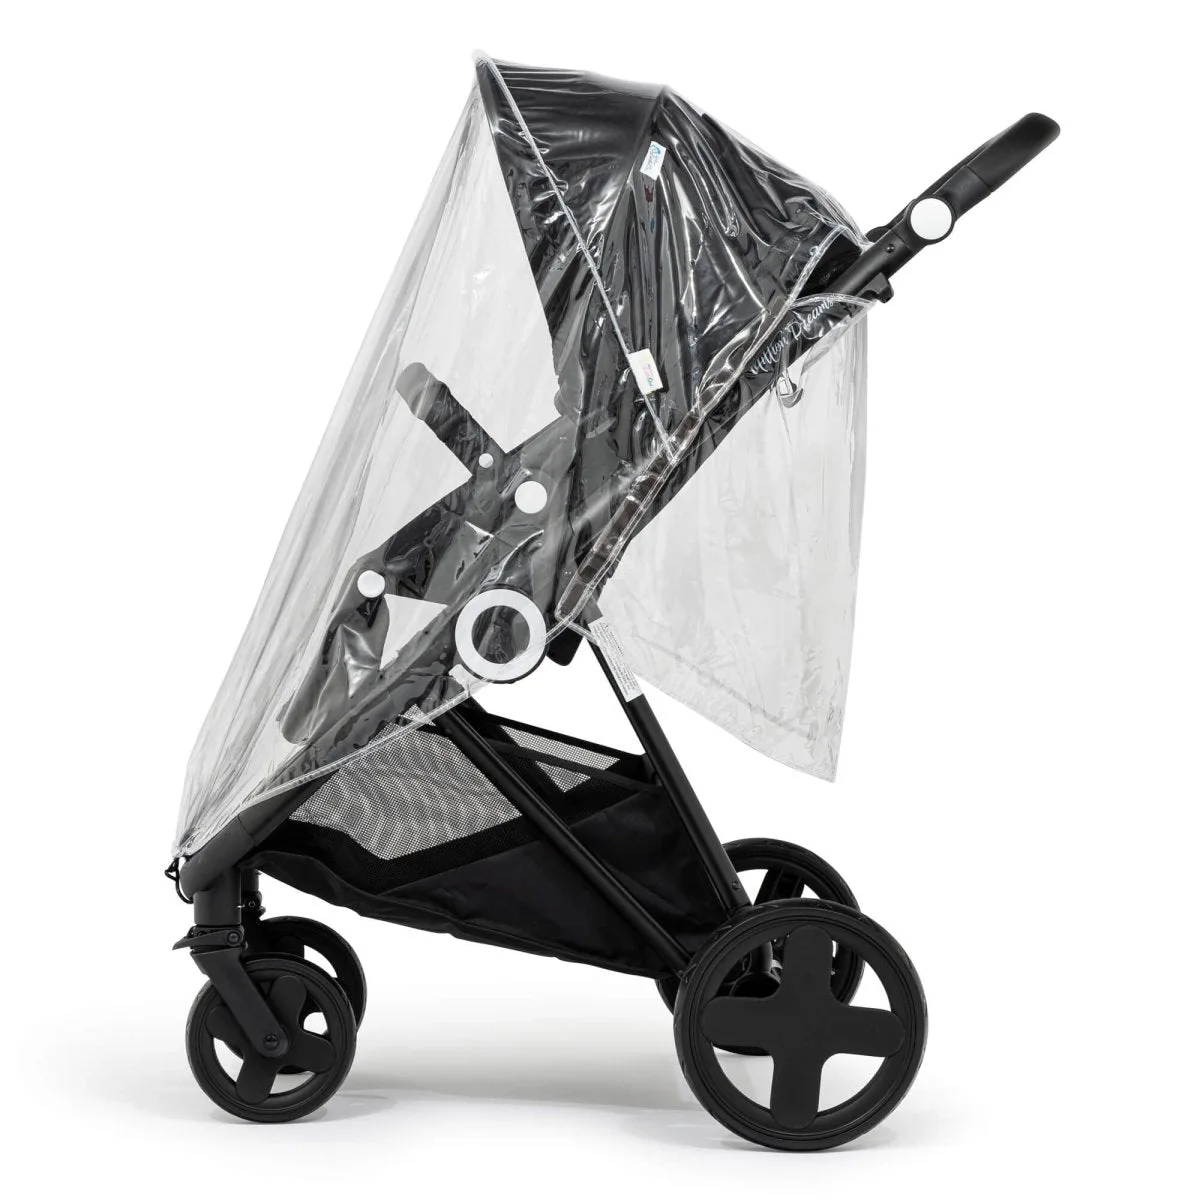
Fit your raincover from the bottom up: anchor the front and rear hems first, then work the elasticated edges around the chassis and canopy before pulling the cover taut. Tuck any loose fabric under the seat or footrest, and always use the built-in ties or clips if your cover has them. This stops the cover acting like a sail and blowing off in gusts.
Why raincovers blow off (and what to check before you start)
A raincover that flaps or lifts in the wind usually has one of three problems: it is not fully seated on the frame, it is the wrong shape for your pushchair, or it is not fastened at the points the manufacturer intended. Before fitting, check that the cover is designed for your model. For example, a raincover compatible with Cosatto pushchairs is cut to that brand's canopy and chassis shape, while a raincover compatible with Inglesina is shaped for the Inglesina travel system. Using the wrong one leaves gaps where wind can get underneath.
Also inspect the cover itself. Cracks, stretched elastic, or missing press studs will let it lift even if you fit it perfectly. If your cover has no integrated fastenings, you will need to rely on tension and tucking, which is less secure in strong gusts.
Step-by-step: fitting your raincover so it stays put
Work in a sheltered spot if you can. Trying to fit a raincover in a crosswind is frustrating and often results in a half-secured cover that blows off the moment you start walking.
Your wind-proof raincover fitting routine
- 1. Park the brake and remove the footmuff if it is bulky: Apply the brake so the pushchair cannot roll. If your footmuff is thick, take it off before fitting the raincover. A bulky footmuff can lift the cover away from the frame, creating a gap for wind. Checkpoint: the seat should be empty of any accessories that stop the cover sitting flat.
- 2. Drape the cover over the front and pull it down to the footrest: Start at the front, not the top. Pull the cover down over the footrest and front of the seat until the lower hem sits below the seat edge. This anchors the cover so it cannot flip up over the canopy. Common mistake: starting at the hood, which leaves the front loose and lets the whole cover billow.
- 3. Work the elastic or hem around the rear of the chassis: Reach behind the pushchair and ease the rear hem around the back of the seat unit or chassis. If your cover has elastic corners, seat them over the frame corners one at a time. Checkpoint: the cover should feel snug at the back, with no gap between hem and frame.
- 4. Fasten any ties, clips, or press studs: Use every fastening your cover has. Attach ties to the chassis or seat frame as intended, and press studs to their matching points. If your cover has no fastenings, move to step 5. Common mistake: leaving ties dangling, which lets the cover lift and flap.
- 5. Pull the cover taut and tuck loose fabric under the seat: Smooth the cover from front to back, then tuck any excess fabric under the seat or behind the footrest. Loose fabric catches wind like a sail, so the fewer loose folds the better. Checkpoint: run your hand around the edge — you should not be able to lift the hem more than a couple of centimetres.
- 6. Do a two-minute walk test before you set off: Push the buggy a short distance, turn into the wind, and watch the cover. If it lifts at the front or sides, stop and re-tuck. Adjust the canopy position if needed — a slightly lowered hood can help hold the top of the cover in place. If it still lifts, the cover may be the wrong size or shape for your pushchair.
Products that help you get a secure fit
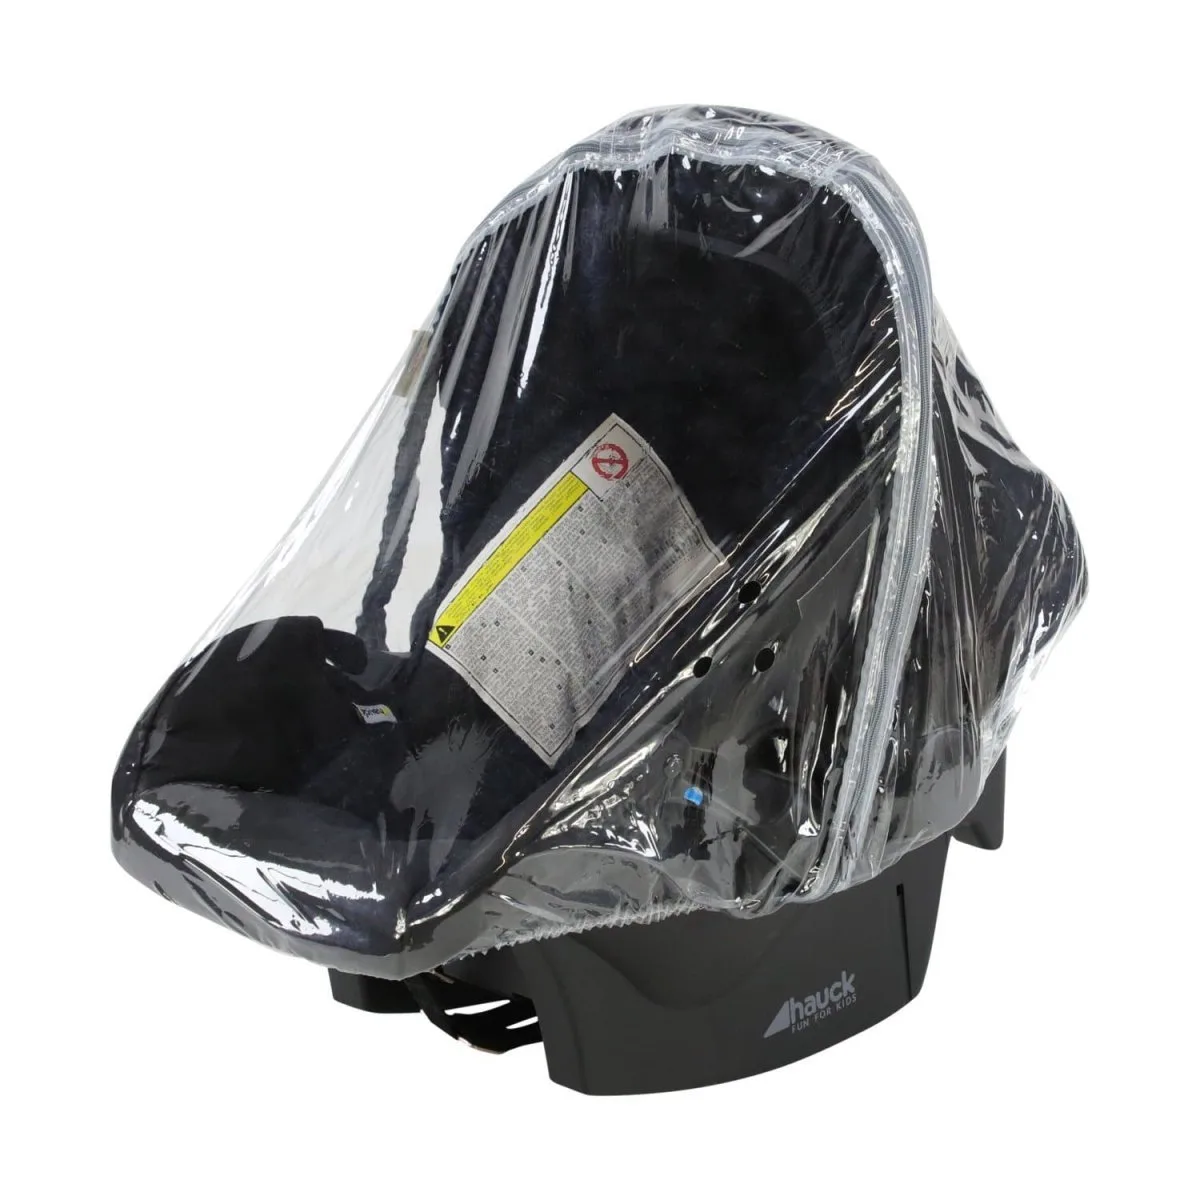
- Pushchair Raincover Compatible With Inglesina: Pushchair Raincover Compatible With Inglesina, with a crystal-clear design that provides all-round visibility. A model-specific cover seats more accurately on the Inglesina travel system, so there is less loose fabric for wind to catch.
- Pushchair Raincover Compatible With Cosatto: Pushchair Raincover Compatible With Cosatto, designed to be compatible with Cosatto pushchairs and keep your little one safe and comfortable in wet and windy conditions. Choosing the Cosatto-compatible version means the cover follows your pushchair's contours, which helps it stay put when gusts hit.
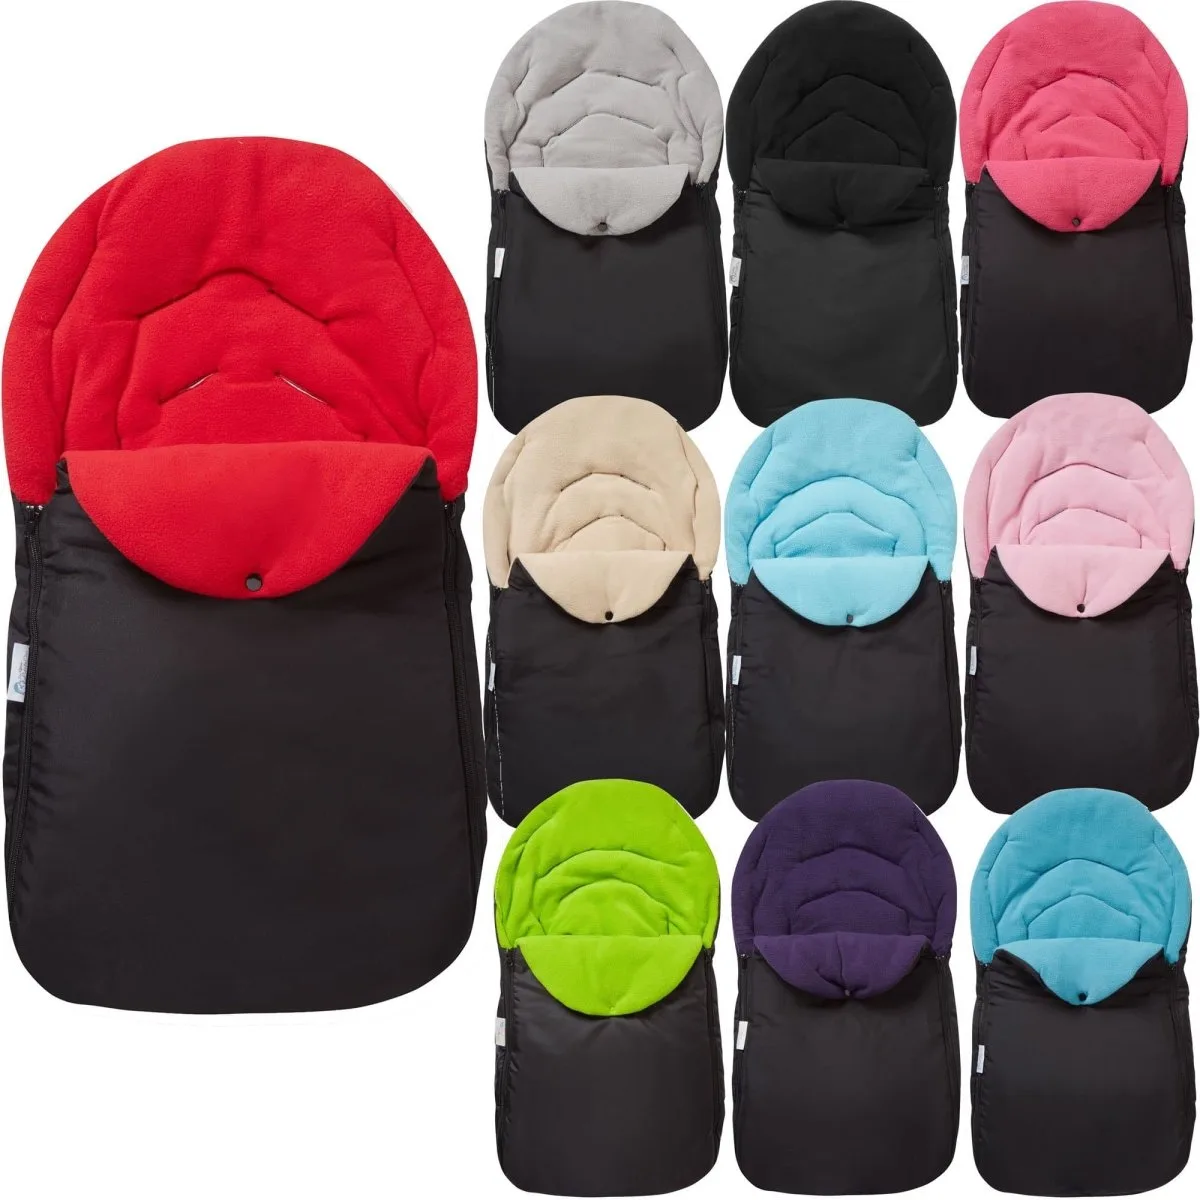
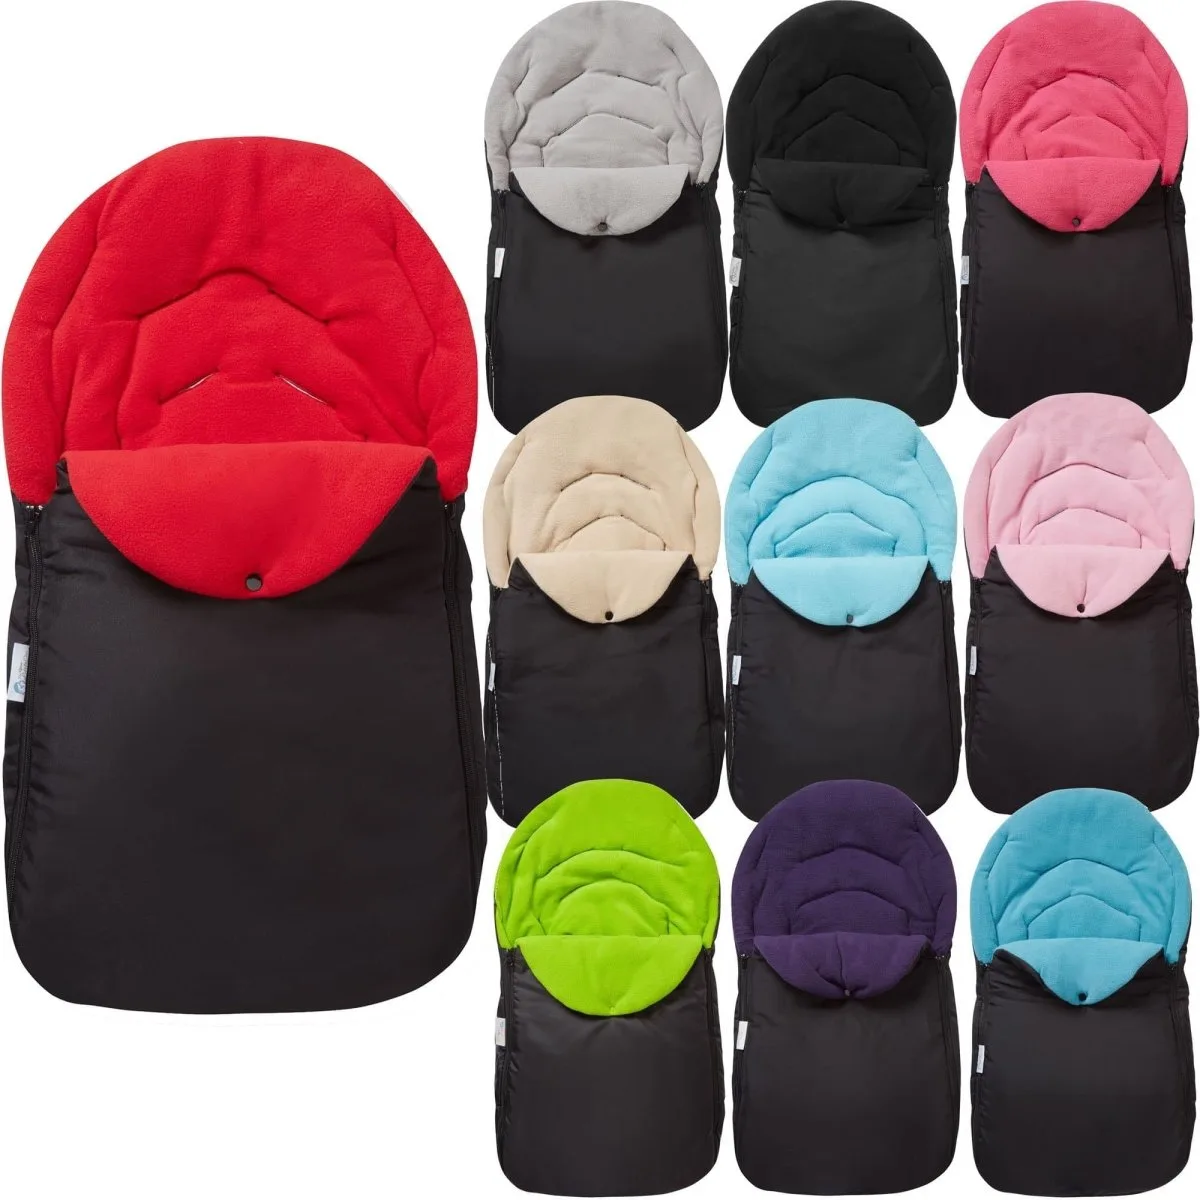
- Animal Print Car Seat Footmuff / Cosy Toes Compatible with Bebecar - Fits All Models: Animal Print Car Seat Footmuff / Cosy Toes Compatible with Bebecar - Fits All Models, with a weather-resistant outer shell to protect your baby from rain. If you use a footmuff, fit the raincover over it rather than underneath, and check that the footmuff does not push the cover out of position.