Quick Answer
For a small crack or corner break with no bleeding, you can repair the acrylic nail at home by filing the lifted edge, cleaning the area, and rebuilding the missing section with acrylic powder and monomer. If the natural nail is torn, bleeding, or the break reaches the nail bed, do not patch it yourself. Remove the acrylic and let the natural nail recover.
A broken acrylic nail can happen at the worst moment, but the right fix depends on what actually broke. A chipped corner is a quick patch job. A crack across the stress area or a tear into the natural nail needs a different response.
This guide walks through the diagnosis first, then the repair steps, so you can decide whether to fix it now, rebuild the nail, or take it off. It also covers the products that make an acrylic nail fix cleaner and more predictable.
Diagnose the Break Before You Touch Anything
Look closely at where the break starts and ends. A corner chip that stops before the sidewall is a surface problem. A crack that runs across the stress area, or a break that exposes the natural nail, is structural. If you see redness, bleeding, or a lifted pocket where moisture can get in, stop. That is not a repair situation.
Press gently around the break. If the acrylic moves independently from the nail plate, the bond has already failed and a patch will trap debris underneath. If the acrylic is still firmly attached and only the tip is missing, you have a good candidate for a broken nail repair at home.
- Check for pain, bleeding, or a greenish tint, which means you should not patch over it.
- If the break is within 2-3 mm of the cuticle, rebuilding is usually more reliable than patching.
What You Need for a Clean Acrylic Nail Fix
A good repair starts with prep, not product. You need a 180-grit file, a buffer, a cuticle nipper for any snagged acrylic edges, and a small brush. For the rebuild itself, you need acrylic powder and monomer. A fine-grit sanding band on a low-speed drill helps blend the patch without heat buildup.
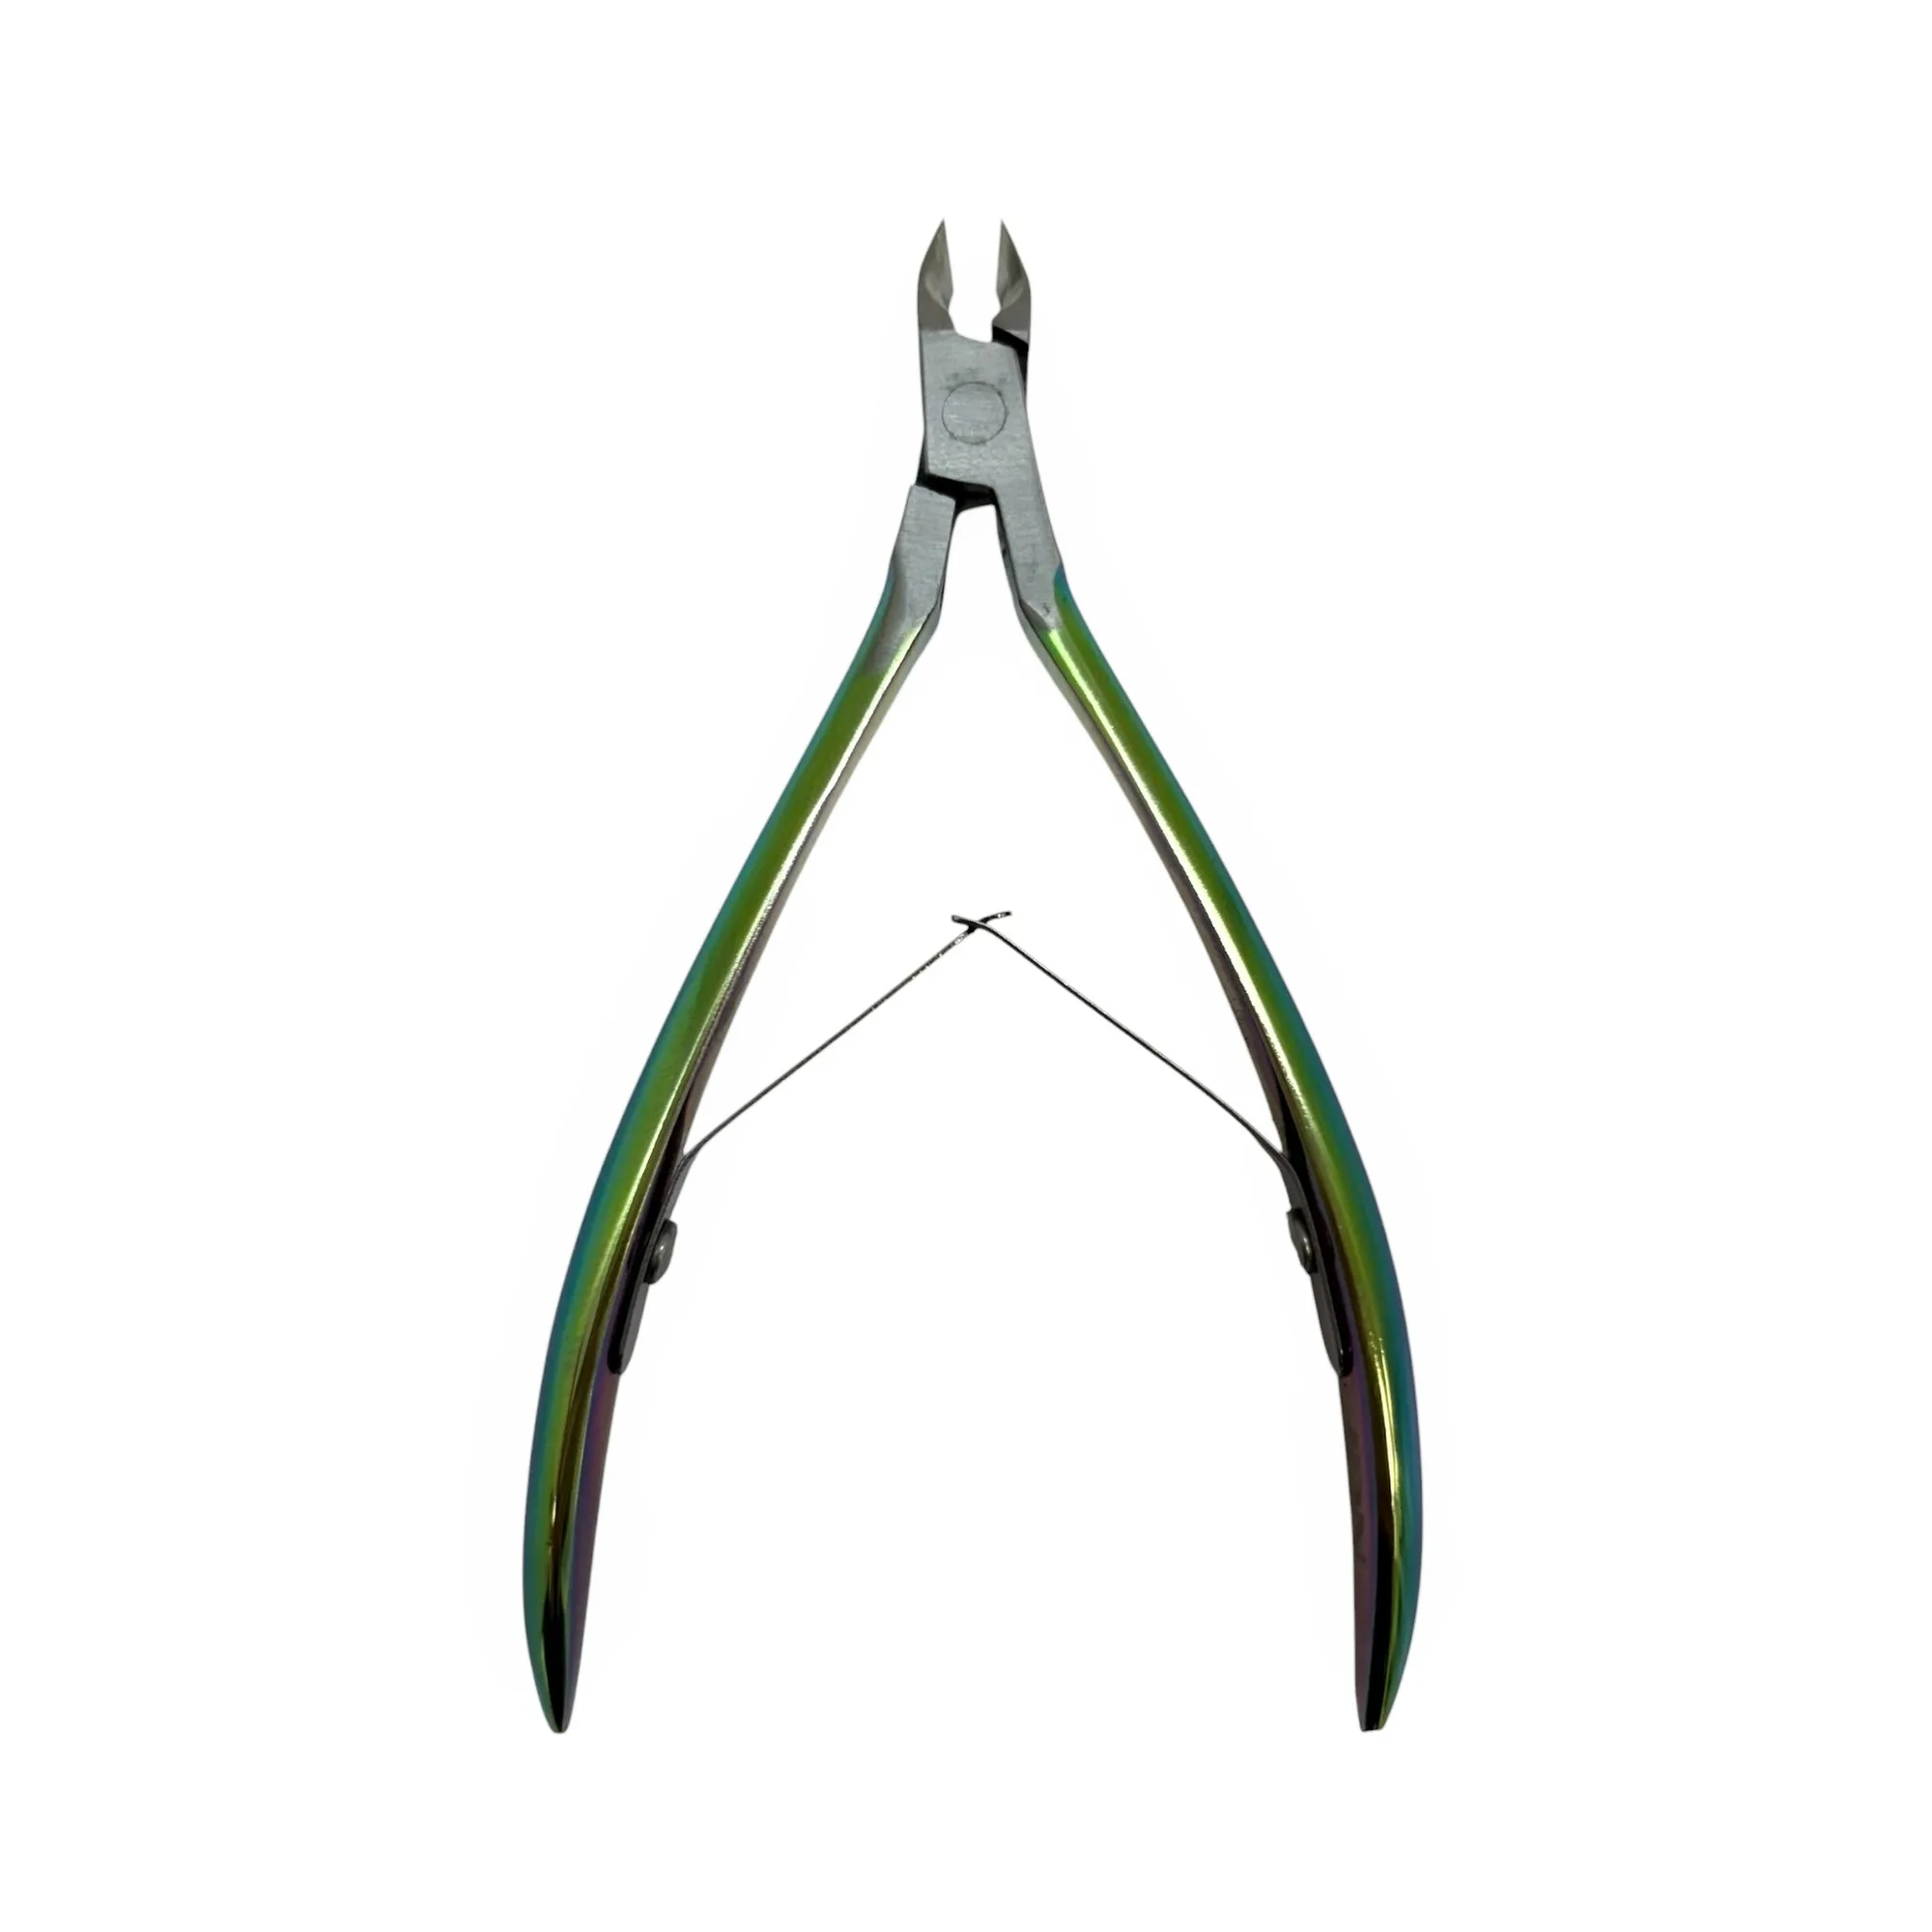
cuticle nipper
Work in a well-ventilated area and keep the monomer covered when not in use. If you are new to acrylic, practice the bead placement on a tip before applying it to the broken nail. The goal is a thin, even patch, not a thick blob that will lift later.
- Use a fresh sanding band so you are not polishing with a worn grit.
- Keep cuticle oil away from the repair area until the acrylic has fully set.
Step-by-Step: Repair Acrylic Nail at Home
Start by filing down the broken edge until it is smooth and slightly thinner than the surrounding acrylic. This creates a ramp for the new product to blend into. Remove any dust with a brush, then wipe the nail with a lint-free pad. Do not use lotion or oil at this stage.
Apply a small bead of monomer and powder at the break, pat it into place, and let it settle. Keep the bead smaller than you think you need. Build in two thin layers rather than one thick one. Once the acrylic is cured, file the patch flush with the rest of the nail, then buff the surface so it blends.
Finish by checking the sidewalls and free edge for any sharp spots. A quick pass with a cuticle nipper removes tags that can catch on hair or fabric. If the repair looks cloudy or uneven, file it down and add one more thin layer rather than trying to sand a thick patch into shape.
- Keep the patch thin at the edges so it does not create a new stress point.
- Let the acrylic fully harden before you file the final shape.
When to Rebuild Instead of Patch
If the break removes more than a third of the free edge, or if the crack runs into the stress area, a patch will not hold. You need to rebuild the entire tip. That means filing the acrylic down to a thin base, applying a new form or tip, and rebuilding the length with acrylic powder and monomer.
Rebuilding takes longer but gives you a stronger result. If you are not comfortable sculpting a full tip, this is the point to book a salon appointment. A bad rebuild can put pressure on the natural nail and cause far more damage than the original break.
- A rebuild is the right call when the break crosses the smile line.
- If the natural nail bends or hurts when you press it, do not rebuild.
When to Stop and Remove the Acrylic
Stop and remove the acrylic if the natural nail is torn, if there is bleeding, or if you see any sign of infection such as swelling, heat, or discharge. Patching over a torn nail traps bacteria and can turn a small break into a bigger problem. In that case, soak off the acrylic, keep the nail clean and dry, and let it grow out.
If the break is painful even without visible damage, treat it as a natural nail injury. Trim the nail short, apply a cuticle oil to the surrounding skin once the area is no longer raw, and avoid acetone until the nail plate feels stable. A nail that hurts is not a nail to repair.
- Never glue a broken nail back together with household adhesive.
- If the nail bed is exposed, cover it with a sterile bandage until you can remove the acrylic properly.
Prevent the Next Break
Most breaks happen at the stress area, where the free edge meets the nail bed. Keeping that zone slightly thinner and well-balanced reduces the chance of a crack. File your free edge in one direction rather than sawing back and forth, and avoid using your nails as tools to open packages or peel labels.
Hydration matters too. Dry acrylic is more brittle, so apply cuticle oil daily to the skin around the nail, not directly on the repair. If you type a lot or work with your hands, keep your nails a little shorter. A shorter nail flexes less and survives more.
- Apply cuticle oil to the skin, not the acrylic, to avoid lifting.
- Keep a repair kit with a file, buffer, and monomer on hand for quick fixes.
Break Diagnosis: Symptom, Cause, Action, Stop Point
- Corner chip with no pain: The acrylic has chipped at the free edge but the natural nail is intact and the surrounding acrylic is still bonded. File smooth and patch with a thin bead of acrylic. This is a safe at-home fix.
- Crack across the stress area: The break runs horizontally where the tip meets the nail bed, often from impact or a nail that was filed too thin. Patch alone will not hold. Rebuild the tip or book a salon appointment.
- Lifted acrylic around the break: The acrylic moves away from the nail plate, creating a gap where moisture and debris can sit. Do not patch over it. Remove the lifted acrylic and assess the natural nail before rebuilding.
- Torn natural nail, bleeding, or pain: The break has reached the nail bed, or you see swelling, heat, or discoloration. Stop. Soak off the acrylic, keep the nail clean and dry, and let it grow out. See a professional if signs of infection appear.
Products That Help With a Broken Nail Fix
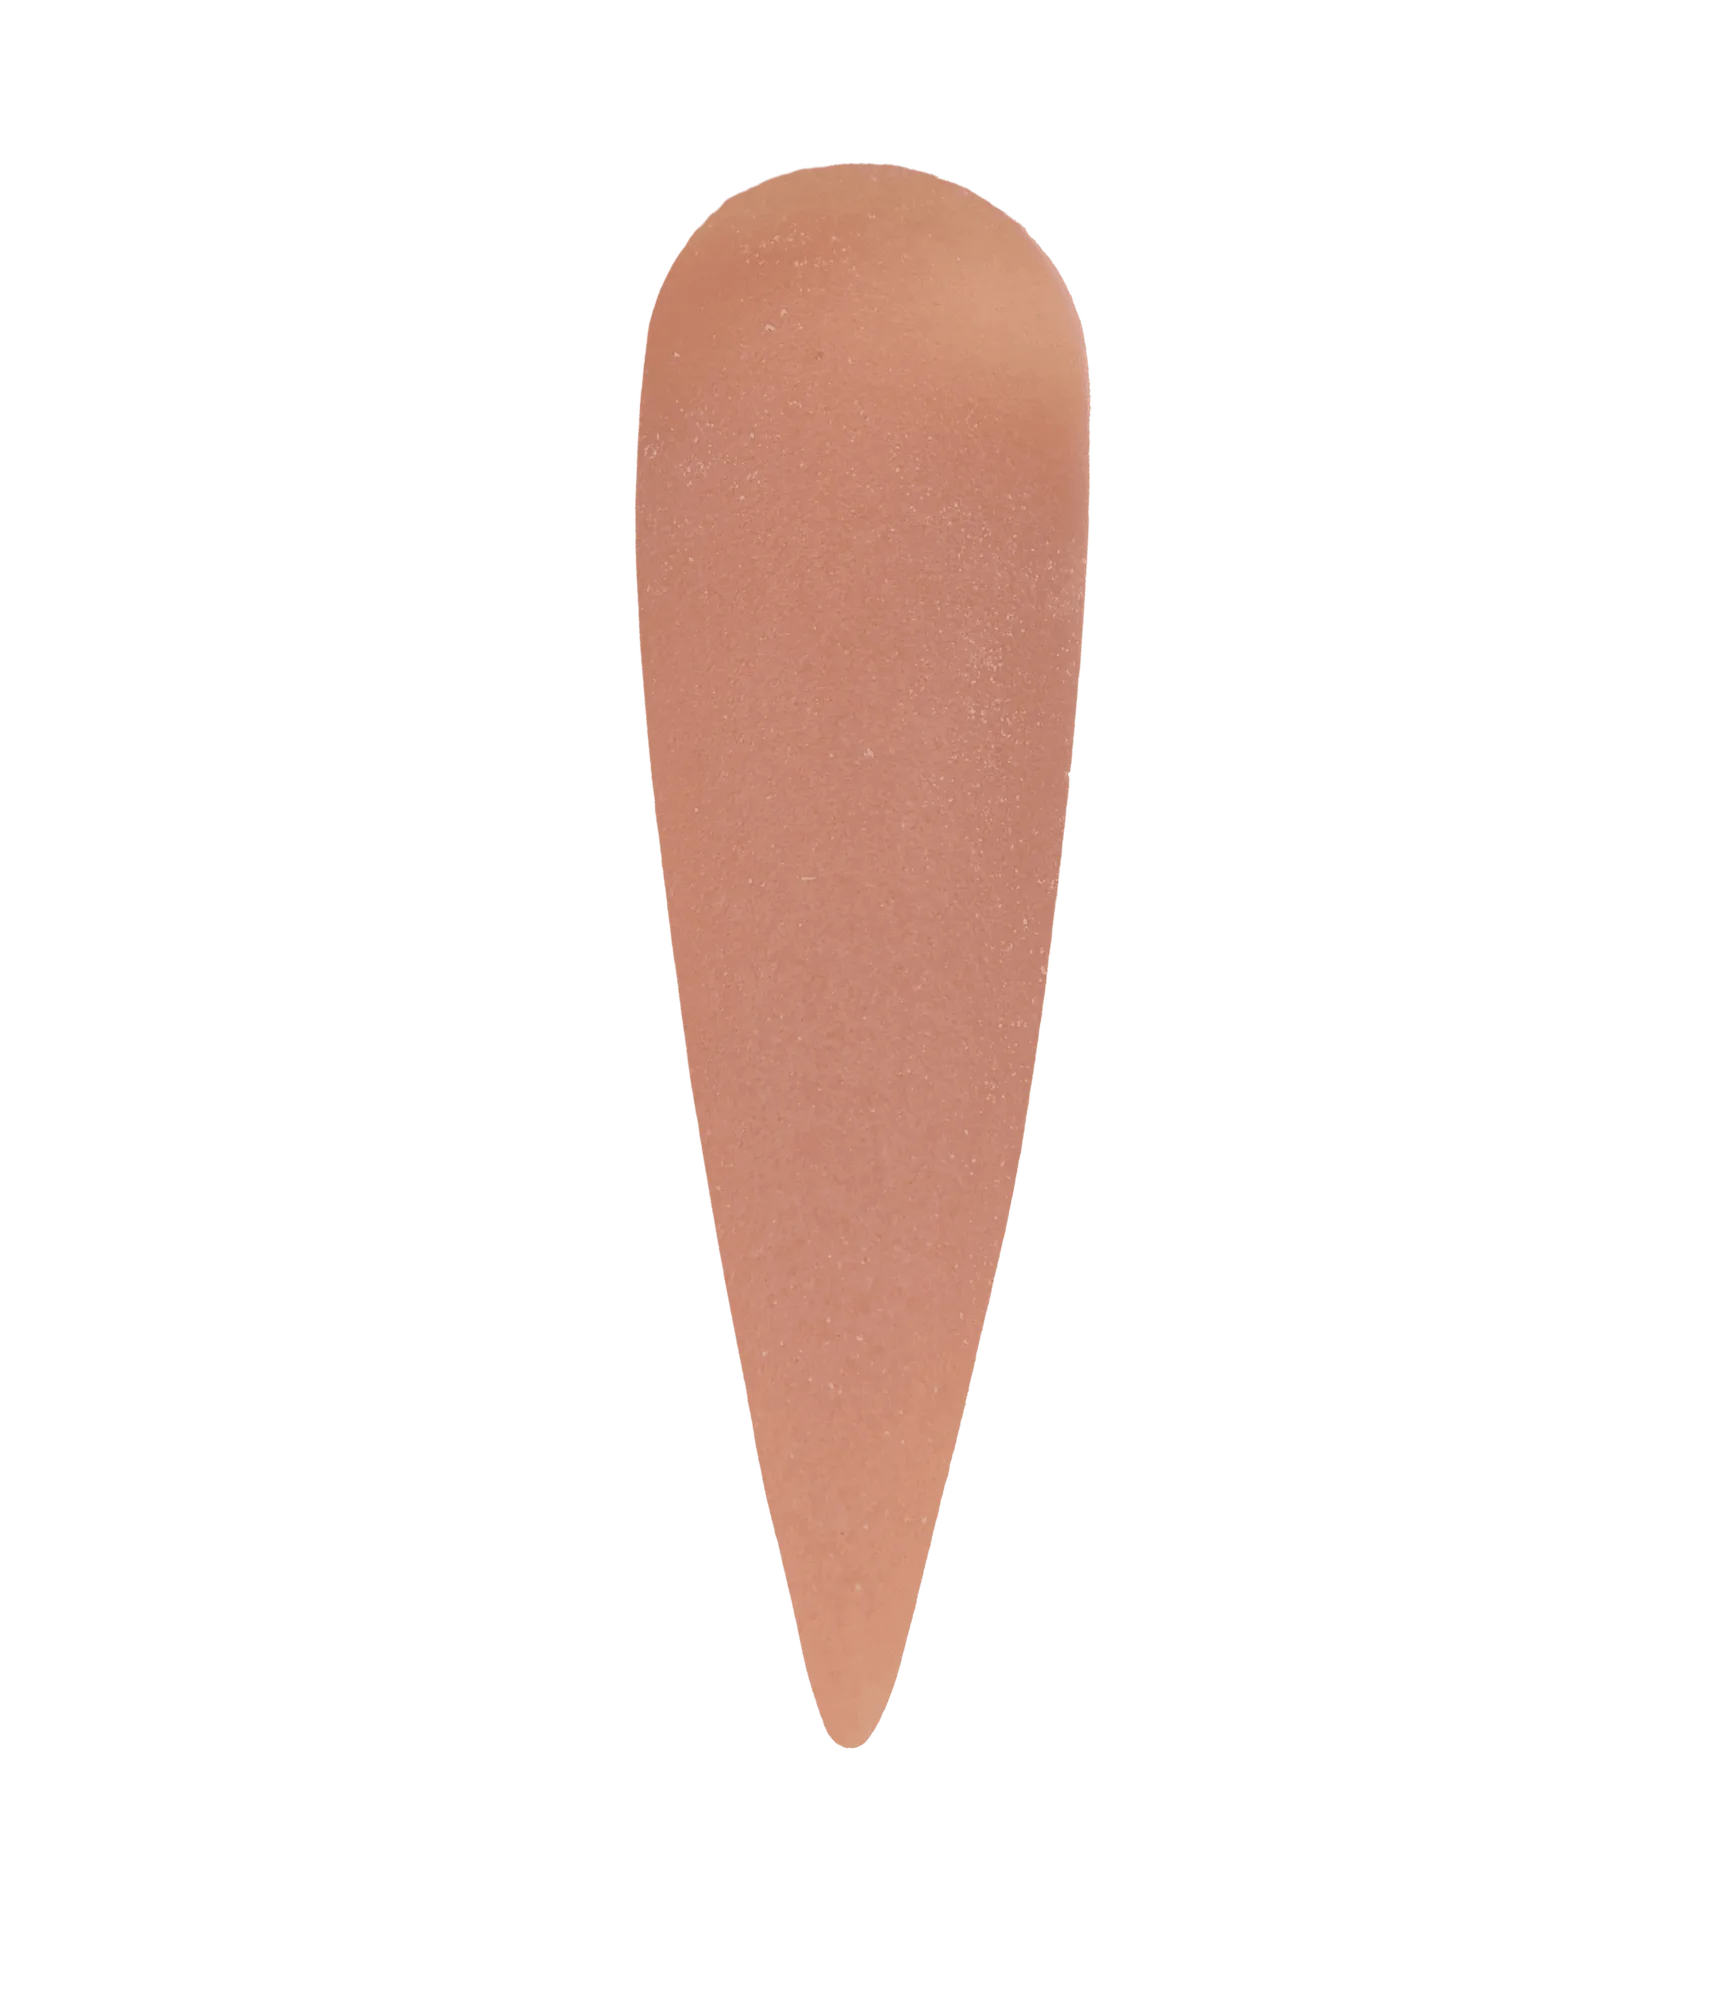
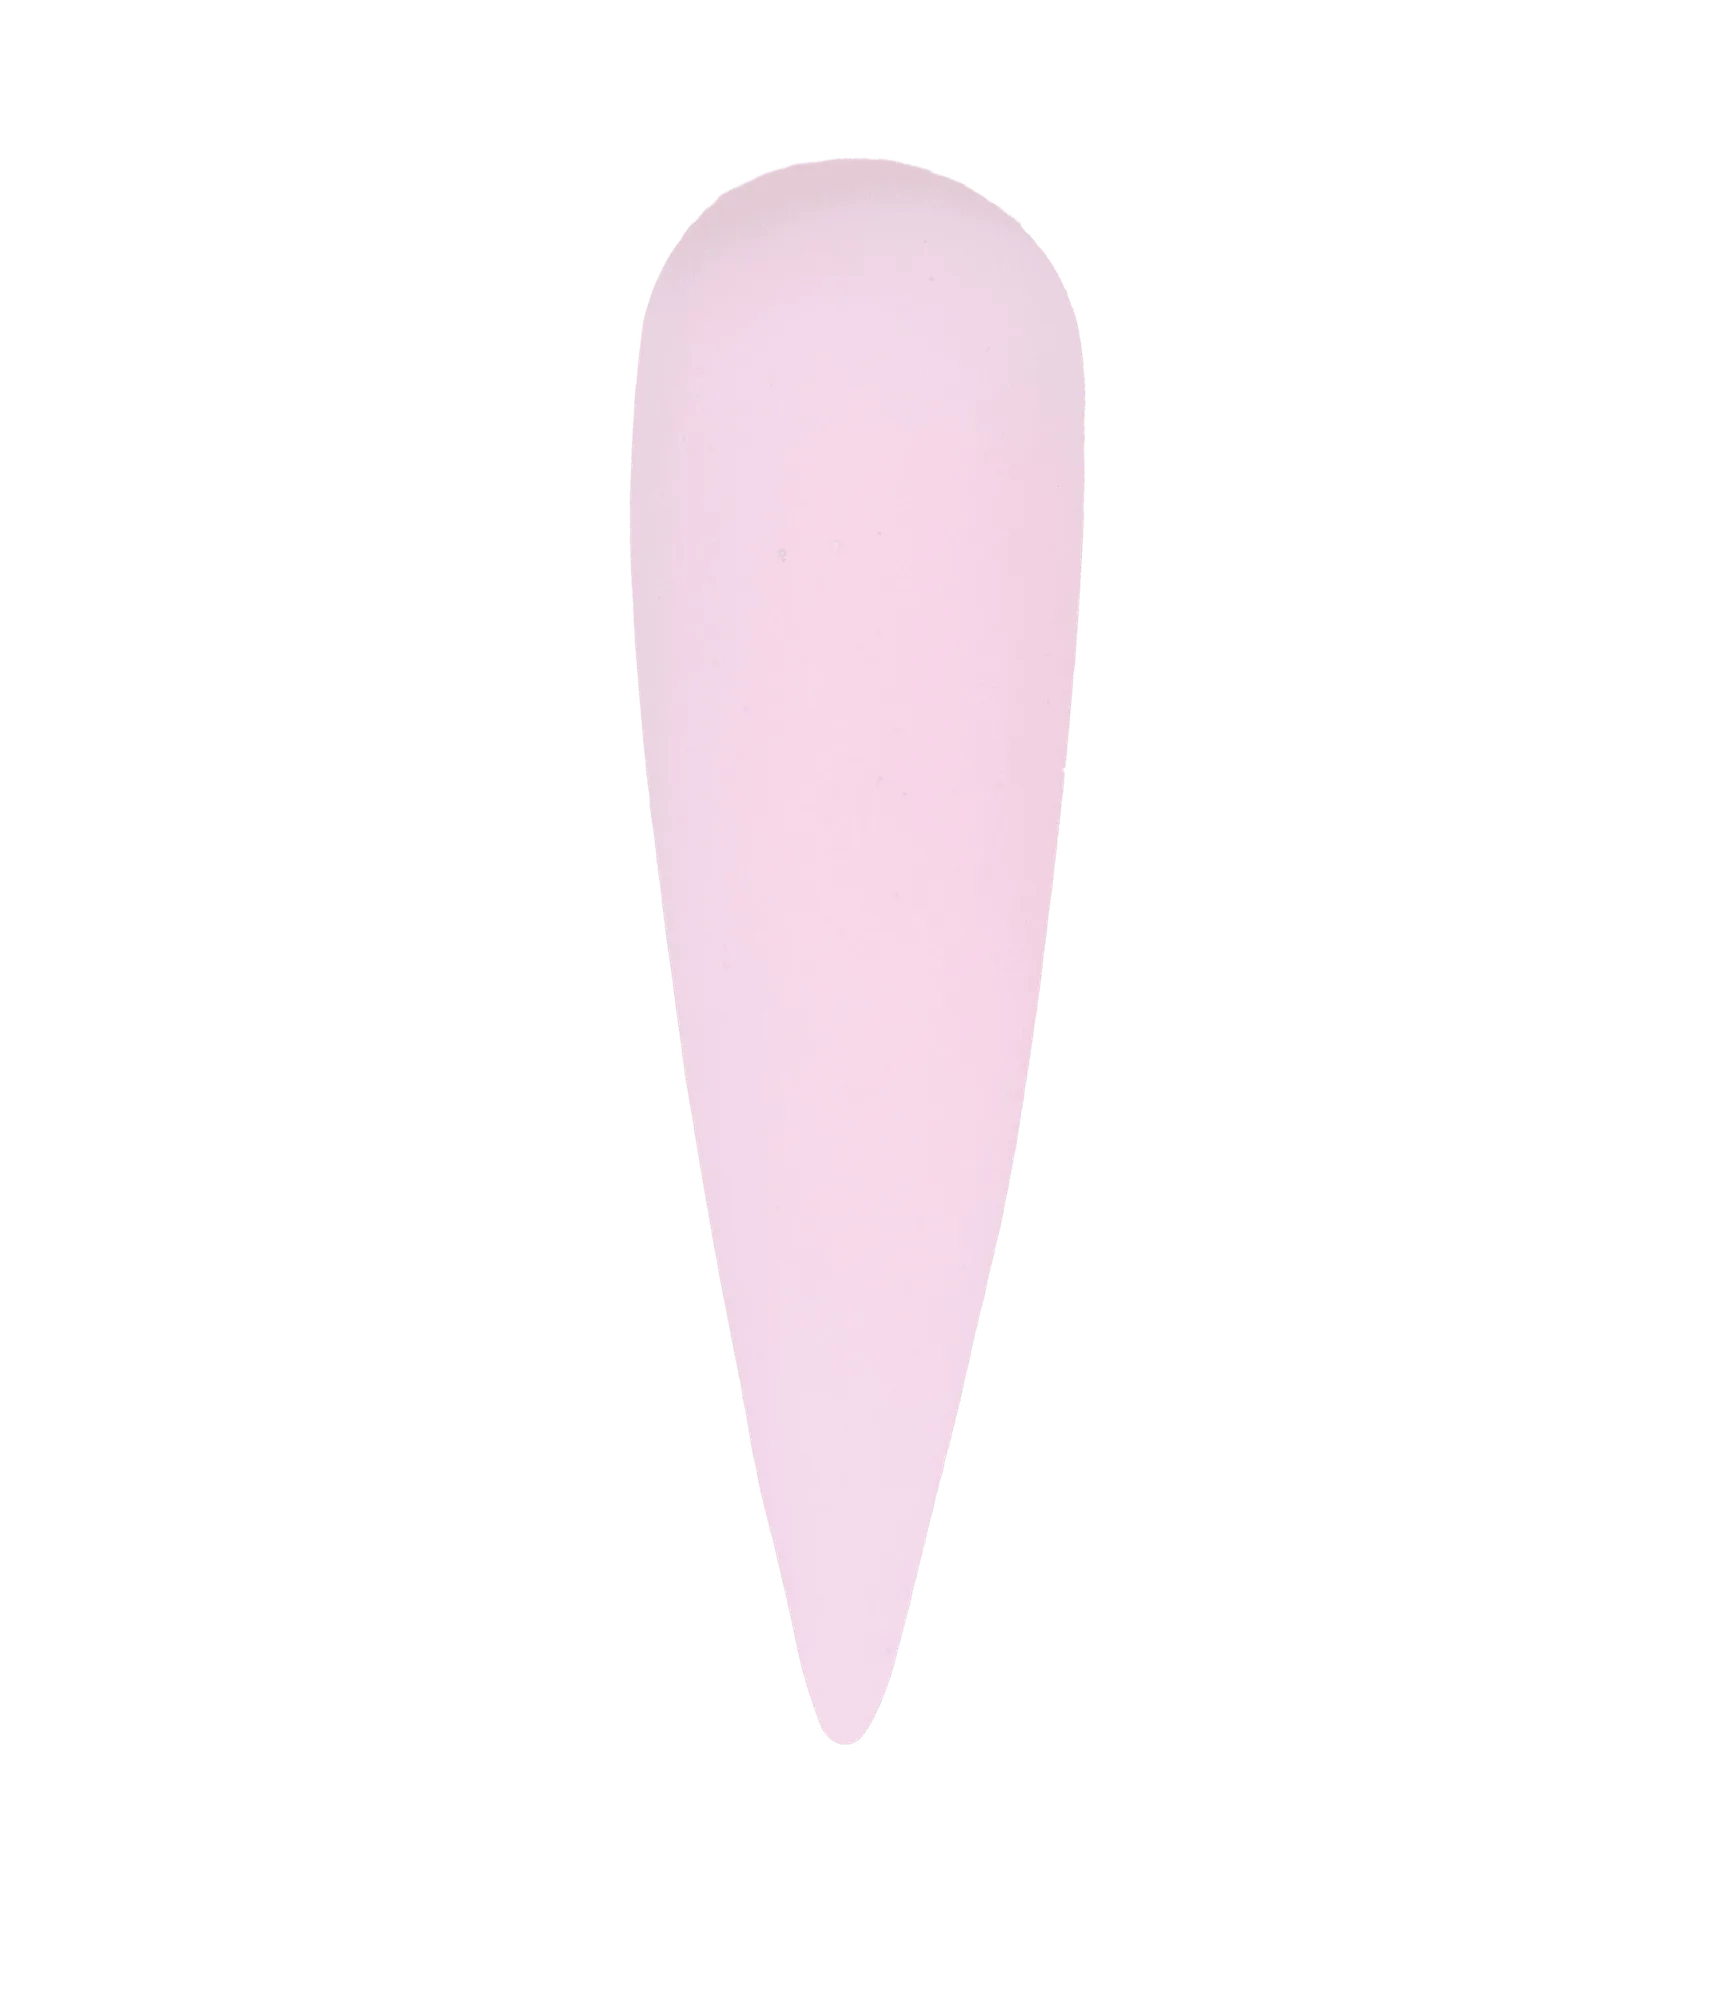
- Strawberry Colada #18 Acrylic Nail Powder: Jessica Danielle Nails uniquely formulated acrylic powder ensures a flawless, smooth finish with every application, providing a professional-grade result. The formula is designed for a butter-like consistency, making it easy to work with and ideal for creating stunning nails. A butter-like consistency makes it easier to place a small, controlled bead during a patch or rebuild, which helps you avoid a thick repair that lifts later.
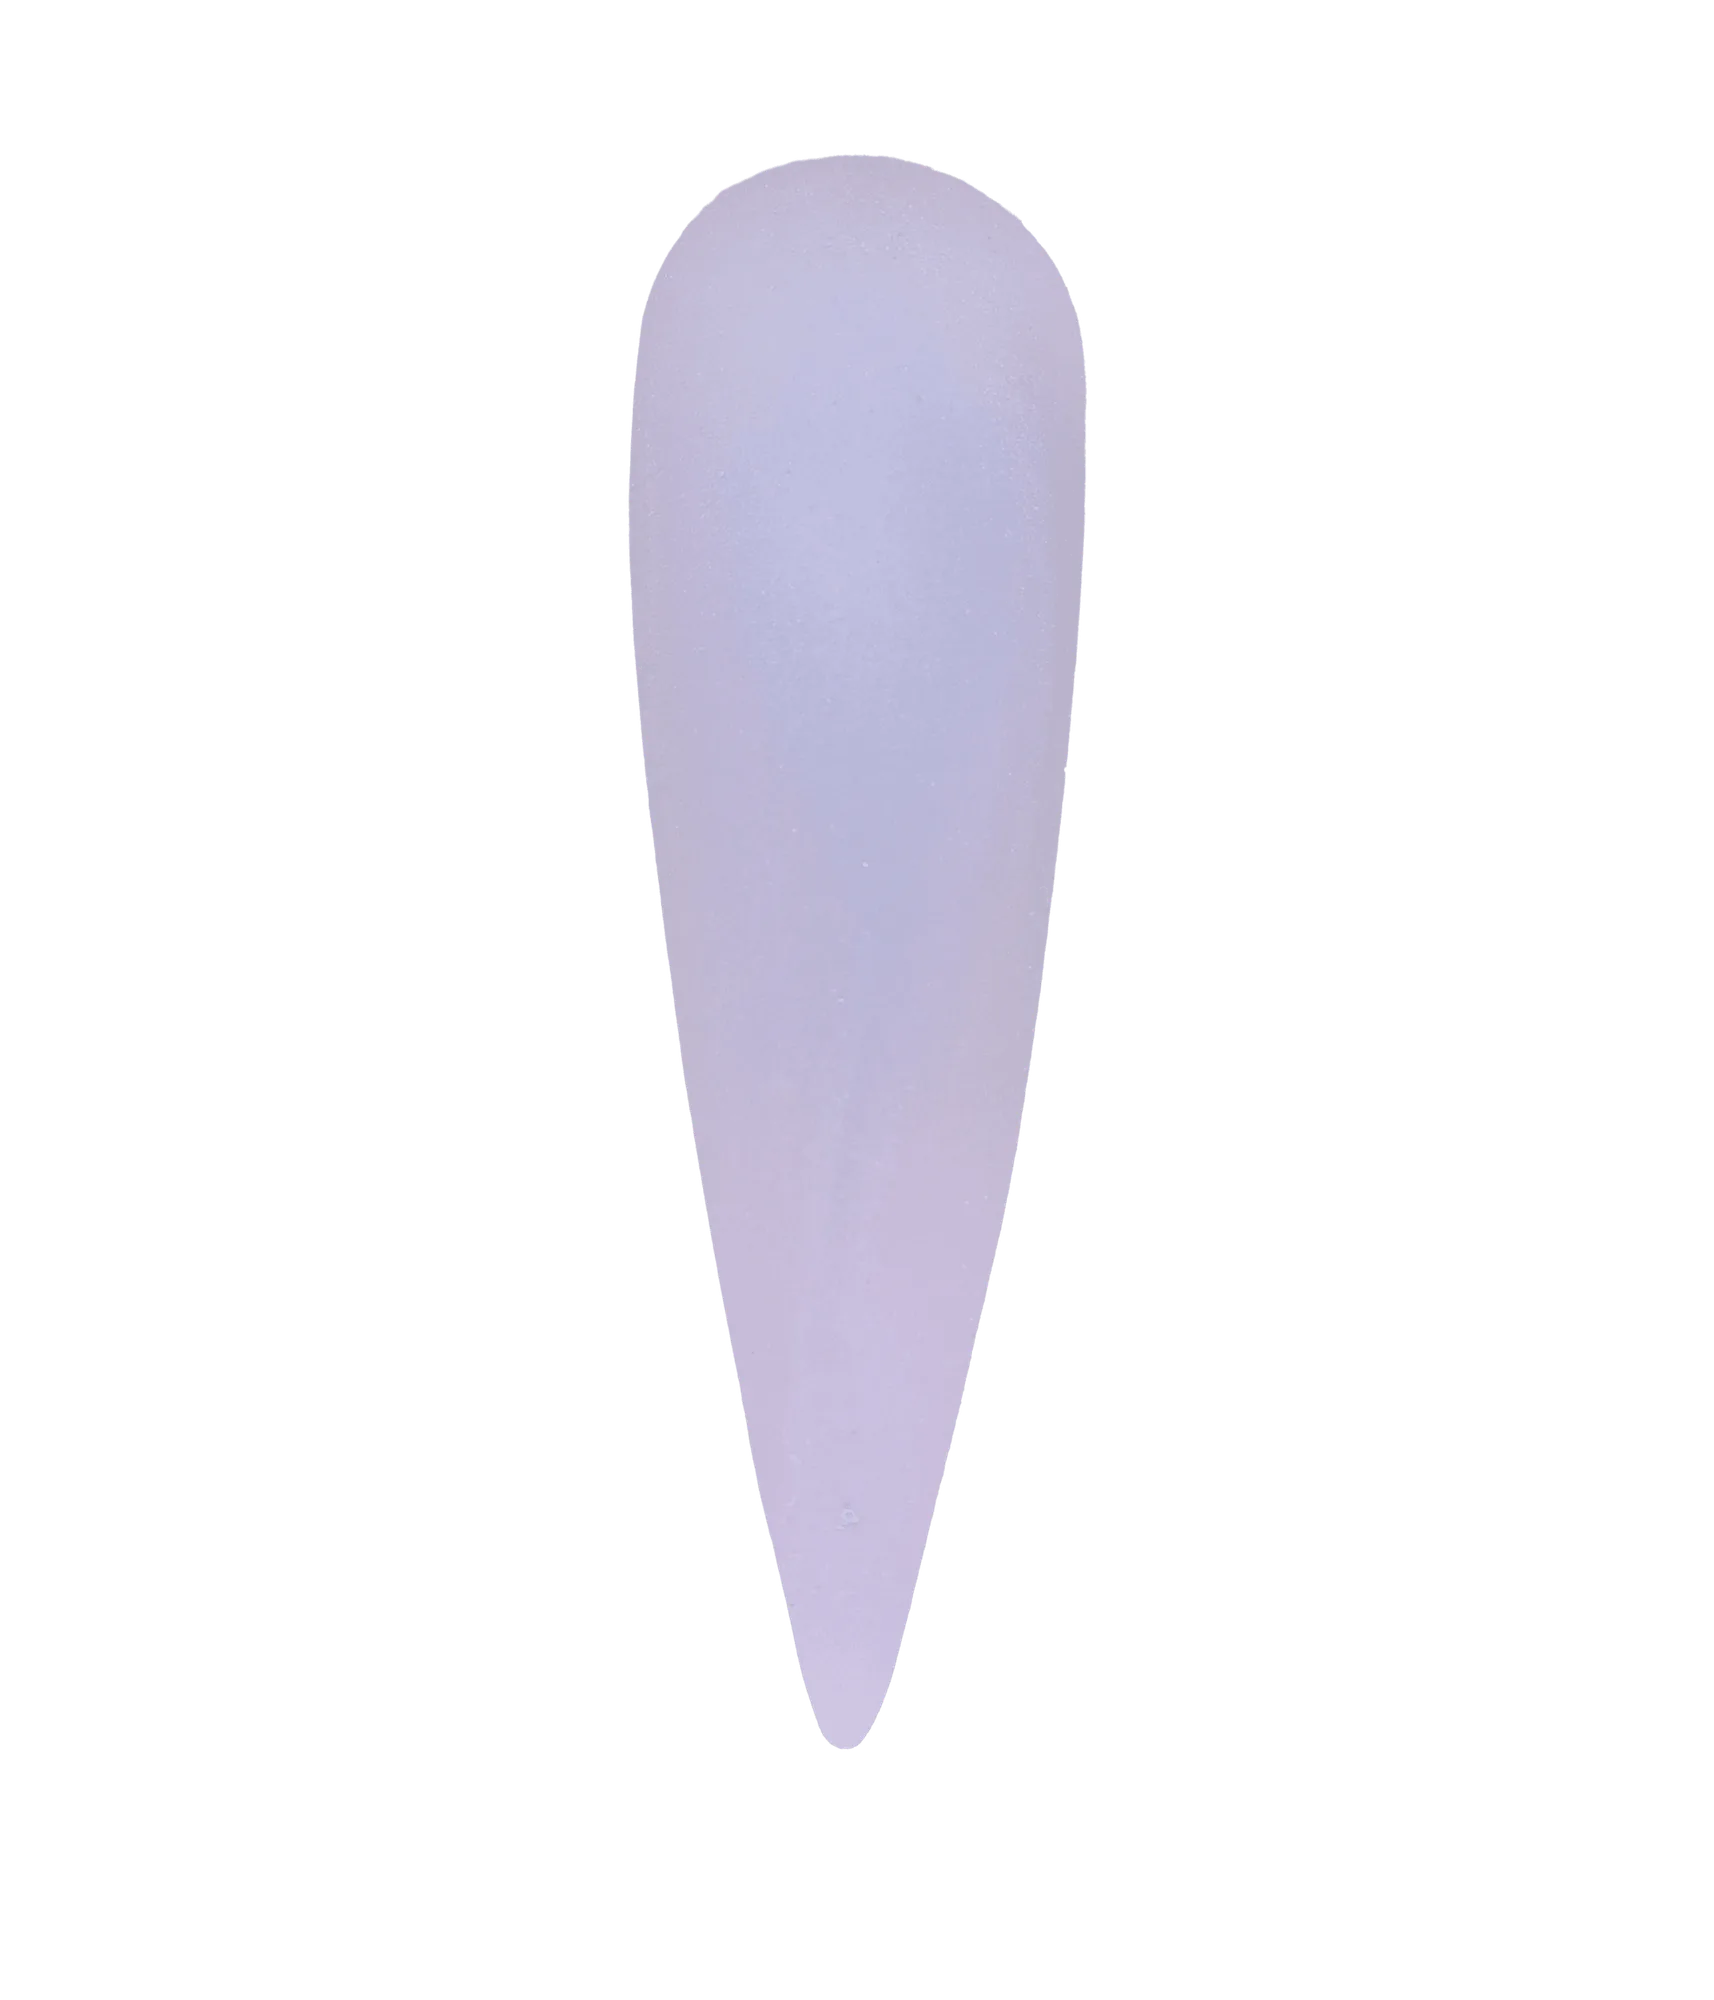
- #53 Lavender Mojito - Acrylic Nail Powder: Super fine acrylic nail powder absorbs liquid evenly and is self-leveling for an effortless application. Available in 1oz, 2oz, 4oz or 16oz. jar. Self-leveling powder is forgiving when you are rebuilding a broken corner, because it settles into the shape instead of requiring heavy filing. The range of jar sizes lets you choose a small size for repairs or a larger one if you do fills often.
- #59 Salmoncito - Acrylic Nail Powder: Perfect Pairing: Achieve optimal results by combining our acrylic nail powder with our premium EMA monomer. This meticulous pairing enhances durability and consistency. Using a matched powder and monomer pair improves adhesion and consistency, which matters most at the stress area where breaks happen.
A broken acrylic nail is not always a crisis. If the natural nail is healthy and the break is small, a careful patch with acrylic powder and monomer can get you back to normal in a few minutes. If the break is deep, painful, or lifted, remove the acrylic and give the nail time to recover. Repair only what is safe to repair.