Quick answer
Most broken keychains fail at one of three points: the split ring, the clasp or connector, or the charm's own attachment loop. Replace the split ring first, since it is the cheapest and most common failure. If the charm's loop or pin post is what snapped, stop and switch to a different carry method rather than gluing metal back together.
A keychain rarely breaks all at once. Usually one small part gives out, and the rest of the piece is still perfectly fine. Finding that part takes about thirty seconds and saves you from replacing something you like.
This guide walks through the three failure points in order of how often they happen, what each one looks like, and the repair that actually holds. It also covers the point where a repair stops being worth it, so you do not spend an evening on a fix that will fail again next week.
Start by finding the actual failure point
Hold the keychain up and let it hang. A split ring that has opened will show a visible gap where the coil no longer overlaps. A clasp failure usually means the spring gate no longer closes flush, or the swivel joint wobbles. A charm failure means the attachment loop, jump ring, or pin post itself has bent or separated from the body of the piece.
Test each joint gently with your fingers before you force anything. If the ring is intact but the charm spins freely, the problem is the connector, not the ring. Misdiagnosing this is why so many keychain repairs fail: people replace the ring, and the same charm drops off again a week later.
- Lay the keychain flat on a light-colored surface so small gaps are easier to see
- Photograph it before disassembly so you know how it went together
- Do not tug hard on a bent loop; you can crack the plating
Repairing a stretched or opened split ring
A split ring is a coil of spring steel, and once it has been pried open past its limit it will not hold tension again. Bending it back can work for a day or two, but the metal has already yielded. The reliable fix is replacement, and split rings cost almost nothing at a hardware or craft store.
To swap one, thread the new ring through the charm's loop first, then work the keys on one at a time by spiraling them around the coil rather than prying the ring open. If you must open it, use two small pliers and twist sideways rather than pulling the ends apart, which keeps the coil shape intact.
- Match the ring diameter to the original; a larger ring puts more leverage on the charm loop
- Stainless steel rings outlast nickel-plated ones in pockets and bags
- Add a drop of clear nail polish to a stubborn gap only as a temporary stopgap
Fixing a clasp, swivel, or gate that no longer closes
Spring gates and swivel clasps fail because a tiny internal spring or rivet wears out. You can sometimes close a gate by squeezing the gate arm with flat-nose pliers, but if the spring itself is gone, the clasp will pop open again the first time it takes any load. This is a replace-the-part situation, not a repair-the-part situation.
Swivel joints that wobble are usually a rivet that has loosened. Squeezing the rivet with pliers can tighten it temporarily, but the metal is thin and easy to crush past the point of no return. If the clasp is decorative and you want to keep it, move the keys to a separate ring and treat the original as a charm.
- Test a repaired gate by hanging the full weight of your keys from it for a minute
- If it opens under that load, replace it rather than re-squeezing
- A small carabiner or locking clip is a sturdier substitute for a worn gate
When the charm itself is the broken part
Enamel pins and pin-backed charms fail differently from rings. The rubber or metal clutch can loosen, the post can bend, or the decorative attachment loop on the charm can snap. A bent post can sometimes be straightened once with smooth pliers, but it will be weaker afterward and should not go back on a keyring that sees daily pocket wear.
If the loop on the charm has separated, glue will not hold under the twisting force a keyring puts on it. The honest answer is that the piece has become a display item. Move it to a pin board, a lanyard, or a bag where it is not swinging from a ring, and put your keys on a fresh ring.
- A locking pin back holds better than a rubber clutch on anything that moves
- Pin posts are not designed for the repeated load of a keyring
- Repurpose the charm rather than forcing a repair that will fail
Tools and materials worth keeping on hand
You do not need a workbench. Two small pliers, a set of replacement split rings in a couple of sizes, and a locking pin back cover nearly every keychain repair you will run into. A small screwdriver helps with screw-together clasps, and a clean cloth protects plating while you work.
Work over a tray or a bowl. Split rings and pin backs launch themselves across the room with surprising force, and a replacement ring you cannot find is the same as no replacement ring. Give yourself ten minutes and decent light, and most of these fixes take less time than finding your spare keys.
- Flat-nose pliers for gates and posts, needle-nose for threading rings
- Keep two or three ring sizes so you are not forcing a bad fit
- A magnetic tray catches dropped pin backs and tiny springs
Keychain repair diagnosis
- Symptom: visible gap in the ring coil: The split ring has been pried past its spring limit and will not hold tension again. Corrective action: replace the split ring. Stop here if the charm and connector are undamaged.
- Symptom: gate or swivel will not stay closed: The internal spring or rivet in the clasp has worn out, which is not a field-repairable part. Corrective action: swap in a new clasp or a small locking clip. Do not keep re-squeezing it.
- Symptom: bent or snapped pin post or charm loop: The charm's own attachment has failed, and glue or repeated bending will not restore it. Stop repairing and switch the piece to a pin board, lanyard, or bag strap instead.
What holds up on a keyring
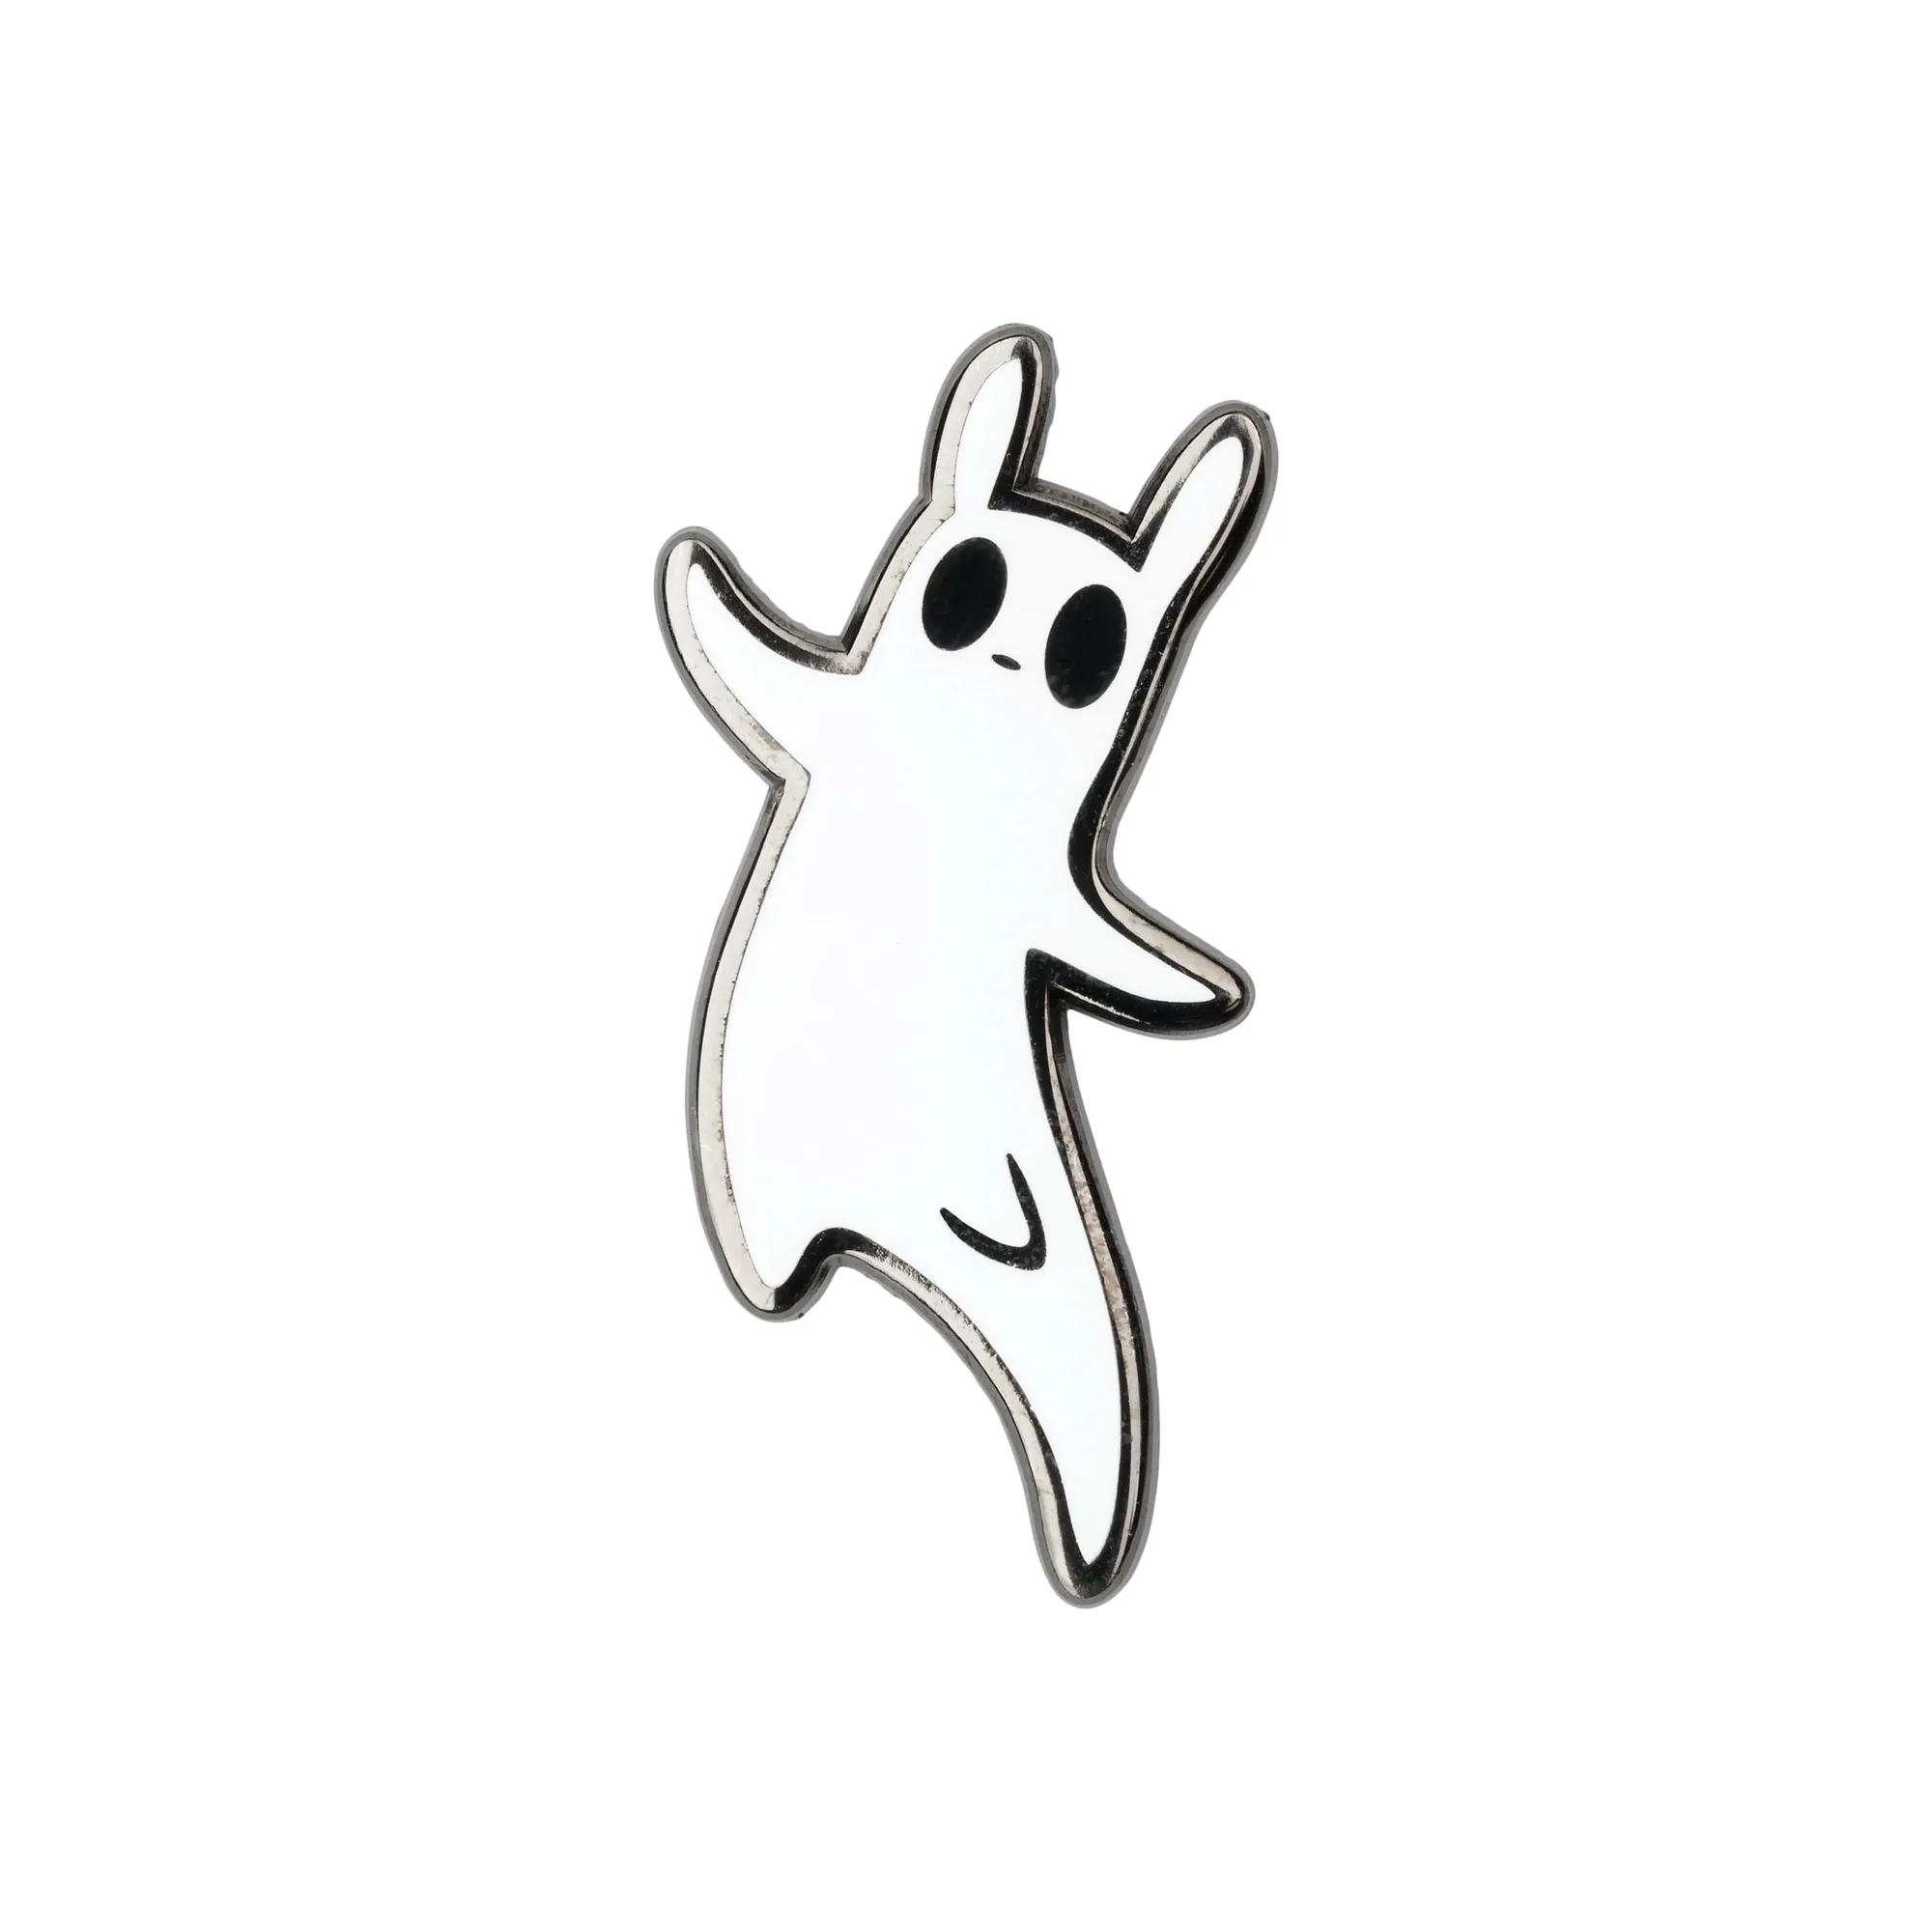
- Rain World - Slugcat Pin: Enamel pin with a black nickel finish, approximately 1.25 inches tall, featuring a locking pin back. A locking back is the version that survives being carried around, which matters if you plan to clip this to a bag rather than a display board.
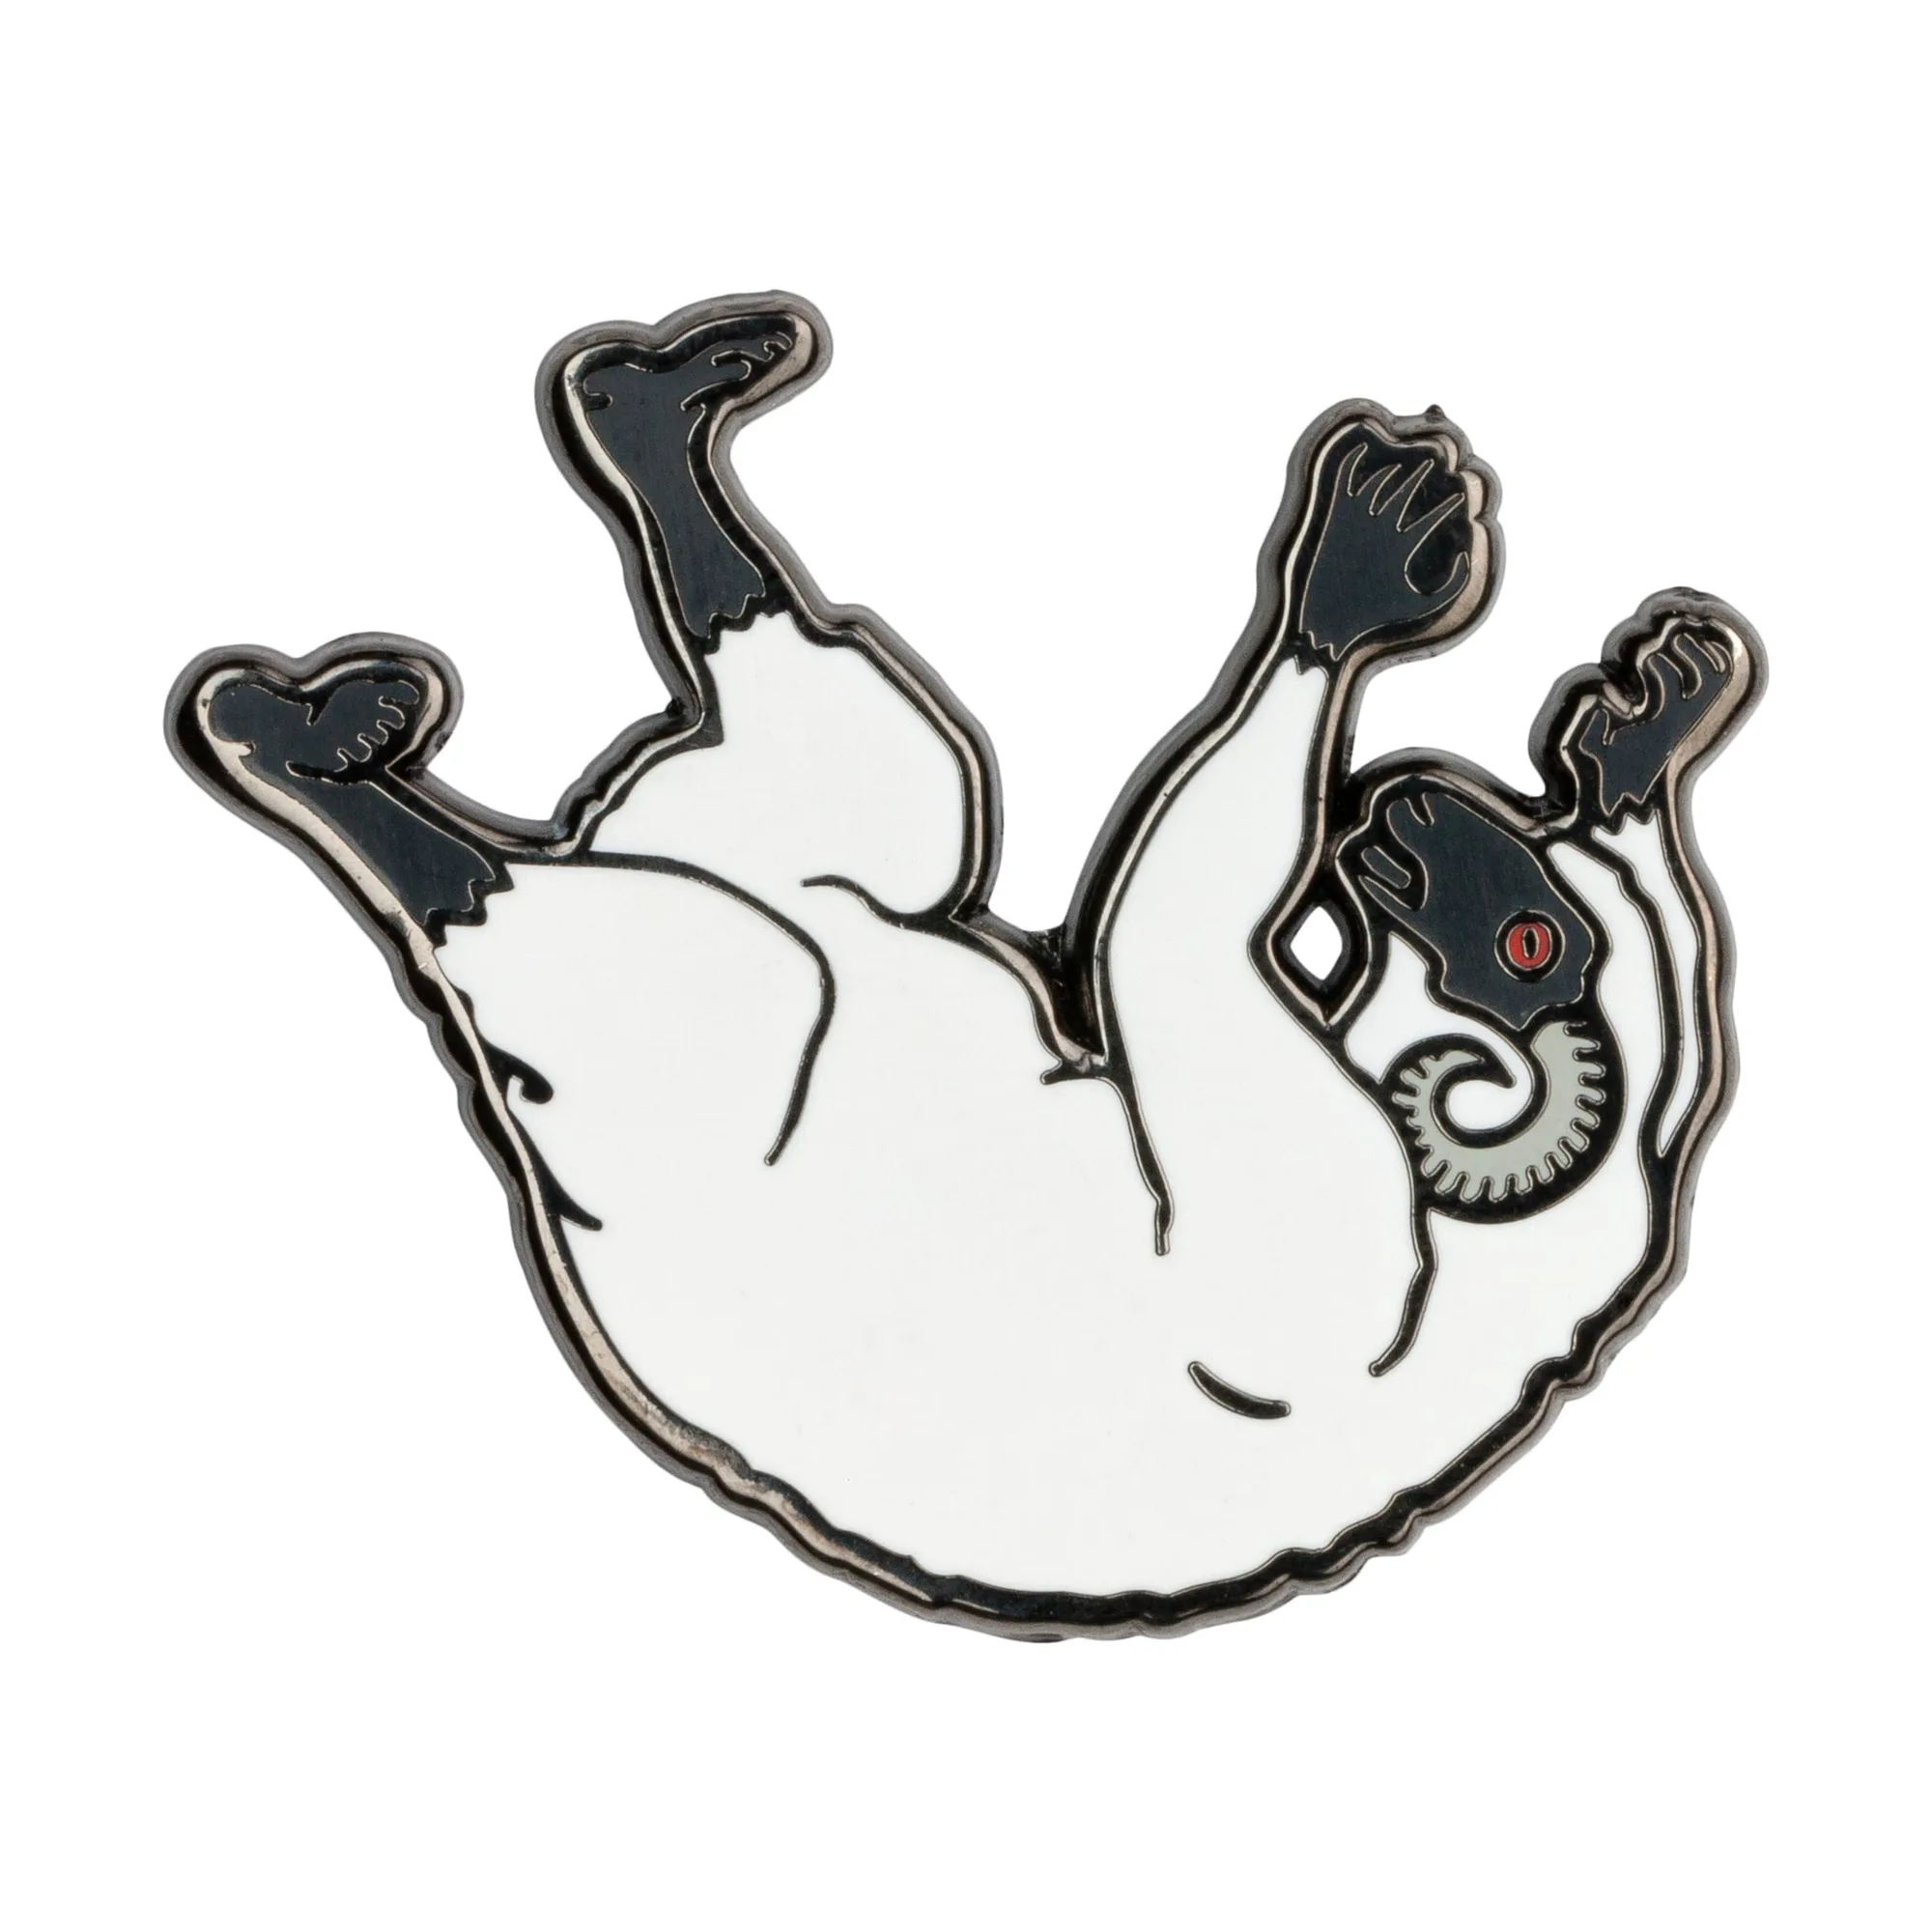
- Catherine: Full Body - Falling Sheep Pin: Hard enamel pin with a black nickel finish, approximately 1.25 inches tall and 1.37 inches wide, and it includes a high-quality backing. Hard enamel with a finished metal edge resists the surface scuffs that soft enamel picks up in a pocket, so it holds its look longer if you do carry it.
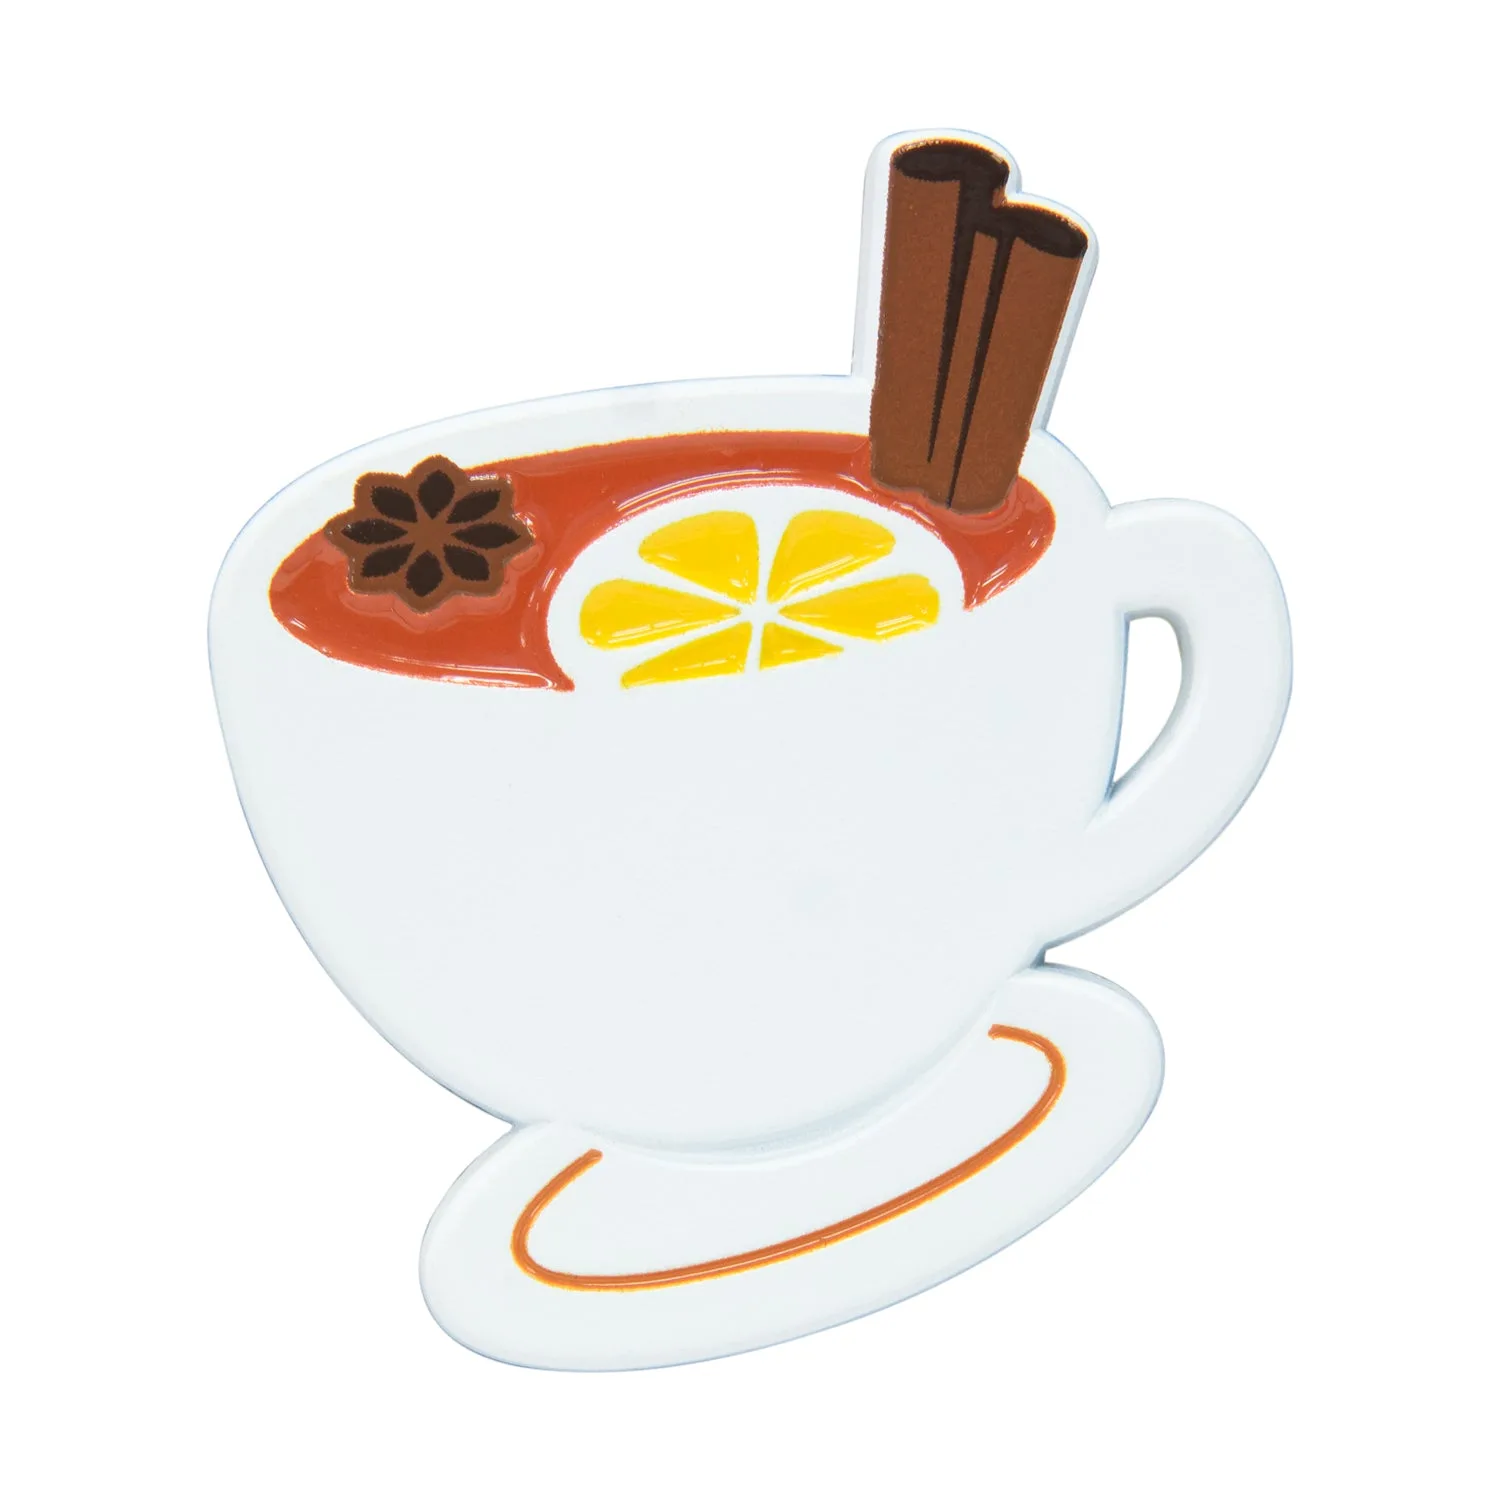
- Coffee Talk - Russian Tea Soft Enamel Pin: An official Coffee Talk pin designed as a small keepsake you can keep with you. Small, flat pins like this sit comfortably on a lanyard or bag strap, which is the better home for a pin once its post has been stressed by keyring use.
Fix the part that actually failed, not the part that is easiest to reach. A new split ring solves most keychain problems in under a minute, and knowing when to retire a charm to a pin board saves you from a repair that never quite holds.