Quick answer
A dropped stitch in needlepoint is almost always a missed or mis-angled stitch that leaves a gap in an otherwise solid area. If the gap is small and the surrounding canvas is intact, you can repair it in place by re-stitching the missing stitch with a spare strand of the same fiber. If the canvas thread itself is broken or a whole row is off, rip back to the last correct row and re-stitch.
You are stitching along, look down, and there it is: a hole in your needlepoint where a stitch should be. Before you panic or unpick the whole section, take a breath and diagnose. Most dropped stitches are fixable in a few minutes without disturbing the rest of your work.
This guide walks through the symptom, the likely cause, the corrective action, and the point where you should stop and choose another option. Keep a spare tapestry needle and a short strand of the same fiber nearby so you can test the repair before committing.
What a dropped stitch actually looks like
A dropped stitch in needlepoint usually appears as a small gap or hole in an otherwise solid area of stitching. The canvas mesh shows through, and the surrounding stitches may look slightly loose or pulled. It is not the same as a skipped area you planned, and it is not the same as a broken canvas thread.
Look closely at the gap. If the canvas threads are intact and only the fiber is missing, you have a true dropped stitch. If a canvas thread is snapped or frayed, you have a different problem that needs a different repair.
- Check the back of the canvas too; a loose tail or a missed loop can masquerade as a dropped stitch.
- Photograph the area before you start so you can compare your repair to the original tension.
Likely causes, from most to least common
The most common cause is simply skipping a stitch while moving across a row. It happens when you are watching a show, counting a stitch guide, or switching between basketweave and continental. The second most common cause is stitching over the wrong canvas intersection, which leaves an adjacent hole.
Less often, a dropped stitch appears because a stitch was pulled too tight and slipped under a neighboring stitch, or because a thread tail was trimmed too short and worked loose. On hand-painted canvases with complex color changes, it is easy to lose your place and miss a single stitch in a busy area.
- Count your stitches at the end of each row to catch gaps early.
- If you use a stitch guide, mark off each completed section as you go.
How to repair a dropped stitch in place
Thread a tapestry needle with a strand of the same fiber and color. Bring the needle up through the empty canvas intersection from the back, then work the missing stitch in the same direction and tension as its neighbors. Take the needle back down through the correct hole and secure the tail on the back by weaving it under two or three existing stitches.
Match the stitch direction exactly. If the surrounding stitches are basketweave, work a basketweave stitch; if they are continental, work continental. A mismatched direction will show as a shiny or tilted spot even if the color is perfect. Tension matters too: aim for the same loft as the surrounding stitches, not tighter.
- Use a slightly longer tail than usual so you can adjust tension before securing.
- If the repair looks lumpy, pull the strand out and try again with less tension.
When to rip back instead of repairing in place
If the dropped stitch is part of a larger error, such as a whole row stitched in the wrong direction or a color block that is off by several stitches, repairing in place will not hide the problem. In that case, rip back to the last correct row and re-stitch. It feels slower, but it gives a cleaner result than patching over a structural mistake.
Also rip back if the canvas thread itself is broken. A snapped canvas thread weakens the foundation, and re-stitching over it will not restore the mesh. If the break is small, you may be able to secure it with a tiny dab of fabric glue on the back and then stitch over it, but if the canvas is compromised across a wide area, consider whether the project is still worth finishing.
- Rip back one row at a time and re-check your count before continuing.
- If you are unsure, test the in-place repair first; you can always rip back afterward.
Preventing the next dropped stitch
Most dropped stitches are prevented by better habits, not better tools. Count your stitches at the end of every row, especially in solid areas where a gap is easy to miss. Use a needleminder to keep your place on the canvas when you set the project down, and keep your working thread short enough that it does not fray or tangle.
If you stitch from a chart or stitch guide, mark each completed section immediately. A WIP Project Card or a simple sticky note can track where you stopped, so you do not lose your place when you pick the project back up. Finally, store your project in a protective baggy so the canvas does not snag and pull stitches loose between sessions.
- End each stitching session at a clean row boundary when possible.
- Keep a spare tapestry needle and a short strand of each fiber in your project bag for quick repairs.
Dropped stitch diagnosis
- Symptom: small gap, canvas intact: A single missing stitch in an otherwise solid area, with no broken canvas threads. Repair in place with a spare strand of the same fiber.
- Symptom: gap plus loose or tilted neighbors: The dropped stitch was pulled too tight or worked in the wrong direction, distorting nearby stitches. Rip back to the last correct row and re-stitch for even tension.
- Symptom: snapped or frayed canvas thread: The mesh itself is damaged, not just the fiber. Stop stitching and assess. If the break is small, secure it from the back before continuing; if it is wide, consider whether to restart or choose a different project.
Project details that make repairs easier
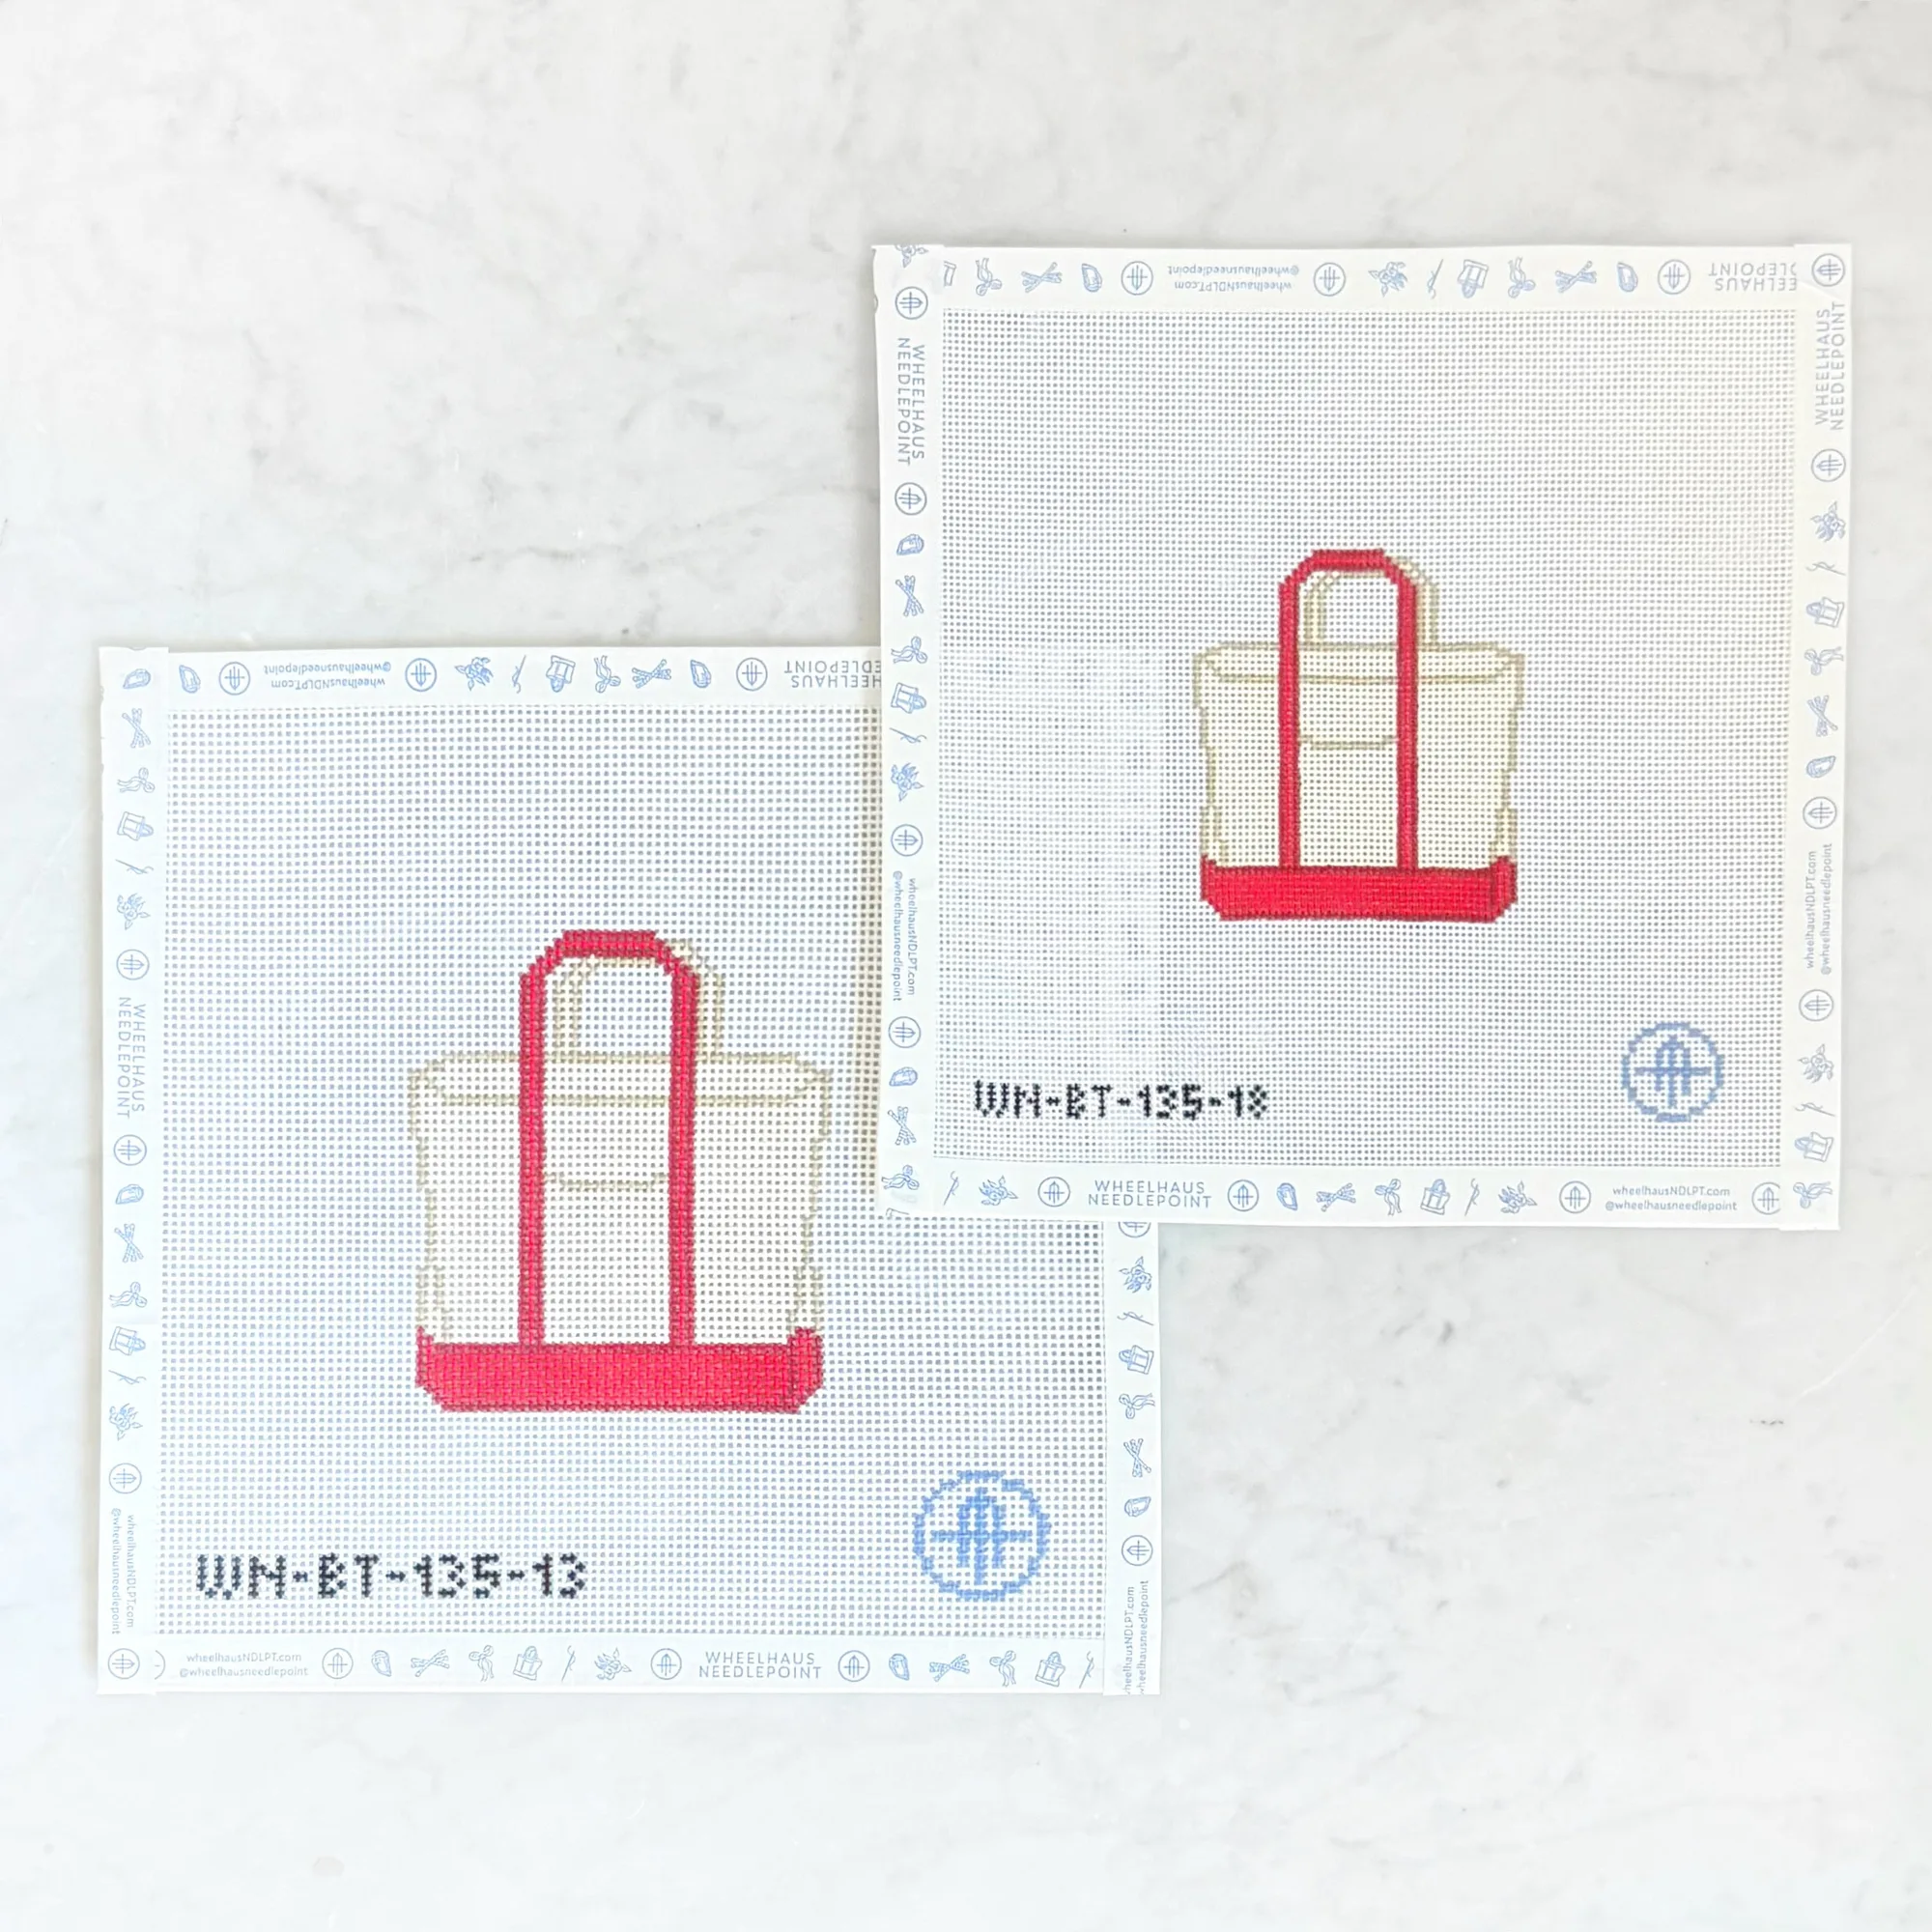
- Plain Colored Tote: Available in 13 mesh and 18 mesh, with canvas-only and thread-kit options; the thread kit includes a curation of silk and wool fibers, a thread ring, a tapestry needle, and a stitch brochure. If you are repairing a dropped stitch, having the original fiber curation and a spare tapestry needle on hand makes it easier to match color and tension. The 18 mesh version has smaller stitches, so repairs are less visible but require a finer needle.
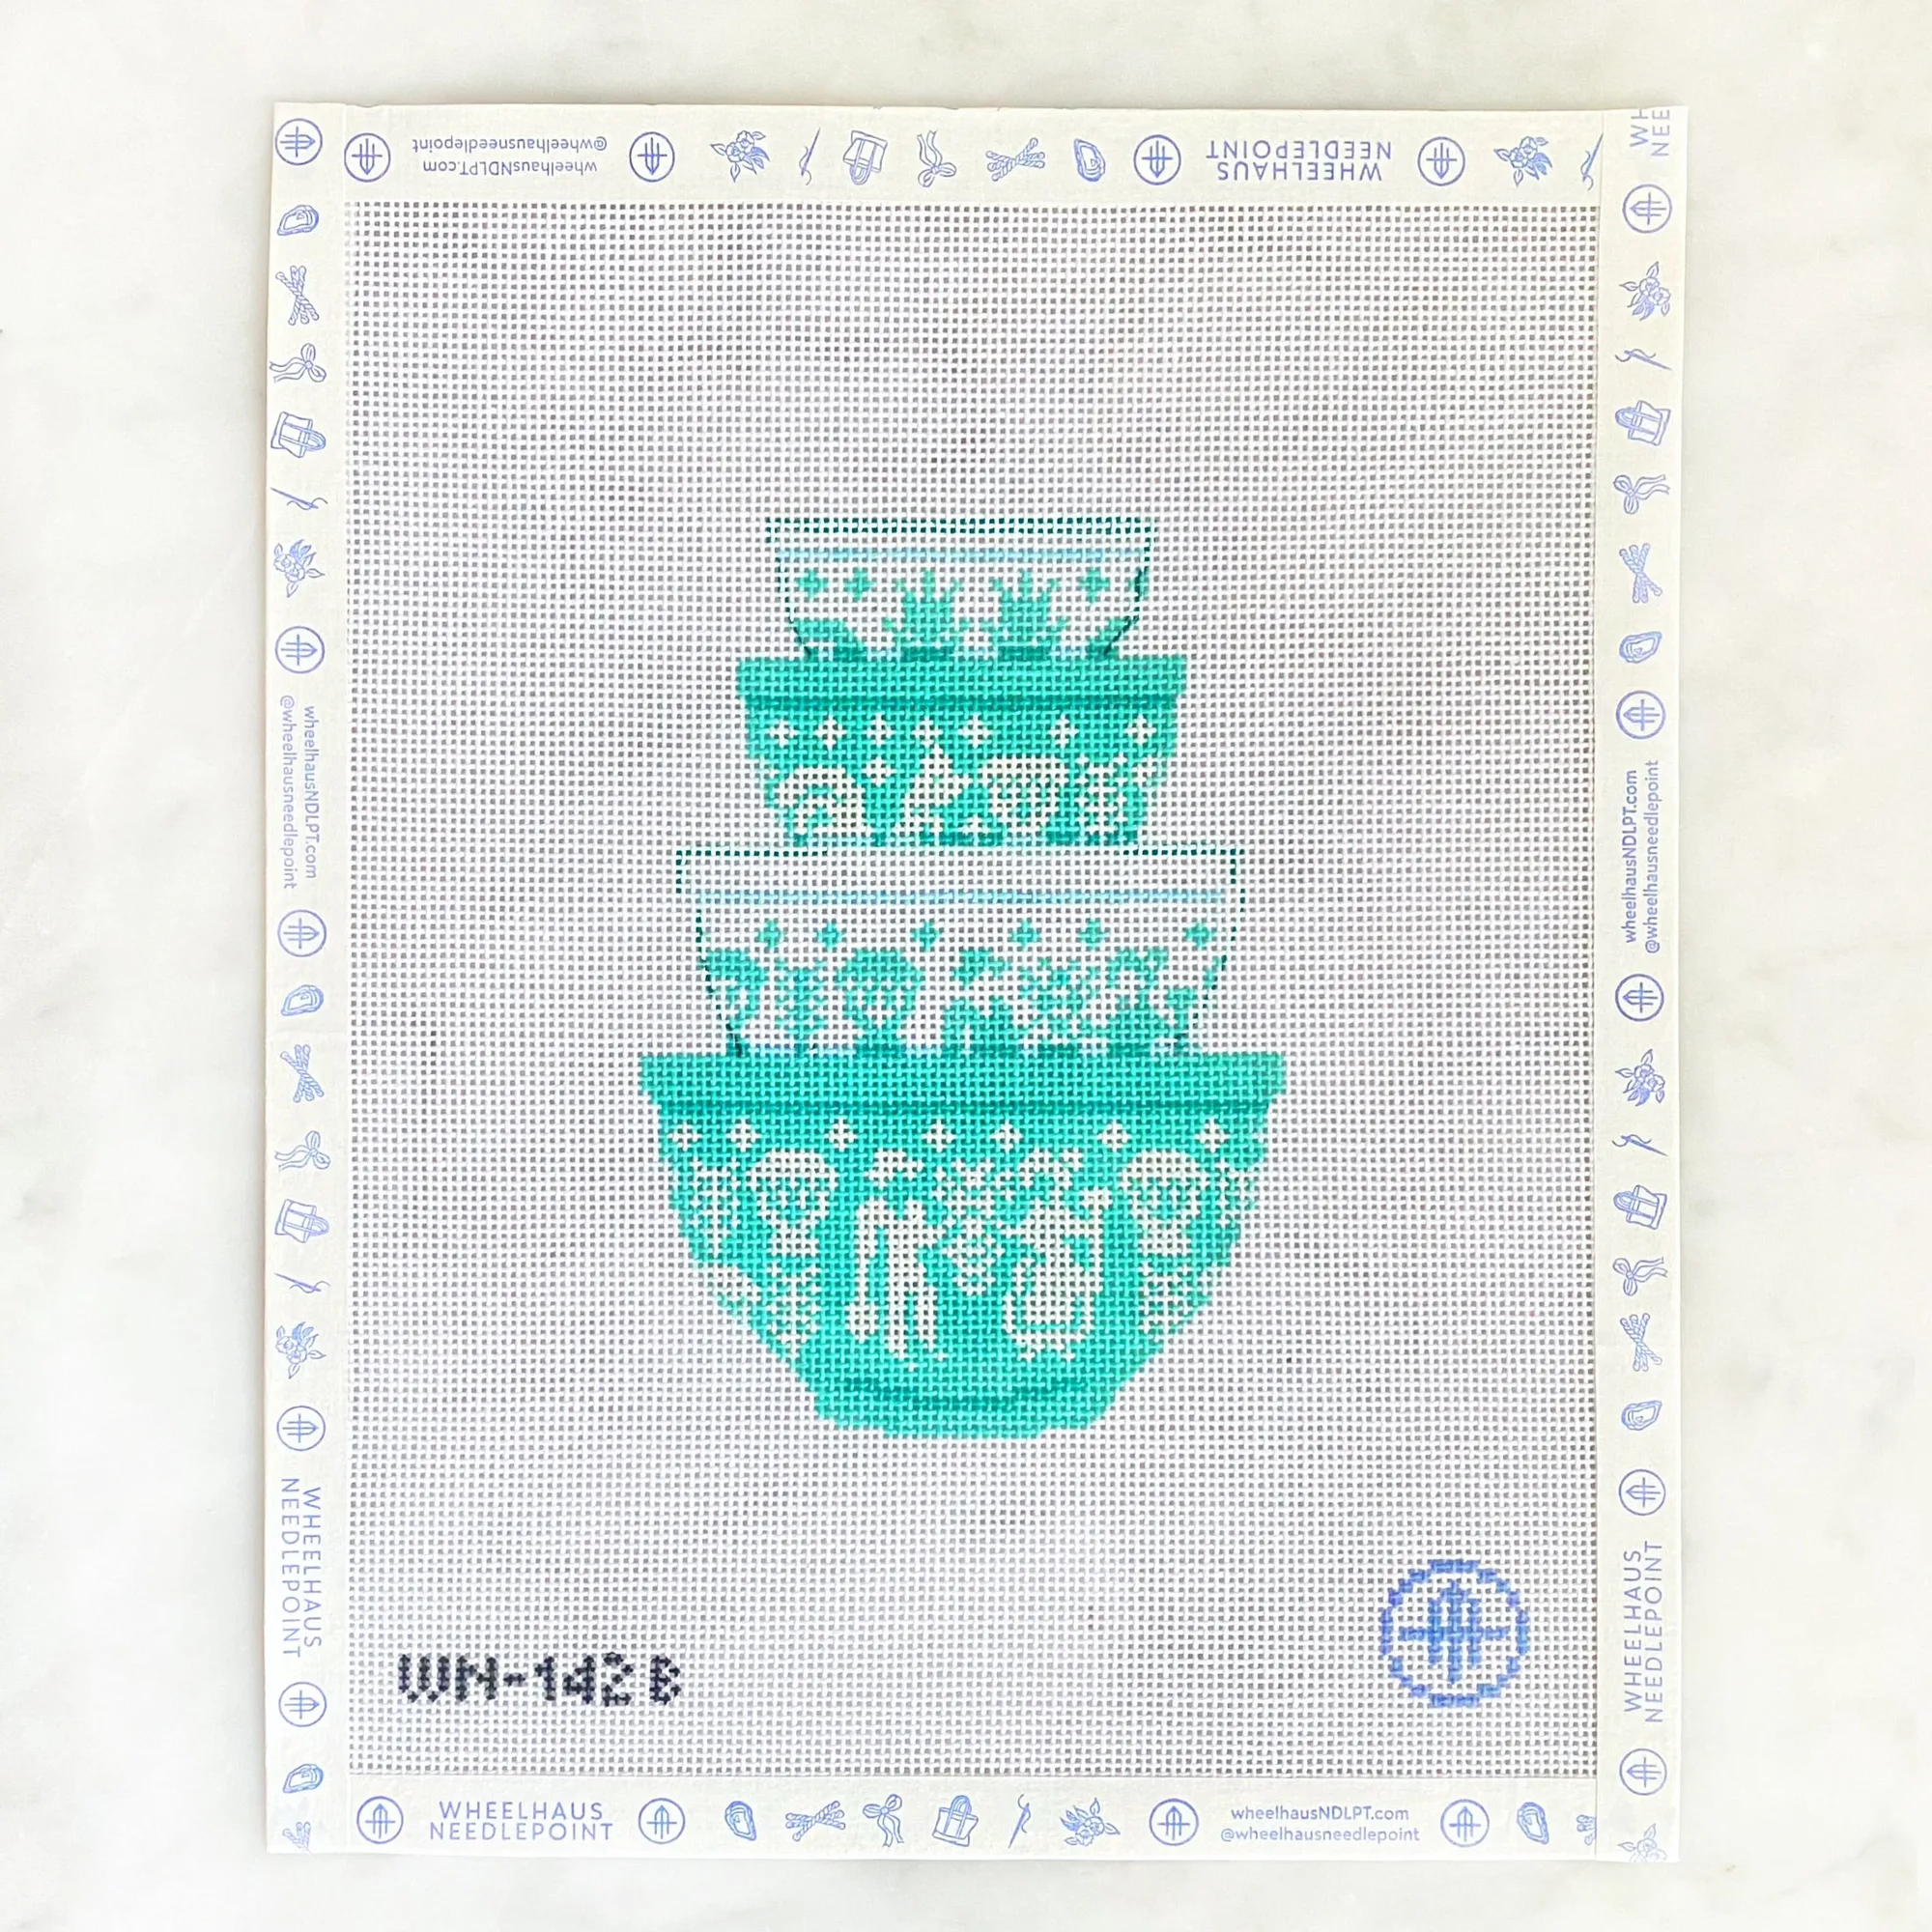
- Vintage Mixing Bowls Butterprint: 18 mesh, design 4 x 5.5, recommended stretcher bar size 8 x 9; canvas-only includes a stitch pamphlet, WIP Project Card, and reusable PVC protective project baggy. The WIP Project Card helps you mark your place so you do not lose count and drop a stitch. The protective baggy keeps the canvas clean and snag-free between sessions, which reduces the chance of pulled stitches.
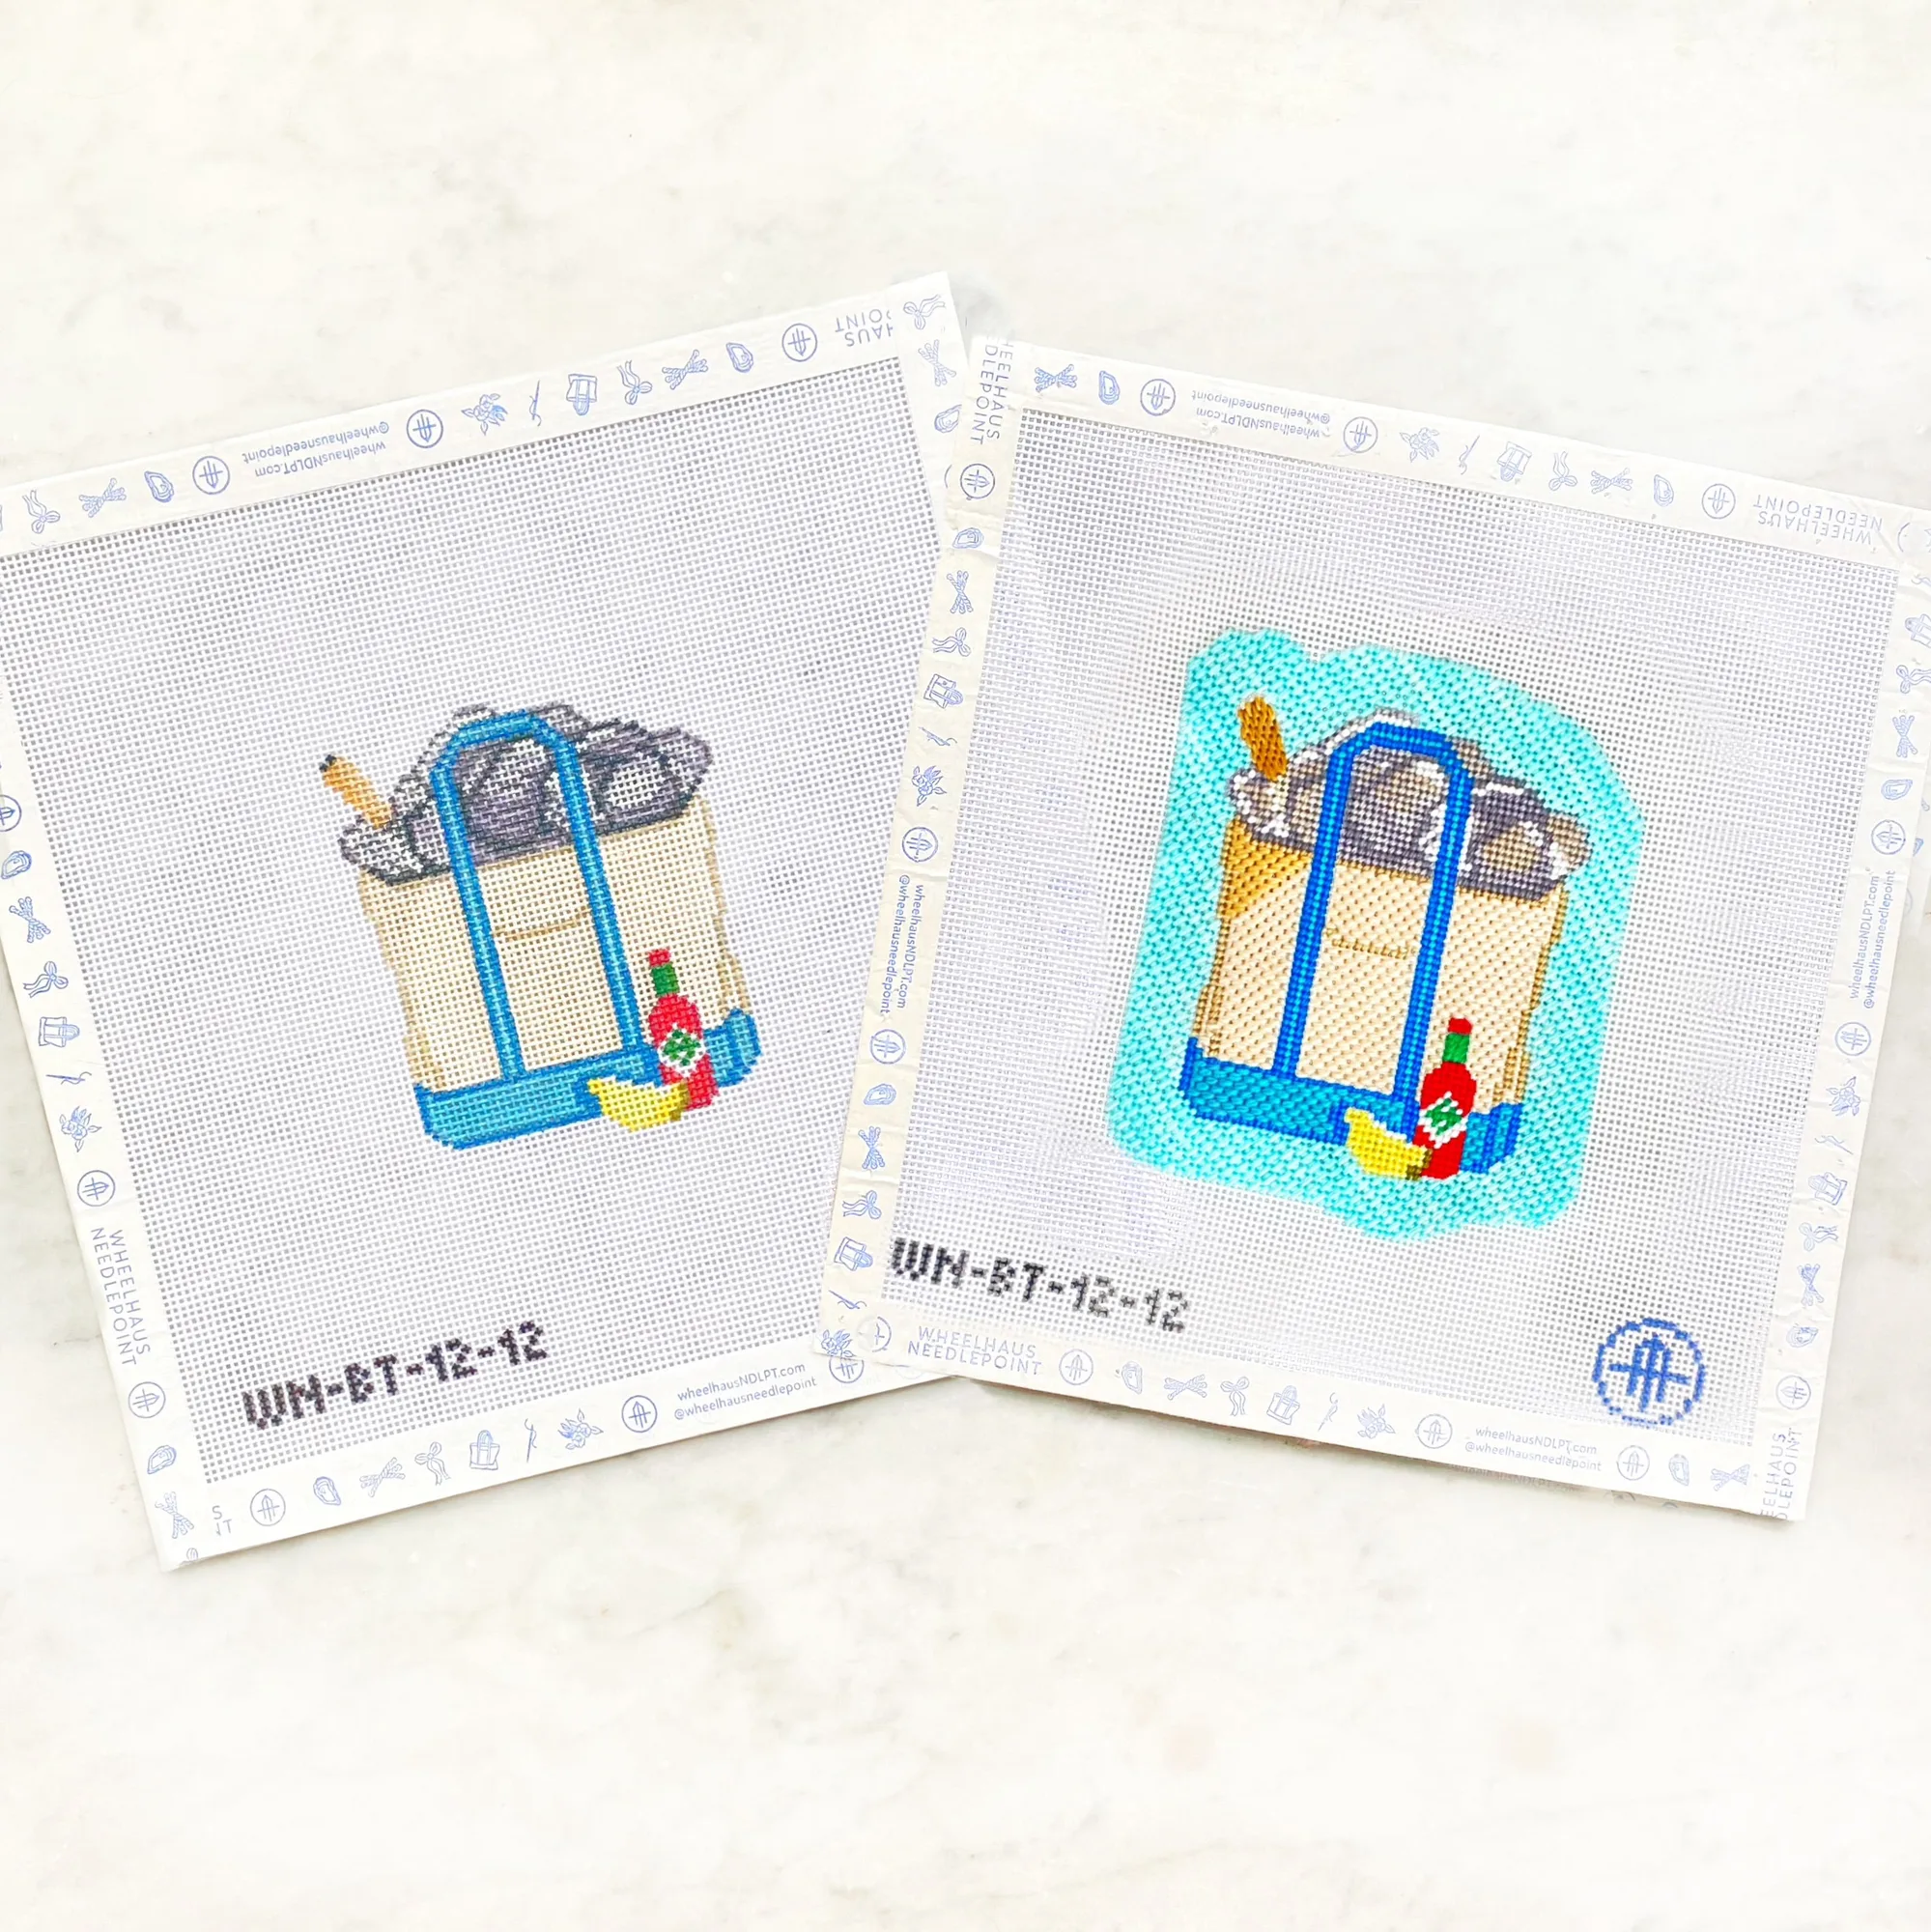
- 12 Dozen Oysters Tote - Day 12: 18 mesh, design 3.5"W x 3.75"H; canvas-only includes hand-painted, stitch-painted canvas, one of seven stitch pamphlets, a tapestry needle, and a reusable PVC project baggy. Small designs like this are good practice for counting and tension control, and the included tapestry needle means you can repair a dropped stitch without hunting for a spare.
A dropped stitch is a small setback, not a ruined project. Diagnose the gap, repair it in place when the canvas is sound, and rip back when the structure is off. With a spare tapestry needle and a little patience, you can fix a dropped needlepoint stitch and get back to stitching.