Quick answer
To fix a loose towel rail, first identify the type of fixing — wall plugs, screws, or adhesive. Tighten any visible screws with a screwdriver. If the wall plugs are stripped, replace them with larger ones or use a wall anchor. For rails mounted on brackets, check that the bracket screws are snug and the rail itself is seated correctly.
Why towel rails come loose
Towel rails loosen over time due to daily use, temperature changes in the bathroom, and the natural settling of wall materials. The weight of wet towels can also put repeated stress on the fixings. Understanding the cause helps you choose the right repair method.
Tools you may need
A standard screwdriver (Phillips or flathead, depending on your rail), a spirit level, and possibly a drill with masonry bit if you need to replace wall plugs. For rails with concealed fixings, you might need an Allen key. Having a pencil and a tape measure on hand is useful for marking positions.
When to call a professional
If the wall material is crumbling, if you encounter plumbing or electrical lines behind the mounting area, or if the rail is part of a heated towel rail system, it's best to consult a professional. Also, if the rail itself is damaged or bent, replacement may be safer than repair.
Step-by-step guide to fix a loose towel rail
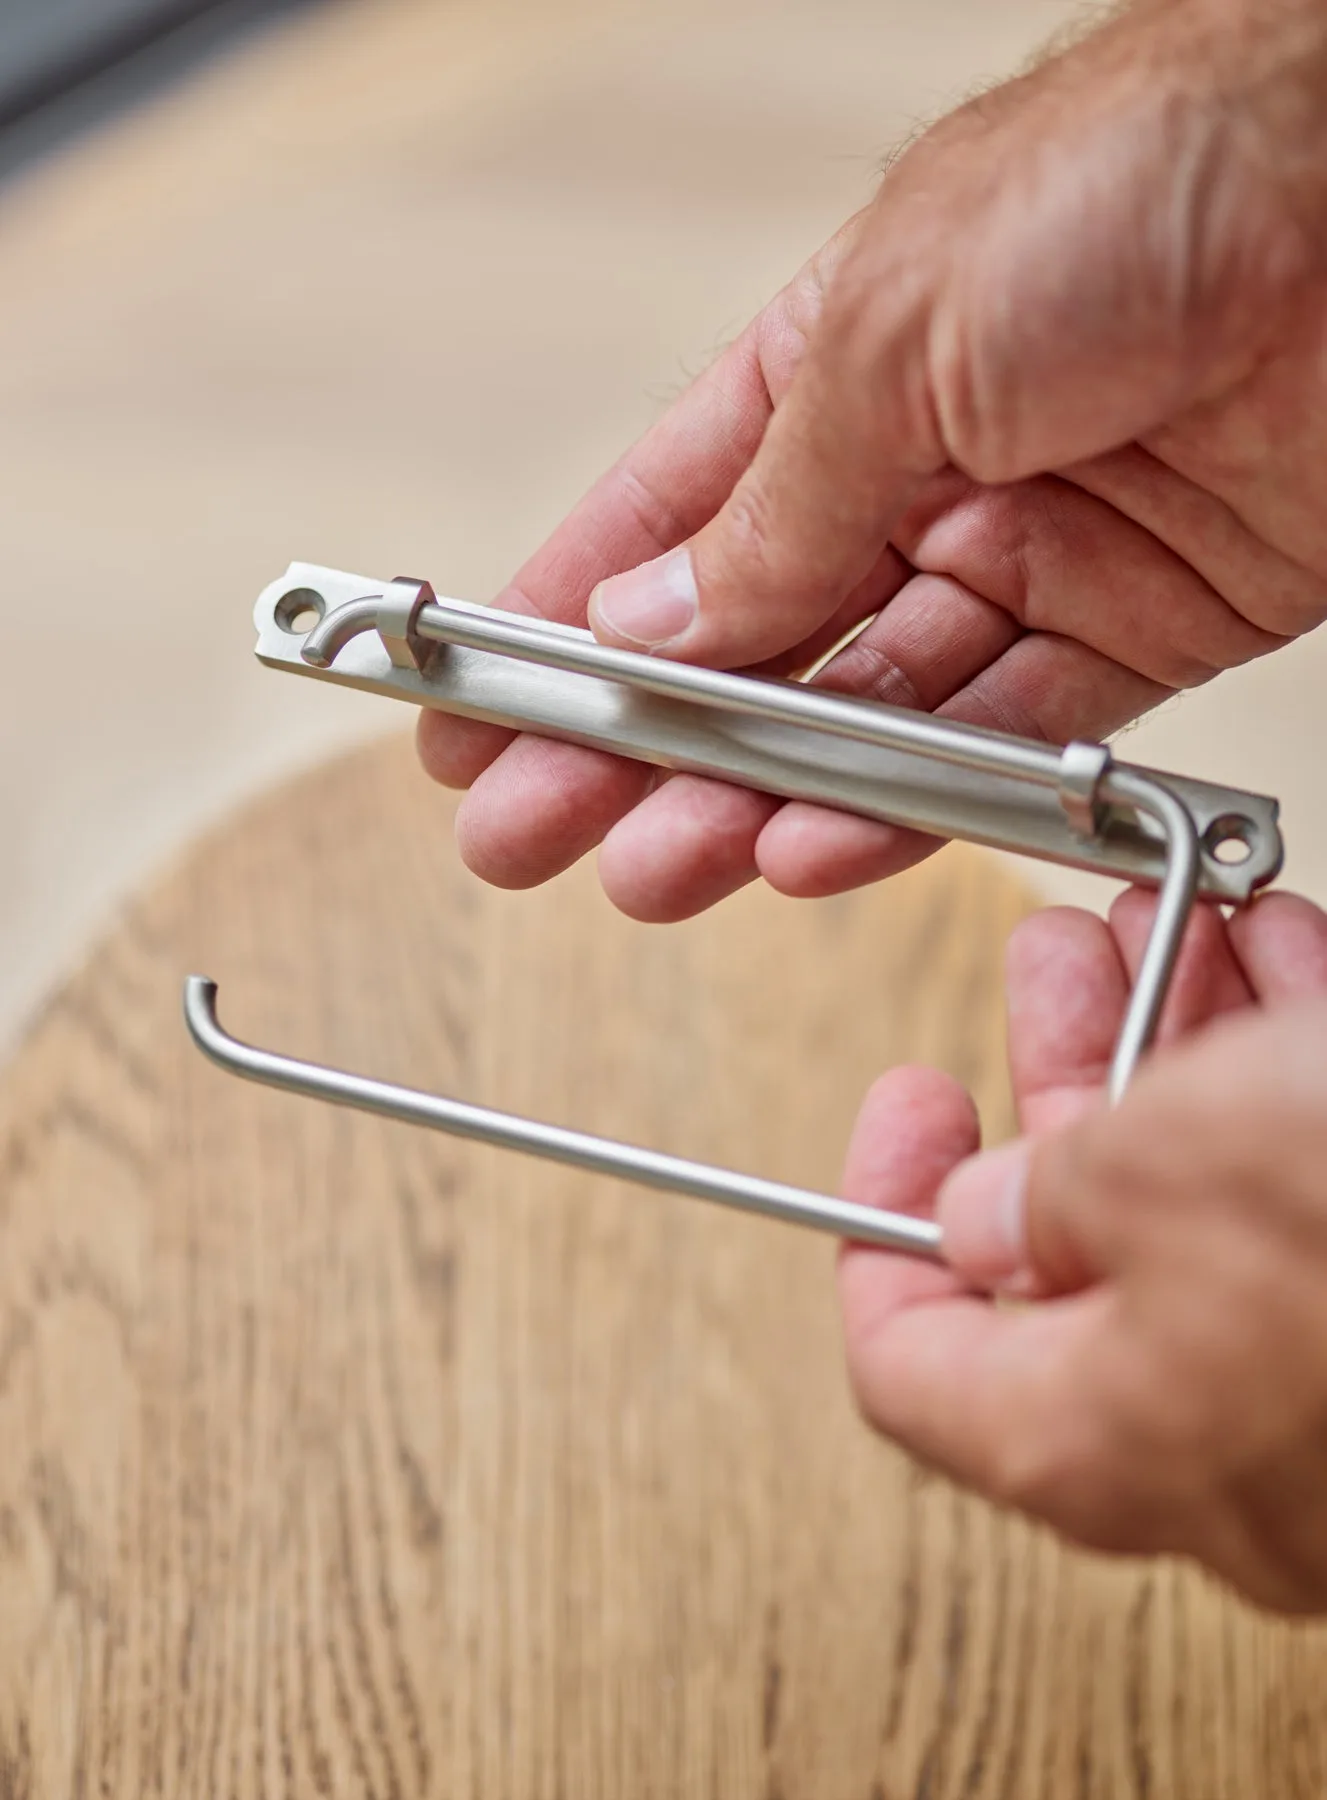
- 1. Identify the mounting type: Look at how your towel rail attaches to the wall. Common types include two separate brackets screwed into the wall, a single backplate with arms, or a rail that slots onto concealed brackets. Knowing this tells you which screws to tighten. Common mistake: Trying to tighten a screw that is actually a decorative cap. Check if the screw is accessible or hidden behind a cover.
- 2. Tighten visible screws: Using the correct screwdriver, gently tighten any screws you can see on the brackets or backplate. Turn clockwise until you feel resistance, but do not overtighten as this can strip the thread or damage the wall. Checkpoint: If the screw spins freely without tightening, the wall plug inside the wall is likely stripped and needs replacement.
- 3. Replace stripped wall plugs: Remove the screw and the old wall plug. Insert a new, slightly larger wall plug into the hole. Tap it in gently with a hammer until it is flush with the wall surface. Then reinsert the screw and tighten. Common mistake: Using a plug that is too long for the hole. Trim the plug with a utility knife if needed so it sits flush.
- 4. Check bracket alignment: Place a spirit level on the rail or across the brackets to see if they are level. If the rail is crooked, loosen the screws slightly, adjust the bracket, then retighten. Uneven brackets cause stress and looseness over time. Checkpoint: Even a slight tilt can make the rail feel loose. A level rail distributes weight evenly.
- 5. Secure the rail onto brackets: For rails that slot onto brackets, ensure the rail is fully seated. Some rails have a small set screw or Allen key grub screw underneath the bracket that locks the rail in place. Tighten that screw gently. Common mistake: Forgetting to tighten the locking screw. The rail may appear secure but will wobble when used.
- 6. Test and monitor: Gently apply pressure to the rail with a towel to test stability. If it still feels loose, repeat the steps or consider using a wall anchor for added support. Check the rail again after a few days of use. Final tip: Regular checks prevent future looseness. A quick tighten every few months keeps your rail safe and functional.
Product facts
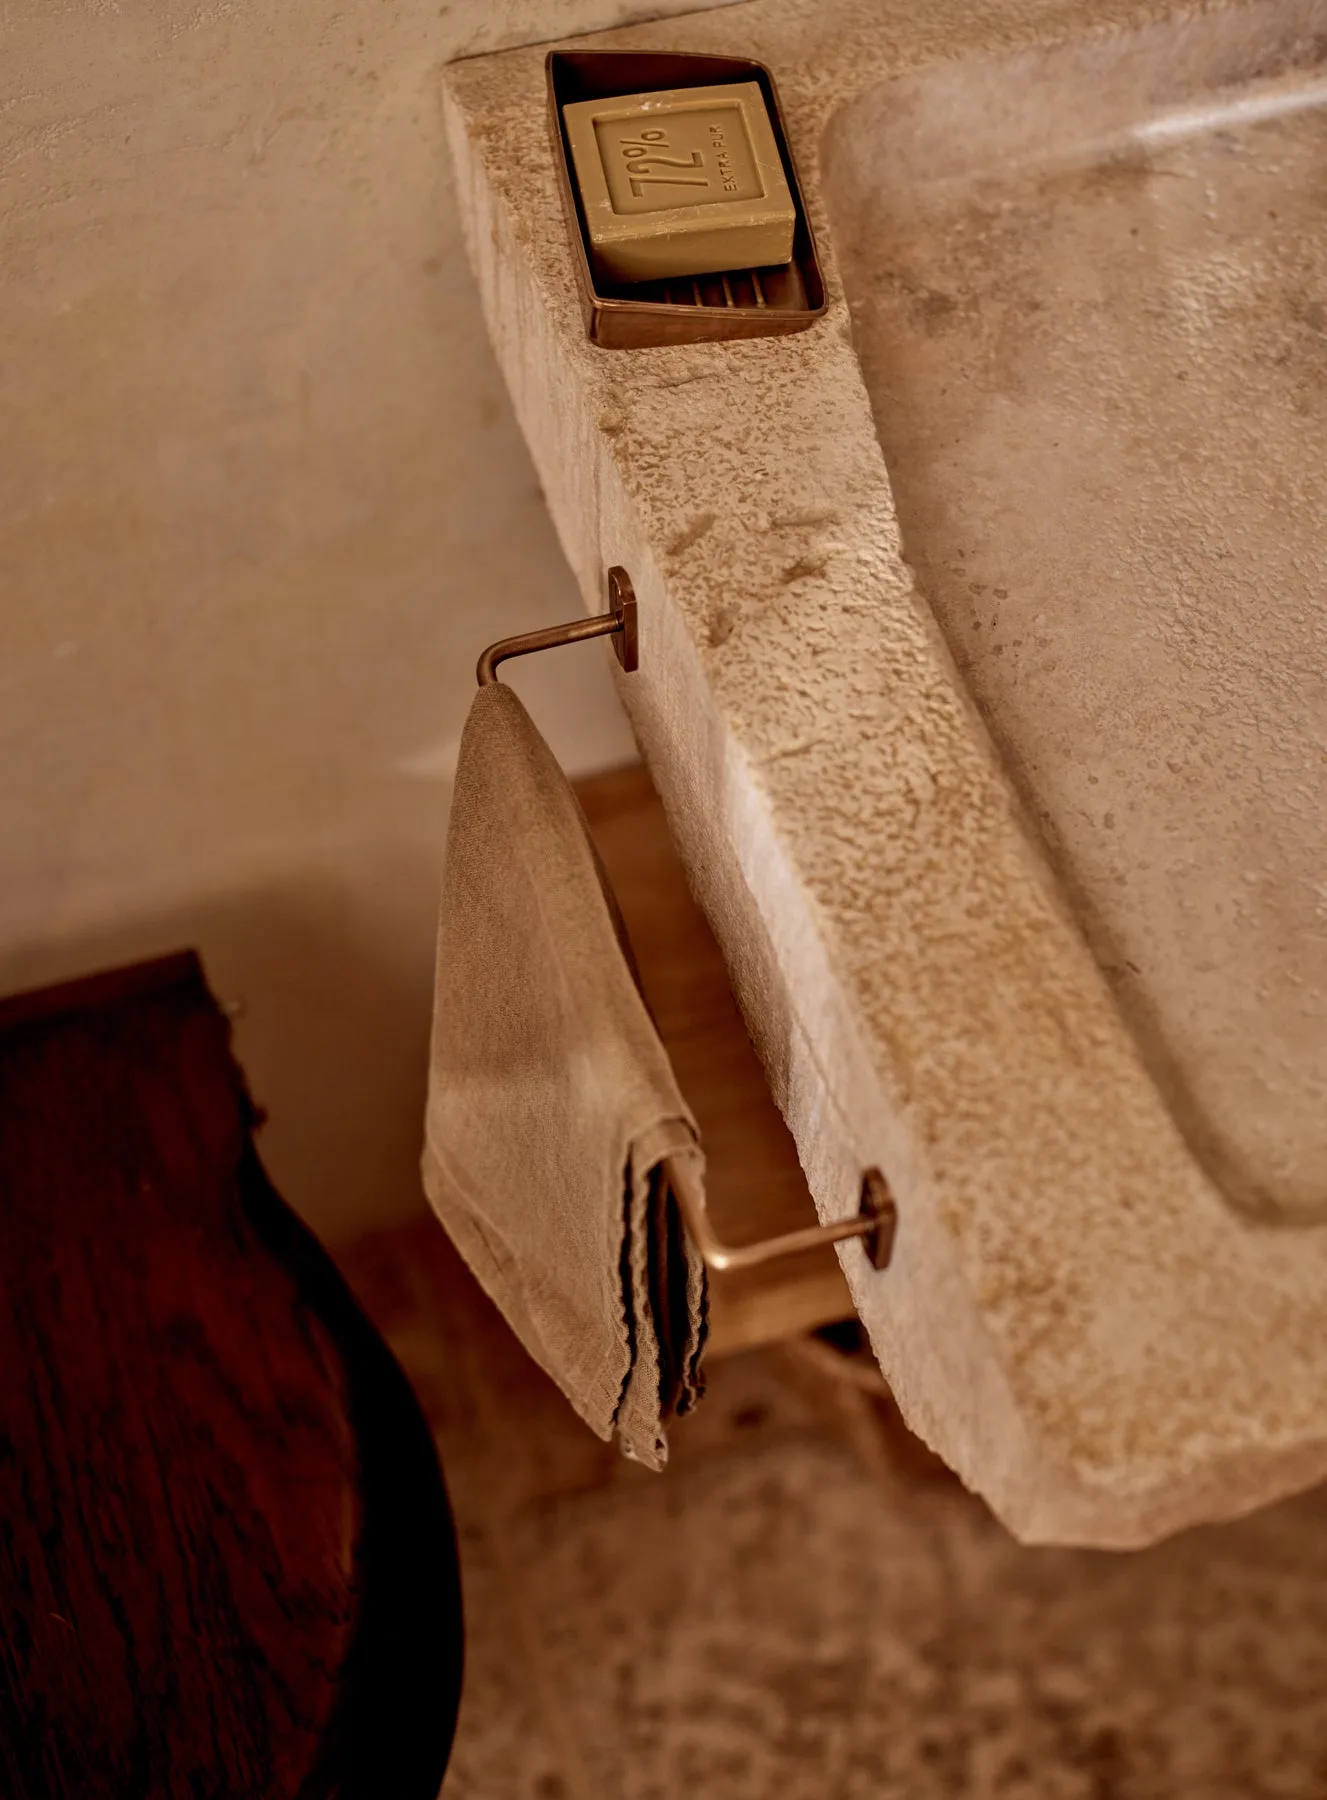
- Wilbur Towel Rail: An elegant towel rail crafted from rich mango wood, finished in a warming dark stain. Solid brass fittings with an antiqued finish for timeless character. A well-made rail like this Wilbur Towel Rail is less likely to loosen because the solid brass fittings and quality construction provide a stable, durable mount. When installing, ensure the wall fixings match the weight and material of the rail.