Quick answer
Most needlepoint mistakes come down to three things: tension that drifts, thread that twists, and a stitch placed one hole off. Fix loose stitches by running the tail back through the back of the stitch and re-stitching the area with firmer tension. Fix tangles by dropping the needle and letting it spin out, then cutting the knot rather than fighting it. If the canvas hole is stretched or the thread is frayed past saving, stop and re-stitch the section with fresh thread.
You are three-quarters through a canvas when you notice a stitch sitting loose, a knot forming behind the canvas, or a row that suddenly looks uneven. None of these mean you have ruined the project. Needlepoint is forgiving, and almost every common mistake has a fix that takes minutes rather than hours.
This guide separates the symptom from the cause so you can correct the actual problem instead of guessing. It also tells you when to stop fixing and start over, because some mistakes are cheaper to re-stitch than to repair.
Loose stitches: why they happen and how to tighten them
A loose stitch usually means the thread was not anchored firmly at the start, or your tension relaxed as you worked across a row. Look at the back of the canvas. If the tail is short or unsecured, that is your cause. Run the needle under three or four stitches on the back, then gently pull the loose stitch from the front until it sits flush with its neighbors. Do not yank; firm, steady pressure is enough.
If several stitches in one area are loose, the thread may be too slippery for the canvas mesh. Silk and wool blends can behave differently than cotton or acrylic, and some fibers need a slightly longer anchor. Re-anchor the thread with an extra pass through the back, then continue. If the looseness returns within a few stitches, the thread itself is the problem, not your technique.
- Anchor new thread under at least three existing stitches on the back before you begin.
- Test tension by laying the stitch flat with your needle, not by pulling hard.
- If a whole row is loose, re-stitch the row rather than spot-fixing individual stitches.
Thread tangles and knots: untwist before you cut
Tangling almost always starts with twist. As you stitch, the thread picks up a rotation, and after a dozen stitches it loops back on itself. The fix is simple: let the needle hang free and drop the thread so it can unwind. If you are using a strandable thread, separate the strands one at a time rather than pulling them apart together, which adds twist before you even start.
When a knot has already formed, do not pull it tighter. Work the knot loose with a needle tip, or cut the thread above the knot and re-anchor. Cutting loses a few inches of thread, but forcing a knot through canvas can distort the hole and leave a permanent lump. If the knot is behind the canvas and you cannot reach it, cut from the front and re-stitch that stitch.
- Cut thread lengths to about 18 inches; longer threads tangle more.
- Let the needle dangle every few stitches to release twist.
- Never pull a knot tight against the canvas; loosen or cut it instead.
Uneven stitches: tension, stitch direction, and mesh
Uneven needlepoint stitches usually come from inconsistent tension, but stitch direction matters too. If you are working a basketweave or continental stitch, every stitch should lie at the same angle. Flip the canvas over and check the back. If the back looks neat and uniform, the problem is on the front, likely from pulling some stitches tighter than others. Re-stitch the uneven area with a consistent, light tension.
Mesh count also affects how even stitches look. A 13 mesh canvas has larger holes, so slight tension differences are more visible than on an 18 mesh canvas. If your canvas is 13 mesh and the stitches still look uneven after re-stitching, the thread may be too thin or too thick for the mesh. Match thread weight to mesh before you blame your technique.
- Work in small sections and check the front of the canvas every few rows.
- Keep the same tension from the first stitch to the last in a row.
- If the thread looks too thin on 13 mesh, try a thicker thread or double it if the fiber allows.
Skipped holes and misplaced stitches
A skipped hole is easy to spot: the pattern shifts by one and the rest of the row is off. Do not try to compensate by stitching into the wrong hole. Un-stitch back to the mistake, even if that means removing ten stitches. Re-stitching is faster than adjusting an entire row, and the canvas will not show the removal if you use a needle to lift the thread rather than pulling it roughly.
If you have already stitched past the mistake and the thread is anchored, you can sometimes stitch over the error with a matching thread to disguise it. This works best in solid-color areas. In a patterned canvas, the mistake will show, so un-stitch. If the canvas hole has stretched from repeated stitching, stop and move to a fresh area or accept that the hole will tighten slightly when the project is blocked.
- Count holes out loud or mark the row with a removable marker.
- Un-stitch with a needle tip, not your fingers, to avoid fraying the thread.
- If a hole is stretched, do not stitch into it again; work around it.
Frayed thread and needle damage
Fraying happens when the needle eye is too small, when you stitch with a thread that is already worn, or when you pull thread across a rough canvas edge. Check your needle first. If the eye pinches the thread, switch to a larger tapestry needle. If the thread frays only at the end, trim it and re-thread. If it frays in the middle of a length, discard that length and start fresh.
Needle damage is less obvious but common. A bent or burred needle will snag thread and create tangles. Run your finger along the needle; if you feel a rough spot, replace it. Keeping a needle minder on your canvas helps you avoid dropping needles and picking up lint, which can work into stitches and cause unevenness.
- Replace needles at the first sign of a bend or burr.
- Trim frayed thread ends rather than stitching with them.
- Use a needle minder to keep your needle clean and off the floor.
Symptom, cause, fix, and when to stop
- Loose stitch on the front: Cause: short or unsecured anchor, or tension relaxed mid-row. Fix: run the tail under three stitches on the back and gently pull the stitch flush. If the same stitch loosens again after re-anchoring, the thread is too slippery for the mesh. Stop if the canvas hole is enlarged; re-stitch with a fresh hole nearby or accept a slightly tighter block after finishing.
- Thread tangles behind the canvas: Cause: twist buildup from long threads or strandable fibers separated incorrectly. Fix: drop the needle to unwind, or cut above the knot and re-anchor. Do not pull the knot through. Stop if the knot is behind an inaccessible area and cutting would unravel more than two stitches; cut from the front and re-stitch that section.
- Uneven stitches across a row: Cause: inconsistent tension or thread weight mismatched to mesh. Fix: re-stitch the row with light, even tension. On 13 mesh, check that the thread fills the hole without bulging. Stop if the canvas is 13 mesh and the thread still looks thin after re-stitching; switch to a thicker thread or a different fiber.
- Skipped hole or shifted pattern: Cause: miscount or a stitch placed one hole off. Fix: un-stitch back to the error using a needle tip, then re-stitch. Do not compensate by shifting the rest of the row. Stop if the canvas hole is stretched from repeated stitching; move to a fresh area or plan to block the finished piece to tighten the weave.
Tools and materials that help prevent mistakes
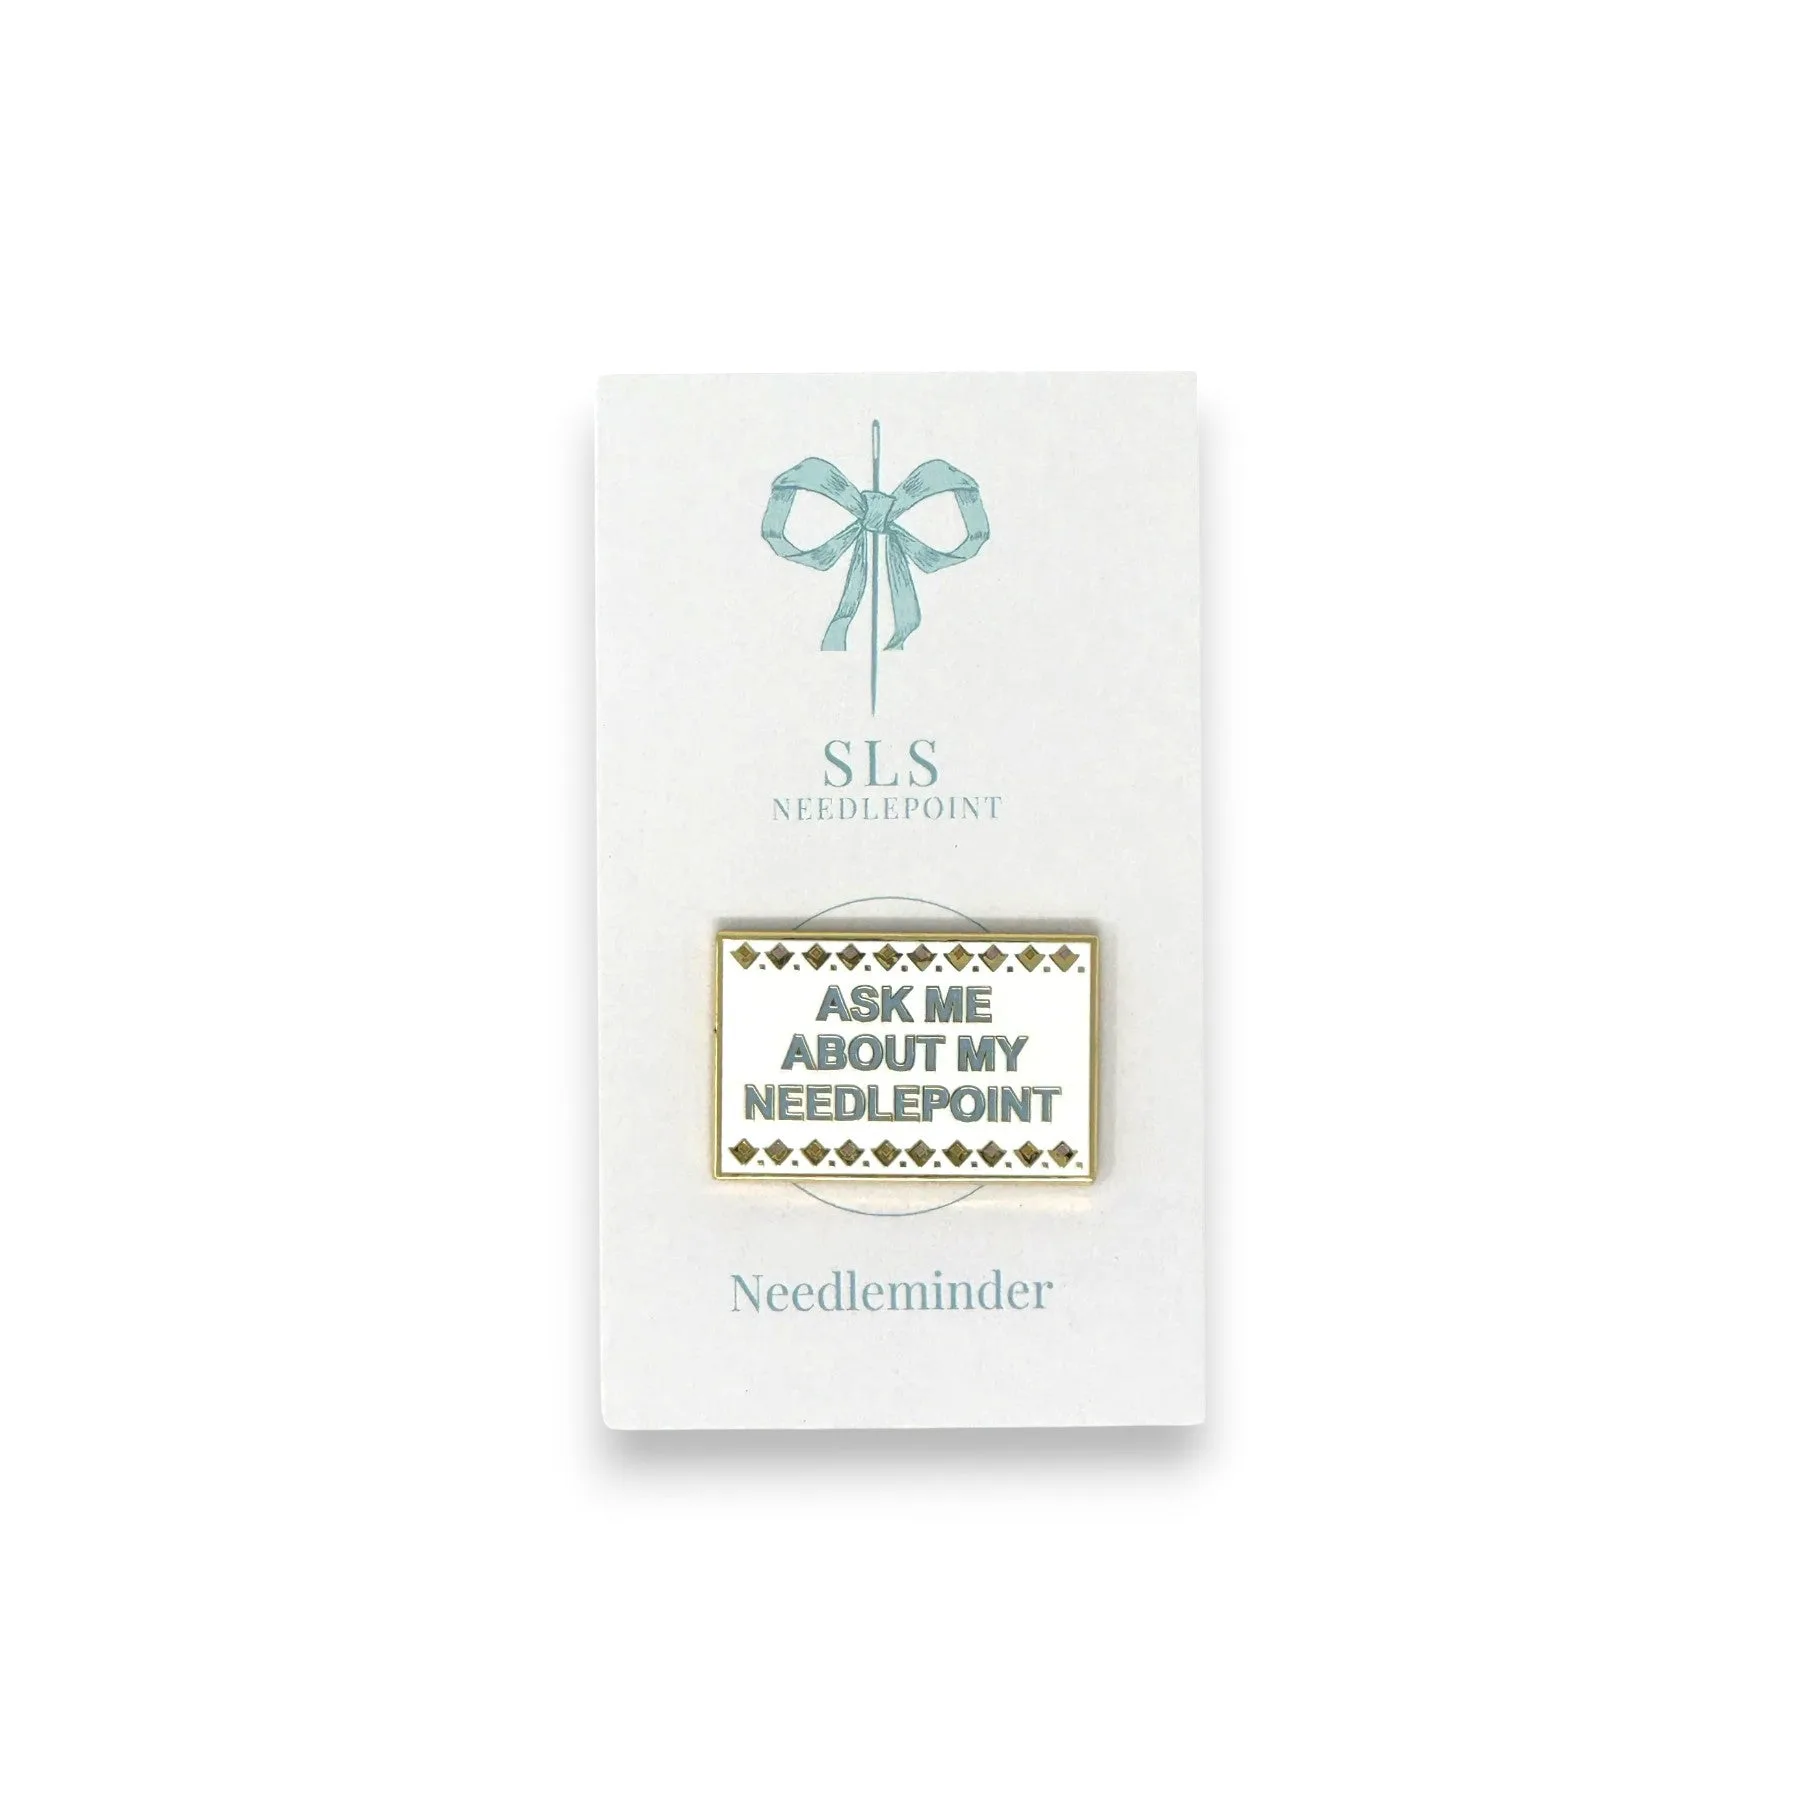
- Ask Me About My Needlepoint Needle Minder: This compact 7/8" x 1.25" accessory uses magnetic power to secure your needle mid-project. A needle minder keeps your needle attached to the canvas instead of lost in the couch, which reduces the chance of picking up lint or bending the needle when you retrieve it.
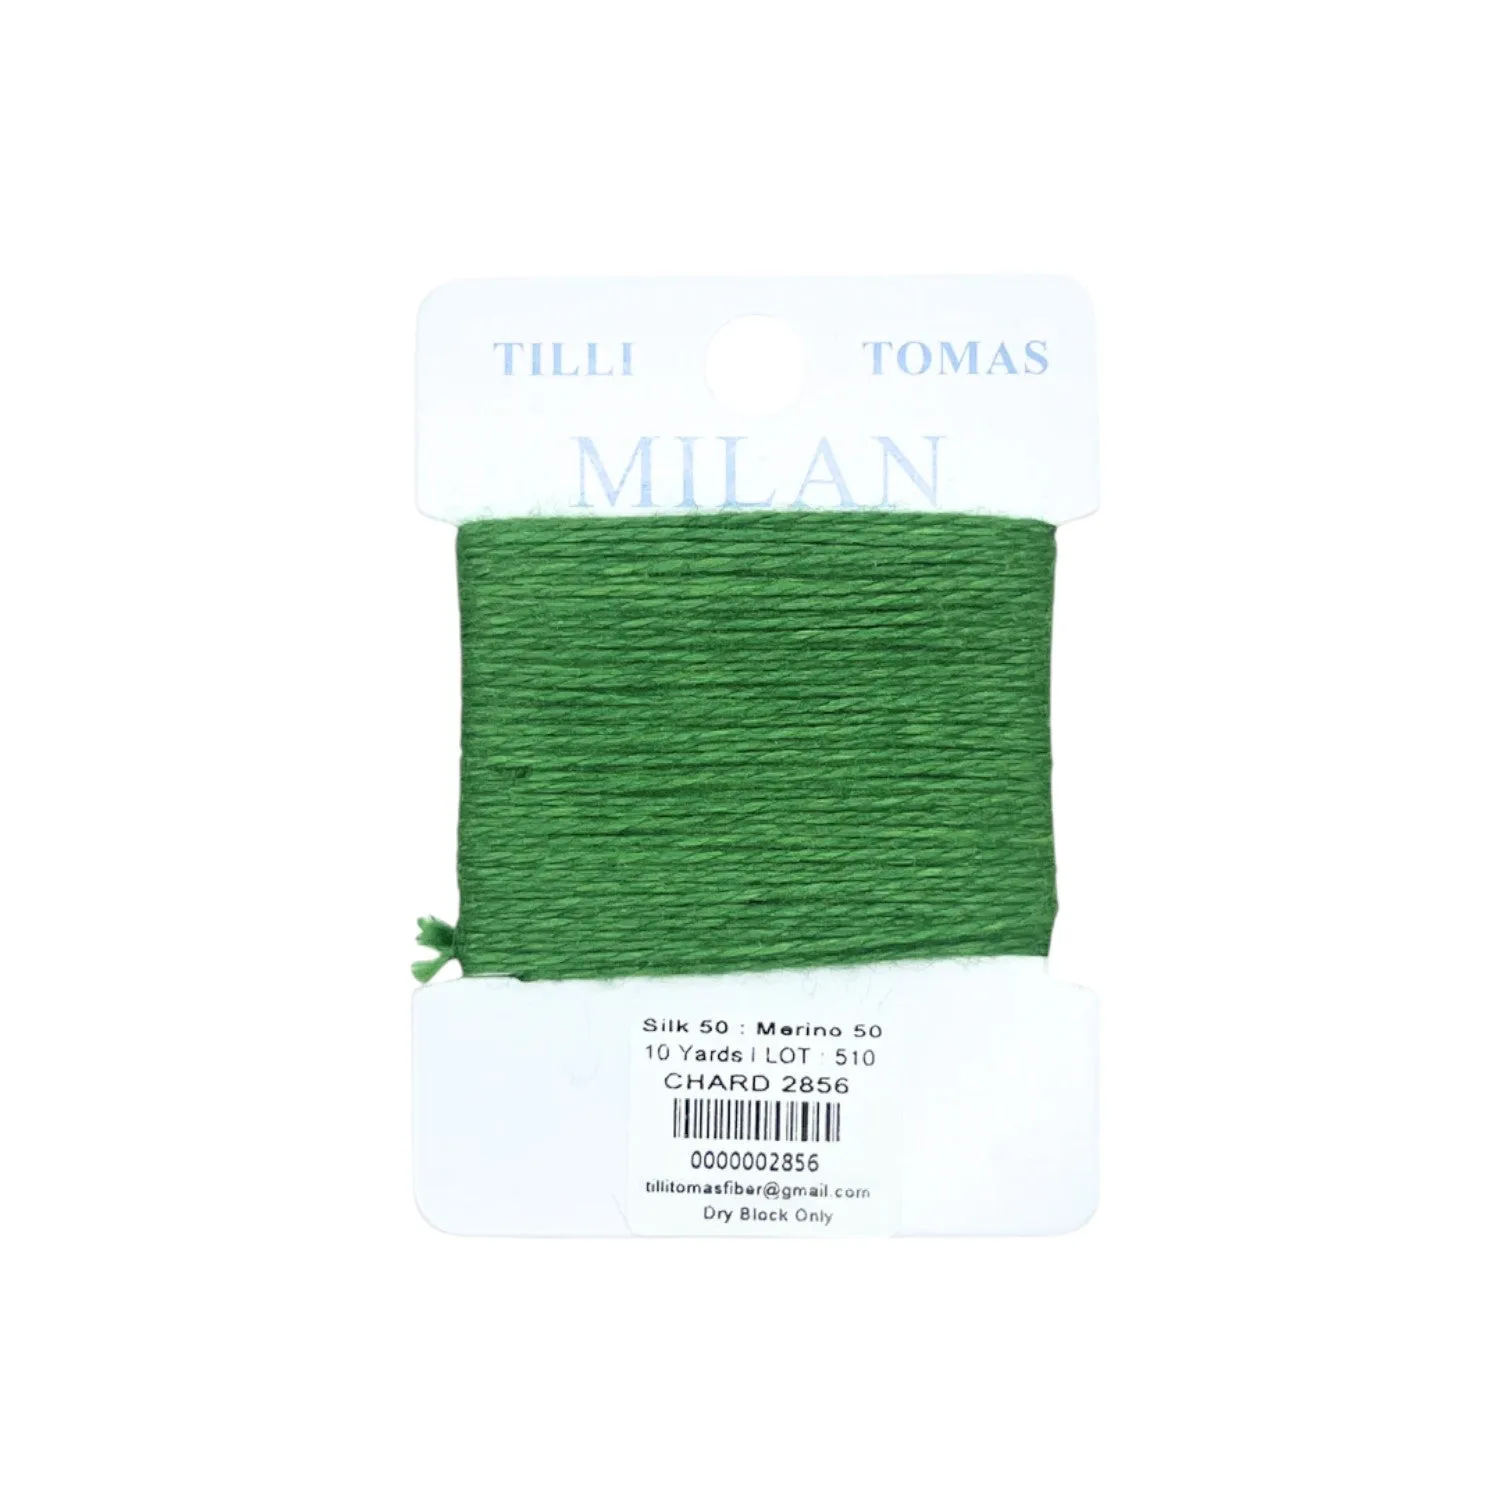
- Milan Card - Chard 2856: Planet Earth Milan Fiber is 50% silk and 50% wool, non-strandable, 10 yards, and suited for 13 or 18 mesh. A non-strandable thread removes the step where strands twist together, which is a common cause of tangles. The silk-wool blend also has enough grip to anchor securely, helping prevent loose stitches.
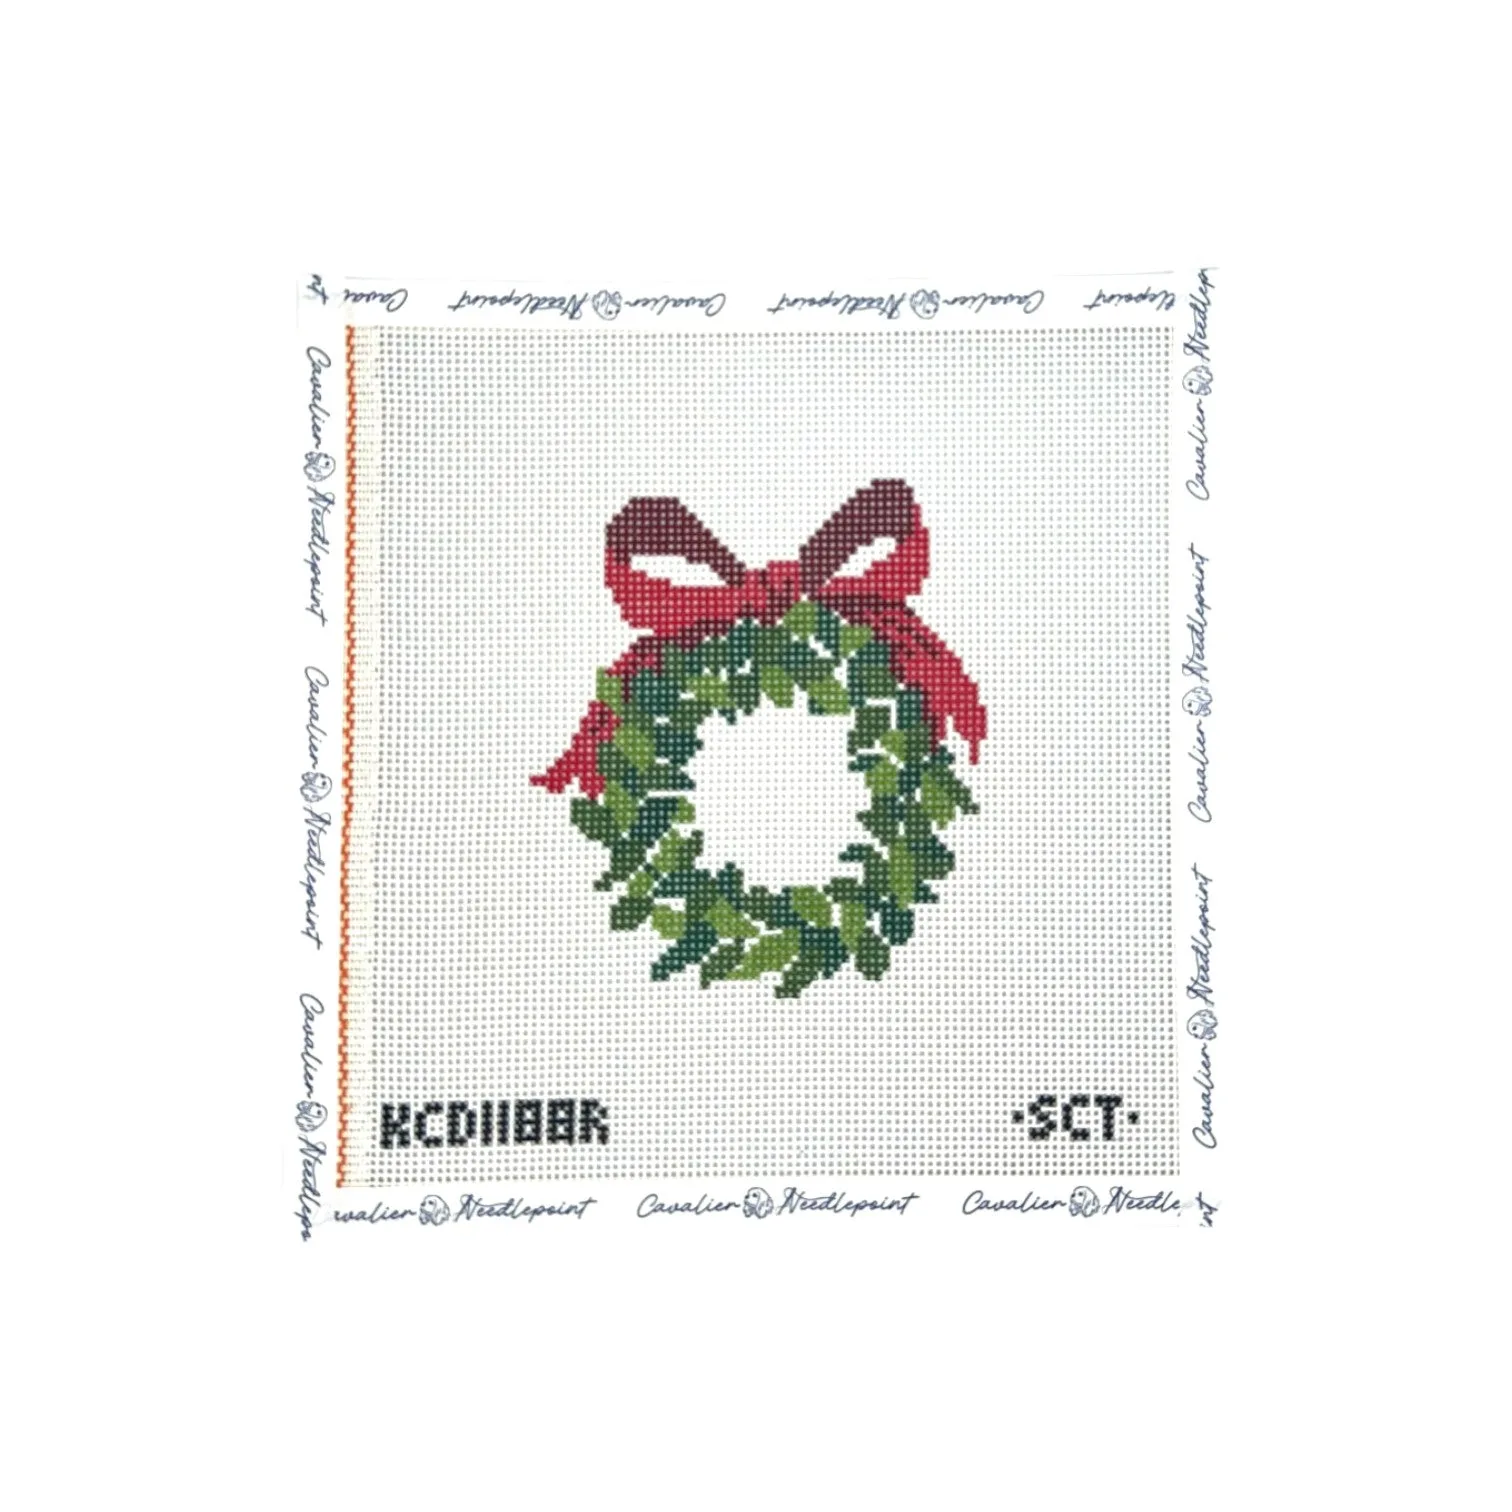
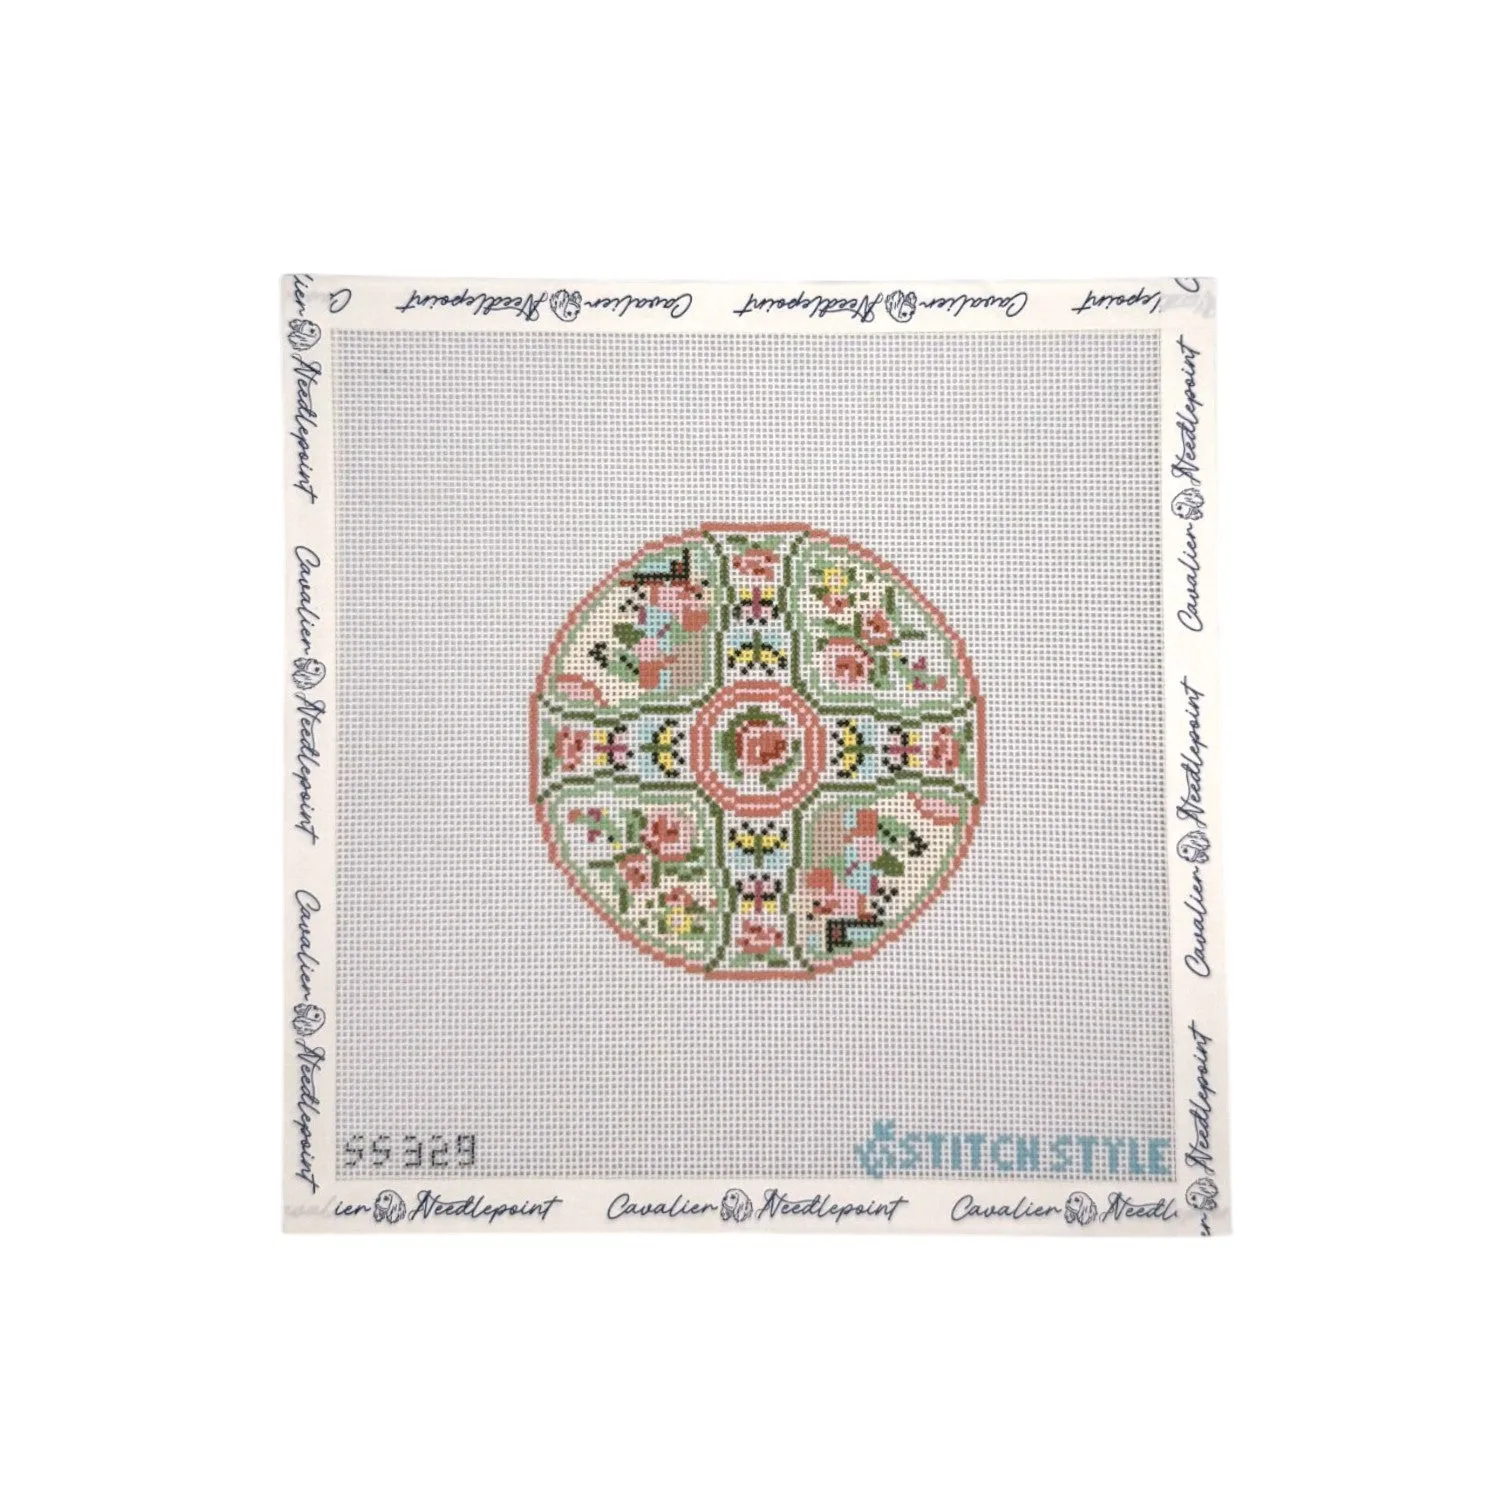
- wreath-blue-a3bc19756317610c724836fc-1483256">Blue Wreath: This is a 13 mesh canvas with a 4.5" x 5" design size, sold as canvas only. On a 13 mesh canvas, tension differences are more visible, so uneven stitches show up quickly. A small design like this is a good practice piece for correcting mistakes before you move to a larger canvas.
Most needlepoint mistakes are small, fixable, and easier to correct early than late. Check your tension, let your thread unwind, and un-stitch when the pattern shifts. If a hole is stretched or thread is frayed, stop and re-stitch with fresh materials. Your finished canvas will look better for it.