Quick Answer
To fix fit issues on third party model kits, start by dry-fitting every part, then sand or shim as needed. For metal frame kits, check the frame alignment before forcing any joint. Work slowly and test each connection before final assembly.
Why Third Party Kits Have Fit Issues
Third party model kits often come from smaller factories with less precise molding than official Bandai kits. This can lead to tight pegs, loose joints, or parts that don't align perfectly. Understanding this helps you expect and solve these issues without frustration.
Metal frame kits add another layer: the frame itself is rigid, so any misalignment in the plastic armor becomes more noticeable. Always test the frame's range of motion before attaching outer parts.
Tools You'll Need
Keep these on hand: a hobby knife, fine sandpaper (400-1000 grit), a small file, plastic cement, and optionally Tamiya Extra Thin. For metal frames, a small screwdriver set is useful if the kit has screws. A cutting mat and good lighting help you see small imperfections.
Step-by-Step Fit Fixing Process
- Dry-Fit Everything First: Assemble the kit without glue or permanent snaps. This reveals which parts are too tight or too loose before you commit. Checkpoint: Mark parts that need adjustment with a pencil.
- Sand Tight Pegs and Joints: Use fine sandpaper (400-600 grit) to gently sand pegs that are too thick. Test fit frequently to avoid over-sanding. Common mistake: Sanding too much can make the joint loose. Go slowly.
- Shim Loose Connections: For parts that are too loose, apply a thin layer of plastic cement or use a piece of tape as a temporary shim. Once dry, test the fit. Checkpoint: The joint should hold firmly but still move.
- Align Metal Frames Before Attaching Armor: If your kit has a metal frame, ensure the frame is fully assembled and moving correctly. Then attach armor pieces, aligning each peg with its slot. Common mistake: Forcing armor onto a misaligned frame can cause stress marks or cracks.
- Use Plastic Cement for Permanent Fixes: For parts that won't stay together, apply a small amount of plastic cement to the peg or socket and hold until set. This creates a permanent bond. Checkpoint: Only use cement after you're sure of the fit.
- Test Pose and Articulation: After assembly, move all joints through their range of motion. If any joint is too stiff or too loose, adjust the peg or socket with sanding or shimming. Final check: The kit should hold poses without sagging or popping apart.
Products Mentioned
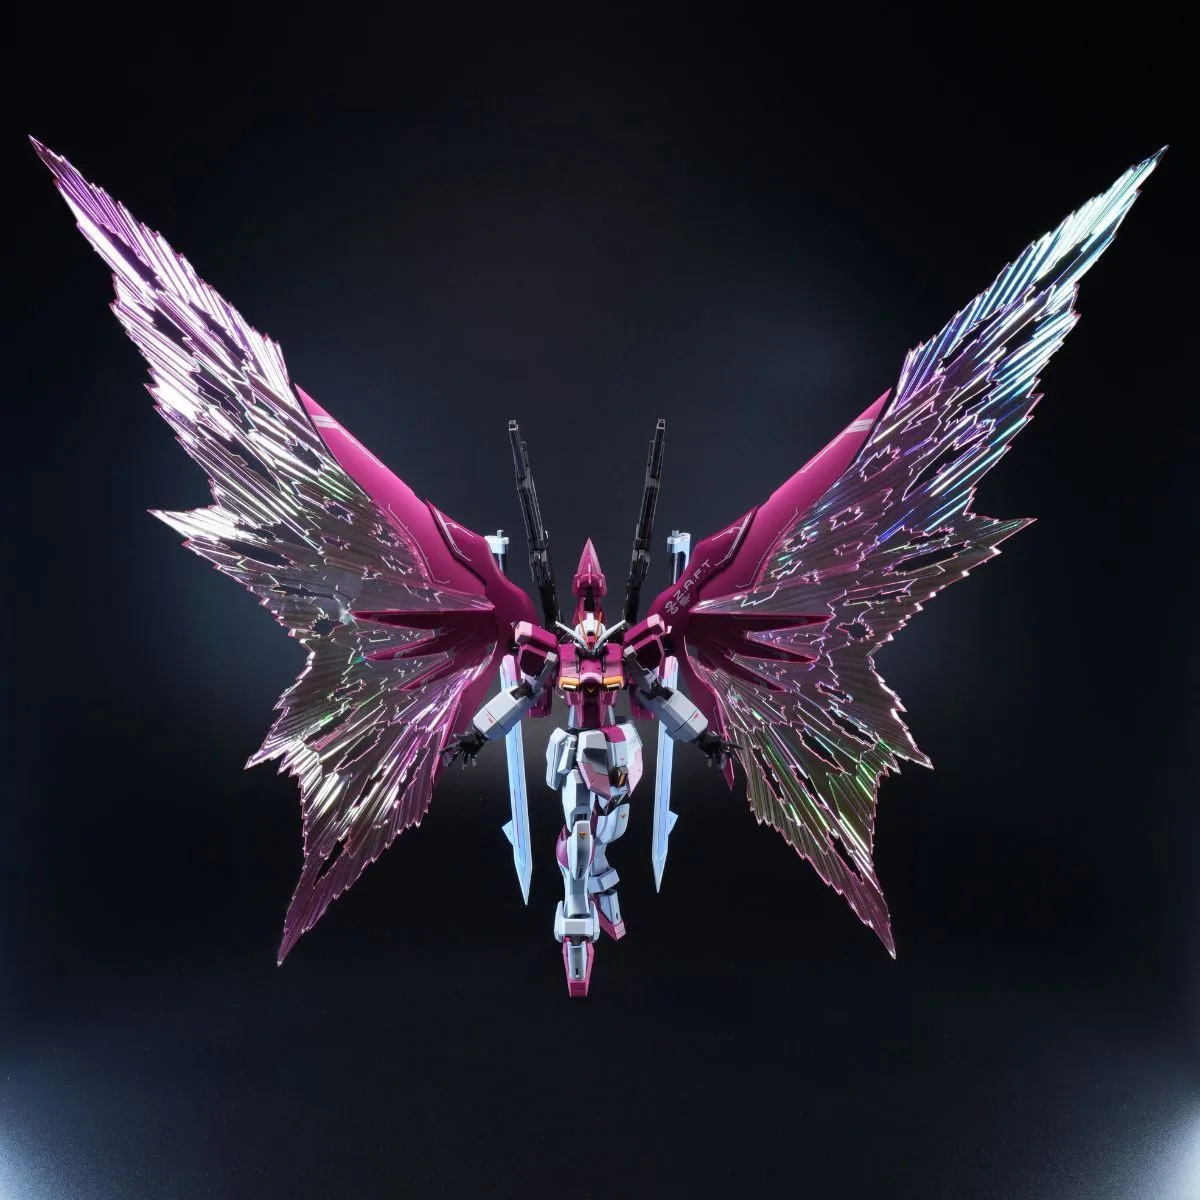
- KMR Metal Robot Spirits Style 1/144 Metal Frame Regenes Destiny Impulse Gundam Model Kit (Third Party): KMR Metal Robot Spirits Style 1/144 Metal Frame Regenes Destiny Impulse Gundam Model Kit is a third-party offering with a detailed metal-frame interpretation in 1/144 scale. When assembling this kit, pay extra attention to the metal frame alignment before attaching armor pieces to avoid forcing parts.