If you collect Super7 figures, you know the thrill of unboxing a new ULTIMATES! or ReAction figure. But over time, even the best figures can develop loose joints, making it hard to hold a pose or display them properly. Whether it's a wobbly arm on your Teenage Mutant Ninja Turtles ULTIMATES! Wave 13 - Shredder or a floppy leg on a classic ReAction figure, loose joints are a common issue that can be fixed at home with a few simple techniques.
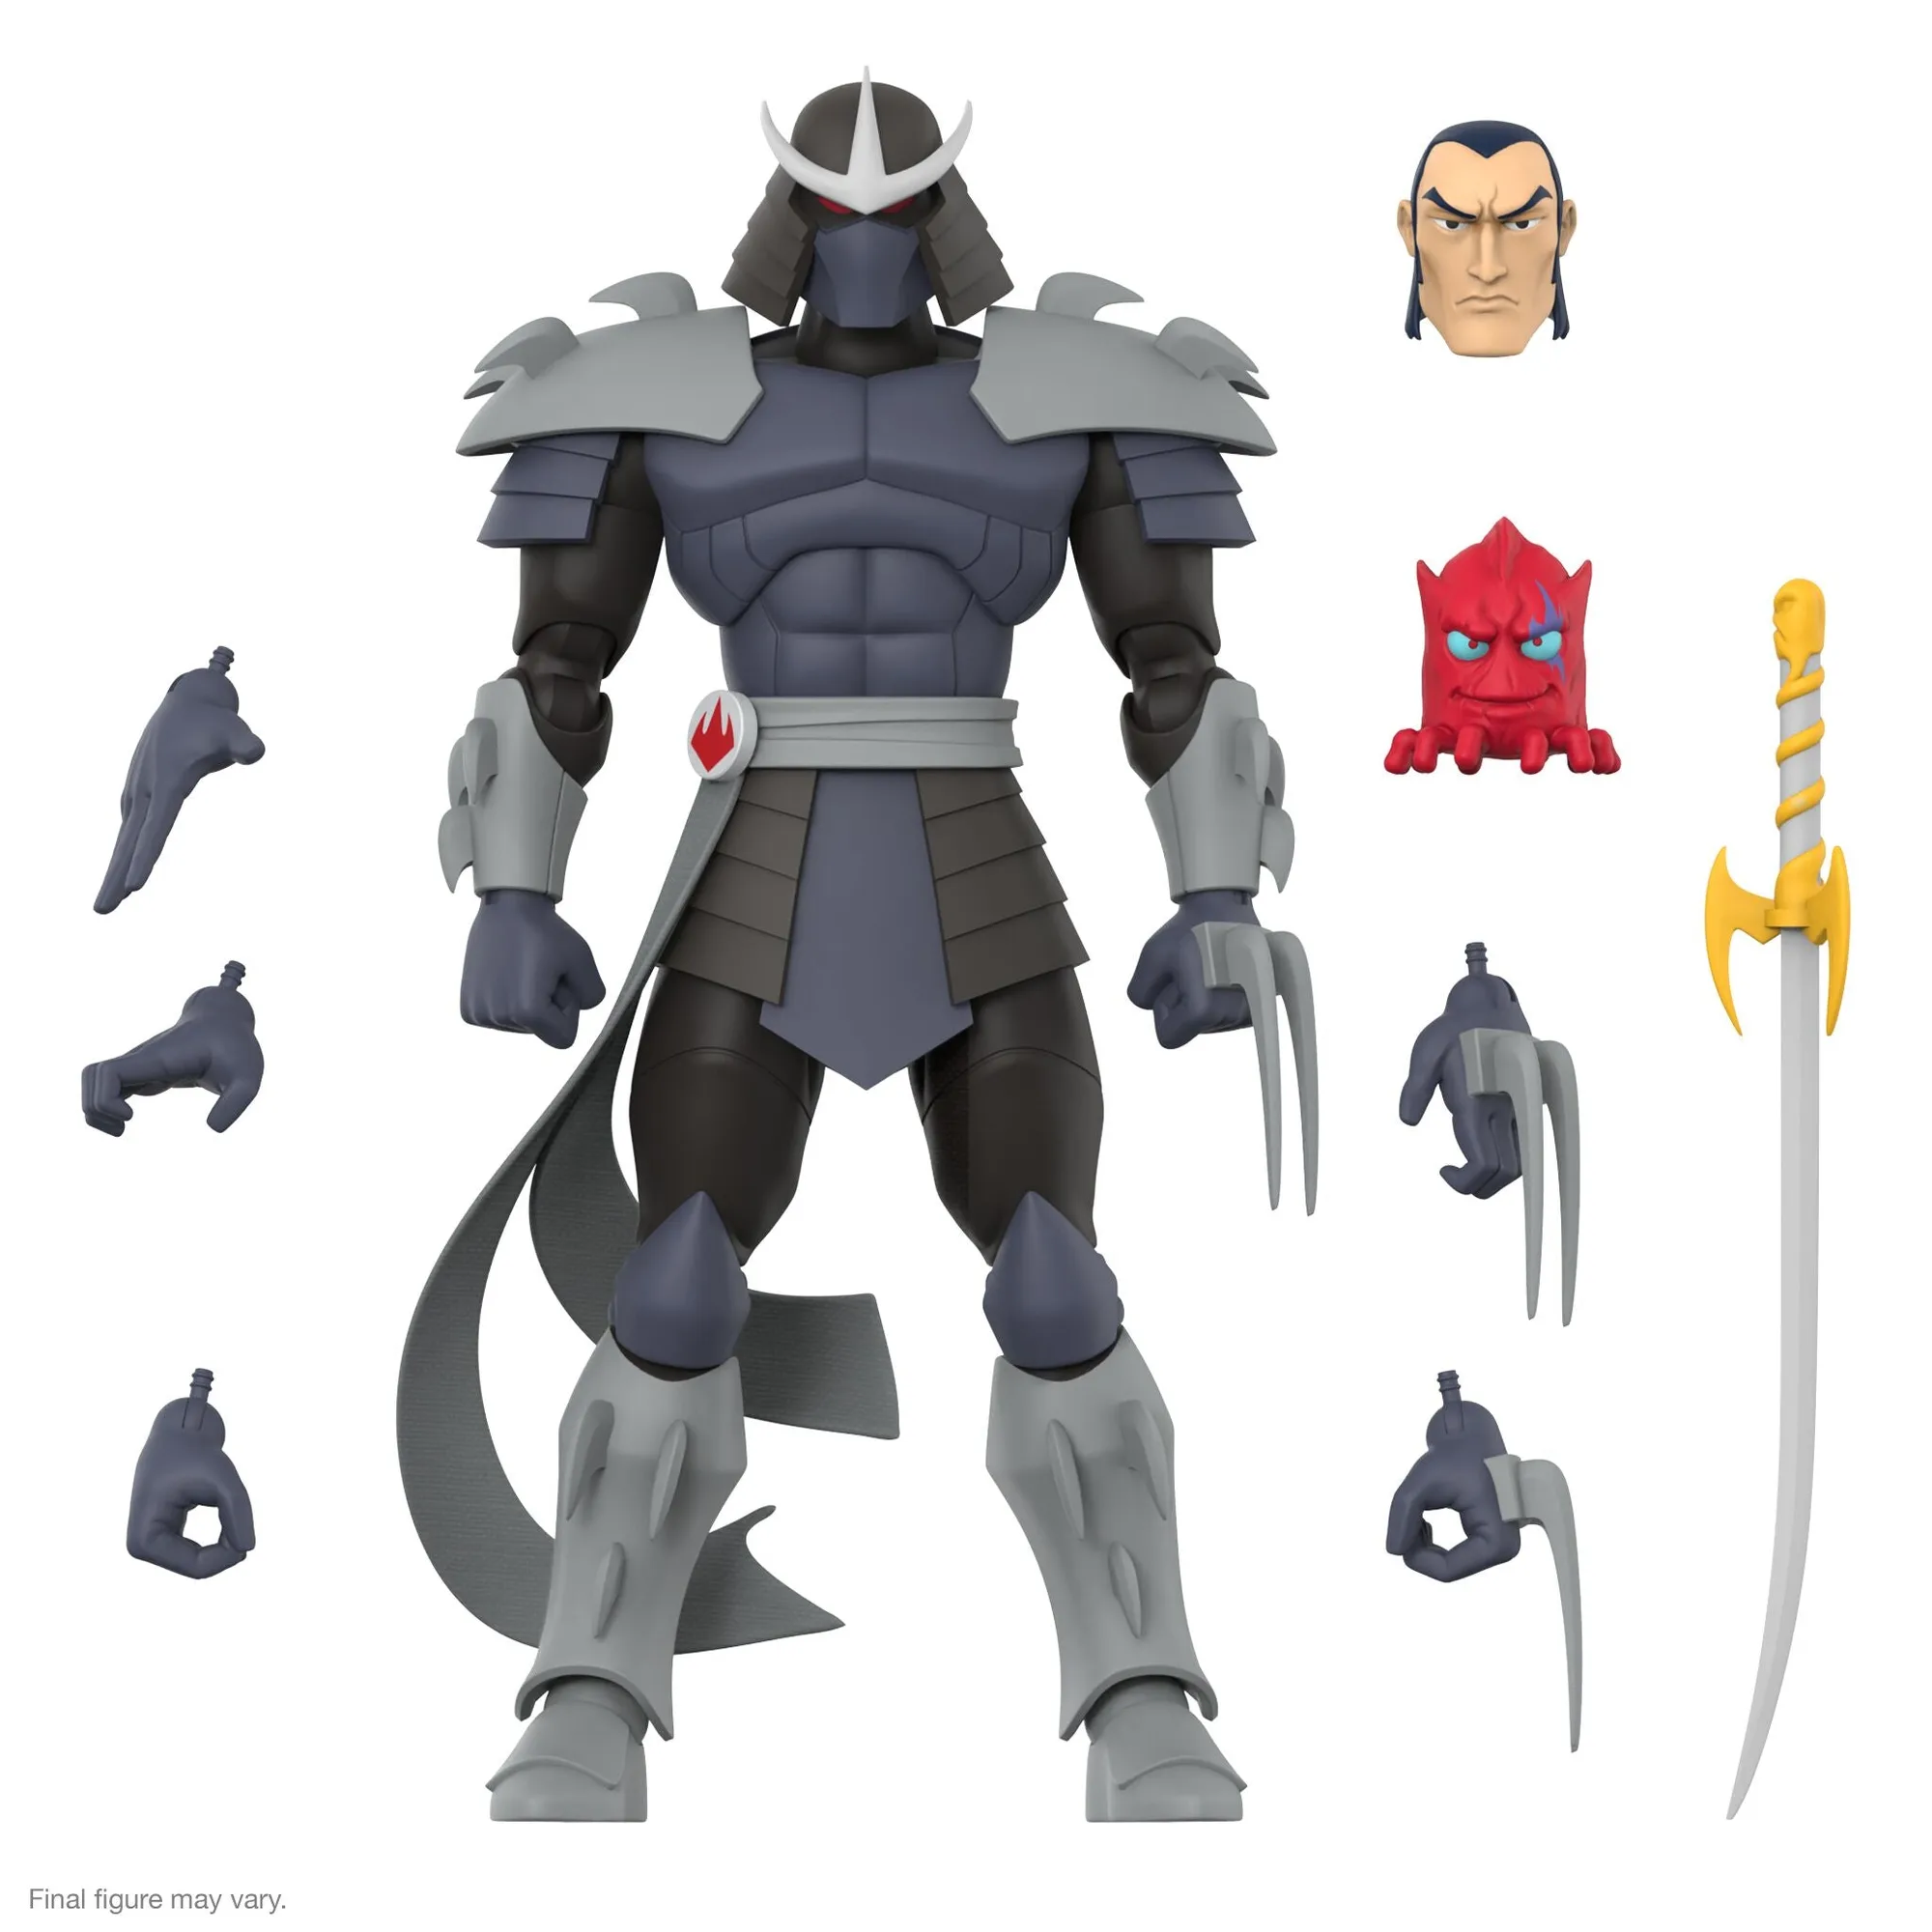
Teenage Mutant Ninja Turtles ULTIMATES! Wave 13 - Shredder
In this guide, we'll walk you through the causes of loose joints, the tools you'll need, and step-by-step methods to tighten them safely. You'll learn how to restore your figures to their former glory without causing damage, so you can keep your collection looking sharp on the shelf.
Why Do Super7 Figures Develop Loose Joints?
Super7 figures, especially the highly articulated ULTIMATES! line, are designed for poseability. However, repeated handling, play, or even just standing on a shelf can cause the joints to loosen over time. The plastic pegs and sockets that hold the limbs in place can wear down or stretch, leading to that frustrating wobbly effect.
Environmental factors also play a role. Temperature changes and humidity can affect the plastic, causing it to expand or contract slightly. Additionally, some figures are more prone to loose joints due to their design or the materials used. Understanding why joints loosen helps you choose the right fix and prevent future issues.
- Frequent posing and repositioning
- Plastic wear and tear over time
- Exposure to heat or cold
- Naturally looser tolerances in certain figures
Tools and Materials You'll Need
Before you start, gather the right supplies. Most fixes require simple household items, but for best results, you might want to invest in a few specialty tools. Here's what we recommend having on hand:
The most common method involves applying a thin layer of a joint-tightening solution, such as floor polish or clear nail polish, to the joint peg. You'll also need a small brush or toothpick for precise application. For more stubborn joints, a heat source like a hairdryer can help soften the plastic, and a small screwdriver may be needed if your figure has screws.
- Floor polish (e.g., Pledge) or clear nail polish
- Toothpicks or small brushes
- Hairdryer (for heat method)
- Small screwdriver (for disassembly)
- Cotton swabs and rubbing alcohol for cleaning
Method 1: The Floor Polish Trick (Best for Ball Joints)
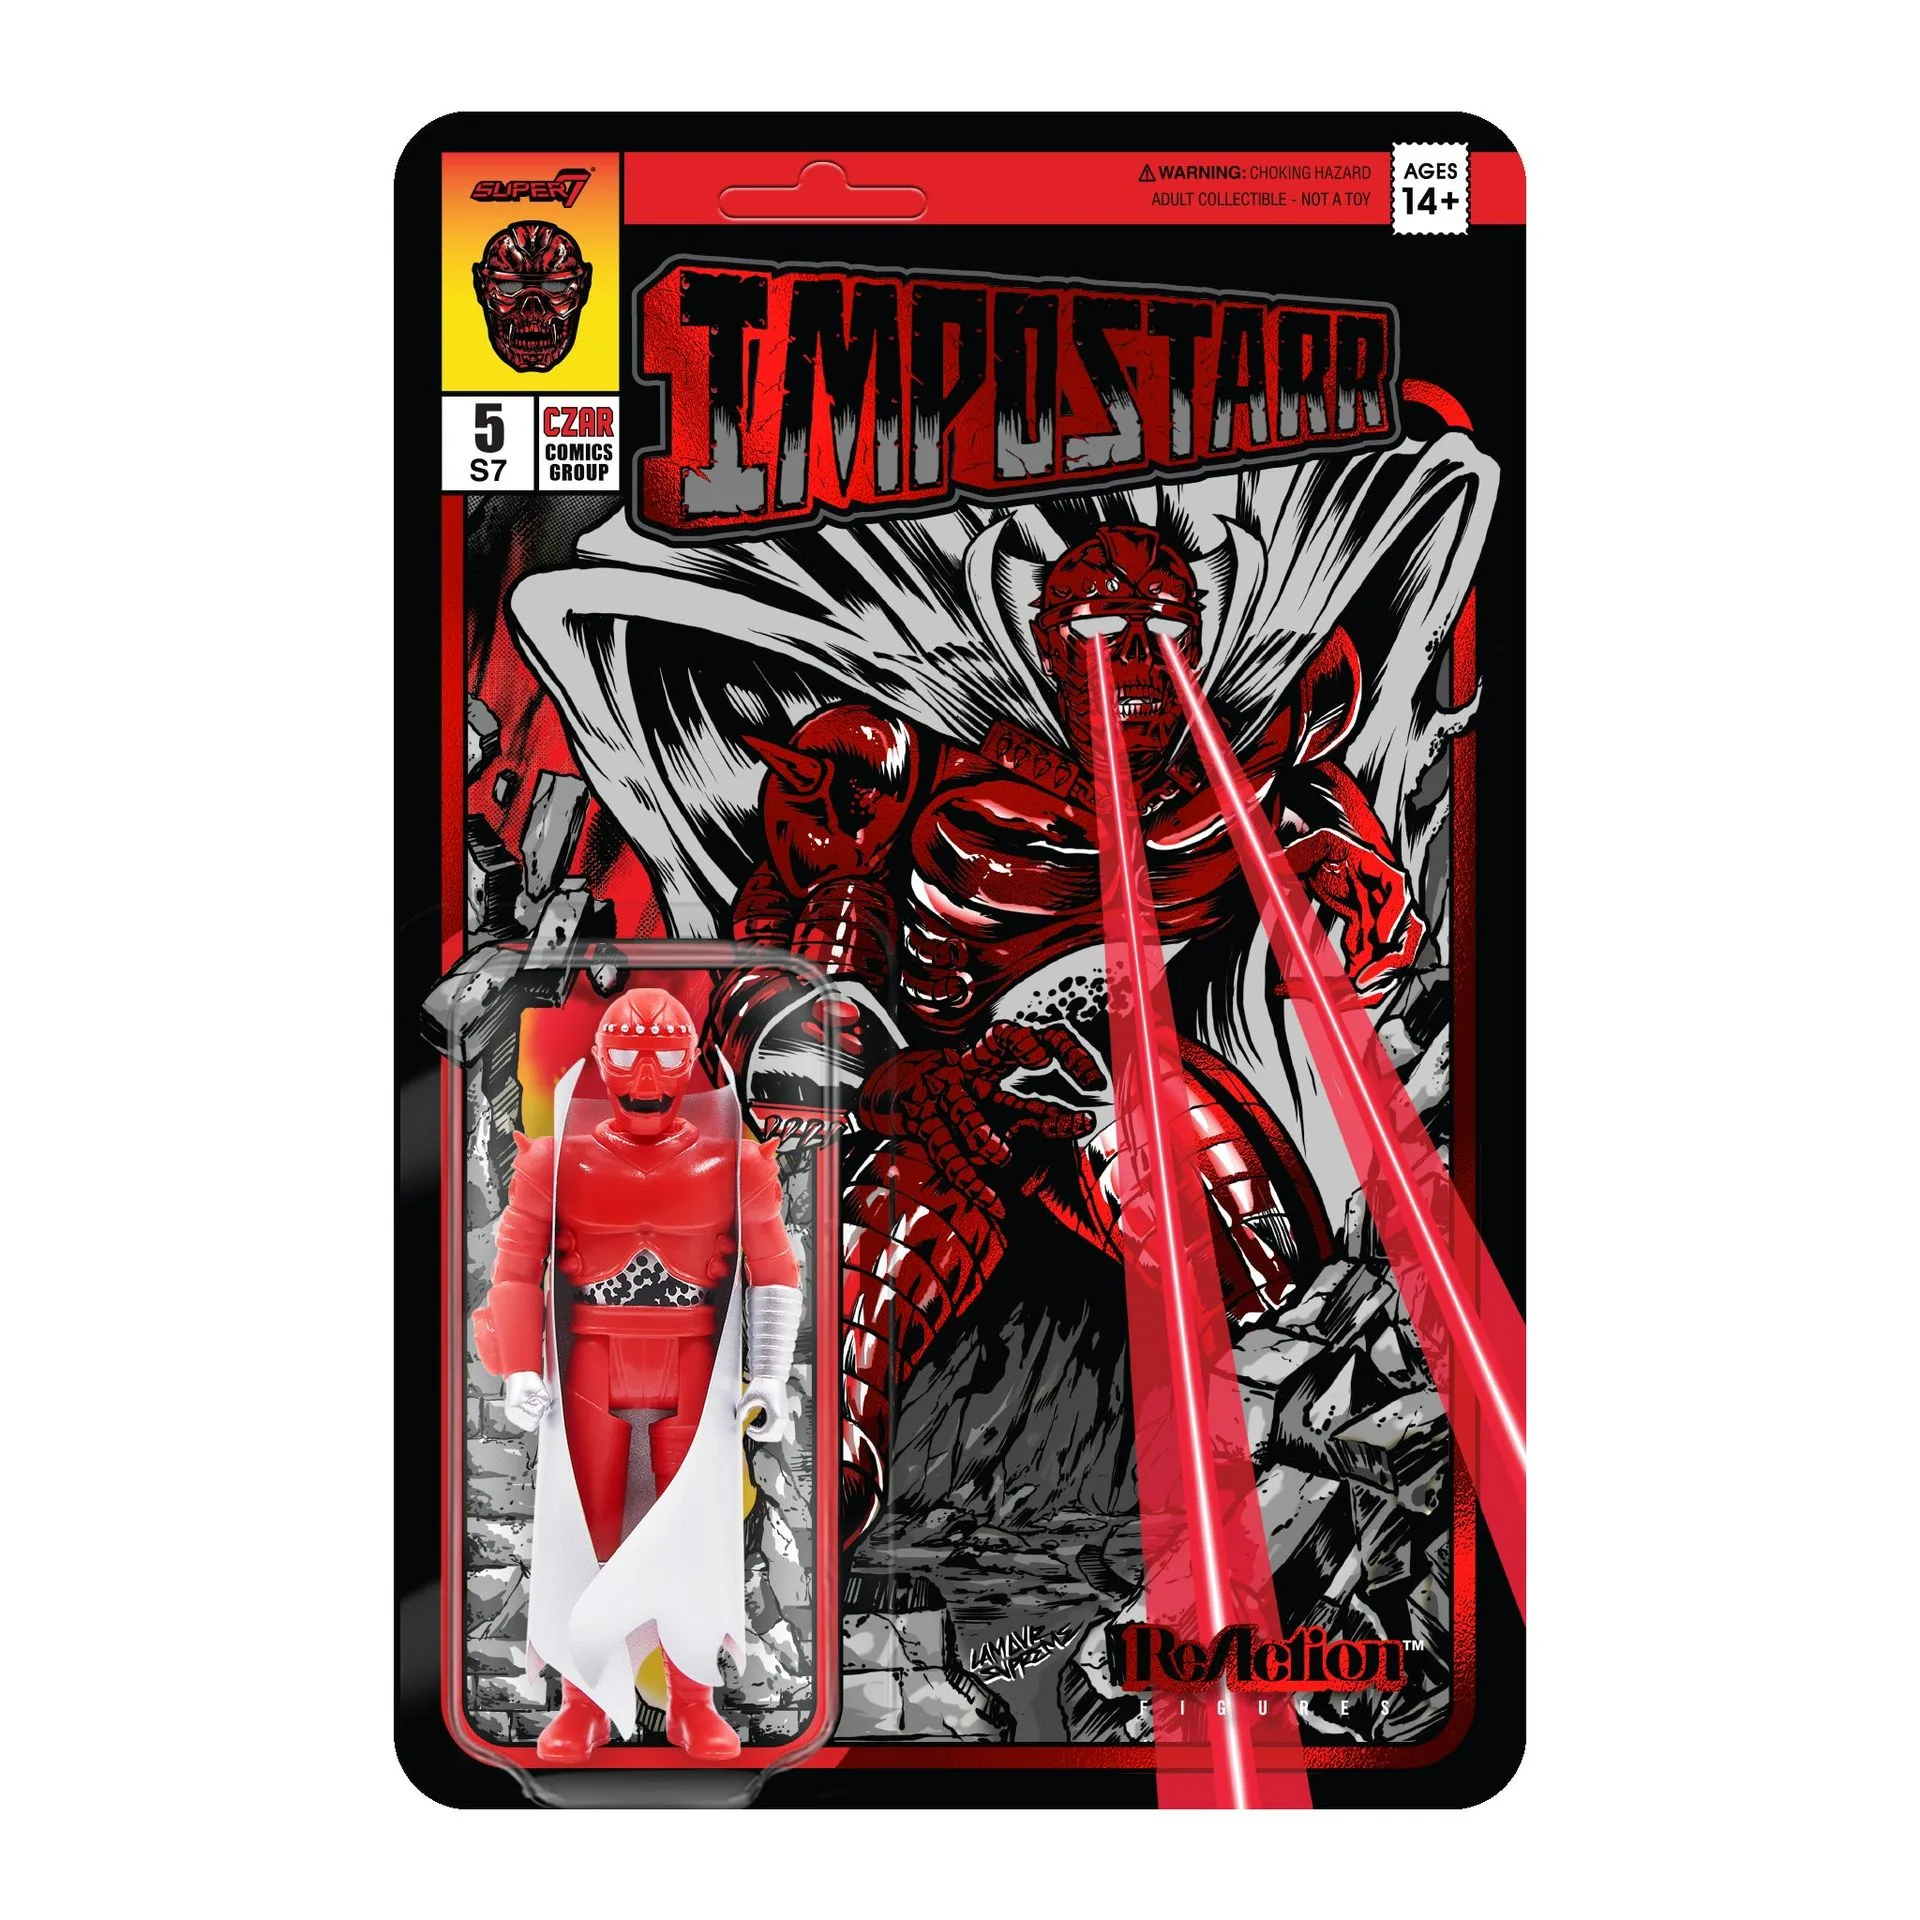
This is the most popular and effective method for tightening loose ball joints on Super7 figures. It works by adding a thin layer of polish to the ball, increasing friction and snugging the joint back up. It's perfect for figures like the https://super7gf.com/products/czarface-reaction-figure-czarface-impostarr-401630Czarface ReAction Figure - Czarface (Impostarr) or any ULTIMATES! figure with shoulder or hip joints.
Start by separating the joint if possible, or carefully apply the polish to the ball joint without disassembling. Use a toothpick to apply a very thin coat—you don't want excess polish to run and dry on other parts. Allow it to dry completely (usually 30–60 minutes) before reassembling or moving the joint. Test the movement; if it's still loose, apply another thin coat.
- Always use a thin coat—you can add more later.
- Let the polish dry fully before testing to avoid smearing.
- If the joint is still loose after two coats, consider the heat method.
Method 2: The Heat-and-Cool Technique (For Stubborn Joints)
For joints that are extremely loose or have become deformed, the heat method can help reshape the plastic. This works well on figures with pin joints or where the socket has stretched. You'll need a hairdryer and some patience.
Apply gentle heat to the joint area for 20–30 seconds, keeping the dryer moving to avoid melting the plastic. Once the plastic is slightly soft, press the joint together firmly and hold it in place while it cools. You can also run it under cold water to speed up cooling. This method can tighten the fit by shrinking the socket slightly, but be careful not to overheat.
- Keep the hairdryer moving to avoid hot spots.
- Don't apply heat for more than a few seconds at a time.
- Test the joint after cooling; repeat if necessary.
Method 3: Disassembly and Internal Adjustment
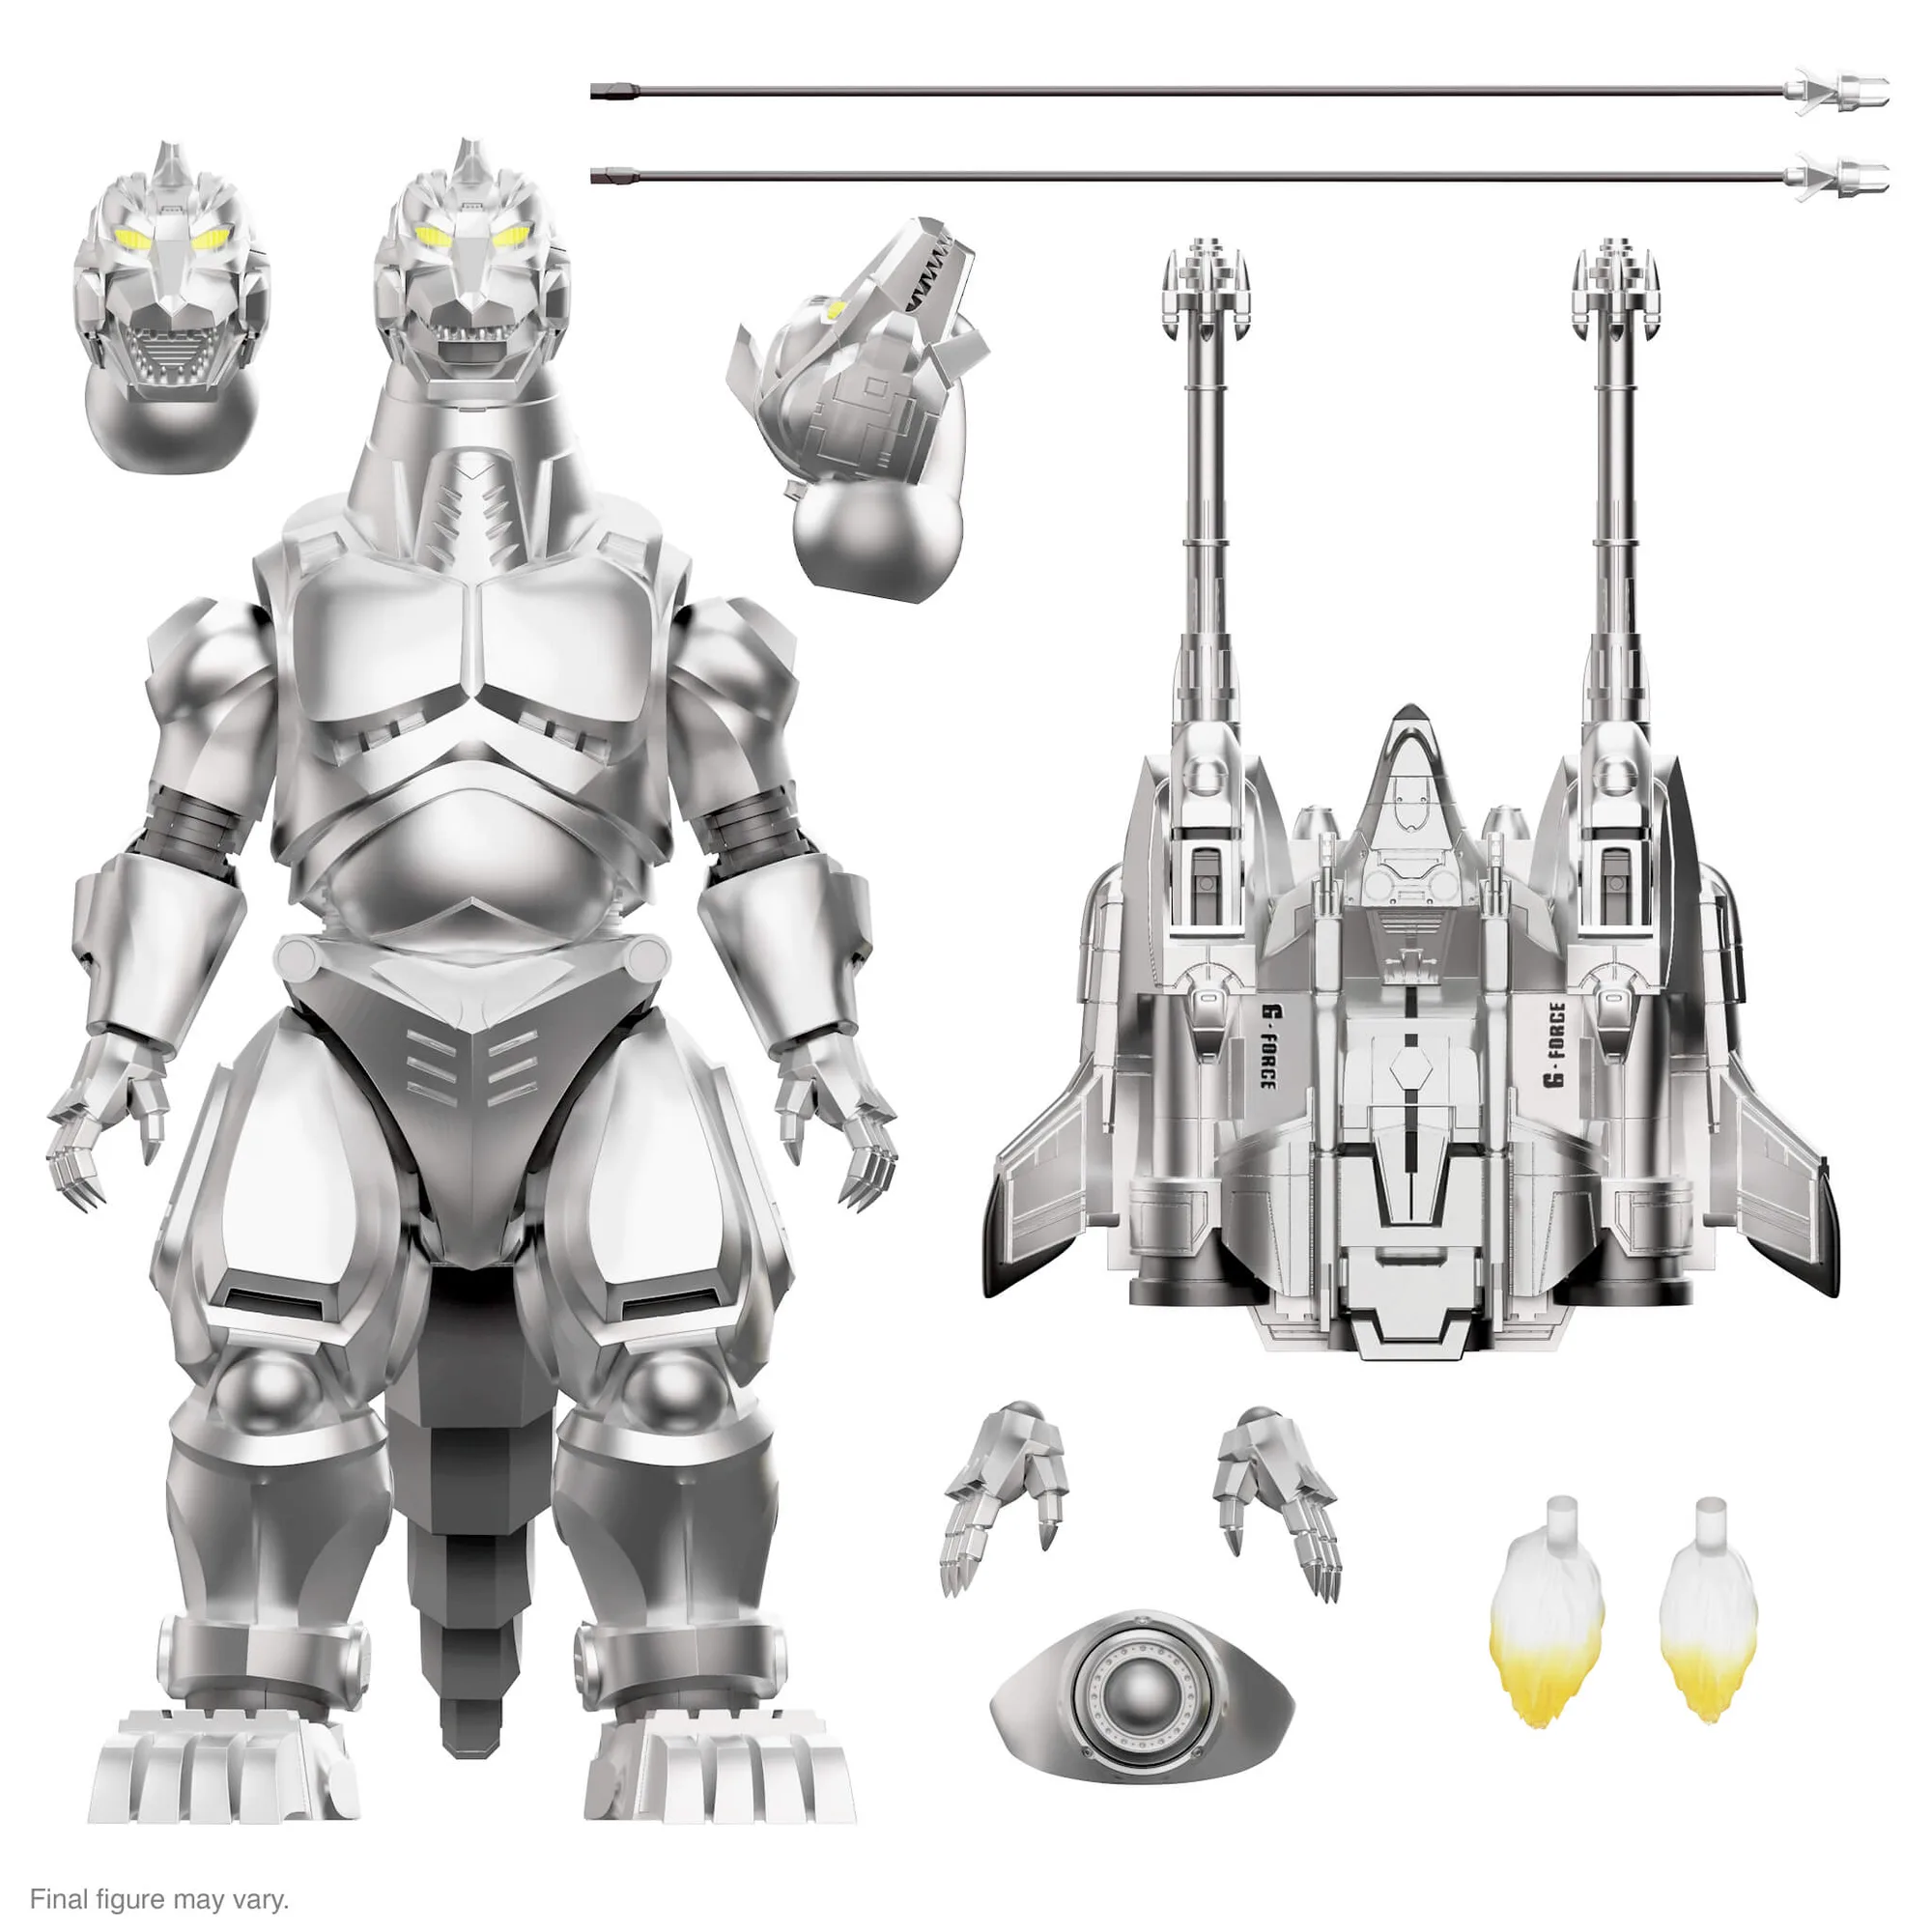
Some Super7 figures, especially ULTIMATES! figures, have screws that allow you to disassemble them for deeper repairs. This method is more invasive but can be very effective for joints that are loose due to a worn peg or socket. It's ideal for figures like the Toho ULTIMATES! Wave 2 - HeiSei MechaGodzilla, where you might want to tighten the hip or shoulder joints without visible external fixes.
Using a small screwdriver, carefully remove the screws from the figure's back or limbs. Keep track of the screws and any small parts. Once open, you can apply a small amount of epoxy or super glue to the peg to increase its diameter, or you can add a thin layer of plastic wrap or tape inside the socket for a tighter fit. Reassemble and test.
- Work on a clean, flat surface to avoid losing small parts.
- Use a precision screwdriver that fits the screws perfectly.
- Apply adhesive sparingly—you don't want it to leak out.
Preventive Care: Keeping Joints Tight Longer
Once you've fixed your figures, you'll want to keep them in top condition. Proper storage and handling can prevent joints from loosening again. Avoid leaving figures in direct sunlight or extreme temperatures, as these can warp plastic. Dusting regularly with a soft brush or cloth helps prevent grit from getting into joints and causing wear.
When posing your figures, handle them gently and support the limbs when bending. Avoid forcing a joint past its intended range of motion. For display, consider using stands to reduce stress on the legs, especially for heavier figures. With a little care, your Super7 collection will stay poseable for years.
- Store figures in a cool, dry place away from direct sunlight.
- Use display stands for heavy figures to reduce joint strain.
- Clean joints occasionally with a dry cotton swab to remove dust.
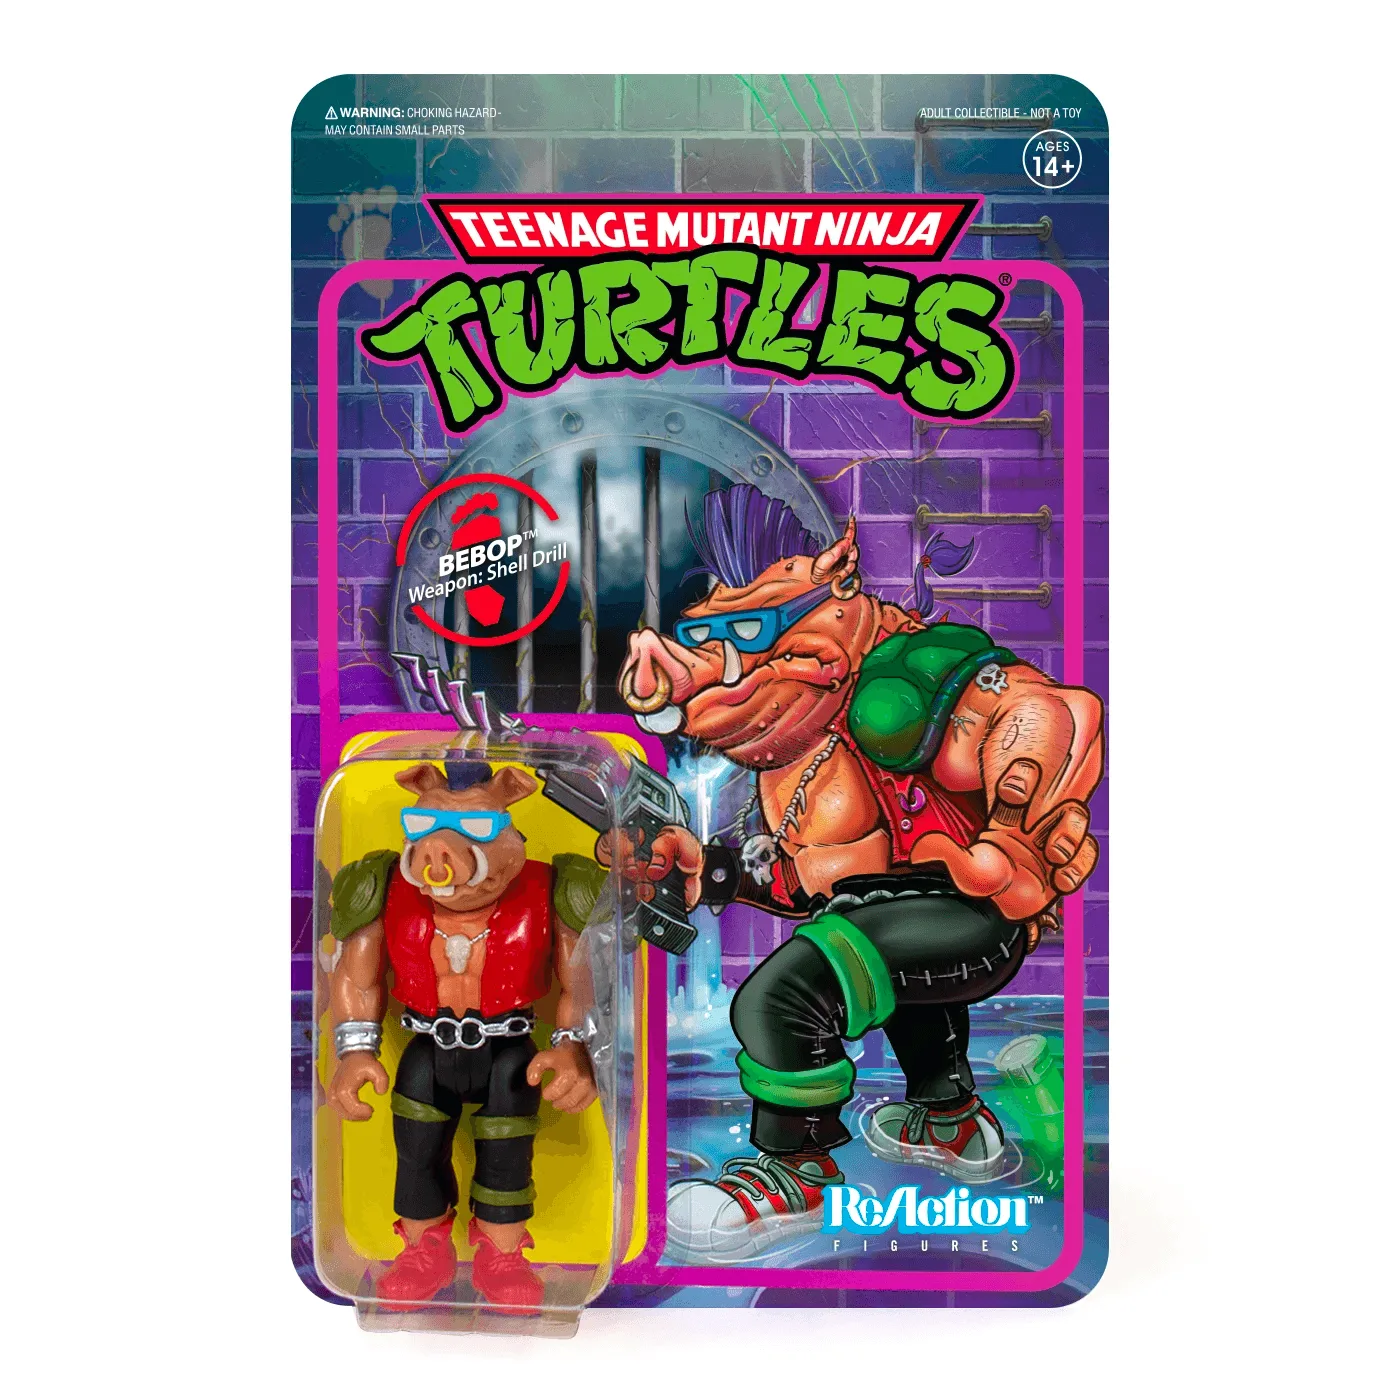
Fixing loose joints on your Super7 figures is a simple DIY task that can save you from frustration and keep your collection looking its best. Whether you're tightening a ball joint on a ReAction figure or adjusting a complex ULTIMATES! figure, these methods are safe and effective. Remember to start with the least invasive method and work your way up. If you're looking to add new figures to your collection, check out the latest arrivals at Super7, like the Teenage Mutant Ninja Turtles ReAction Figure - Bebop, and keep your display dynamic. Happy collecting!