Quick answer
To frame a movie poster without damaging it, use archival materials: acid-free backing, UV-filtering glazing, and photo-safe mounting corners. Avoid dry mounting or trimming. Handle the poster with clean cotton gloves and keep it flat until framing.
Why archival framing matters
Movie posters are printed on paper that reacts to light, moisture, and acids over time. Non-archival mats and backings can cause yellowing, brittleness, and permanent stains. UV-filtering glazing blocks most harmful light, while acid-free materials prevent chemical degradation. This is especially important for limited-edition screenprints, where ink layers can be sensitive to abrasion and light.
Handling your poster safely
Before framing, wash and dry your hands or wear clean cotton gloves. Work on a clean, flat surface covered with a soft, lint-free cloth. Avoid touching the printed area directly; oils from skin can etch into ink over time. If the poster has been rolled, let it relax flat for a few hours or overnight before attempting to frame it.
Choosing the right frame and materials
Select a frame that fits the poster's exact dimensions. For standard sizes like 24x36 inches, ready-made frames are common, but custom frames ensure a proper fit for odd sizes. Look for frames with a removable backing so you can access the poster without bending it. The glazing should be acrylic or glass with a UV-filtering coating; acrylic is lighter and safer for large posters.
Mounting without adhesives
Never use tape, glue, or dry mounting on a collectible poster. Instead, use archival photo corners or mounting strips that hold the poster by its edges. These allow the paper to expand and contract with humidity changes without buckling. If the poster is oversized, consider using a backing board slightly larger than the poster to support it fully.
Step-by-step framing process
Follow these steps in order to avoid common mistakes. Each step includes a checkpoint to ensure the poster remains undamaged.
Hanging and long-term care
Hang the framed poster away from direct sunlight, heat sources, and damp walls. Use two hooks or a French cleat for large frames to distribute weight evenly. Check the frame periodically for condensation or pests. If you need to move the poster, remove it from the frame and store it flat in an acid-free portfolio.
Step-by-step framing without damage
- Prepare a clean workspace: Clear a large table and cover it with a clean, soft cloth. Wash hands or put on cotton gloves. Unroll the poster and let it flatten under light weights for a few hours. Checkpoint: The poster lies flat without curling at the edges.
- Measure and select archival materials: Measure the poster's exact dimensions. Choose an acid-free backing board and mat (if used) that exceed the poster size by at least 1 inch on each side. Select UV-filtering acrylic or glass. Common mistake: Using standard foam board, which is not acid-free and can damage the poster over time.
- Mount with photo corners: Place the poster face-up on the backing board. Attach archival photo corners to each corner, securing them to the backing board, not the poster. Ensure the poster is centered and not stretched. Checkpoint: The poster is held securely but can still shift slightly if nudged.
- Assemble the frame: Clean the glazing inside and out. Place the glazing over the poster, then the frame. Secure the backing with flexible points or turn buttons, not staples that can puncture the poster. Common mistake: Over-tightening the frame, which can warp the poster or crack the glazing.
- Hang safely: Install two hooks or a French cleat rated for the frame's weight. Hang on an interior wall away from direct sun, heat, and moisture. Use bumpers on the bottom corners to allow air circulation. Checkpoint: The frame hangs level and flush against the wall.
Poster examples and framing considerations
- C-3PO: C-3PO poster by Kevin Tong, part of the https://mondoghc.com/products/star-wars-407501Star Wars archive collection, 2016. Limited edition of 325 prints. Large format: 36 inches high by 24 inches wide. Its large size requires a sturdy frame and careful handling to avoid bending or creasing.
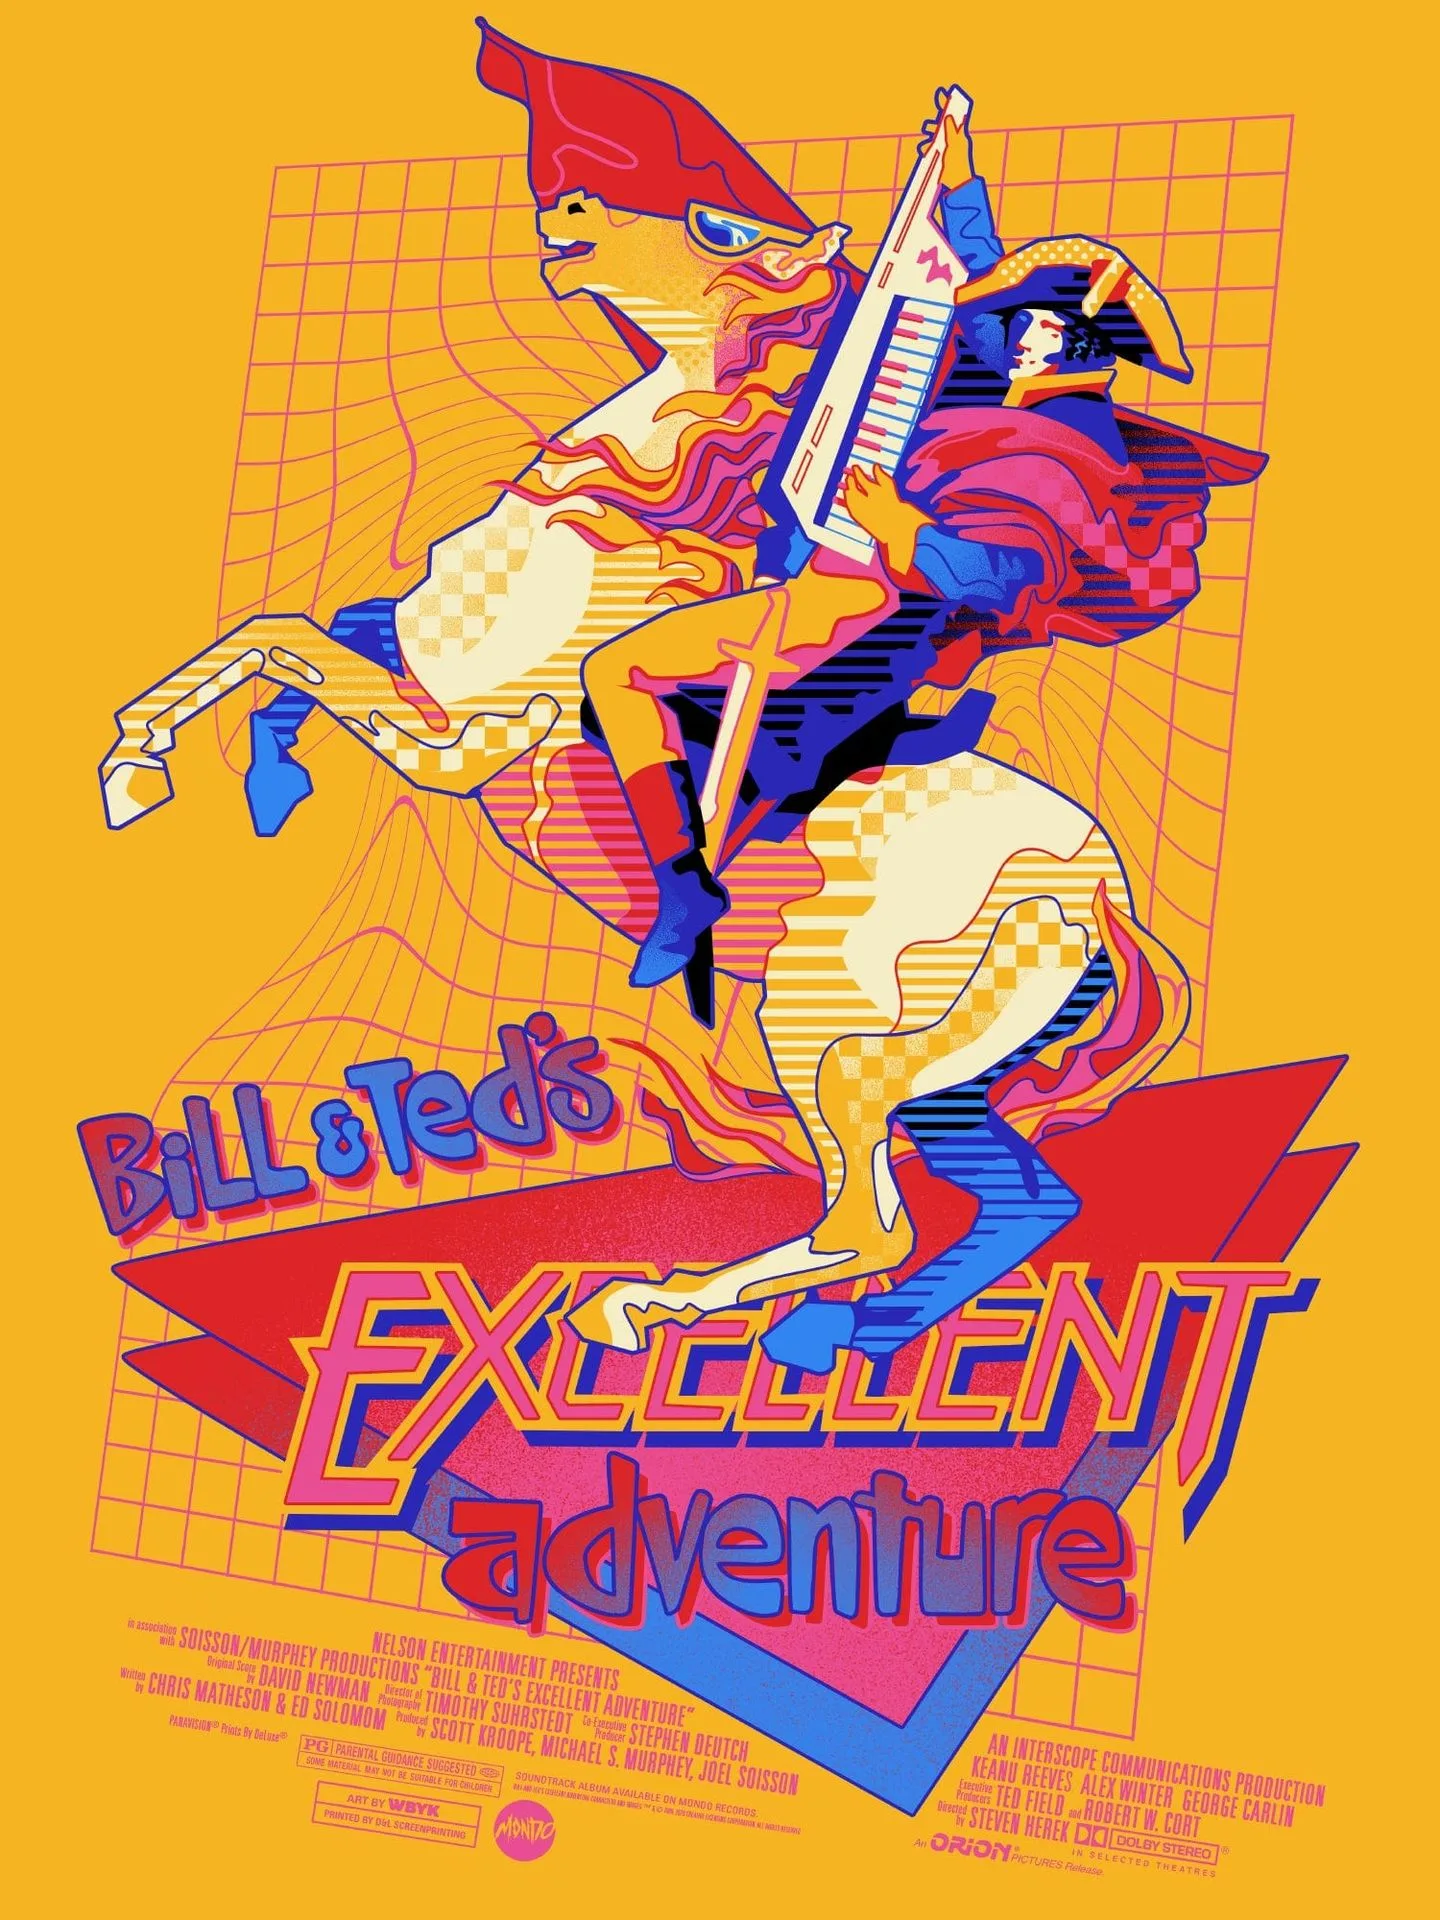
- Bill & Ted's Excellent Adventure Poster: Bill & Ted's Excellent Adventure Poster: 6-color screenprint on French Pop-Tone Lemon Drop. Edition size 175. Height 24 inches, width 18 inches. Printer: Lady Lazarus. The screenprint's ink layers can be sensitive to abrasion, so use photo corners and avoid pressure mounting.
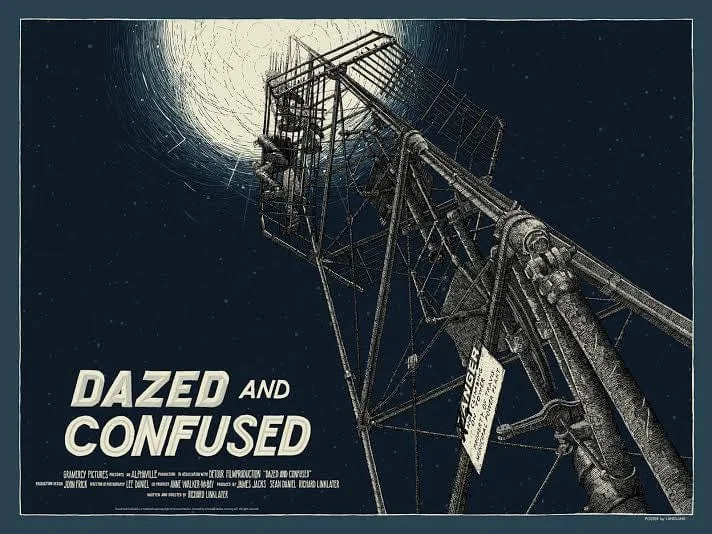
- Dazed and Confused: https://mondoghc.com/products/dazed-and-confused-poster-406121Dazed and Confused poster: hand numbered screen print. Edition size 325. Height 36 inches, width 24 inches. Printer: DL Screenprinting. Part of 'No Longer / Not Yet: A Tribute to Richard Linklater' gallery show. Hand-numbered editions benefit from archival framing to preserve provenance and condition.