Quick answer
Frame uncut sheets with a rigid acid-free backing board cut at least 1 inch larger than the sheet on all sides, and mount the sheet using photo corners or a hinging method—never tape or glue. Hang the frame on two wall anchors rated for at least twice the total weight, keeping it out of direct sunlight to prevent foil fading.
Choose the right frame size and materials
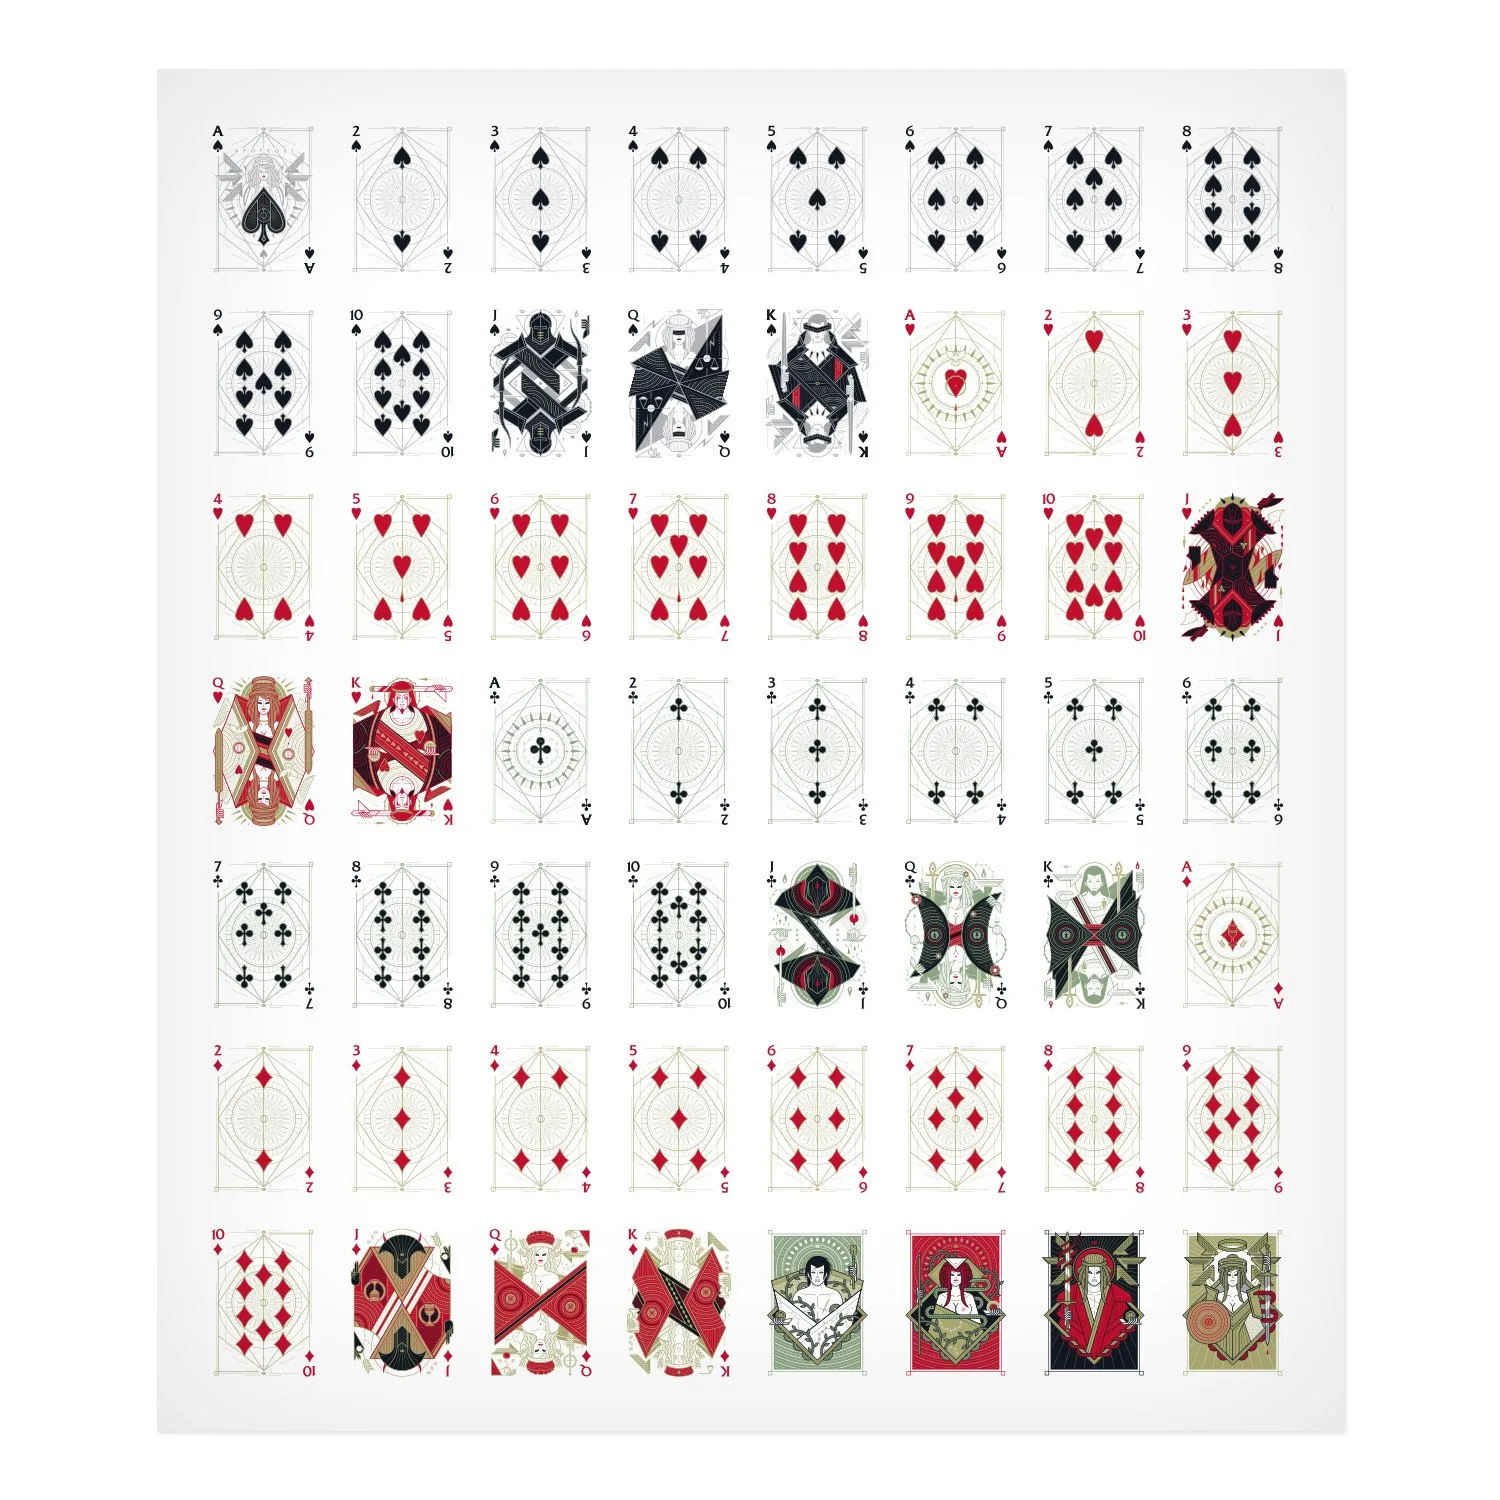
Measure your uncut sheet precisely. Standard uncut sheets vary by manufacturer, so a frame that fits one brand may not fit another. Add at least 2–4 inches to both dimensions to create a visual border and allow for safe mounting. For example, if your sheet is 22 x 28 inches, look for a frame with a 26 x 32 inch opening.
Use a frame with acid-free matting and UV-filtering glazing (glass or acrylic). Acidic materials can yellow the sheet over time, and UV glazing slows ink and foil fading. Avoid cheap frames with cardboard backing; they off-gas and cause damage.
Mount the sheet without adhesives
Never use tape, glue, or spray adhesive directly on the sheet. Instead, use archival photo corners or a hinging technique with Japanese paper and wheat starch paste. Photo corners are the easiest for beginners: place one at each corner, ensuring the sheet sits flat without pressure. If the sheet is heavy, add extra corners along the edges.
For a more secure hold, create a hinge: fold a piece of acid-free paper, attach one side to the backing board and the other to the back of the sheet using wheat starch paste. This allows the sheet to expand and contract with humidity changes.
Hang securely and protect from light
Use two wall anchors rated for at least twice the total weight of the framed sheet. For a typical 5–10 lb frame, choose anchors rated for 20–30 lbs. Locate wall studs if possible; otherwise, use toggle bolts or heavy-duty drywall anchors. Attach a picture wire or D-rings to the frame back, and hang so the frame sits flush against the wall.
Position the frame away from direct sunlight, radiators, and air vents. Even with UV glazing, prolonged direct sun can fade foil and ink. If you must hang in a bright room, rotate the display every few months or use curtains to control light.
Step-by-step framing and hanging process
- Measure twice, cut once: Lay the uncut sheet flat on a clean surface and measure its exact width and height. Add 2–4 inches to each dimension to determine the frame opening size. Common mistake: assuming all uncut sheets are the same size; they vary by printer and edition. Write down the measurements and bring them to the frame shop.
- Prepare an acid-free backing: Cut a piece of acid-free foam board or mat board to the frame opening size. This board supports the sheet and prevents it from sagging. Common mistake: using regular cardboard, which is acidic and will damage the sheet over time. Check the label for 'acid-free' or 'archival' before buying.
- Mount with photo corners or hinges: Place the sheet face up on the backing board. Attach archival photo corners to each corner, or create hinges with Japanese paper and wheat starch paste. Common mistake: using tape or glue directly on the sheet, which can stain or tear it. Test the hold by gently lifting the backing; the sheet should stay in place without sliding.
- Insert into frame and seal: Place the mounted sheet into the frame, add UV-filtering glazing, and secure the backing with framer's points or brads. Common mistake: skipping the dust cover on the back, which allows insects and dust to enter. Use a paper dust cover and double-sided tape to seal the back.
- Hang with proper hardware: Attach two D-rings to the frame back, spaced 1/3 from the top. Run picture wire between them, leaving a small slack. Install two wall anchors rated for at least twice the frame's weight. Common mistake: using a single nail or hook, which can pull out and drop the frame. Use a level to ensure the frame hangs straight.
- Control light and environment: Hang the frame away from direct sunlight, heat sources, and damp walls. If the room is bright, use UV glazing and rotate the display every few months. Common mistake: placing the frame in a bathroom or kitchen where humidity fluctuates. Check the frame monthly for any signs of condensation or fading.
Product facts that matter for framing
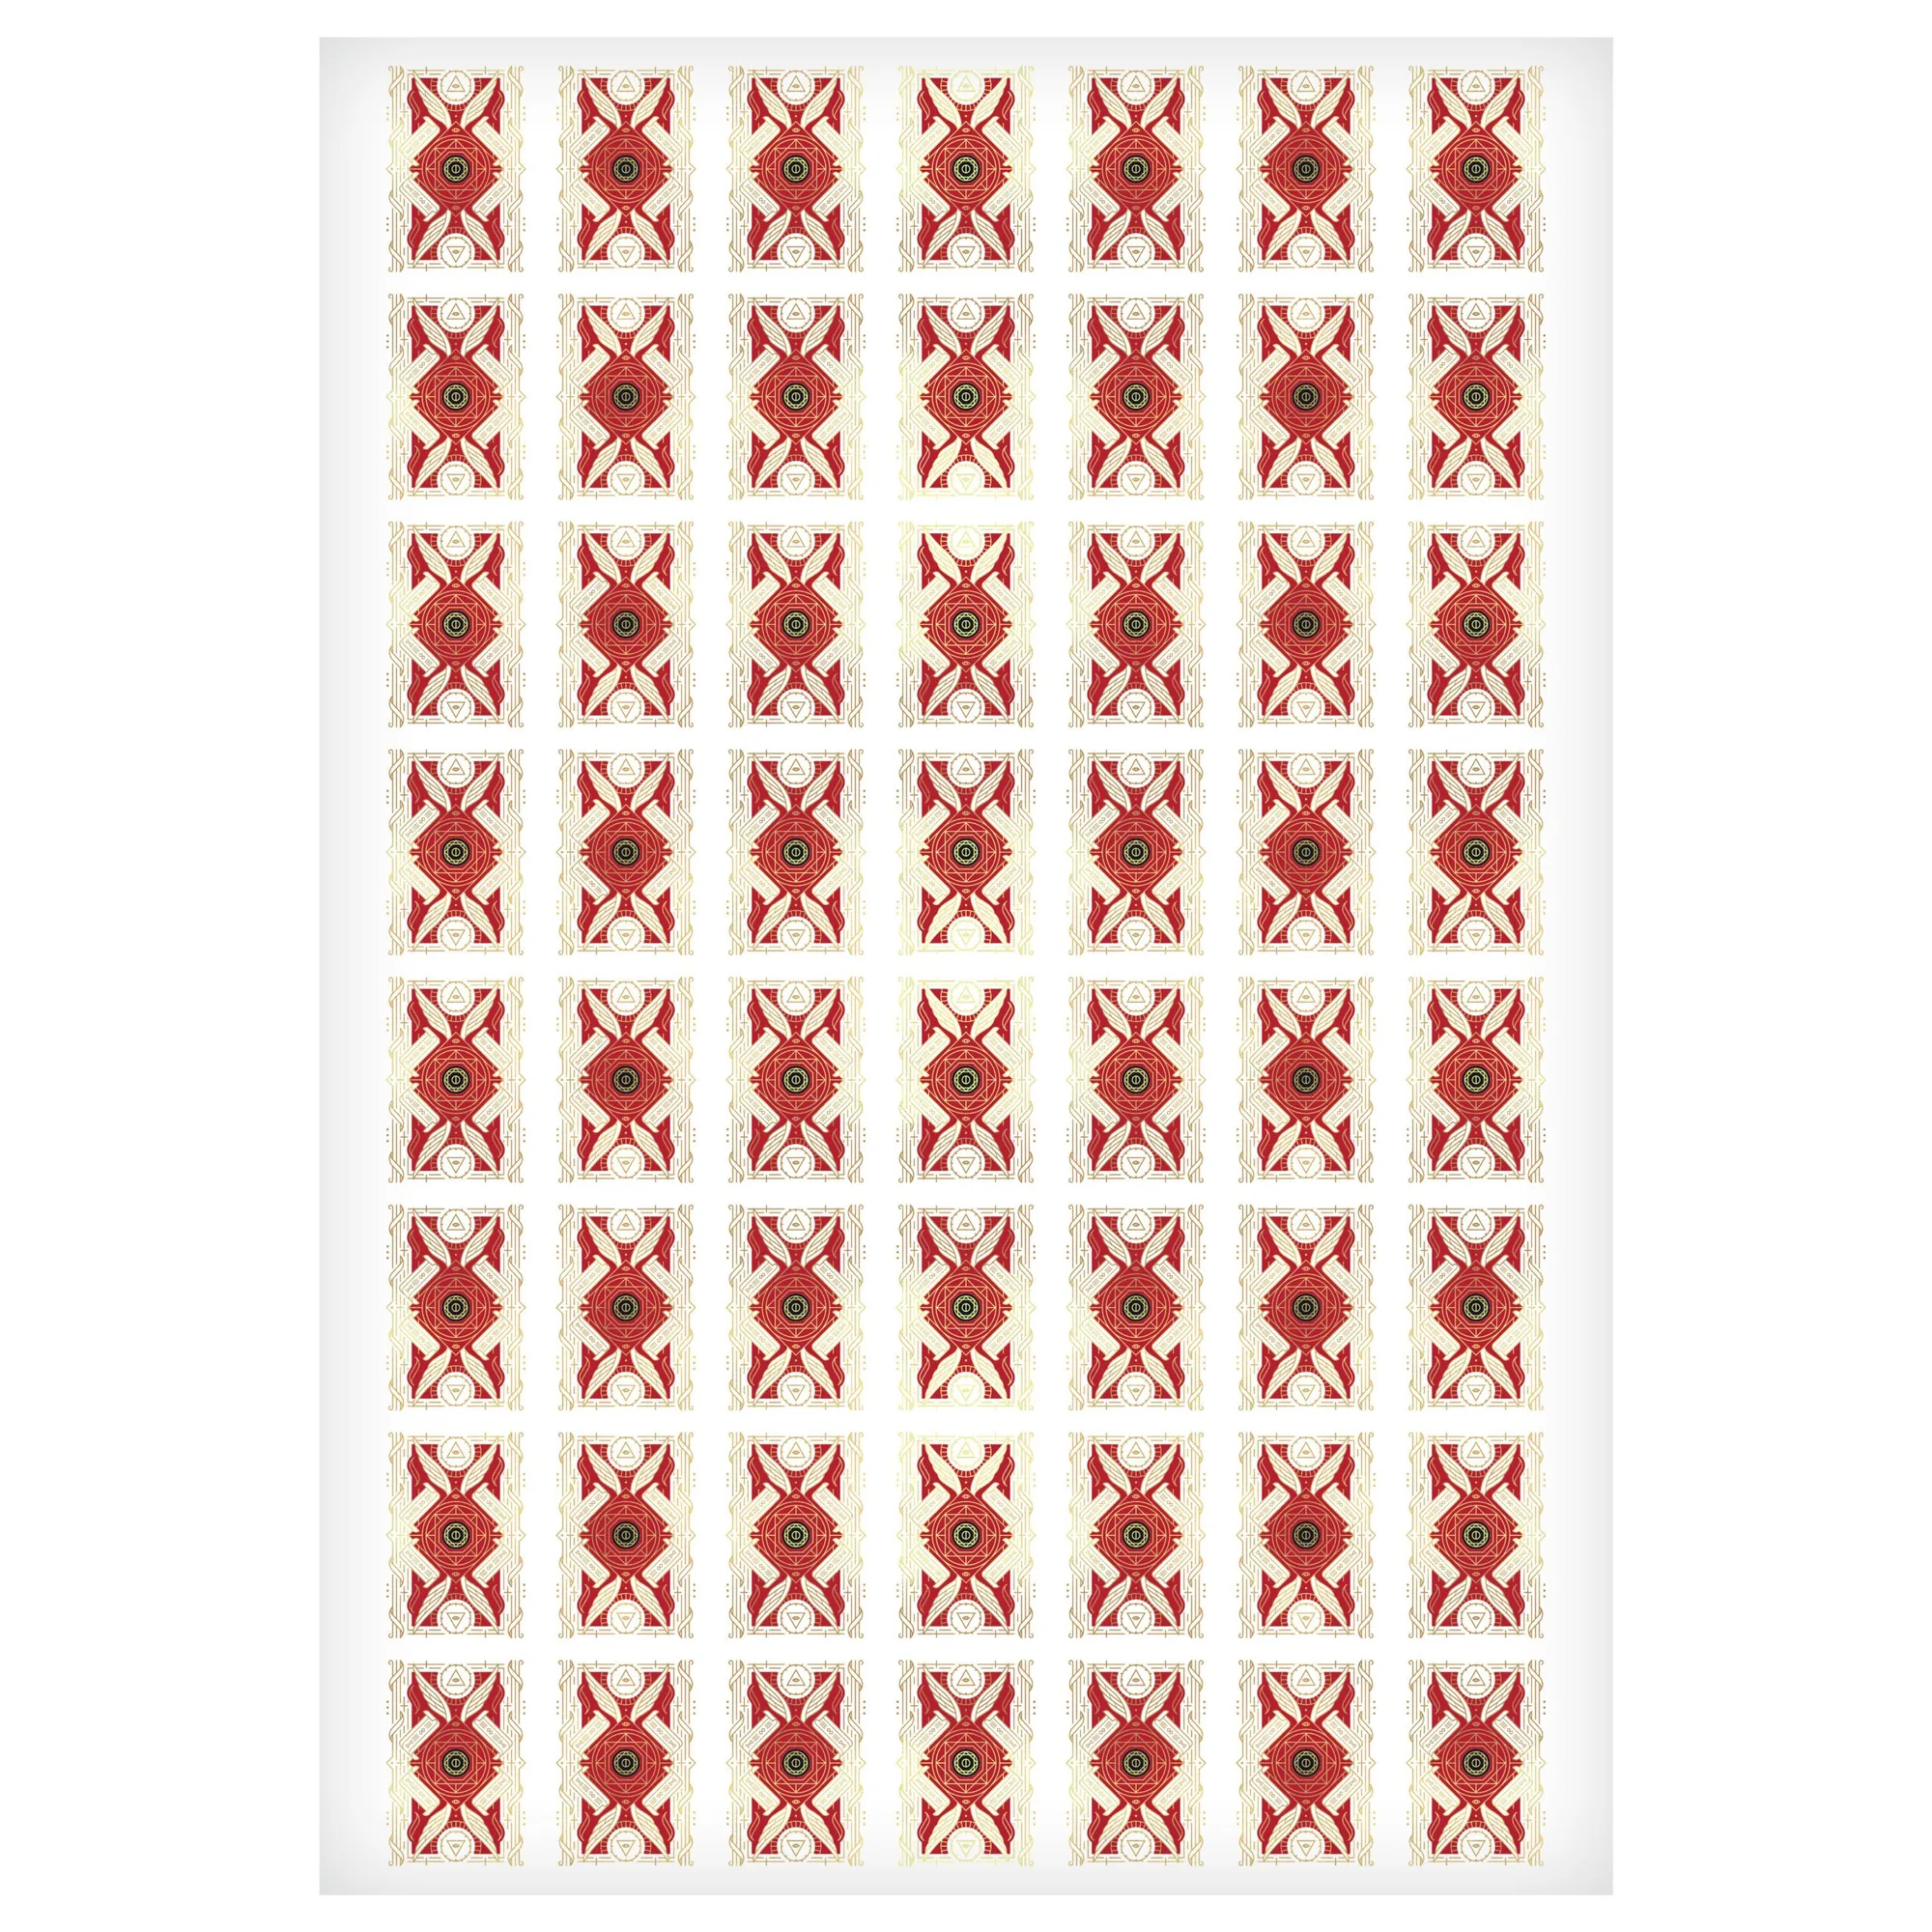
- Archons Uncut Sheet: Archons Uncut Sheet is printed by Kingstar Cold foil on both sides and sold without a frame. Because it is unframed, you must supply your own rigid backing and UV glazing to protect the cold foil from scratches and fading.
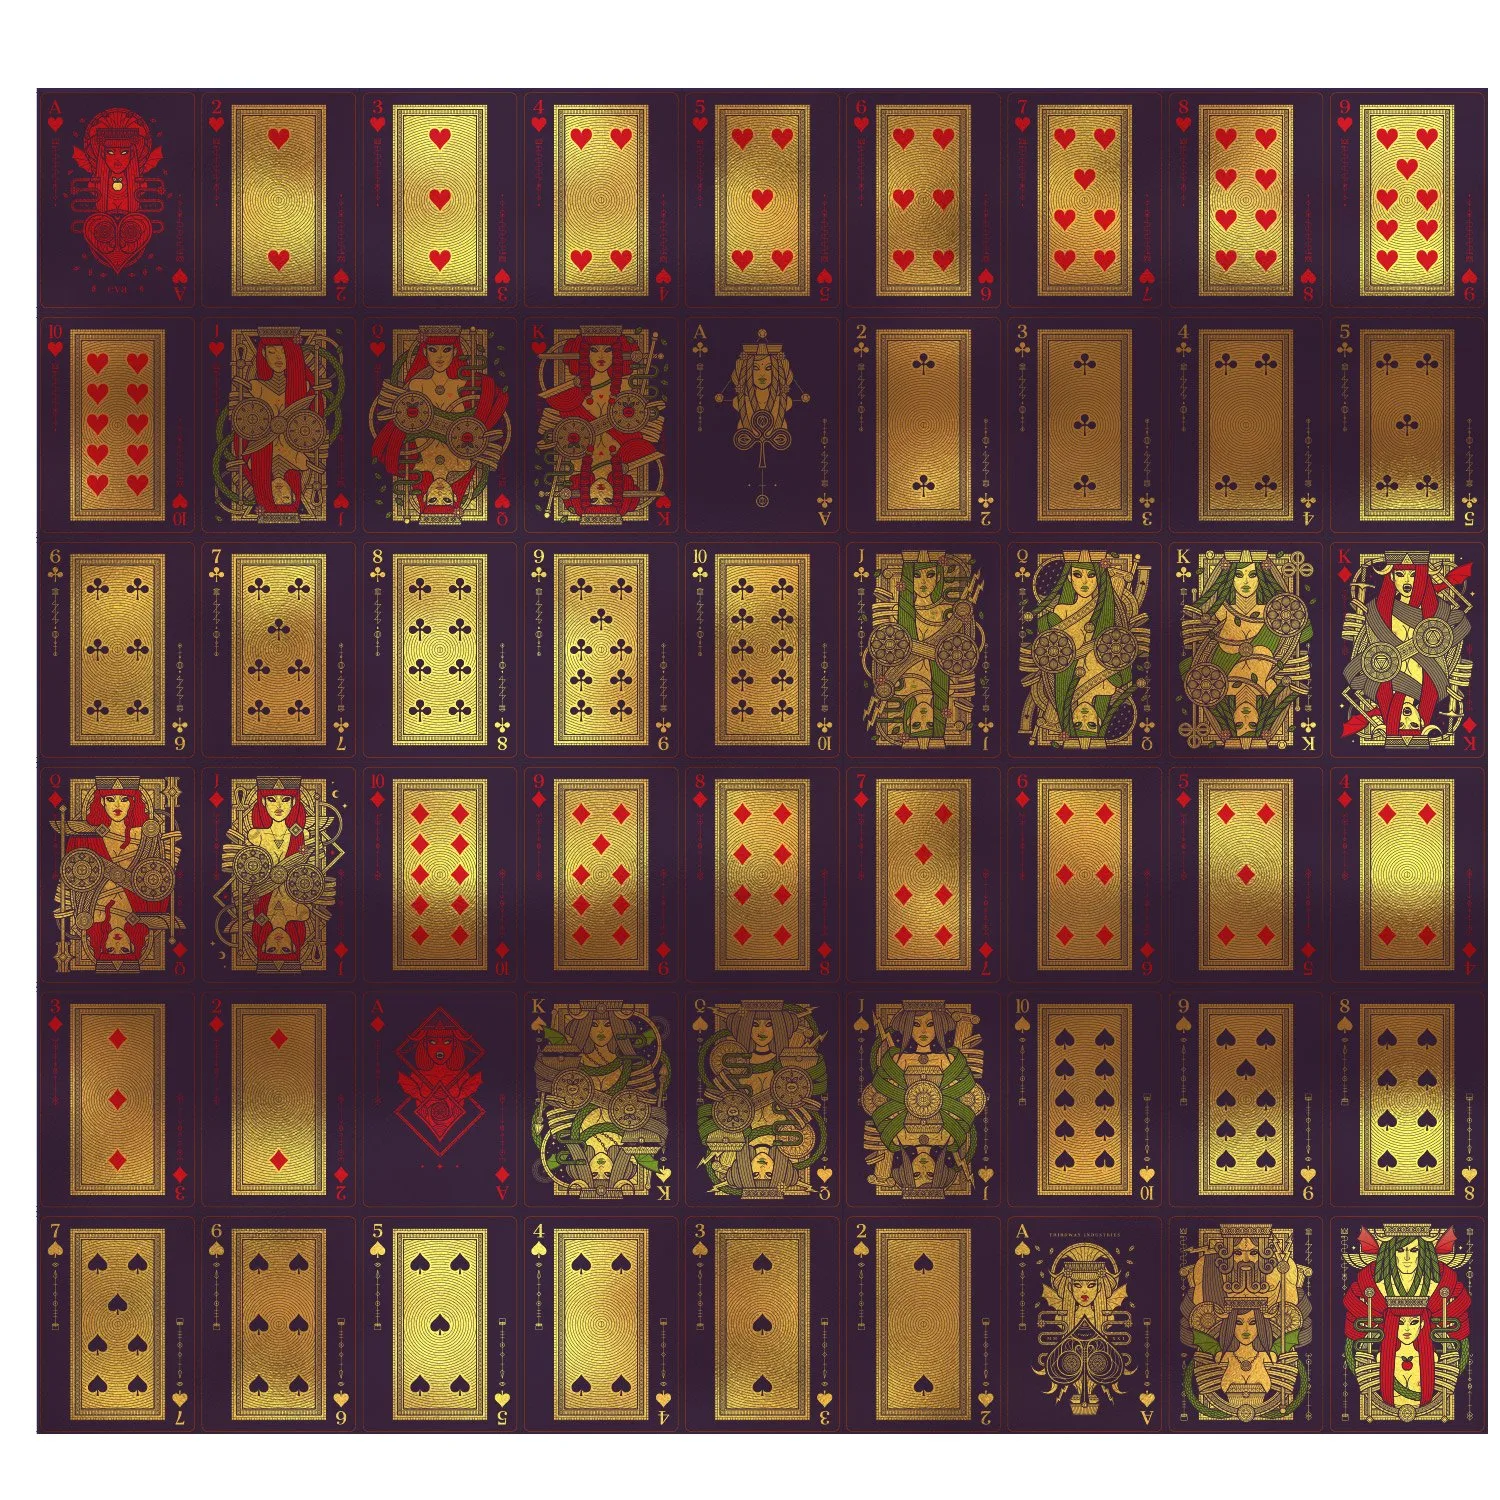
- Splendida Uncut: Splendida Uncut is a limited edition with foil on front and back, sold without a frame. Foil on both sides means any mounting method that presses on the surface can leave marks; use corner mounts or edge supports only.
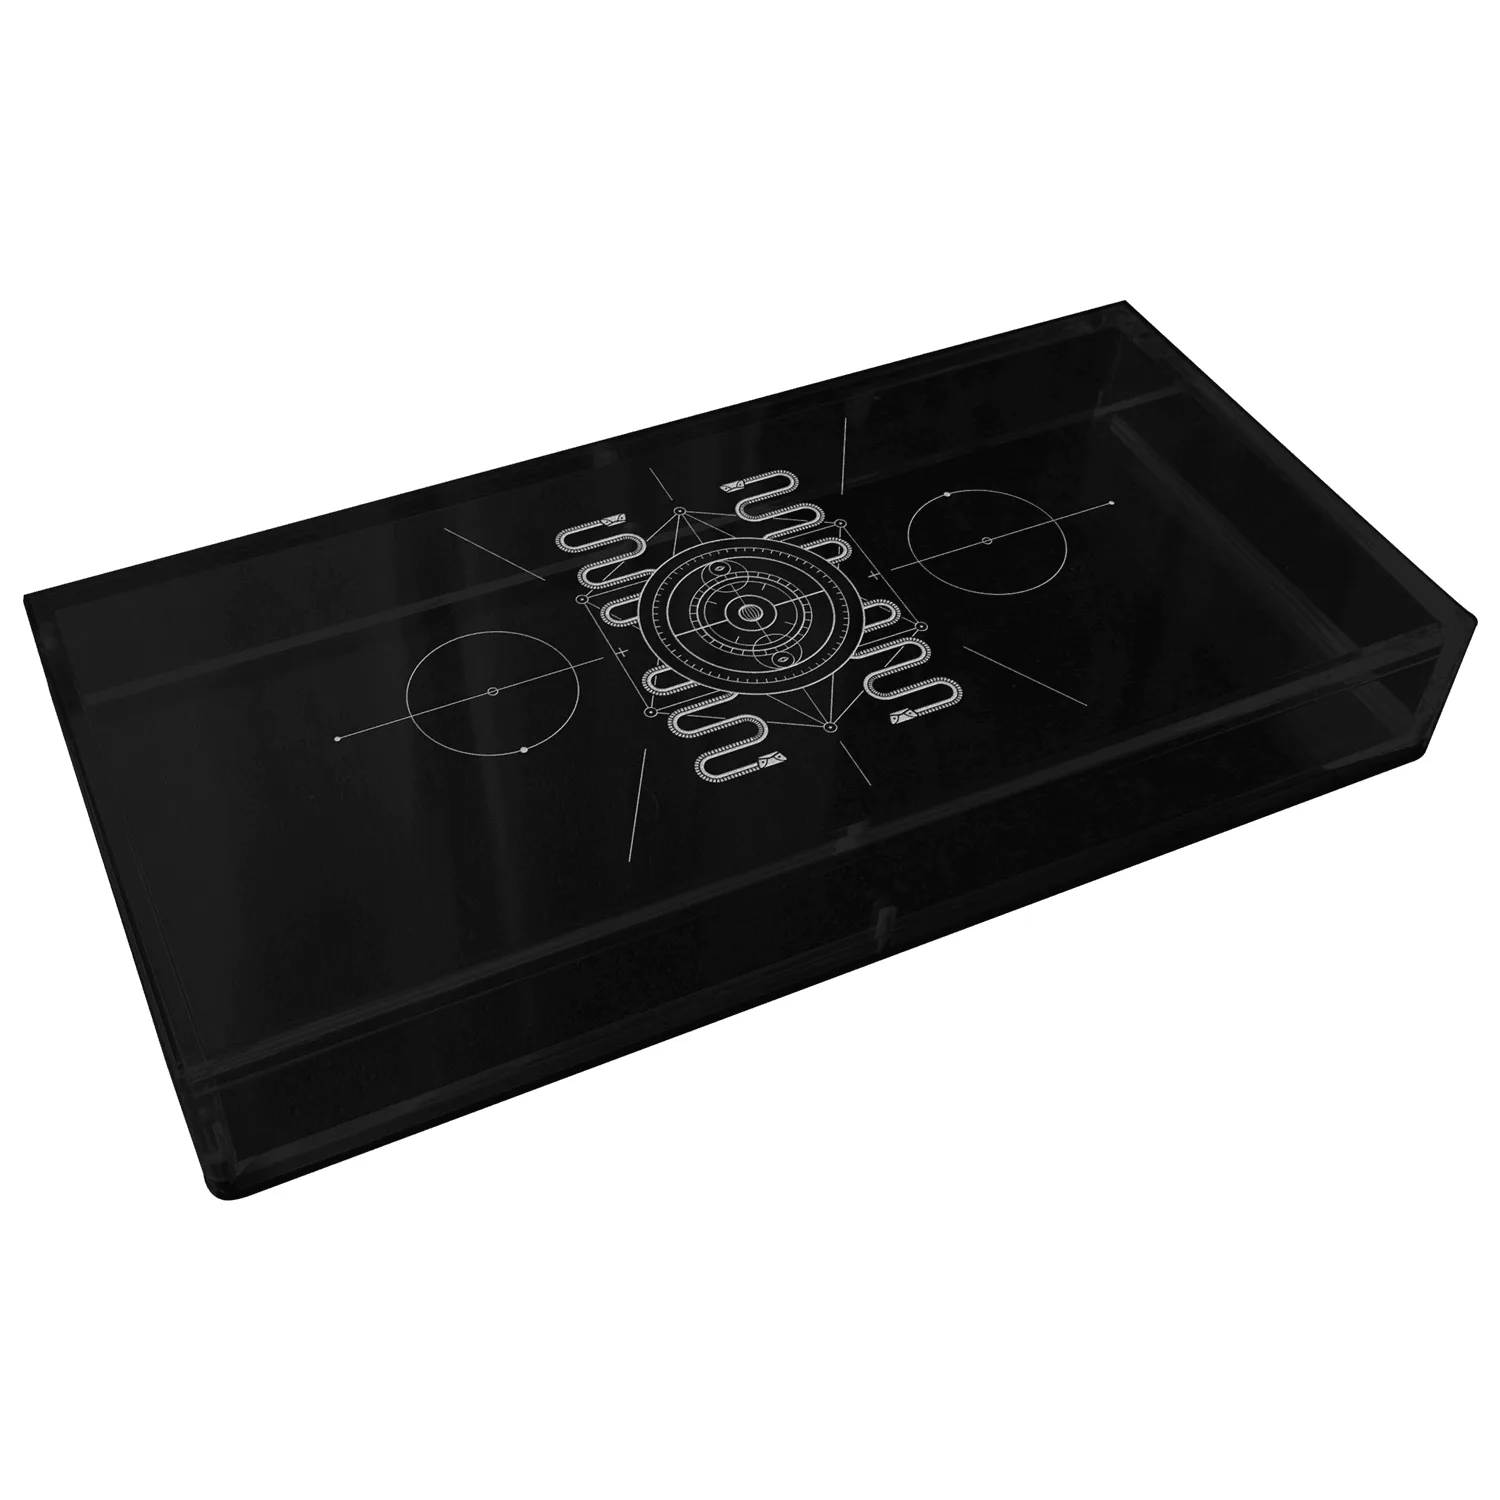
- Lost Eden Case: Lost Eden Case is a transparent black acrylic case made for three decks, with a lid closed by six neodymium magnets. This case is for storing decks, not sheets, but its acrylic construction shows how rigid, non-acidic materials can safely hold collectibles without direct contact.