Quick answer
Thin Revell Aqua Color with clean water to roughly the consistency of milk, apply several thin coats rather than one thick one, and let each coat dry fully before the next. Use a soft, flat brush and light, overlapping strokes in one direction. This gives a smooth model paint finish on most plastic kits without brush marks, as long as you keep the paint moving and never go back over half-dry paint.
Brush-painting a model with acrylics can look every bit as good as an airbrushed job if you control the two things that cause streaks: paint thickness and drying time. Revell Aqua Color is a water-based acrylic that you can thin with tap water, which makes it forgiving for beginners, but it also dries quickly. That fast drying is exactly why heavy coats and repeated brushing over the same spot leave marks.
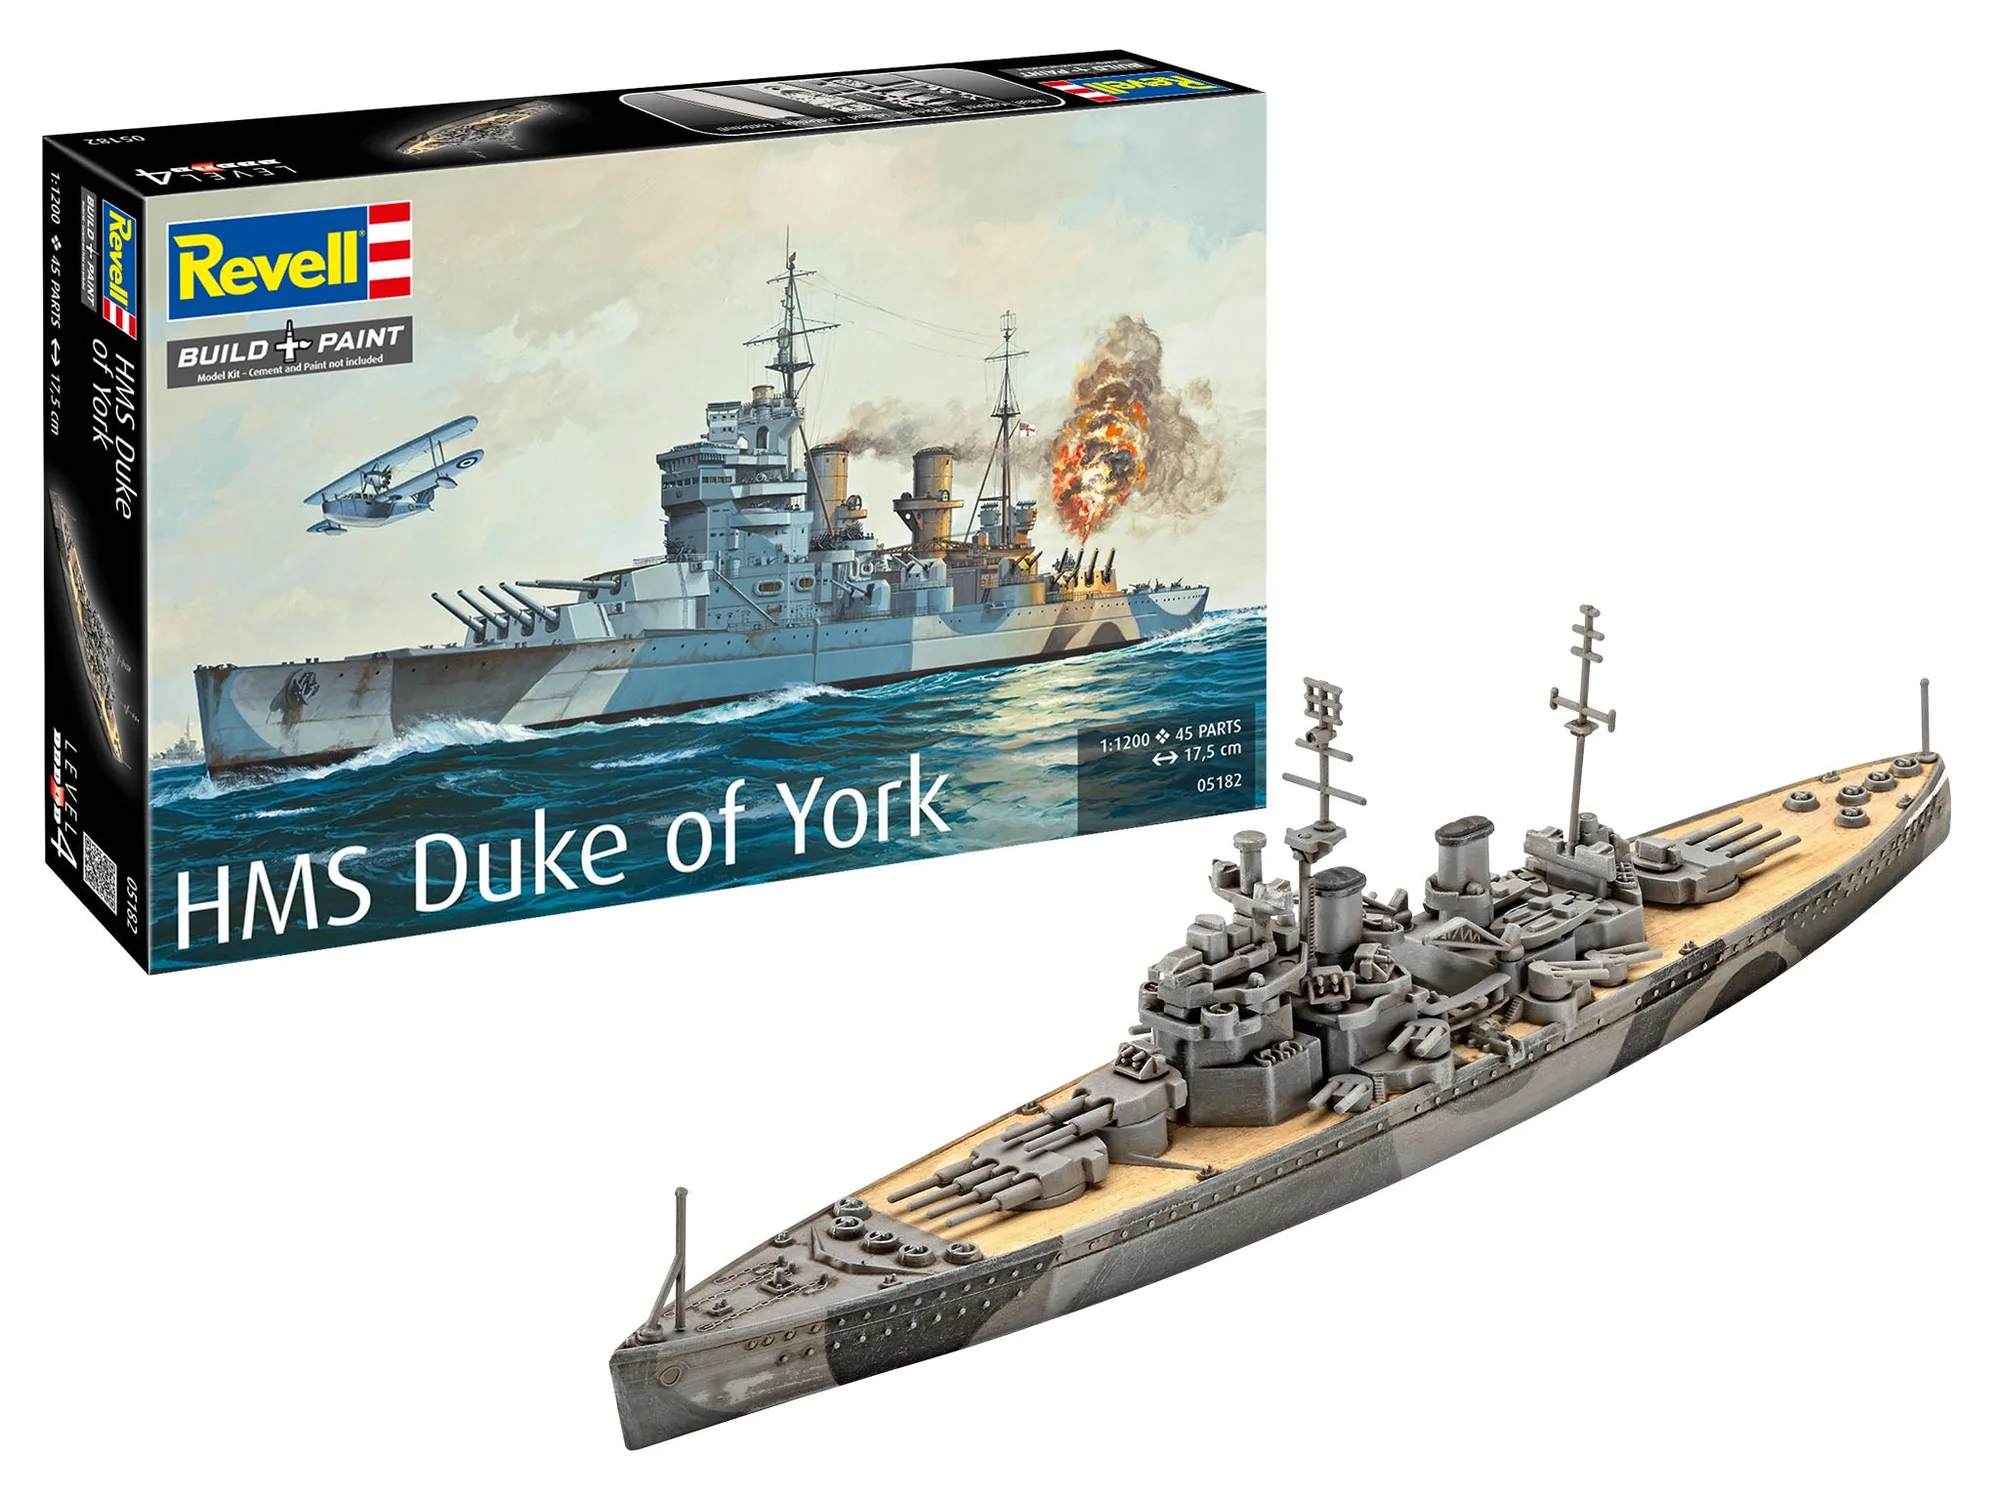
This guide walks through the brush-painting process in order, from surface prep to the final clear coat. It applies to car bodies, ship hulls and aircraft wings alike. Along the way you will see how specific kits, such as the Model set Lamborghini Revuelto or the Model Set Battleship HMS Duke of York, benefit from a thin, layered approach rather than a single heavy coat.
Why Revell Aqua Color behaves differently from enamel
Revell Aqua Color is an acrylic paint system available in 88 shades in 18 ml containers. It can be diluted with water, has a mild odor and is not flammable, which makes it a practical choice for brush painting at the kitchen table. Because it is water-based, it skins over faster than enamel and does not self-level as strongly, so the way you apply it matters more than the paint itself.
The upside is that you can adjust the consistency with a drop of water at any time and clean brushes under the tap. The tradeoff is that a thick, unthinned coat will show every brush stroke. Treat Aqua Color as a layering paint: several thin passes, each allowed to dry, build a uniform film that hides the bristle marks.
- Use only clean water to thin; dirty rinse water introduces particles that show up in the finish.
- Stir the pot rather than shaking it if you want fewer bubbles in the paint film.
Step 1: Prepare the surface and the paint
Wash the plastic parts in lukewarm water with a drop of dish soap to remove mold release agent, then let them air-dry completely. Any grease or finger oil will make the paint pull away and leave bare patches that look like brush marks even when your technique is fine. If you are painting a body shell, test-fit first so you are not handling wet paint later.
For the paint, decant a small amount into a clean palette or a spare lid. Add water a drop at a time and stir with a brush until the paint runs off the brush like milk, not cream. As a starting point, most Aqua Color shades need roughly one part water to three or four parts paint, but thick pigments such as white and yellow may need a little more.
- Common mistake: thinning in the original pot. It shortens the shelf life of the whole container and makes the ratio hard to repeat.
- Checkpoint: draw the brush across the palette. The paint should leave a smooth, slightly translucent line, not a raised ridge.
Step 2: Load the brush correctly and apply thin coats
Load only the lower third of the bristles. A brush that is too wet floods the surface and causes the paint to pool at edges, which then dries unevenly. Use a soft, flat brush sized to the panel you are painting: a wide flat for a car roof or ship hull, a smaller round for tight areas around details.
Apply the paint in one direction with light, overlapping strokes. Do not scrub back and forth. Work in small sections and keep a wet edge, meaning you start the next stroke where the previous one is still slightly wet. If you see a gap, leave it for the next coat rather than going back over paint that has already begun to set.
- Common mistake: brushing over a half-dry area. This lifts the pigment and creates a rough, streaky patch.
- Checkpoint: after one coat, the color should look thin and slightly uneven. That is normal.
Step 3: Let each coat dry and build up coverage
Aqua Color dries to the touch fairly quickly, but the film underneath is still soft. Wait until the surface is no longer cool or tacky before adding the next coat. In a normal room this is often 20 to 30 minutes, but humidity and thick coats extend that. Rushing is the single most common reason for a rough finish.
Two to four thin coats usually give full, even coverage on a model. If you are painting a light color over dark plastic, expect to need more coats rather than a heavier one. Between coats, inspect the surface under a lamp at a low angle. Dust nibs can be flicked away with a clean, dry brush before the next pass.
- Common mistake: touching the surface to test dryness. Use the back of a fingernail on an inconspicuous area instead.
- Checkpoint: the surface should look uniform before you stop. If you can still see plastic through the paint, add another thin coat.
Step 4: Handle details and small parts
Small parts such as mirrors, grilles and ship fittings are easier to paint before assembly, held on a cocktail stick or a piece of tape. Paint them with the same thinned mix and a smaller brush. If a part is very small, one coat may be enough because there is less surface area to show streaks.
For interiors and chassis, a slightly thicker mix is acceptable because these areas are less visible. Keep the thin, layered approach for anything that will catch the light, such as a car body or an aircraft fuselage. This is where brush marks are most obvious.
- Common mistake: painting assembled sub-steps that you cannot reach cleanly. Plan the build order so visible surfaces are painted before they are boxed in.
- Checkpoint: dry-fit small parts before painting to confirm they still fit with a paint film on them.
Step 5: Finish with a clear coat if you want extra gloss or protection
A clear coat can hide minor texture and add a realistic shine to car models. Apply it in the same thin, layered way, and let it cure fully before handling. If you are aiming for a matt military finish, a matt clear coat also protects decals from dust and sunlight, which is useful on long-displayed models.
Not every model needs a clear coat. A well-applied Aqua Color finish already looks good on its own. Add one only if you want a specific sheen or extra durability, and test it on a spare part first if you are using a product you have not tried before.
- Common mistake: applying clear coat over paint that is not fully dry. Trapped solvent or water can cause cloudiness.
- Checkpoint: the clear coat should look wet and even as you apply it, then dry to a uniform sheen.
Brush-painting Aqua Color: the ordered steps
- Wash and dry the plastic: Remove mold release agent with lukewarm soapy water, rinse and let the parts air-dry completely before painting. Skipping this step causes paint to pull away and look like brush marks.
- Thin the paint to a milk-like consistency: Decant a small amount and add clean water a drop at a time, stirring until the paint runs off the brush smoothly. Thick paint from the pot is the main cause of visible strokes.
- Load the brush lightly: Dip only the lower third of a soft, flat brush into the paint and wipe off excess on the palette edge. An overloaded brush floods panel lines and dries unevenly.
- Apply thin, overlapping strokes in one direction: Work in small sections, keep a wet edge and do not go back over paint that has started to set. Brushing over half-dry paint lifts pigment and creates streaks.
- Let each coat dry fully before the next: Wait until the surface is no longer tacky, often 20 to 30 minutes, then add another thin coat. Two to four thin coats beat one thick coat every time.
- Add a clear coat only if you need gloss or protection: Apply a thin clear coat over fully cured paint and let it cure before handling. Clear coat over wet paint can turn cloudy.
Products that work well with this method
- "Sports Car Set" Aqua Color Acrylic - 6x 5ml: Acrylic paint set "Sports Car" with six colors for authentic sports car replicas, including shiny highlights, matt accents and metallic effects. The small 5 ml pots are ideal for brush painting because you can thin a little at a time without wasting paint, and the included metallic and matt shades let you practice different finishes on one model.
- Model set Lamborghini Revuelto: Lamborghini Revuelto model kit in 1:24 scale with 105 parts, total length 206 mm, height 48 mm and width 94 mm, recommended for modelers aged 10 and up. A 1:24 car body has large, flat panels where brush marks are most visible, so this kit rewards the thin-coat method described above and is a good candidate for a final clear coat.
- Model Set Battleship HMS Duke of York: HMS Duke of York in 1:1200 scale with 45 parts, length 170 mm, width 30 mm and height 60 mm, a British battleship from the Second World War. At 1:1200 scale the hull is small and detailed, so a single heavy coat would fill panel lines. Thinned Aqua Color applied in thin layers keeps the molded detail crisp.
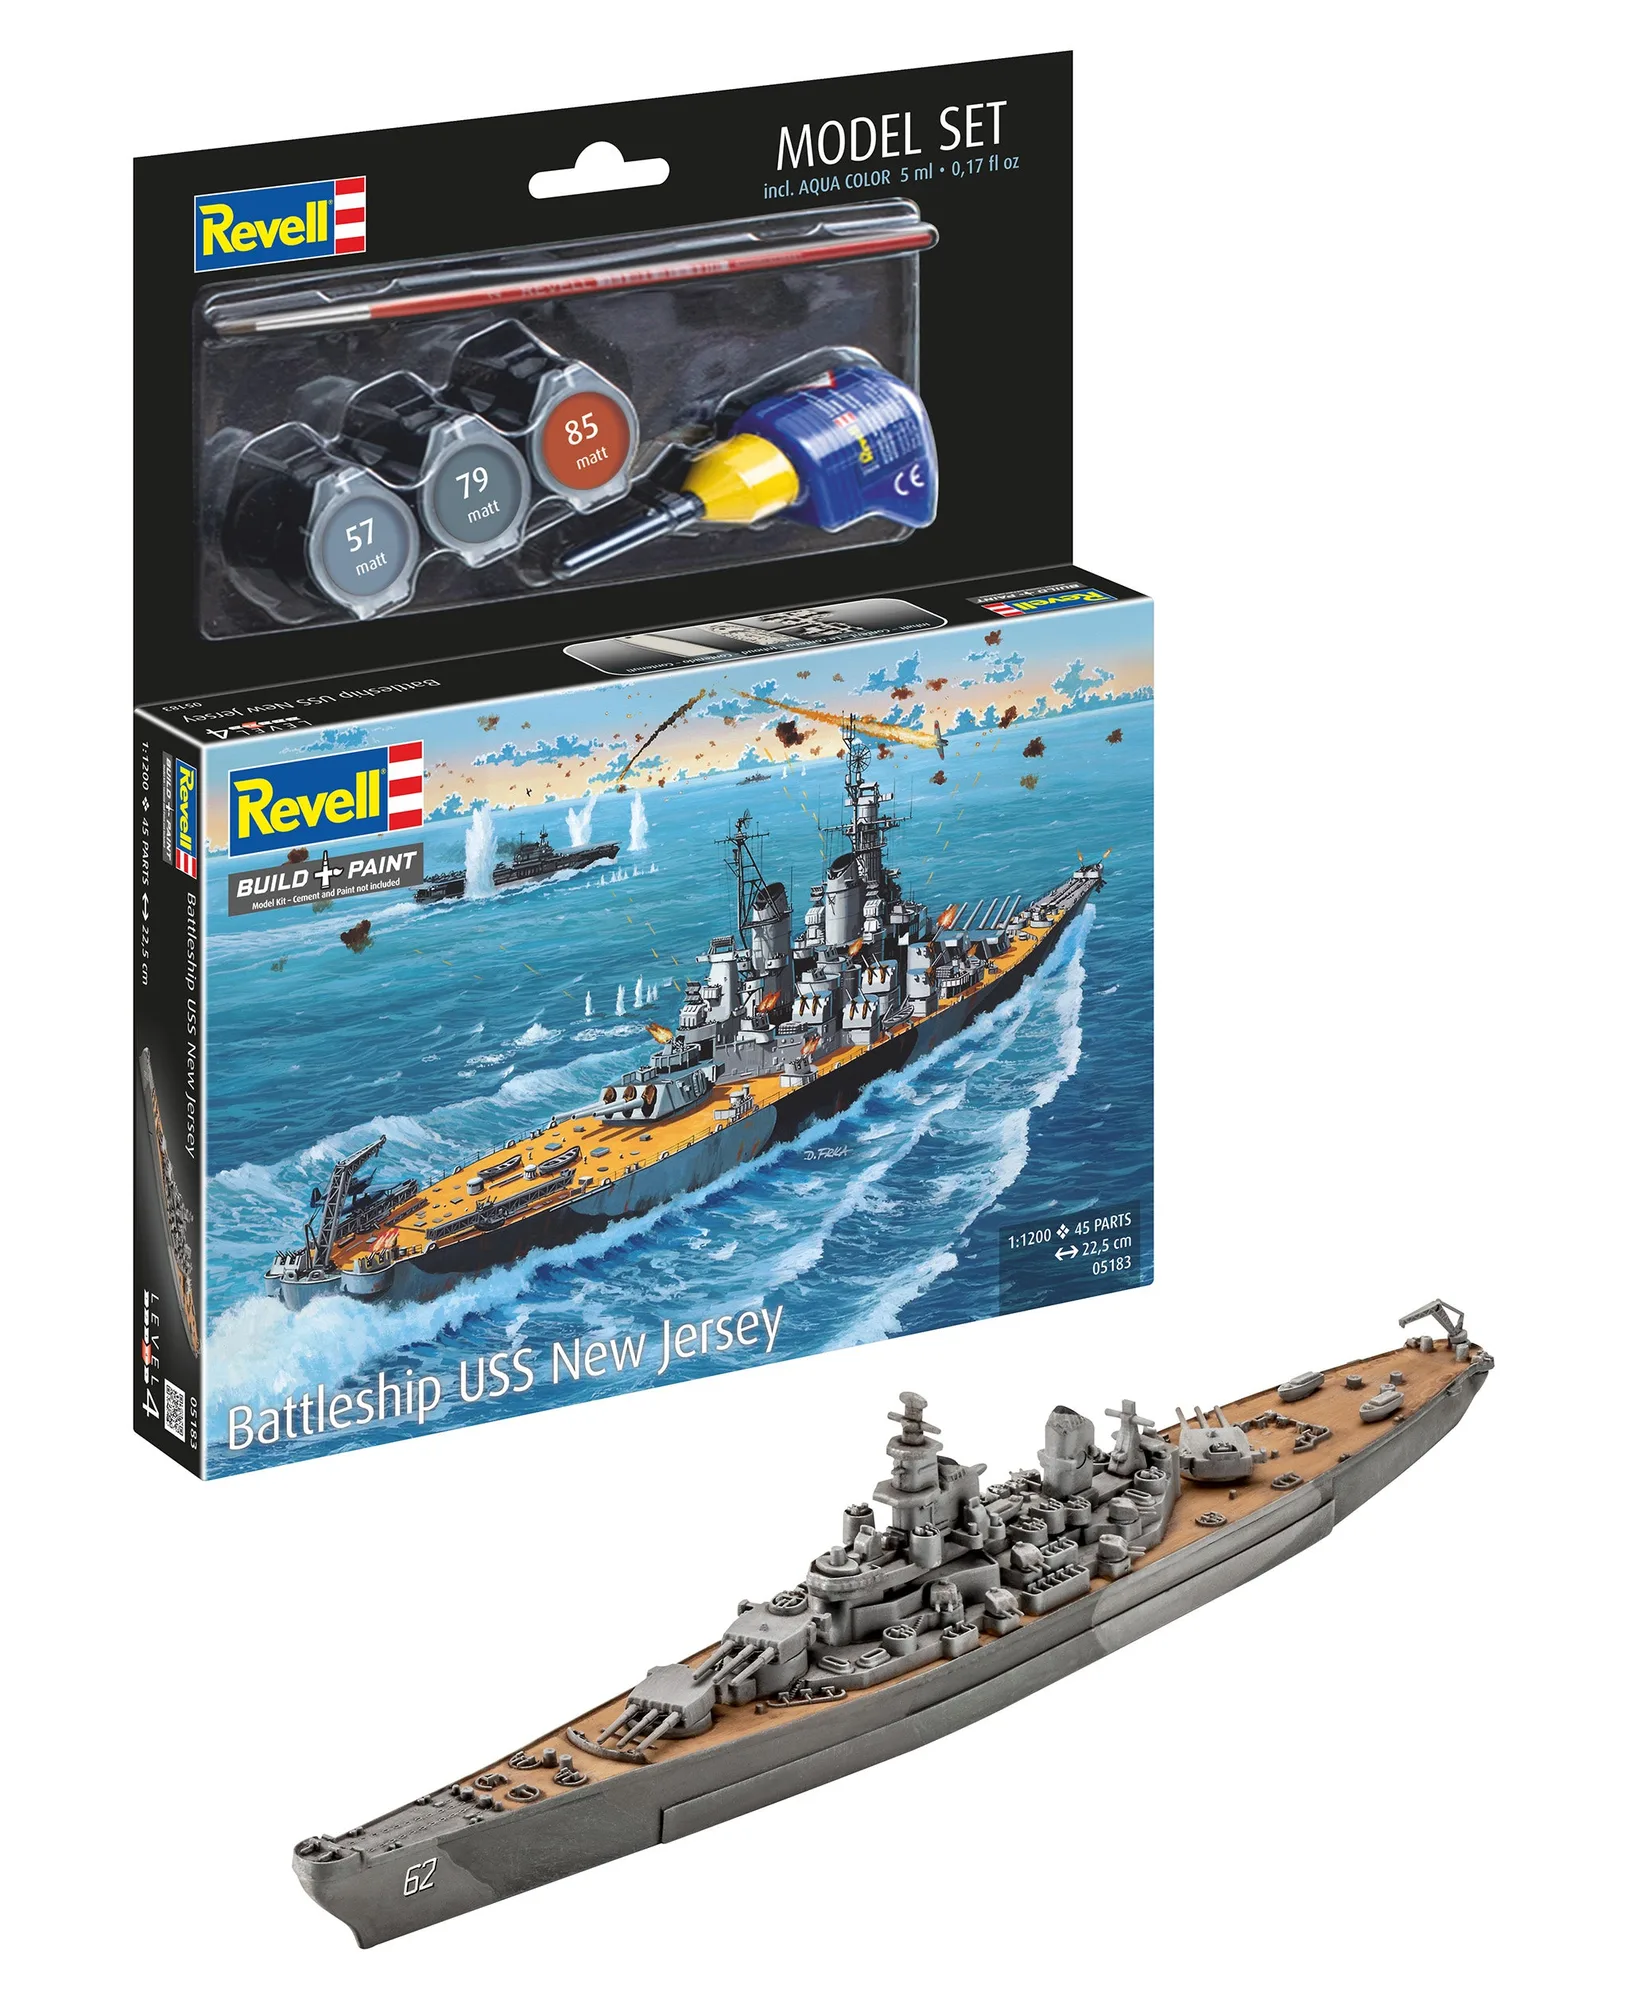
A smooth brush finish with Revell Aqua Color comes down to patience rather than special tools: thin the paint, load the brush lightly, and build the color in thin layers. Practice on a spare part or a small kit like the Model Set Battleship USS New Jersey, and the same technique will carry over to any car, ship or aircraft in your stash.