Quick Answer
The safest way to hang a poster without nails is to use a frame with a removable adhesive strip on the back, or to attach the poster to the wall with damage-free adhesive strips made for painted surfaces. For lightweight posters, poster putty or clips work well; for larger or heavier prints, choose a frame or a wide adhesive strip rated for the weight. Always test the adhesive on a hidden spot first.
You found the perfect poster, but your lease says no holes in the walls. Or maybe you just don't want to patch and paint later. Either way, you can hang a poster without nails and still make it look intentional, not like a college dorm afterthought. The key is matching the method to the poster's weight, the wall surface, and how long you plan to leave it up.
This guide walks through eight damage-free methods, from adhesive strips to frames, with the checkpoints that keep posters flat and walls intact. You'll also find tips for renters and a few product picks that fit a gaming collection.
Method 1: Damage-Free Adhesive Strips
Adhesive strips designed for painted walls are the most reliable no-nail option for medium posters. Look for strips that clearly state they remove cleanly and hold a specific weight. Press the strip firmly to both the wall and the poster back for the full recommended time before letting go. Most failures happen because people skip the waiting period or use too few strips for the size.
For a standard 18x24 inch poster, use four strips, one near each corner, and keep them at least an inch from the edge. If the poster is glossy or has a coated back, the adhesive may not stick; in that case, put the strips on the frame instead.
- Checkpoint: After 24 hours, gently tug a corner. If it lifts, add another strip before hanging the full poster.
Method 2: Poster Putty
Poster putty is a kneadable adhesive that works on lightweight paper posters. It leaves less residue than tape and lets you reposition the poster while you get it level. Roll a small ball for each corner and one in the center, then press the poster onto the wall. Avoid using putty on textured walls or freshly painted surfaces, as it can pull paint or leave an oily mark.
Putty is best for temporary display, like a seasonal rotation of prints. If you leave it for months, the oils can seep into the paper. For anything you plan to keep up long-term, move to a frame or strips.
- Common mistake: Using too much putty. A pea-sized ball per corner is enough for a standard poster.
Method 3: Binder Clips and Pushpins (Without Nails)
If you can't put holes in the wall but you can use a corkboard or a rail system, binder clips are a clean solution. Clip the top edge of the poster to a wooden dowel or a poster rail, then hang the rail from adhesive hooks. This keeps the poster flat and makes swapping prints easy. For a lightweight poster, you can also clip it to a clipboard and lean it on a shelf.
This method works well for posters you want to change often, like a rotating gallery of gaming art. Just make sure the clips are wide enough not to crease the paper.
- Checkpoint: Use clips with a smooth interior. Sharp clips can dent the poster edge.
Method 4: Magnetic Poster Hangers
Magnetic poster hangers grip the top and bottom of a poster between two wooden or metal bars. They distribute weight evenly, so the poster stays flat without tape or holes. You hang the top bar from a single adhesive hook or a picture rail. This is one of the best poster display ideas for renters because it requires only one small hook and no damage to the poster itself.
Choose a hanger sized to your poster width. If the hanger is too narrow, the poster will bow. If it's too wide, the magnets may not grip the edges.
- Tip: Magnetic hangers work best on posters with a smooth, flat surface. Textured or curled posters may slip.
Method 5: Tension Rods and Shelves
A tension rod inside a bookshelf or between two cabinets can hold a poster without touching the wall. You clip the poster to the rod with rings or clips, similar to a curtain. This works in dorms, apartments, or any space where you want a damage-free poster hanging setup. It also lets you slide the poster sideways to adjust the position.
For a cleaner look, rest the bottom of the poster on a picture ledge or shelf. The ledge supports the weight, and you only need a small adhesive strip at the top to keep it from tipping forward.
- Common mistake: Overloading the rod. Keep the poster width within the rod's adjustable range.
Method 6: Frame It and Lean It
A frame instantly makes a poster look intentional, and you can lean it against the wall on a shelf, mantel, or floor. Use a frame with a wide base or add museum putty under the bottom corners to keep it from sliding. This is a favorite for renters because it requires zero wall contact. If you want it higher, hang the frame from a single adhesive hook rated for the frame's weight.
Frames also protect the poster from dust and UV light if you choose glass or acrylic with UV filtering. That matters for collectible prints you want to keep crisp.
- Checkpoint: If leaning on a shelf, leave at least an inch behind the frame for airflow to prevent moisture buildup.
Method 7: Adhesive Hooks and Poster Rails
Adhesive hooks can hold a lightweight poster rail or a wire across the wall. Run a thin wire or string between two hooks and use small clips to attach the poster. This creates a floating gallery effect without nails. The key is to use hooks rated for at least twice the weight of the poster and rail, and to let the adhesive cure for the full recommended time before adding weight.
This method shines for large posters that are too wide for a single strip. The wire distributes the load across two points, reducing the chance of a sudden drop.
- Common mistake: Hanging the wire too tight. A slight sag prevents the hooks from pulling sideways.
Method 8: Sewing or Ironing a Sleeve
If you're comfortable with a needle or iron, you can sew a fabric sleeve onto the back of a poster or use iron-on hem tape to create a pocket. Slide a dowel through the sleeve and hang the dowel from adhesive hooks. This is a permanent modification, so reserve it for posters you don't plan to resell. It's also a good way to hang fabric posters or banners without any wall damage.
For paper posters, iron-on tape can wrinkle the paper. Test on a corner first, or use a fabric poster if you want this method.
- Tip: Use a lightweight dowel. A heavy rod can tear the sleeve over time.
Step-by-Step: Hang a Poster Without Nails
- Step 1: Weigh and measure your poster: Use a kitchen scale or check the product listing for the poster's weight. Measure the width and height. This tells you how many adhesive strips or hooks you need. A poster under 1 pound can use putty or two strips; over 2 pounds, use a frame or four strips. Checkpoint: If you don't know the weight, assume it's heavier than it looks and use more support.
- Step 2: Clean the wall surface: Wipe the wall with a dry cloth or a lightly damp one, then let it dry completely. Dust, grease, or fresh paint will weaken any adhesive. Wait at least 7 days after painting before hanging anything. Common mistake: Skipping this step. Adhesive failure is often a dirty wall, not a bad strip.
- Step 3: Test the adhesive in a hidden spot: Press a small piece of your chosen adhesive to an inconspicuous area, like behind a door or near the baseboard. Wait 24 hours, then remove it. If it pulls paint or leaves residue, switch to a different method. Checkpoint: If the test fails, do not proceed with that adhesive on the visible wall.
- Step 4: Prepare the poster back: For adhesive strips, attach them to the poster back first, pressing firmly for 30 seconds each. For frames, skip to step 5. For magnetic hangers, place the top bar on the poster and clip it closed. Tip: Keep strips at least 1 inch from the poster edge to prevent peeling.
- Step 5: Position and mark the wall: Hold the poster where you want it and use a pencil to make tiny marks at the top corners. Use a level or a tape measure to ensure the marks are even. A laser level makes this faster. Common mistake: Eyeballing it. A 1/4-inch difference is visible on a large poster.
- Step 6: Attach to the wall: Press the poster or frame firmly against the wall at your marks. Hold for the full time recommended by the adhesive manufacturer, usually 30 seconds per strip. Do not press and release repeatedly. Checkpoint: After 1 hour, gently press the corners. If any lift, add another strip.
- Step 7: Let it cure before adding weight: Wait 24 hours before hanging anything from hooks or adding a heavy frame. Adhesive reaches full strength over time. If you're using a wire and hooks, attach the wire only after the hooks have cured. Common mistake: Hanging immediately. Most failures happen in the first hour.
Collector-Friendly Display Extras
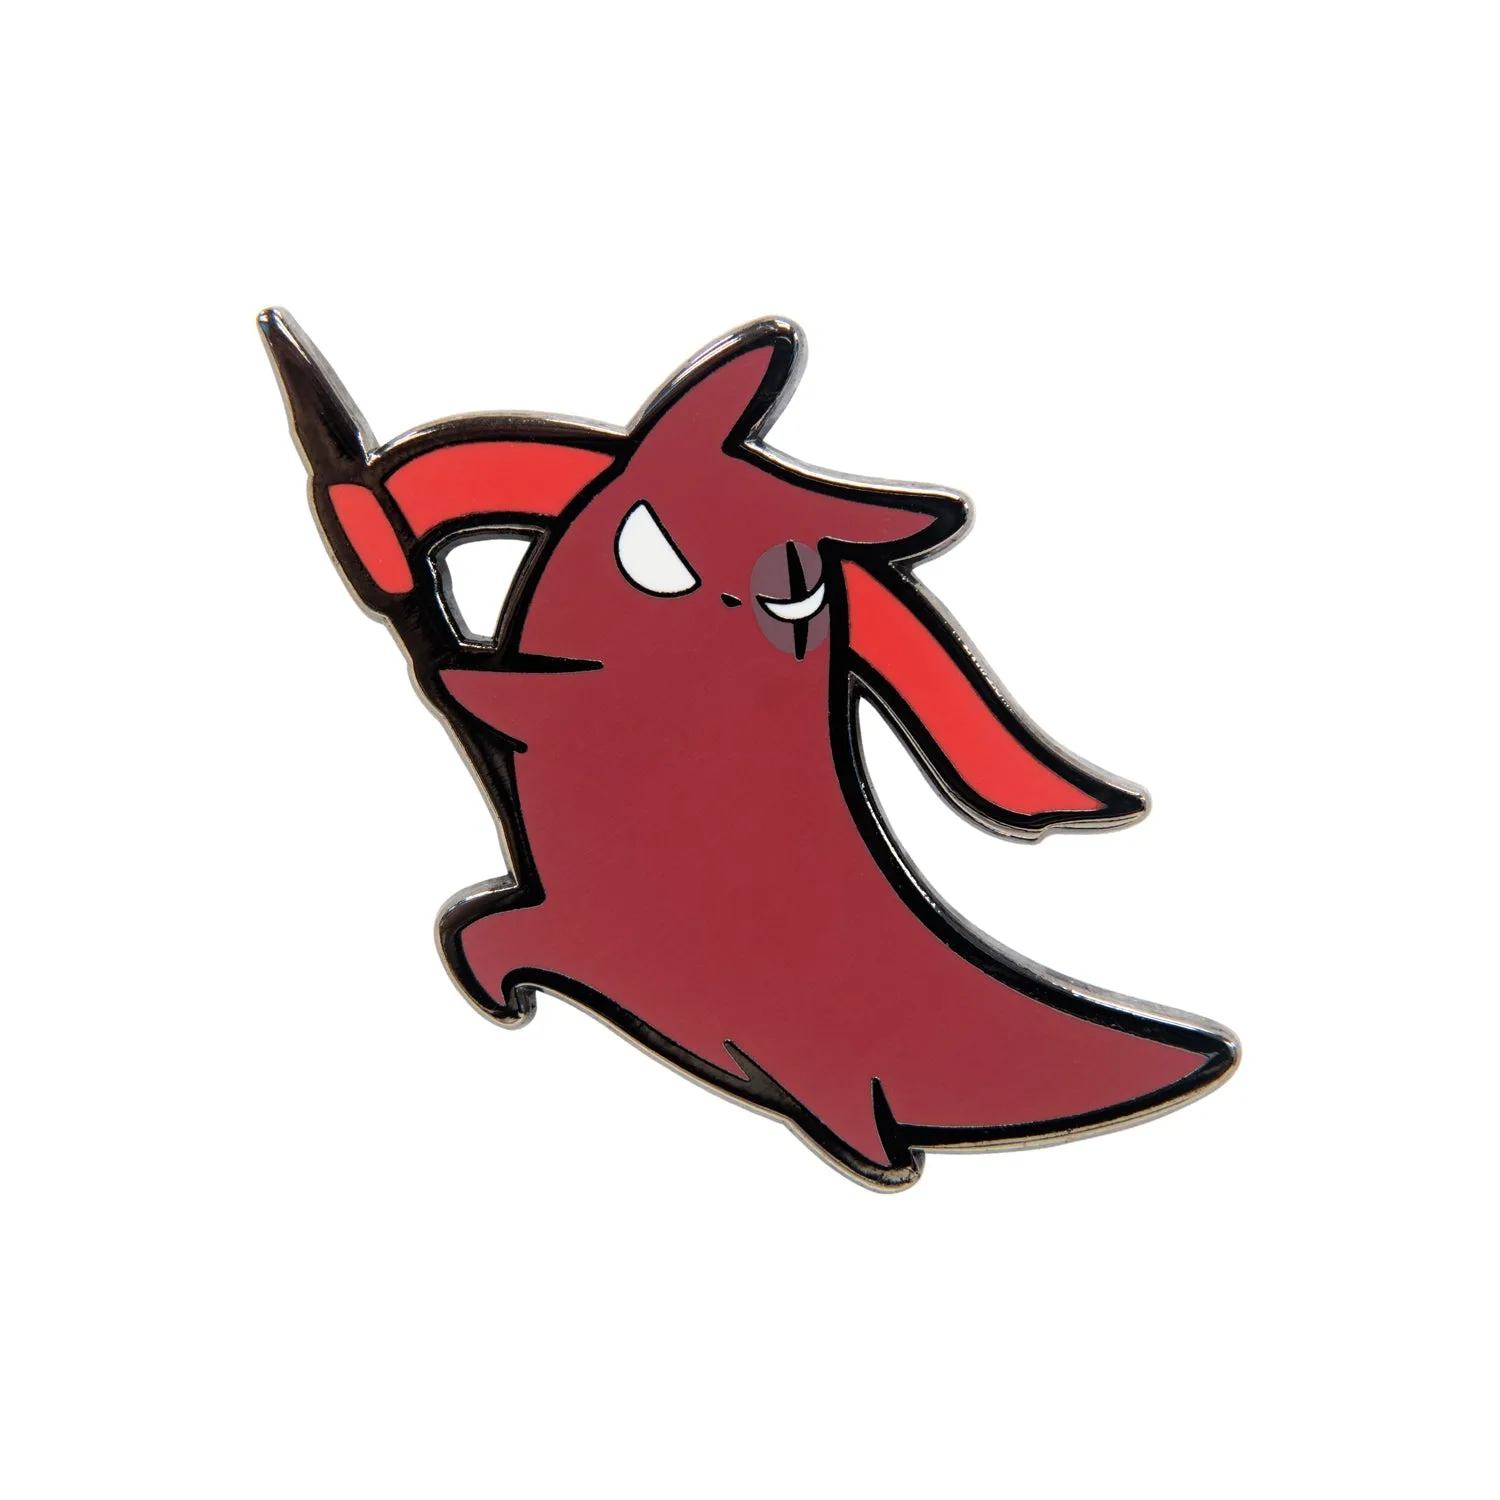
- Rain World - Artificer Slugcat Pin: Explosive things often come in small packages. Big things can definitely come in small packages, and the Artificer knows that very well, mostly because explosive things also often come in small packages. A small pin like this can sit on a poster ledge or shelf in front of your poster, adding a themed accent without needing extra wall space.
- Five Nights at Freddy's - Glamrock Bonnie Collector's Pin: Put a little bit of Glam into your day with our official Five Nights at Freddy's Security Breach Glamrock Bonnie Pin. Collector's pins are easy to rotate on a pin board or corkboard, so you can change the display alongside your poster without new holes.
Hanging a poster without nails comes down to matching the method to the weight and the wall. Adhesive strips and frames cover most situations, while magnetic hangers and tension rods give renters flexible, damage-free options. Test first, press firmly, and let the adhesive cure. Your walls and your poster will both thank you.