Quick answer
Use a dedicated reflector holder on a light stand, a pop-up background stand, or a reflector arm clamped to a sturdy support to position your reflector precisely without an assistant.
Why you need a dedicated holder or arm
Hand-holding a reflector works fine when you have an assistant, but solo shooting demands a stable, adjustable mount. A standard light stand alone won't grip a reflector securely—you need a holder or arm designed for the job.
The main trade-off is portability versus reach. A compact reflector holder is light and packs small but may not extend far. A longer arm gives you more positioning flexibility but adds weight and requires a heavier stand.
Choosing the right stand for your setup
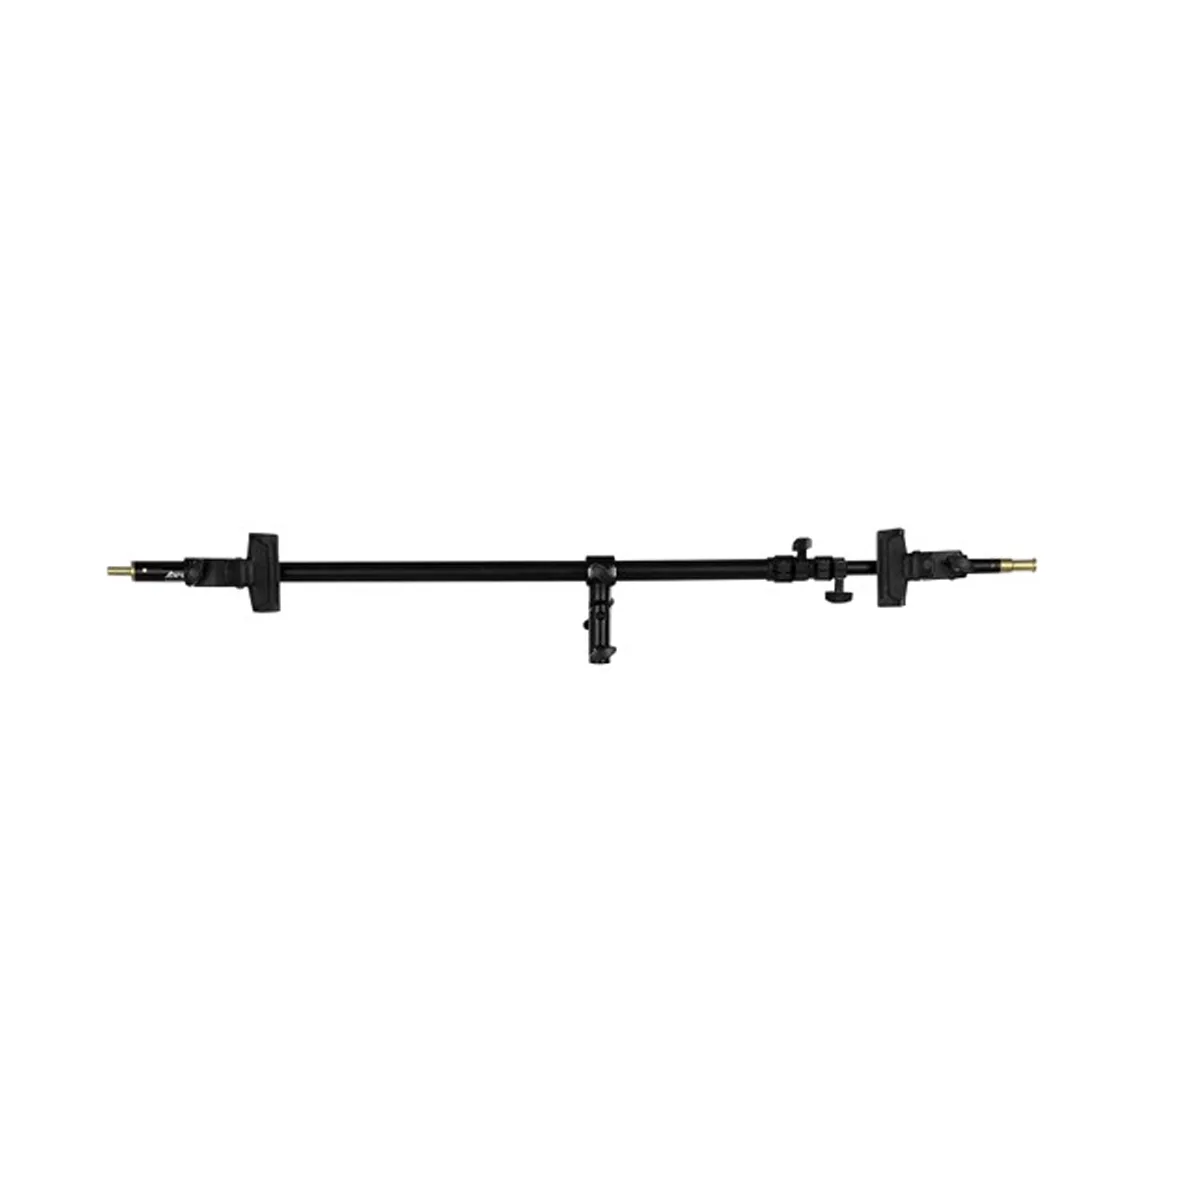
Your light stand must support the combined weight of the holder or arm plus the reflector. A lightweight aluminum stand works for a small 5-in-1 reflector with a simple holder. For a longer arm like the Westcott Illuminator/Reflector Arm Extreme, use a sturdier stand with a larger base to prevent tipping.
Check the stand's maximum load rating and the arm's weight. If you're using a pop-up background stand, it comes with its own legs and doesn't need a separate light stand.
Step-by-step: Setting up a reflector without an assistant
- Choose your mounting method: Decide between a reflector holder (clamps to the reflector's edge), a reflector arm (attaches to the stand and holds the reflector via a clamp), or a pop-up background stand (has a crossbar to drape or clip the reflector). A holder is simplest for small reflectors; an arm gives more reach; a pop-up stand is best for larger backgrounds.
- Attach the holder or arm to the stand: Slide the holder's metal pin into the stand's receiver and tighten the thumbscrew. For an arm, clamp it to the stand's riser section. Ensure all knobs are snug but not overtightened. Common mistake: attaching the arm too low on the stand, limiting height adjustment. Place it near the top of the riser for maximum range.
- Mount the reflector securely: Open your collapsible reflector and insert its edge into the holder's spring-loaded grip or clip it to the arm's clamp. Make sure the reflector is centered and the grip holds firmly without slipping. Check that the reflector doesn't droop—if it does, tighten the holder's tension knob or reposition the clamp.
- Position the stand and adjust the reflector: Move the stand to your desired distance and angle. Use the holder's tilt mechanism or the arm's articulating joints to aim the reflector. Lock each joint after adjustment. Common mistake: not locking all joints, causing the reflector to drift during shooting. Double-check each knob.
- Add a sandbag for safety: If you're working outdoors or on a windy day, hang a sandbag on the stand's leg or base to prevent tipping. Even a small reflector can catch the wind and topple a lightweight stand. Never skip sandbags when using a long arm—the leverage increases the risk of tipping.
Gear that makes solo reflector work easy
-
ProMaster Light Stand Reflector Holder: Price Guarantee Rent Now The ProMaster Light Stand Reflector Holder is an affordable, compact option that attaches directly to any standard light stand, letting you tilt and rotate your reflector without extra hardware.
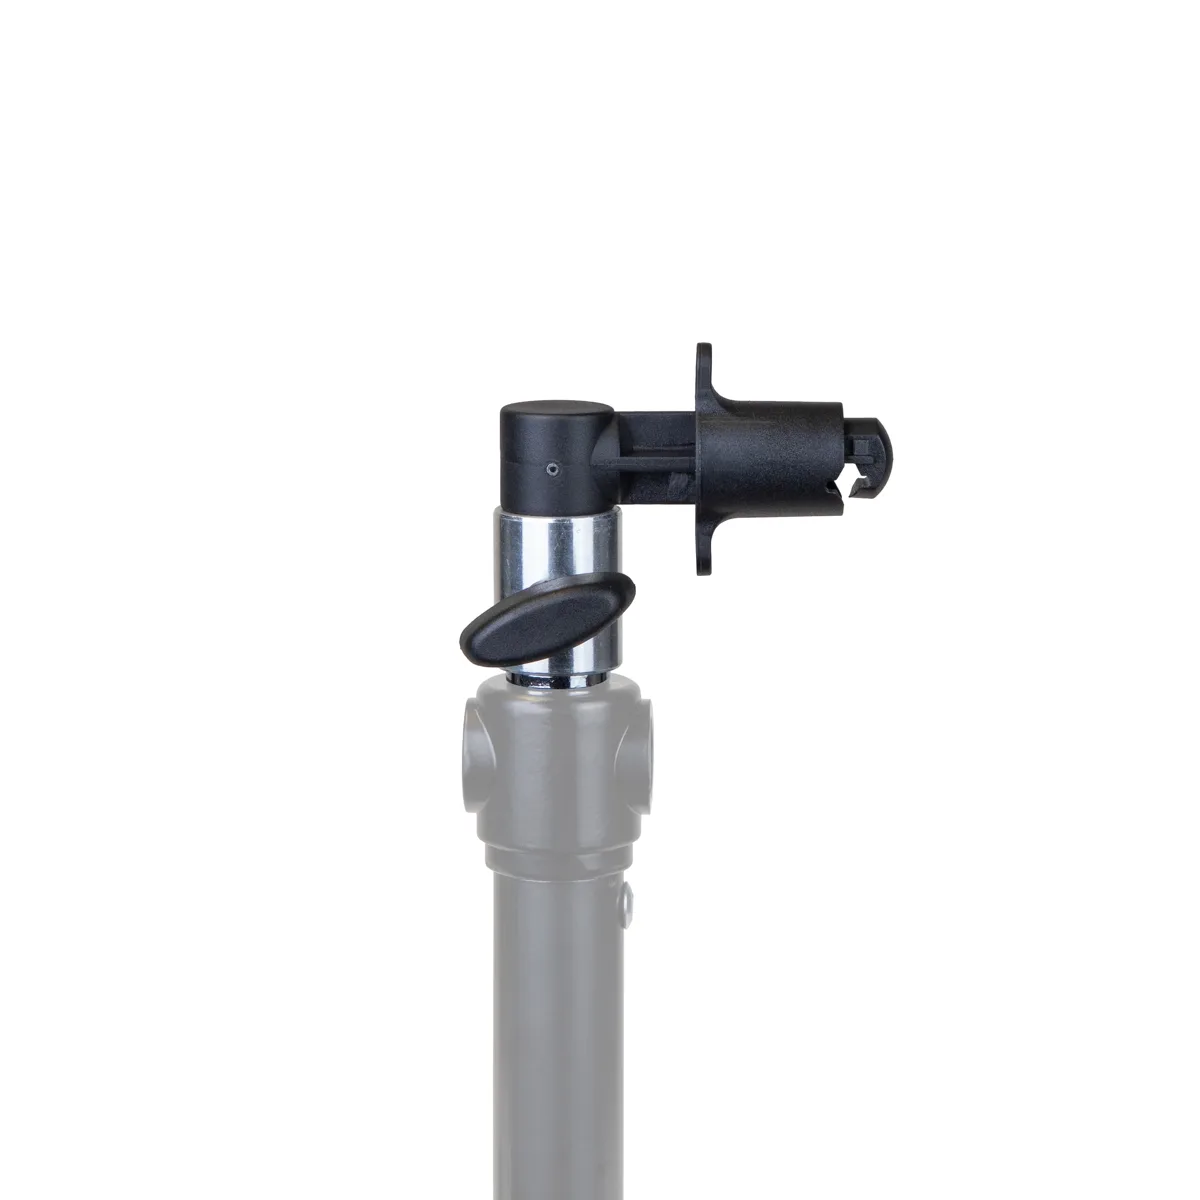
ProMaster Light Stand Reflector Holder
-
ProMaster Pop-up Background and Reflector Stand: Price Guarantee Rent Now The ProMaster Pop-up Background and Reflector Stand is a self-contained stand with a crossbar, so you can hang a reflector or background without needing a separate light stand or arm.
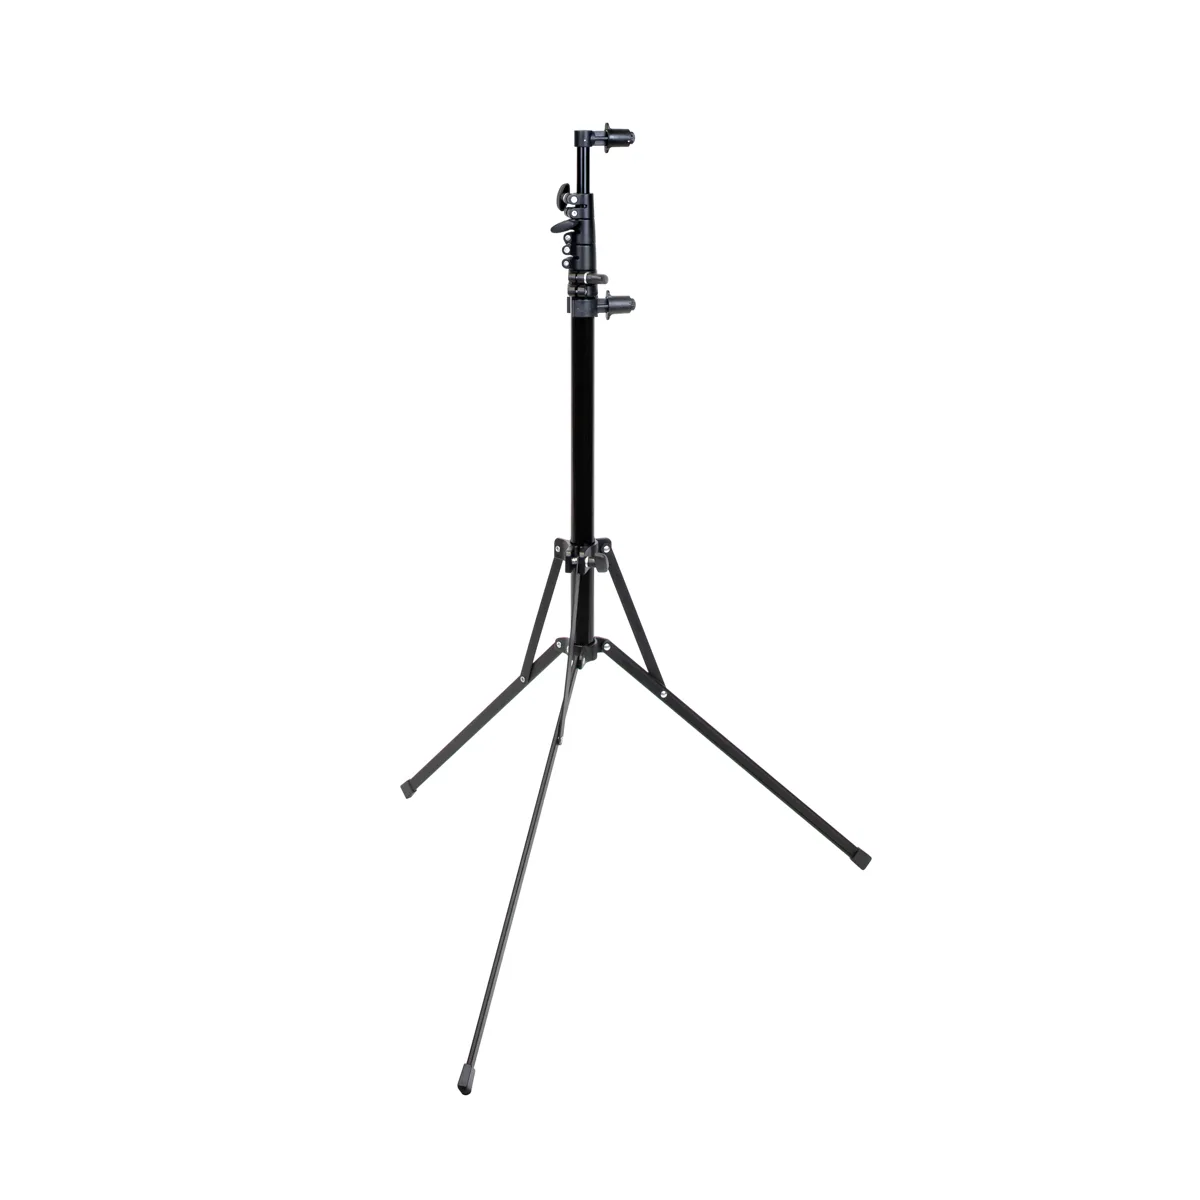
ProMaster Pop-up Background and Reflector Stand
-
Westcott Illuminator/Reflector Arm Extreme: Price Guarantee Rent Now The Westcott Illuminator/Reflector Arm Extreme extends further from the stand, giving you more freedom to position the reflector overhead or at an angle while keeping the stand safely out of the frame.