Quick answer
Mount a 17 inch standard trapeze bar on a swing beam that is solid, level, and free of cracks, using the spring clips and hardware that came with the bar. Hang it so the bar sits about 8 to 10 inches above the ground at rest, keep at least 6 feet of clear space in front of and behind it, and tighten every bolt before a child touches it. If your beam is split, soft, or too high to reach safely, fix the beam first.
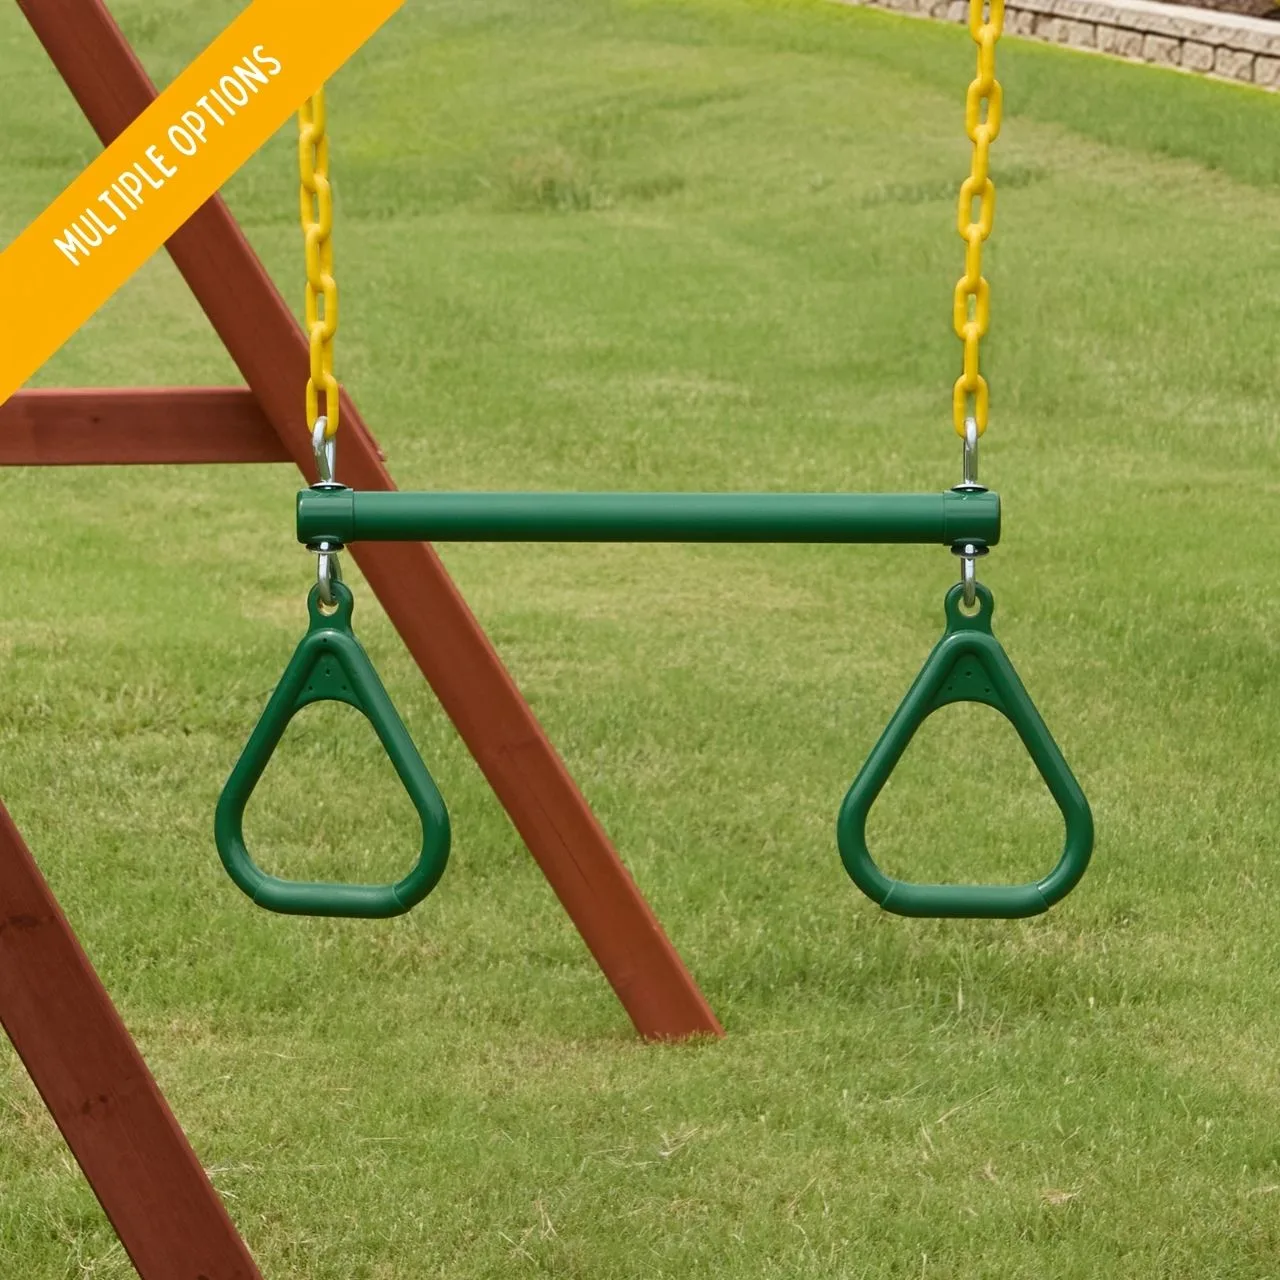
17 inch standard trapeze bar
A trapeze bar adds a different kind of play to a swing set: hanging, swinging, and flipping instead of just back-and-forth motion. The install itself is simple, but the details matter. A bar that hangs too low, sits too close to a slide, or attaches to a weakened beam can turn a fun accessory into a repair project or a safety problem.
This guide walks through the full process for a 17 inch standard trapeze bar, from checking your beam and gathering hardware to the final pull test. It also covers the two mistakes we see most often: mounting to a beam that is not rated for the load and guessing the hanging height instead of measuring it.
Check the swing beam before you drill
Start by inspecting the beam where the trapeze bar will hang. Look for cracks, soft spots, previous drill holes, and any sign of rot or splitting. A trapeze bar puts repeated dynamic load on the beam, so a beam that is already compromised is not a safe mounting point. If you are unsure whether your beam can handle an added accessory, check your swing set manual or contact the manufacturer before drilling.
You also need enough clear beam length. A trapeze bar swings forward and back, so it should not share space with a slide exit, a rock wall, or another swing that a child could collide with. Measure the open span first, then decide where the bar goes.
- Common mistake: drilling into a beam that already has unused holes nearby, which weakens the wood further.
- Checkpoint: press a screwdriver into the beam. If it sinks in easily, the wood is too soft for mounting.
Gather the right hardware and tools
A standard trapeze bar installation uses spring clips, a trapeze bar, plastisol coated chain, and the mounting hardware that connects the chain to the beam. Use the hardware supplied with your bar or swing set rather than substituting generic bolts, because load-rated hardware is matched to the accessory. You will also need a drill, a wrench or socket set, a tape measure, a level, and a ladder.
If your bar did not include mounting hardware, or if the original bolts are missing, order replacements from the same manufacturer. Mixing hardware from different kits is one of the most common causes of loose or failing trapeze bar mounts.
- Common mistake: using a bolt that is too short and only catches the first inch of the beam.
- Checkpoint: lay out every part before you climb the ladder so you are not making trips up and down.
Mark and drill the mounting points
Hold the mounting bracket or chain attachment against the beam and mark the hole locations with a pencil. Keep the two mounting points level with each other so the bar hangs straight. If your beam is a 4x4 or 4x6, center the holes on the face of the beam rather than near the edge, where the wood is more likely to split.
Drill pilot holes slightly smaller than your bolts. This prevents the beam from cracking and gives the threads something to bite into. If you hit a knot or the drill pulls off center, back out and reposition rather than forcing the bit through.
- Common mistake: drilling all the way through the beam when the hardware only needs to go partway.
- Checkpoint: test the bolt by hand. It should thread in with resistance, not drop in loosely.
Attach the trapeze bar and set the height
Bolt the chain or spring clip to the beam, then hang the trapeze bar. For a 17 inch standard trapeze bar, the bar itself should rest roughly 8 to 10 inches above the ground when nothing is on it. That height lets a child grab the bar from a standing position and still gives enough clearance for swinging without the bar scraping the ground.
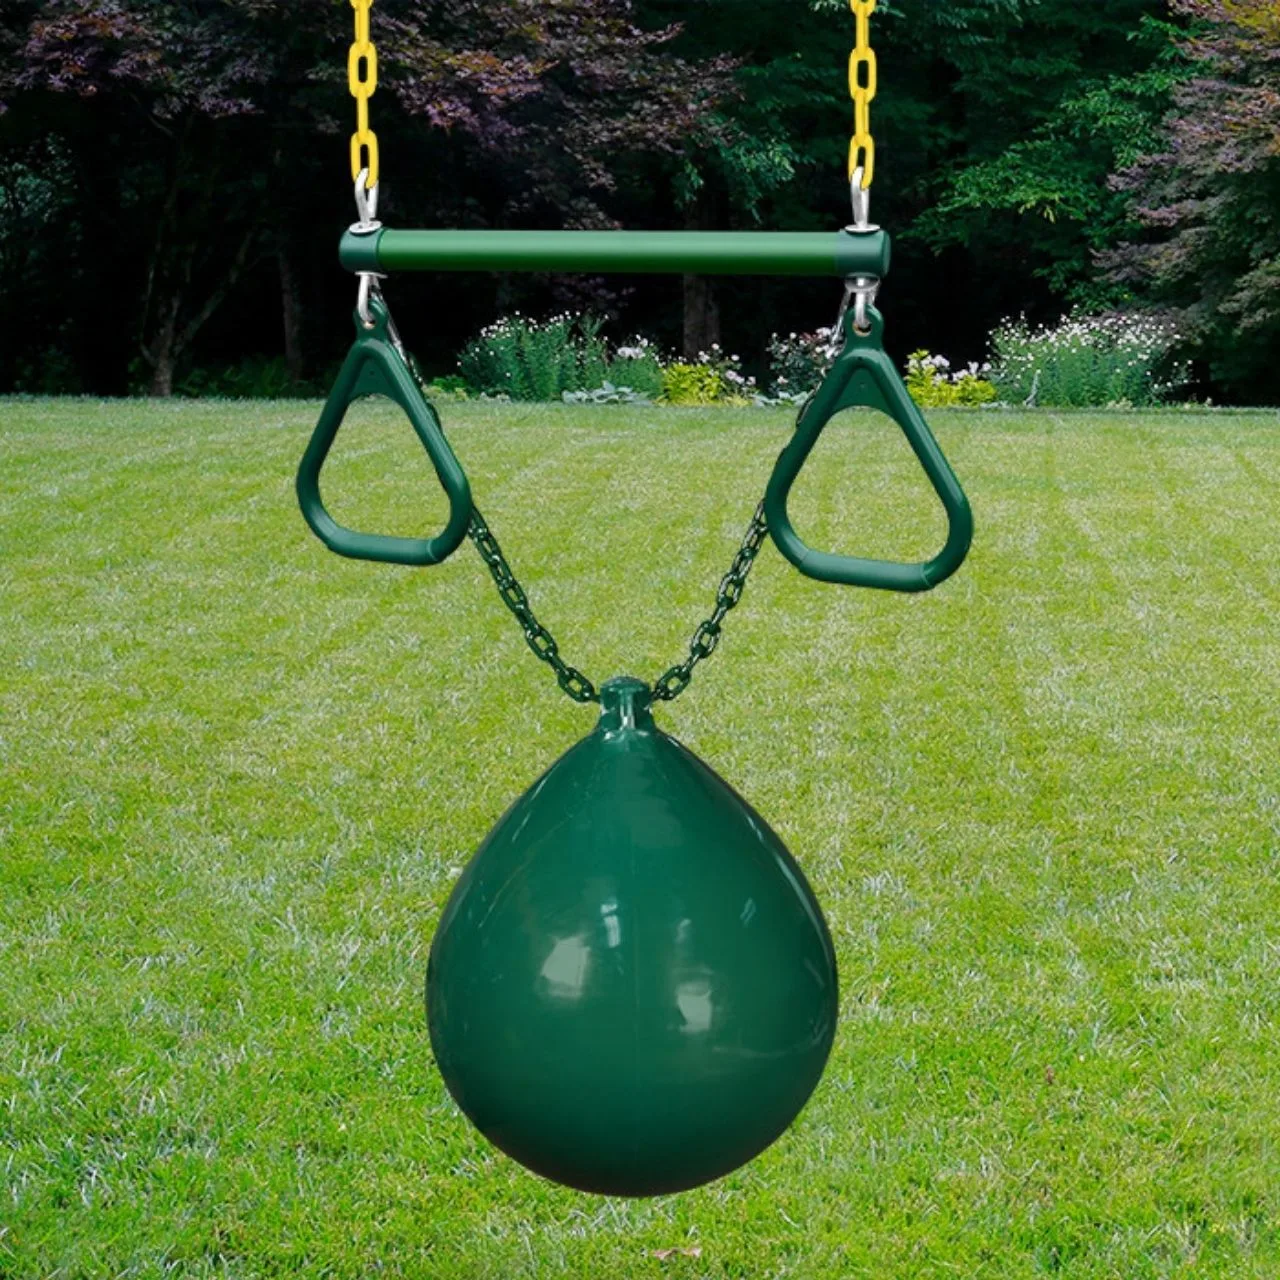
If your swing set uses a trapeze bar with a buoy ball, the ball changes the effective hanging height. In that case, set the height with the ball attached, because the ball adds length and weight to the assembly.
- Common mistake: setting the height with the chain fully extended, then finding the bar drags once a child swings.
- Checkpoint: measure from the bottom of the bar to the ground on both sides. If the numbers differ, the beam or chain is not level.
Do the final safety checks
Once the bar is hung, tighten every bolt and clip, then pull down firmly on the bar with your full body weight. The beam should not flex, creak, or move. Check that the spring clips are fully closed and that the chain is not twisted. A twisted chain will wear against itself and can eventually fail.
Finally, clear the landing zone. Remove rocks, toys, and anything else under and around the bar, and make sure there is at least 6 feet of open space in front of and behind it. A trapeze bar is a swinging accessory, so the space around it matters as much as the hardware holding it up.
- Common mistake: skipping the pull test because the bar feels tight by hand.
- Checkpoint: re-check the bolts after the first week of use, since wood can settle.
Trapeze bar installation steps at a glance
- Inspect the beam: Check for cracks, rot, and old holes before drilling anything. If the beam is soft or split, stop and repair or replace it first.
- Lay out hardware: Confirm you have spring clips, chain, and load-rated bolts that match your bar. Missing hardware is the most common reason installs stall halfway.
- Mark and drill pilot holes: Keep mounting points level and centered on the beam face. Pilot holes prevent splitting and keep bolts aligned.
- Hang and set height: Attach the chain or clip, then set the bar about 8 to 10 inches above the ground. Measure both sides so the bar hangs level.
- Pull test and clear the zone: Pull down with your weight, tighten everything, and clear 6 feet of space around the bar. Re-check bolts after the first week of use.
Accessories that pair with a trapeze bar install
- Buoy Ball with Trapeze Bar: This accessory includes spring clips, a trapeze bar, plastisol coated chain, and a 15 inch un-inflated buoy ball, and it can be added to a Gorilla Playset swing beam. If you want a combined ball-and-bar setup, this kit gives you the matching chain and clips so you are not sourcing hardware separately.
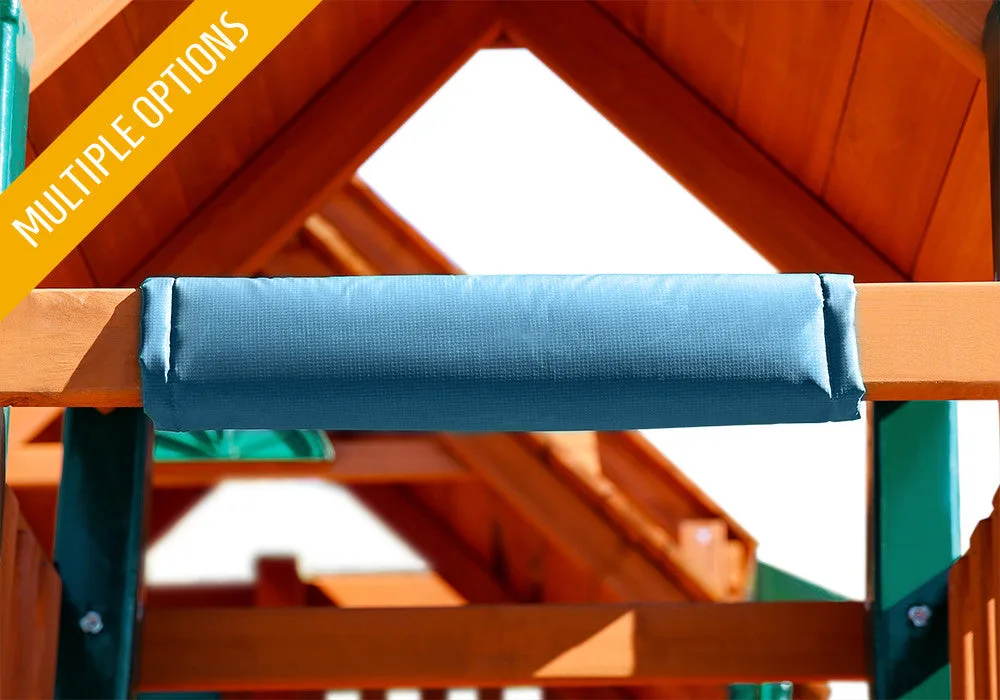
- Swing Set Safety Pad: The safety pad wraps around solid wood boards or wood slats to cover an area of concern. If your beam or a nearby board has a sharp edge or a spot you want to cushion, a pad is a simple add-on during the same install session.
- 21" Metal Safety Handles: These are commercial grade 21 inch handles, powder-coated forest green, and hardware is not included. They are for residential use only. Handles near a trapeze bar give kids a stable grip point when they climb up or step off, but you will need to supply your own mounting hardware.
A trapeze bar install comes down to three things: a sound beam, the right hardware, and a measured hanging height. Get those right, do the pull test, and you have an accessory that adds a new kind of play without adding risk.