Quick Answer
To install a 4 AWG power kit for your car audio amplifier, first disconnect the battery, then route the power cable from the battery to the amp through the firewall, connect the ground cable to a clean chassis point, and install the fuse within 18 inches of the battery. Always use quality materials and check each connection for tightness.
Upgrading your car audio system with a 4 AWG power installation kit ensures your amplifier receives the current it needs without voltage drops or overheating. Whether you're powering a compact 300-watt amp or a high-current 2,500-watt model, a proper installation is critical for performance and safety.

4 AWG power installation kit
This guide walks you through the entire process, from planning the route to securing the final connections. Along the way, we'll highlight common mistakes and checkpoints so you can avoid the pitfalls that lead to noise, blown fuses, or even electrical fires.
What You Need for a 4 AWG Power Kit Installation
Before starting, gather all components: a 4 AWG power cable (usually red), a 4 AWG ground cable (black), an inline fuse holder with an appropriate fuse, ring terminals, wire cutters/strippers, a drill with bits, grommets, zip ties, and basic hand tools. If your kit doesn't include a fuse, purchase one rated for your amplifier's current draw—check the amp's manual for the recommended fuse size.
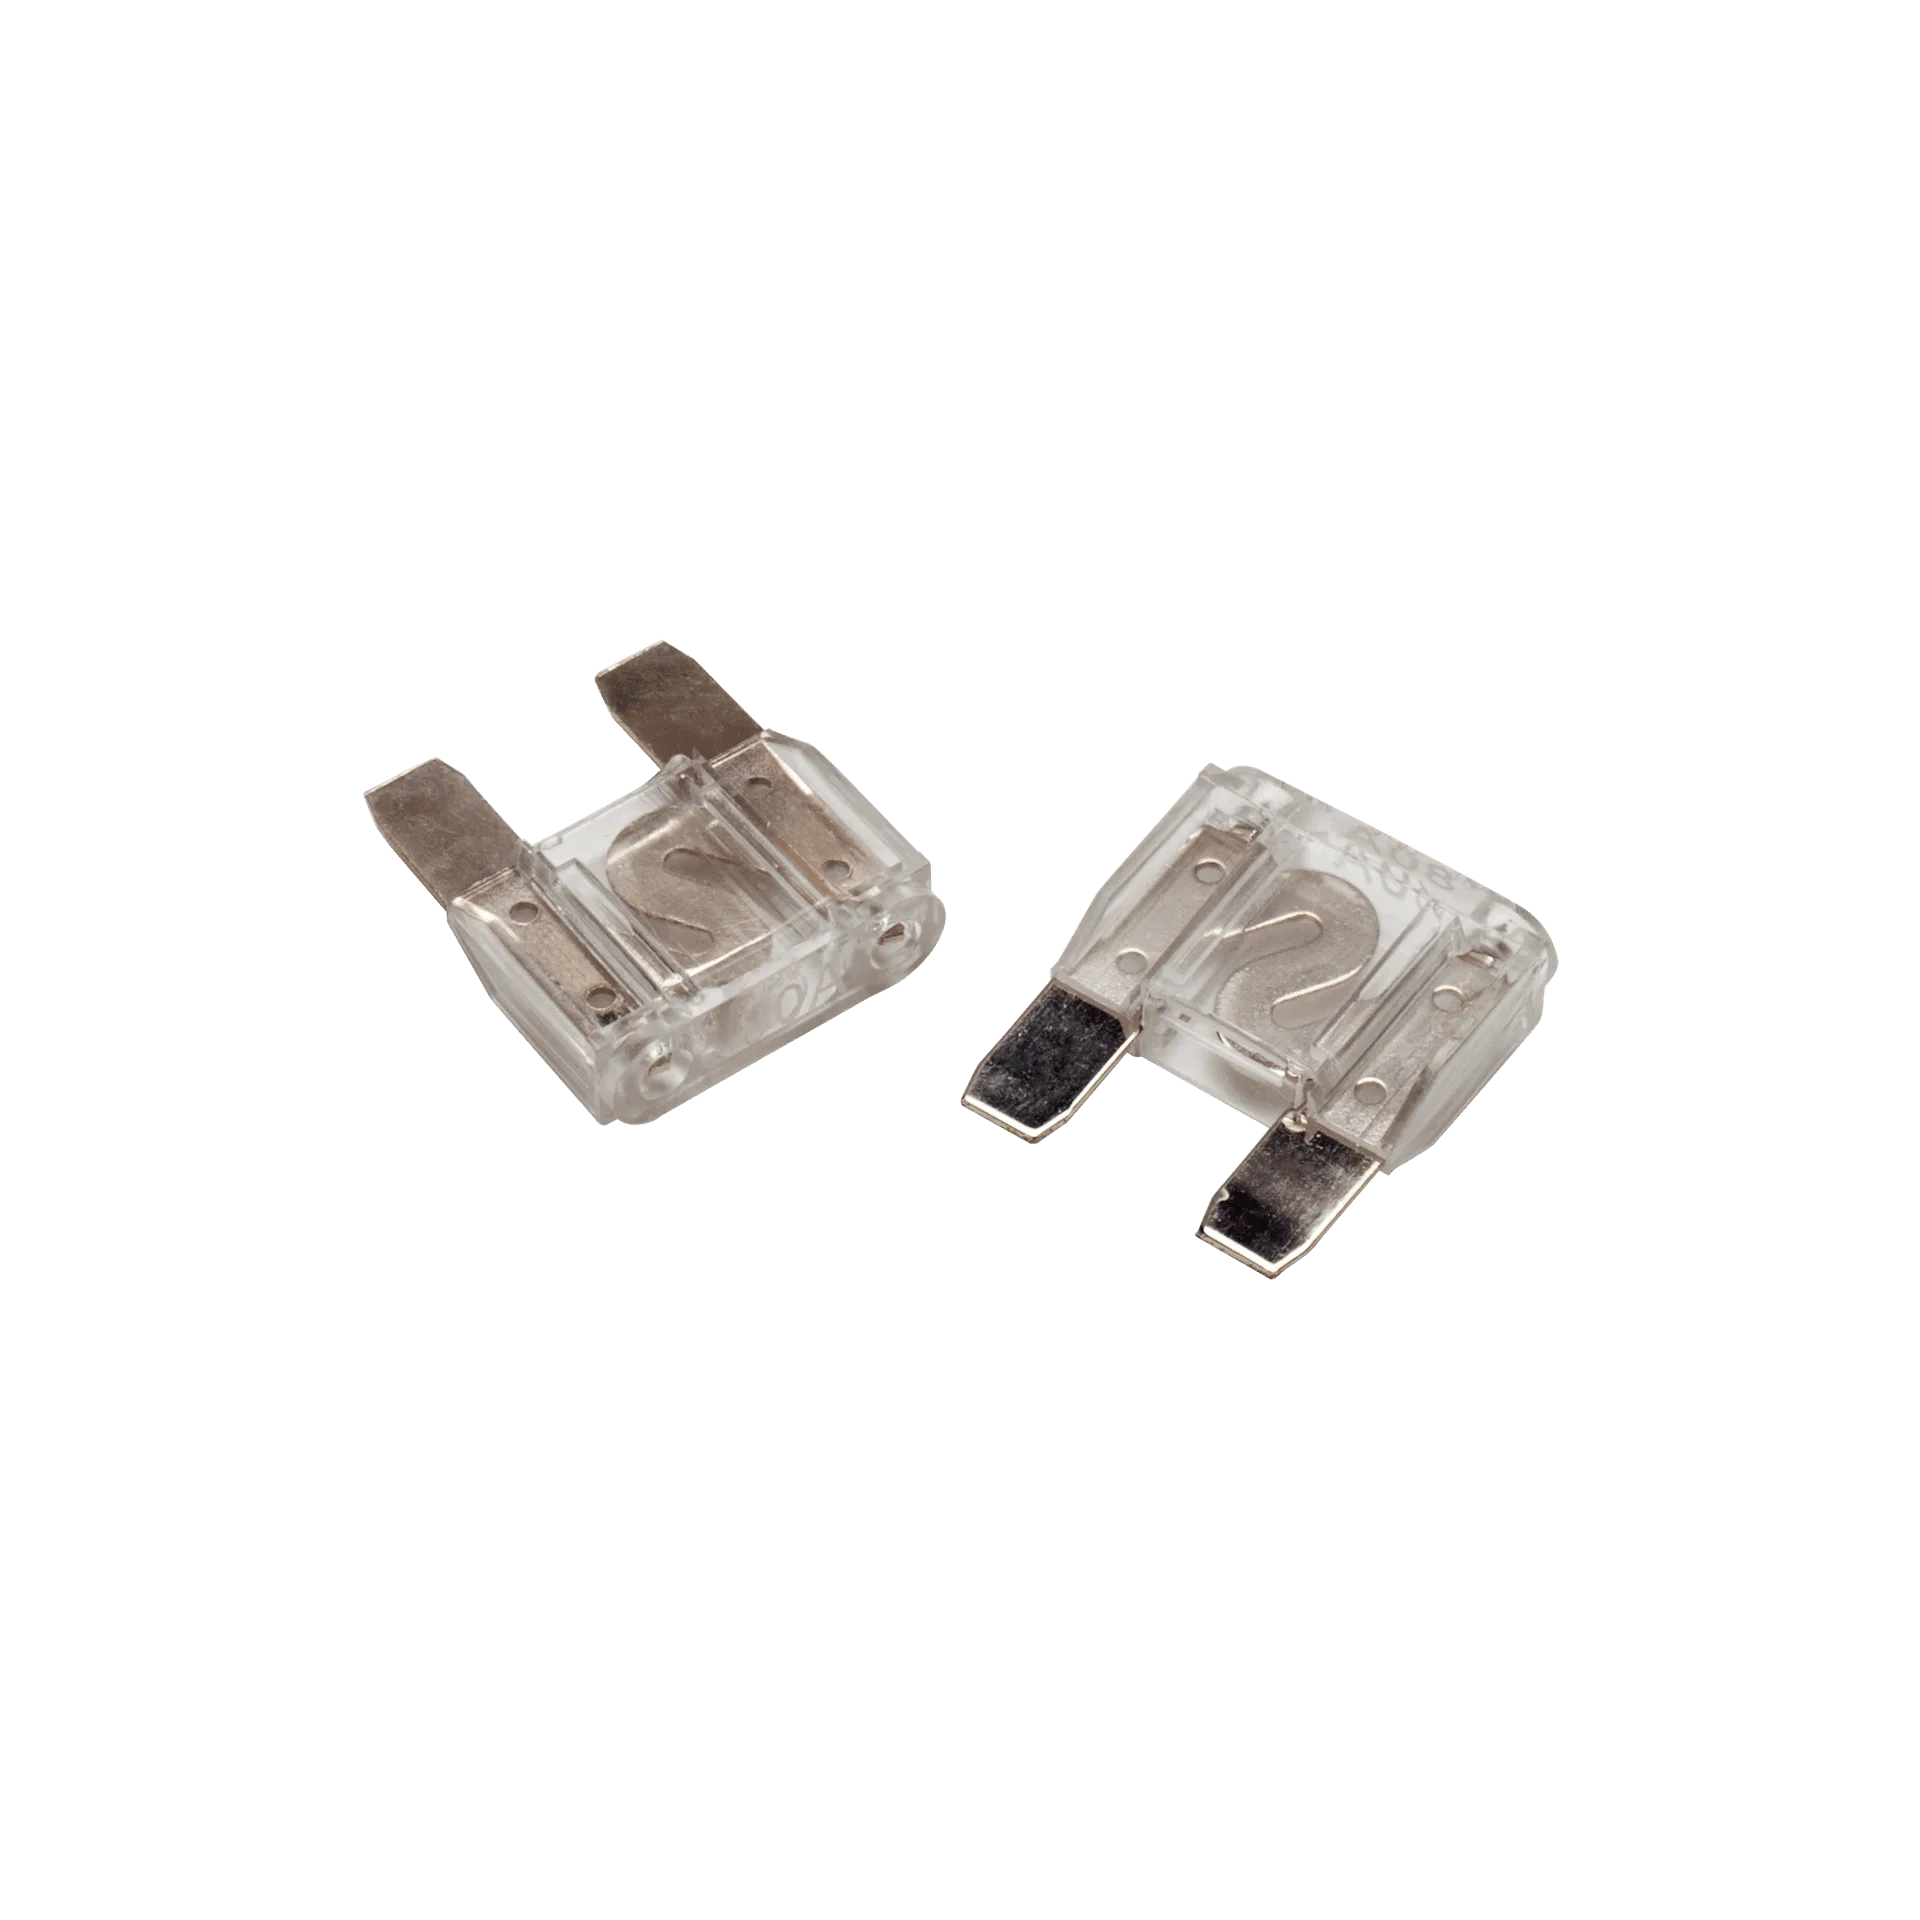
Choose a fuse holder that matches your cable gauge and is easy to access. For high-power systems, consider an ANL or Maxi fuse holder; for moderate power, a standard AGU or mini-ANL works. The Rockford Fosgate 80 Amp Maxi Fuse is a reliable replacement option if you need a spare.
80 Amp Maxi Fuse
- Always disconnect the negative battery terminal before working on any wiring.
- Use a grommet when passing the cable through metal to prevent chafing.
Planning the Power Cable Route
Decide how to route the 4 AWG power cable from the battery to the amplifier. The best path is usually along the vehicle's factory wiring harness, inside the cabin, under the carpet or door sills. Avoid running the power cable alongside RCA signal cables or speaker wires to prevent alternator whine and noise.
Measure the length you need and leave extra slack for maneuvering. Use a wire loom or split tubing to protect the cable. For a clean and safe installation, secure the cable every 12–18 inches with zip ties or clamps.
- Check for moving parts, sharp edges, and heat sources like the exhaust or heater core when routing.
Connecting the Power Cable to the Battery
Attach the ring terminal to the power cable and connect it to the positive battery terminal. If you have multiple amplifiers, use a distribution block. Install the fuse holder as close to the battery as possible—ideally within 18 inches—to protect the entire cable run. Insert the fuse only after all connections are made.
Make sure the fuse holder is securely mounted and not near moving engine parts. Use a rubber grommet where the cable passes through the firewall.
- Double-check that the fuse is rated correctly for your amplifier's current draw.
Grounding the Amplifier
The ground cable is as important as the power cable. Keep it short—no longer than 18 inches—and connect it to a clean, bare metal chassis point. Scrape away paint and rust, then use a ring terminal and a self-tapping screw or bolt. A poor ground causes noise and can damage the amplifier.
If you're grounding multiple amps, use a ground distribution block. Ensure the ground point is structurally sound and not just a thin metal panel.
- Test the ground by measuring resistance between the chassis point and the battery negative terminal—should be near zero ohms.
Connecting the Amplifier and Final Checks
Connect the power and ground cables to the amplifier's terminals, observing correct polarity. Tighten all screws securely but don't overtighten. Connect the remote turn-on wire and RCA cables as per your system design. Before reconnecting the battery, inspect all connections for loose wires or exposed copper.
Reconnect the negative battery terminal, then insert the fuse. Turn on the head unit and check that the amplifier powers up without blowing the fuse. Listen for any noise or distortion, and verify that the amplifier's gain is set appropriately.
- If the fuse blows immediately, do not replace it with a higher-rated one—find the short circuit first.
Step-by-Step Installation Checklist
- Disconnect battery: Remove the negative battery terminal to prevent shorts and sparks. Checkpoint: Ensure the cable is not touching any metal before proceeding.
- Route the power cable: Run the 4 AWG cable from the battery through the firewall, protecting it with a grommet and loom. Avoid sharp edges and heat sources; secure with zip ties.
- Install the fuse holder: Mount the fuse holder within 18 inches of the battery and connect the power cable. Do not insert the fuse yet; leave it out until all connections are made.
- Connect the ground cable: Attach the ground cable to a clean, painted-free chassis point using a ring terminal and bolt. Keep the ground cable short and test for continuity.
- Connect to the amplifier: Secure power and ground to the amp, then connect remote and RCA cables. Check that all terminals are tight and no wire strands are exposed.
- Reconnect battery and test: Reattach the negative terminal, insert the fuse, and power on the system. If the fuse blows, inspect for shorts; never use a higher-rated fuse.
Products That Help with Your Installation
- 20 Feet Twisted Pair Signal Cable: The 20 Feet Twisted Pair Signal Cable from Rockford Fosgate delivers a reliable audio connection for your car audio system. Engineered with a twisted pair design and a woven outer shield, this cable helps minimize interference and maintain signal integrity over its 20-foot (6-meter) length. When running your power cable, you'll also need quality RCA cables. This twisted pair cable reduces noise and crosstalk, ensuring your amplifier receives a clean signal even when routed near power wires.
- 80 Amp Maxi Fuse: The Rockford Fosgate 80 Amp Maxi Fuse is a reliable replacement fuse designed for use in automotive audio systems. It provides a straightforward solution for protecting your equipment with a standard maxi-style fuse rated at 80 amps. For amplifiers drawing around 80 amps, this fuse is a perfect match. Always use the correct fuse rating to protect your equipment and avoid electrical fires.
Installing a 4 AWG power kit is a straightforward project that pays off with reliable amplifier performance and peace of mind. By following these steps and checking each connection, you'll avoid common pitfalls and enjoy clean, powerful sound. Remember to use quality components and always prioritize safety.