Quick answer
Installing a brass zipper on a bag requires careful pinning, basting, and sewing with a zipper foot. Use a closed-end brass zipper like the 12" Brass Zipper from Klum House for a clean, professional finish.
Why Choose a Brass Zipper for Your Bag
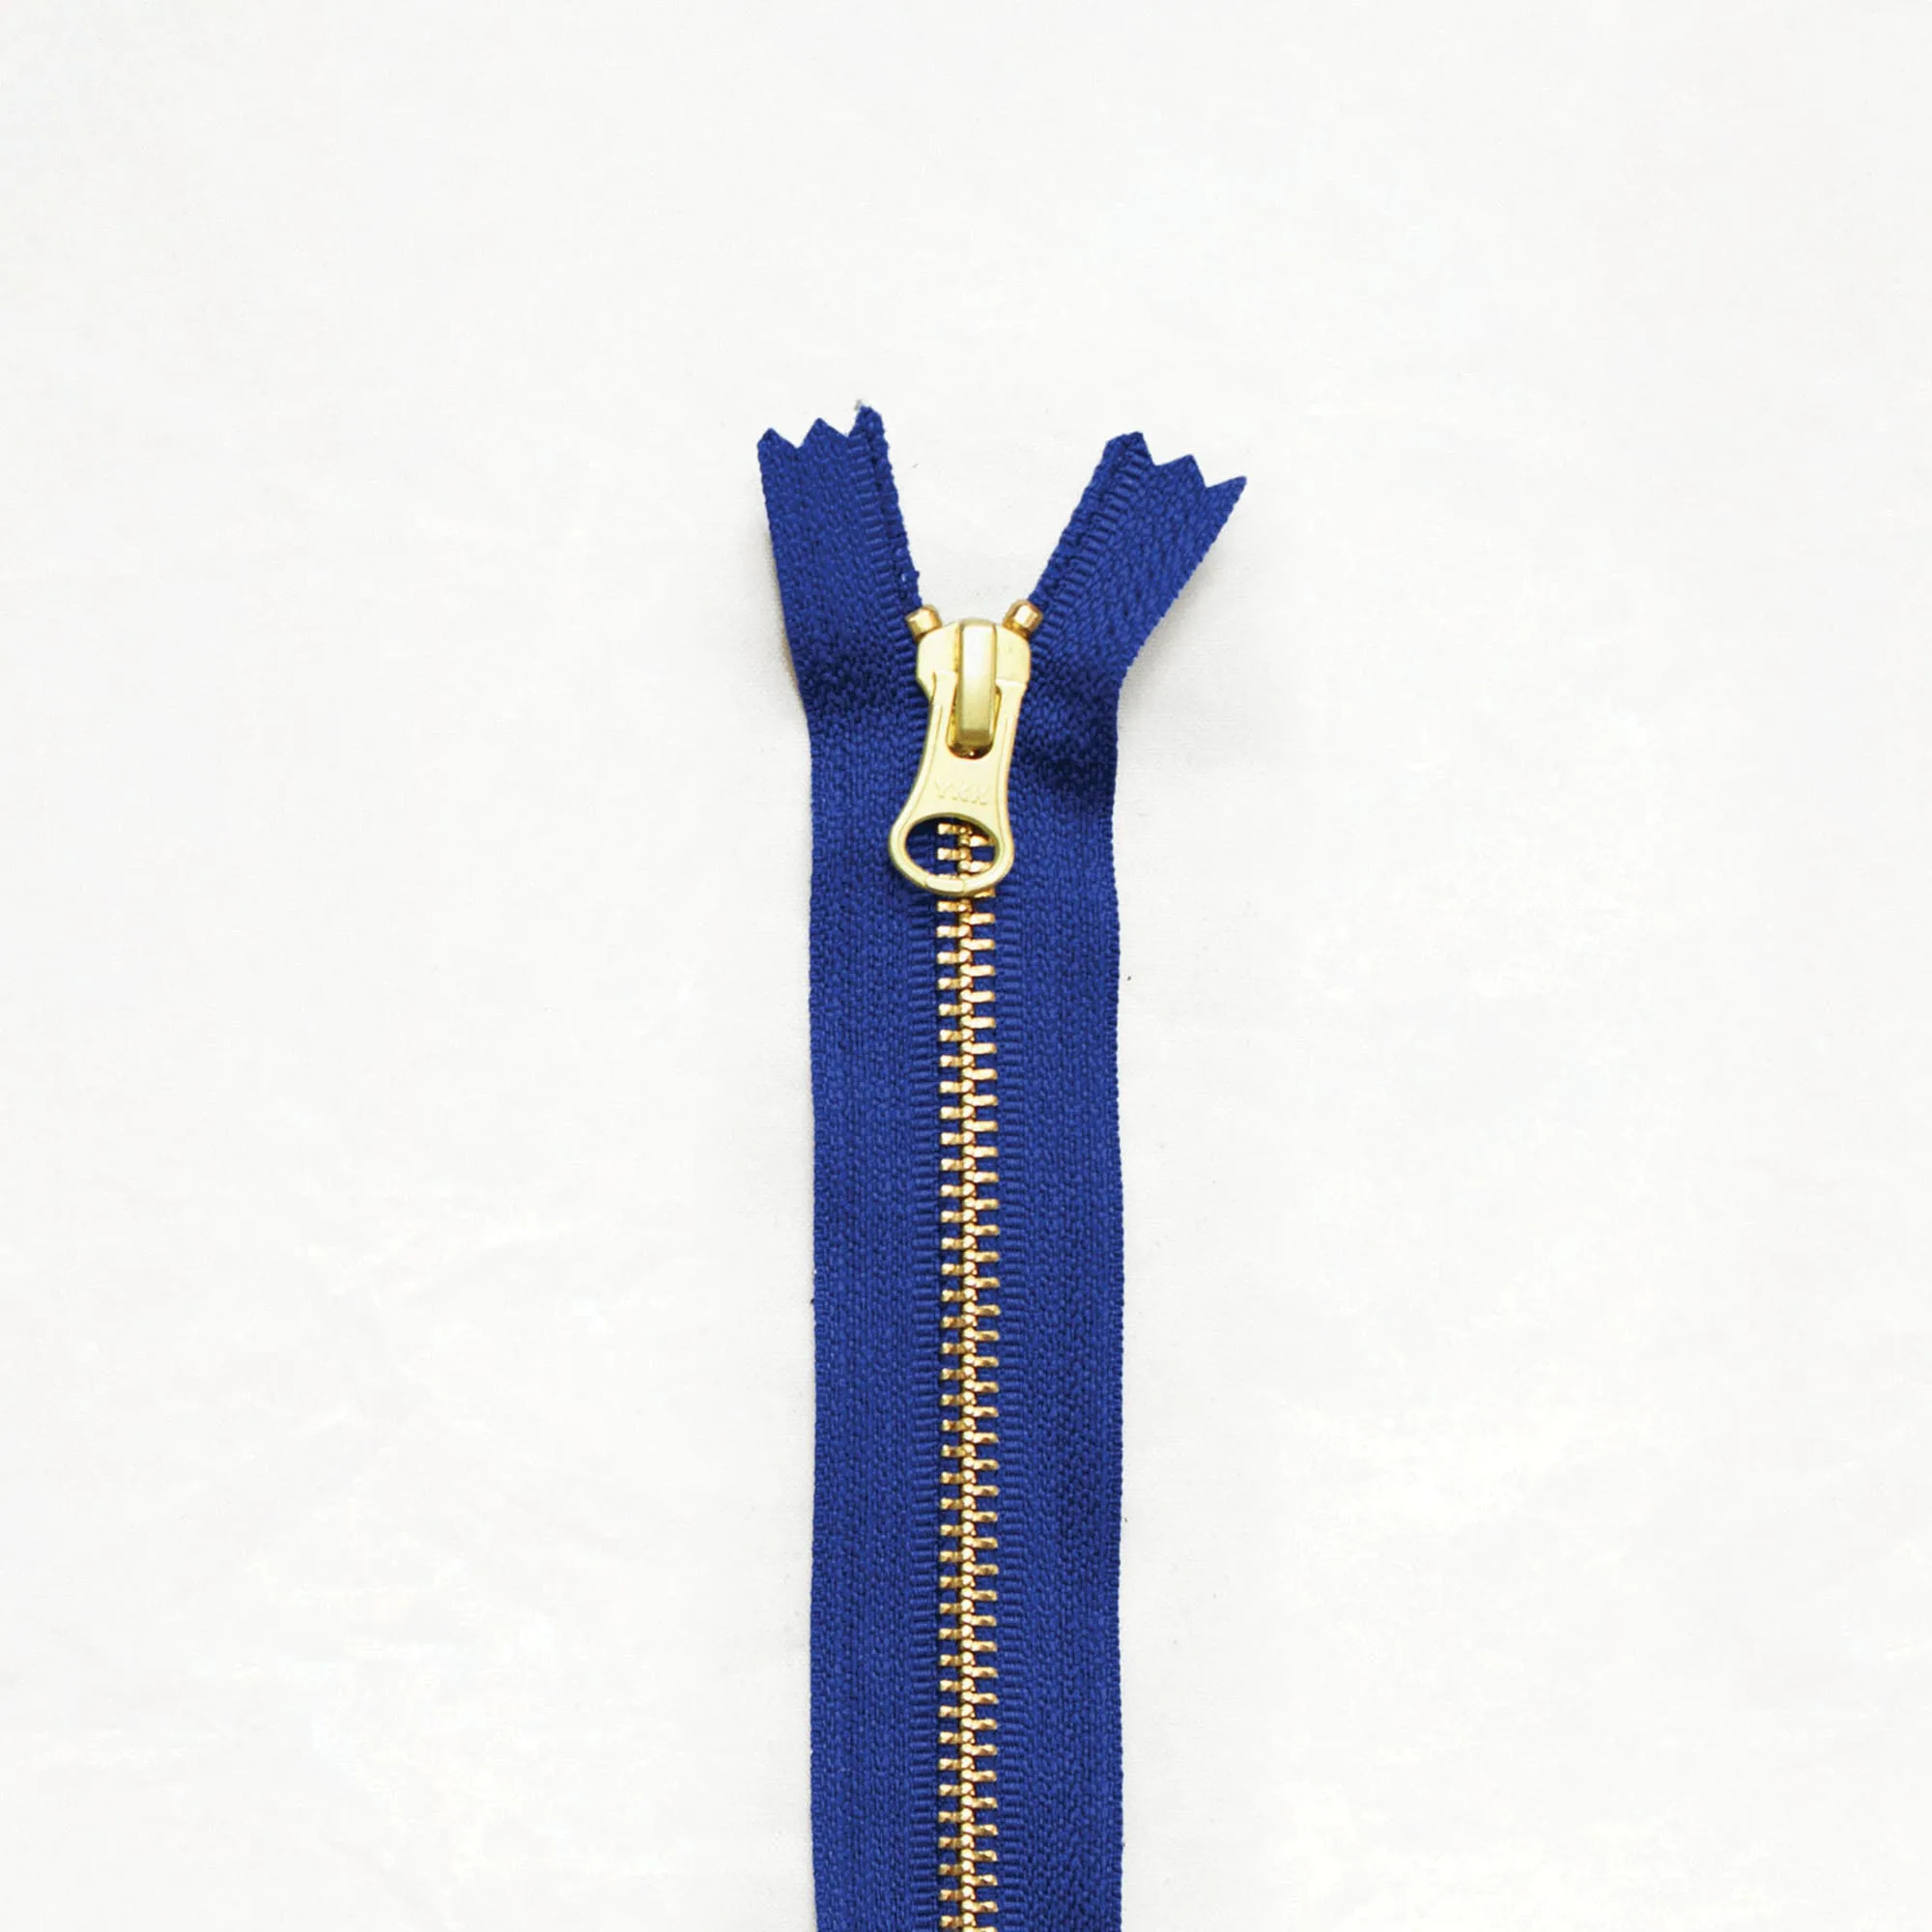
Brass zippers add durability and a classic look to handmade bags. The 12" Brass Zipper from Klum House is a #5 YKK zipper with a closed end, real metal construction, and a smooth slide action. Its large slider opening accommodates a leather zipper pull, giving your bag a refined finish.
Tools and Materials You'll Need
Gather your bag panels, a brass zipper, sewing machine with zipper foot, fabric scissors, pins or clips, and thread matching your fabric. For best results, use a walking foot if your machine has one.
Step-by-Step: Install a Brass Zipper
- Prepare the zipper and fabric: Cut your bag panels to size, leaving a 1/2-inch seam allowance. Mark the zipper opening on the fabric. If your zipper is longer than the opening, mark the stopping point and sew a few stitches across the zipper tape to create a stopper. Common mistake: cutting the zipper too short. Always test-fit before trimming.
- Pin or clip the zipper in place: Place the zipper face down along the seam allowance of one bag panel, aligning the zipper teeth with the seam line. Pin or clip the zipper tape to the fabric at 1-inch intervals. The closed end should sit at the edge of the fabric. Checkpoint: ensure the zipper is straight and not twisted. Use wonder clips instead of pins to avoid bending the zipper tape.
- Baste the zipper: Using a long stitch (4-5 mm) and a regular presser foot, sew a basting line 1/4 inch from the zipper teeth to hold the zipper in place. Remove pins or clips as you sew. Common mistake: sewing too close to the teeth. Keep the basting line at least 1/4 inch away to leave room for the final seam.
- Sew the final seam with a zipper foot: Switch to a zipper foot and set your stitch length to 2.5-3 mm. Sew along the edge of the zipper teeth, starting from the closed end and stopping at the marked opening. Backstitch at both ends. Checkpoint: sew slowly and keep the needle aligned with the zipper teeth for a straight line. If the fabric puckers, reduce tension or use a walking foot.
- Repeat for the second panel: Lay the second bag panel right side down on the zipper, aligning its seam allowance with the zipper tape. Pin, baste, and sew as before. Press the seam open with an iron. Common mistake: the second panel shifts. Pin both layers together before basting to keep alignment.
- Finish the bag assembly: Sew the remaining bag seams, leaving the zipper opening accessible. Trim excess zipper tape and reinforce the zipper ends with a few extra stitches. Checkpoint: test the zipper before closing the bag completely. If it sticks, check for fabric caught in the teeth.
Product Fact
- 12" Brass Zipper: These high quality #5 YKK brass zippers are hands down our favorite zippers for bag making. They are strong, made of real metal, and slide open and closed so smoothly. They have a closed (non-separating) end and a large opening in the slider to accommodate a leather zipper pull. The closed end means you sew the zipper into a pouch or bag opening without needing to join two halves, and the smooth slide prevents snagging during installation.