Quick Answer
Install a pressure mount gate by positioning it in the doorway, adjusting the tension mechanism until it grips both frames, and locking it in place. No drilling required.
Why Choose a Pressure Mount Gate
Pressure mount gates are ideal for renters or anyone who wants a temporary baby gate setup without permanent alterations. They use tension against door frames instead of screws, making them easy to remove and reposition.
A common concern is that pressure gates may shift over time if not installed correctly. Proper installation—ensuring even pressure and a level fit—eliminates this risk.
What You'll Need
You only need the gate itself and a flat surface to work on. Most pressure mount gates, like the KidCo Quick Install Gateway®, come with built-in tension adjustment and do not require tools.
Check the door frame width before buying. Pressure gates fit standard openings, but measure to ensure compatibility. The KidCo Quick Install Gateway® is designed for heavily traveled doorways and room openings.
Installation Steps
- Step 1: Measure and Position: Measure the width of your doorway to ensure the gate fits. Open the gate to its full width and place it in the opening, centered between the door frames. Common mistake: positioning the gate too high or low. The bottom rail should sit flush against the floor or baseboard for stability.
- Step 2: Adjust Tension: Turn the tension knob or lever (usually located on one side of the gate) to extend the pressure pads against both door frames. Apply firm, even pressure until the gate feels snug. Checkpoint: the gate should not slide when you push gently on the center. If it moves, increase tension slightly.
- Step 3: Lock the Gate: Engage the locking mechanism as per the manufacturer's instructions. For the KidCo Quick Install Gateway®, this typically involves closing a latch or sliding a lock into place. Common mistake: forgetting to lock the gate before use. Always double-check that the lock is engaged and the gate cannot be opened by a child.
- Step 4: Test and Adjust: Push the gate firmly from both sides to confirm it holds. Open and close it a few times to ensure smooth operation. If the gate wobbles or shifts, repeat step 2 to fine-tune the tension. Checkpoint: after 24 hours, recheck the tension as pressure mounts may settle. Adjust if needed to maintain a secure fit.
Product Spotlight
-
Quick Install Gateway® Pressure Mounted Gate: The KidCo Quick Install Gateway® features exclusive Pressure-Plus Technology that applies additional pressure to the door frame for a secure hold. This means the gate stays firmly in place even in busy doorways, reducing the chance of accidental dislodging.
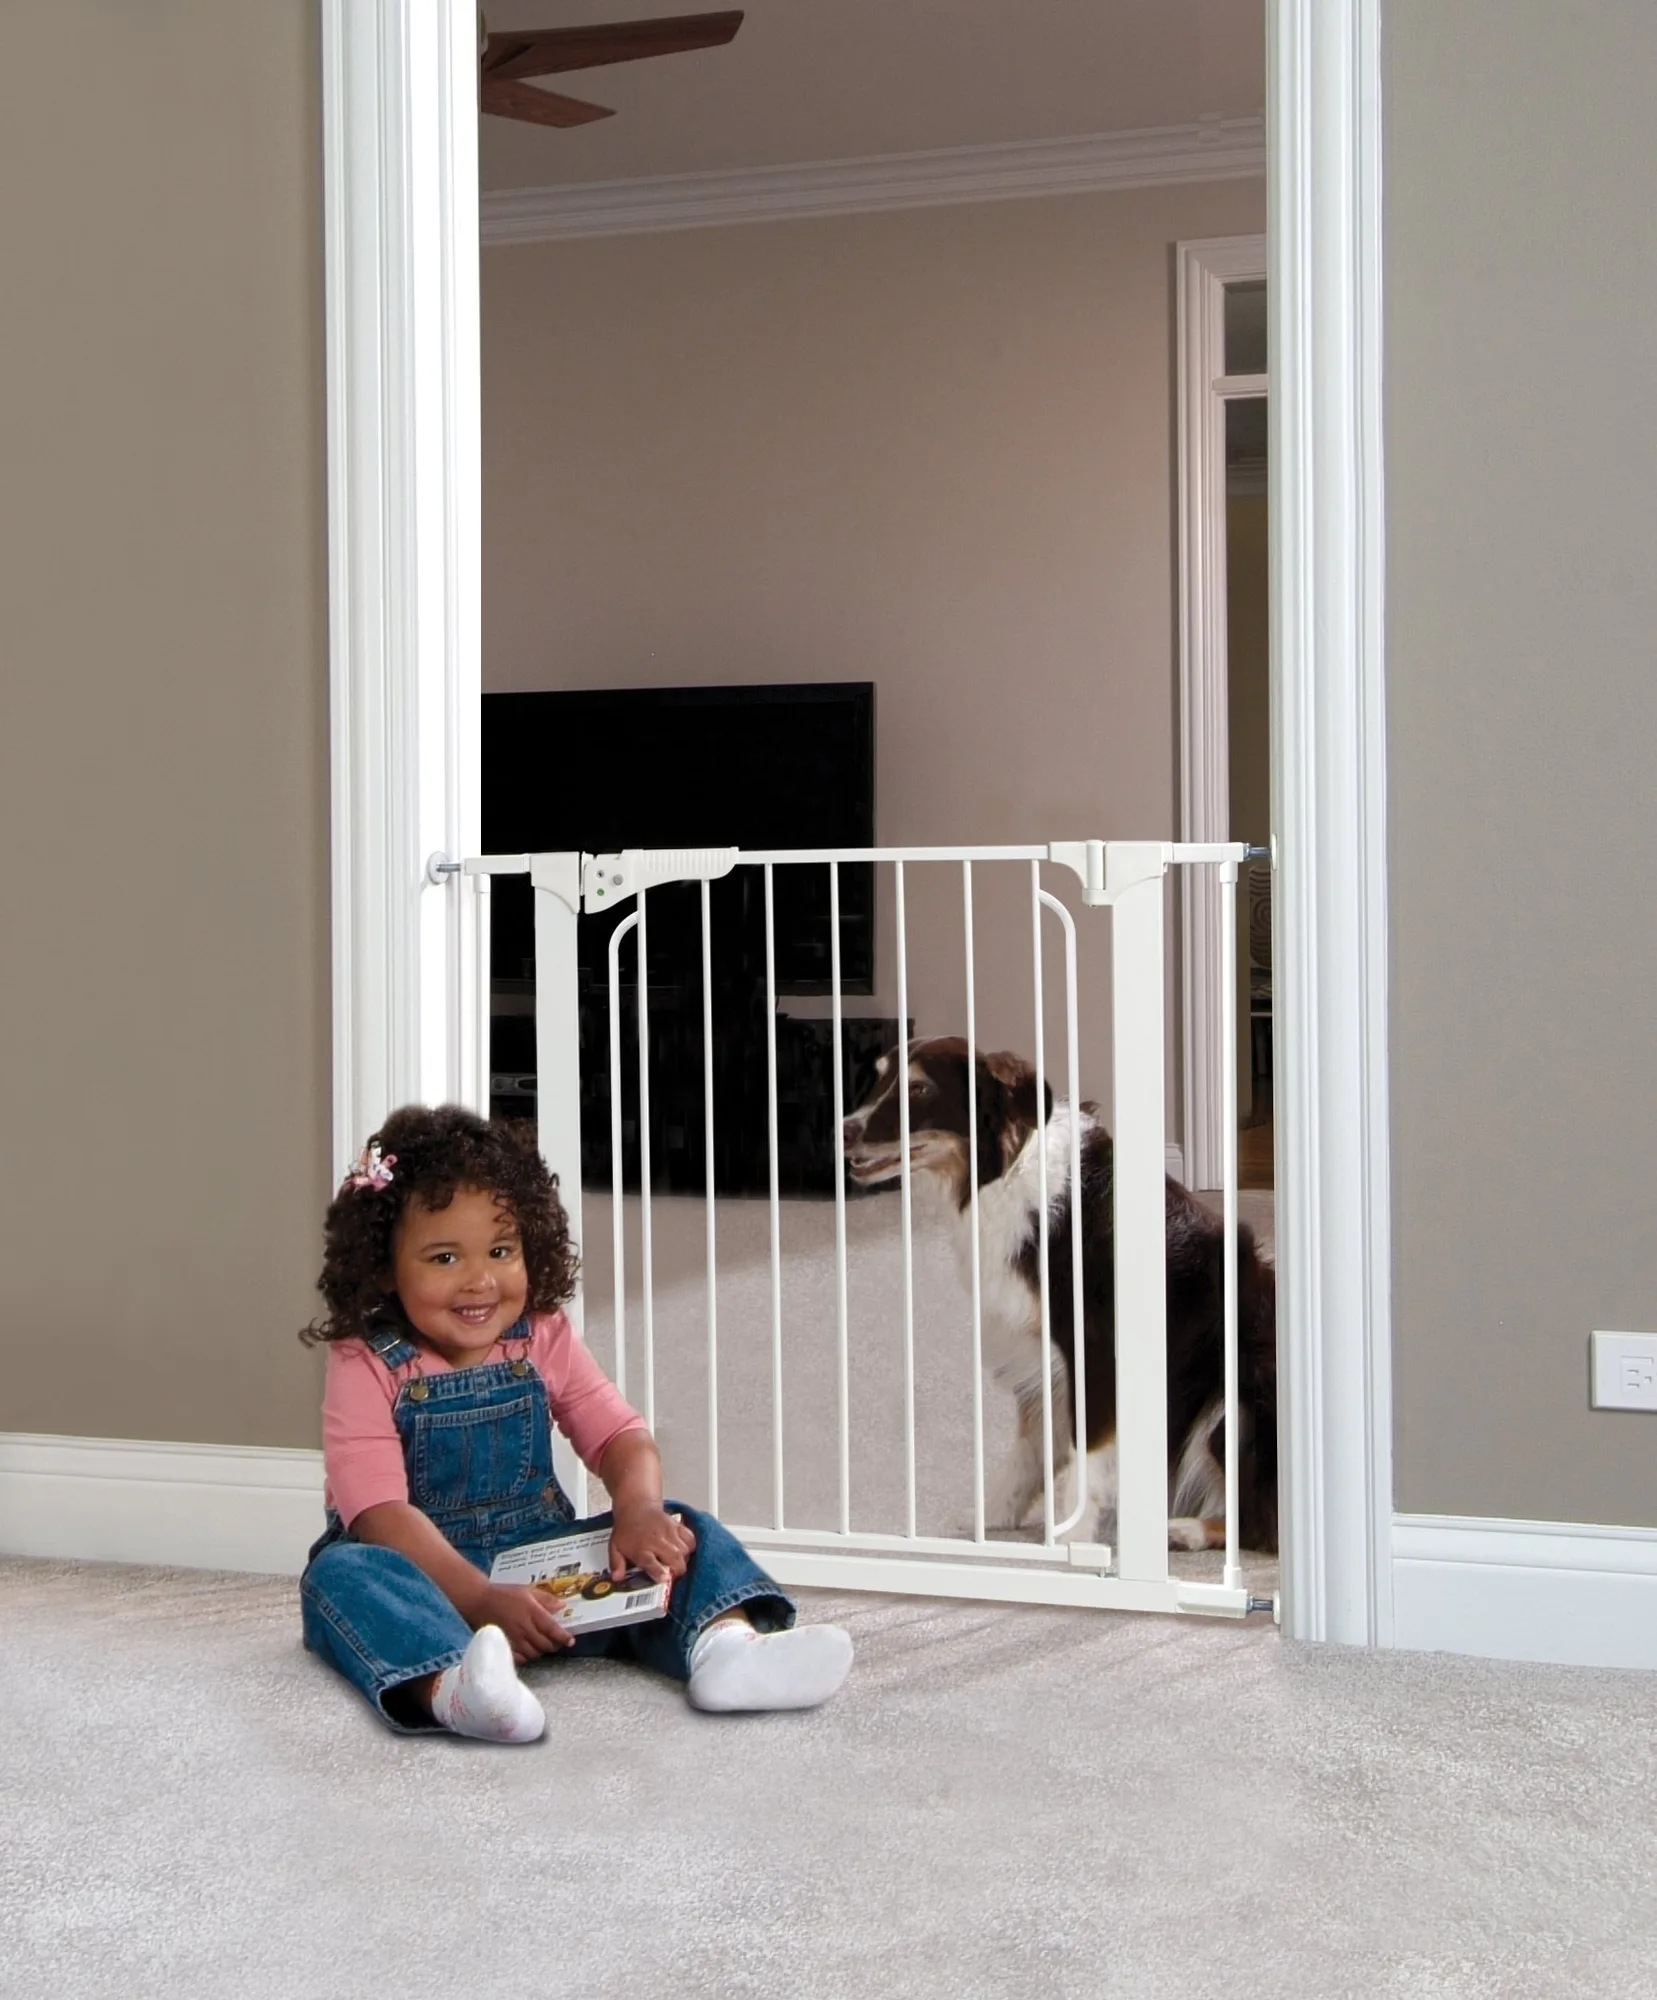
Quick Install Gateway® Pressure Mounted Gate